Ring Floodlight Cam How to Connect to WiFi
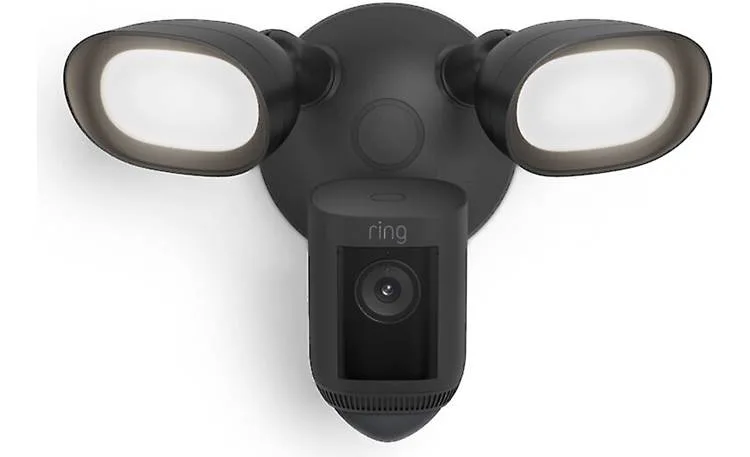
So you've got your Ring Floodlight Cam out of the box, and you're staring at the mounting bracket, the wires, and the little QR code sticker. The whole thing needs a steady WiFi connection to function, and if you've ever fought with a smart home device that just won't link up, you know the drill. The question "Ring Floodlight Cam how to connect to WiFi" is pretty straightforward, but the details, like what each LED flash means and why your phone suddenly can't find the network, are where most people get stuck.
This guide walks you through every step with the visuals you'd see during setup.
Manufacturer specifications indicate that the Ring Floodlight Cam Wired (the standard model) requires a 2.4GHz WiFi network. It doesn't support 5GHz on the basic version, though the Pro model does handle WiFi 6. As of 2026, the setup process hasn't changed much, but knowing exactly what to look for saves you a headache.
Let's start with the quick answer, then walk through the whole thing.
Image source: Bing (Web (fair-use with source credit))
Quick Answer: What Those Blinking LEDs Are Telling You
Connect your Ring Floodlight Cam to WiFi using the Ring app. First, download the app and create or sign into your account. Tap "Add Device" and scan the QR code on the camera or manual.
Power on the camera. When you see a flashing white LED, press the setup button. In your phone's WiFi settings, join the temporary "Ring-XXXX" network.
Go back to the app, select your home WiFi, enter the password, and tap connect. The LED turns solid blue when it works. If it flashes red, something went wrong.
Total process: about 10 minutes for the app part. Mount the camera after you've confirmed it's connected, not before.
Step 1: The Smart Way. Connect to WiFi Before You Mount
Here's a mistake worth avoiding: mounting the camera first. You'll be holding the ladder, balancing the camera, and trying to read the LED while your phone is two floors down. Do the WiFi step before you touch the mounting bracket.
Start with the Ring app on your phone. Create an account or log in. Tap "Set Up a Device" and choose "Security Cameras" then "Floodlight Cam".
The app will ask you to scan the QR code. That code is either on a sticker on the camera body or in the quick-start guide. Hold your phone about six inches away and it should scan instantly.
Once scanned, the app prompts you to power on the camera. Make sure the circuit breaker is off while you connect the wires, then flip it back on. Wait for the LED to glow white and blink slowly.
That's your setup mode. From here, you're ready for the handoff.
If you run into trouble with the QR code, maybe it's scratched or the app can't read it, try cleaning it with a soft cloth and ensuring good light. A similar scanning hiccup can happen with other devices, like a specific lens problem found in some action cameras. Some phones with thick cases struggle.
Remove the case and try again.
Step 2: The Handoff. What Each LED Flash Means During Setup
The LED on your Ring Floodlight Cam is your best friend during setup. It tells you exactly where you are in the process. Here's what each color means:
| LED State | Meaning | What to Do |
|---|---|---|
| White blinking slowly | Setup mode | You're good. Press the setup button next. |
| Blue blinking | Connecting to your home WiFi | Wait. Don't press anything. |
| Solid blue | Connected successfully | You're done. Proceed to mounting. |
| Red blinking | Connection failed | Something went wrong. Check password or router. |
| Red solid | Error | Try a reset (hold setup button 15 seconds). |
When the LED is blinking white, press the setup button on the side or bottom of the camera. That button is small and recessed. Use a paperclip if your fingers are large.
After pressing, the LED should turn blue and start blinking. Open your phone's WiFi settings and look for a network called "Ring-XXXX". Connect to that.
There's no password. The app will handle the rest.
After your phone connects to the temporary network, the app will ask you to choose your home WiFi from a list. Enter the password. The LED will blink blue for 30 to 60 seconds, then turn solid blue.
You're online.
One common hiccup: your phone might switch back to cellular data after joining the temporary network. That can cause the app to time out. Stay on the Ring network until the app confirms success.
Common Visual Mistakes That Break the Connection (And How to Spot Them)
Most setup failures come from easy-to-miss visual clues. Let's go through three that trip people up.
Mistake 1: The LED is solid red, not blinking white. This means the camera is powered but not in setup mode. Maybe you didn't press the setup button, or the camera was already paired to another account.
Solution: press and hold the setup button for about 15 seconds. The LED will flash red, then start blinking white. That's a full reset.
Resetting is a standard troubleshooting step, similar to resolving a sudden freezing problem in other gadgets. Then start the app process again.
Mistake 2: The QR code fails to scan because of glare or dirt. The app needs a clear, unobstructed image. Move the sticker to a well-lit area.
If you're scanning it from the box, flatten the flap. If it still won't work, you can enter the device's serial number manually. It's 5 digits and a dash, found on the same sticker.
Mistake 3: You see the temporary "Ring-XXXX" network, but your phone won't connect to it. Usually this is because your phone is stuck on a 5GHz network. Some phones, especially older ones, won't see 2.4GHz networks at all if they are set to prefer 5GHz.
In your WiFi settings, disable "Auto join" for any 5GHz networks, or temporarily forget them. Then try again.
Image source: Bing (Web (fair-use with source credit))
Troubleshooting by Sight. Decoding Error LEDs and App Messages
Sometimes things go wrong even when you follow the steps. Here's how to read the situation by looking at the camera's LED and the app screen together.
LED blinking red repeatedly. Your camera can hear your router but can't authenticate. Usually a wrong WiFi password. Double-check the password for typos or case-sensitivity.
Delete the camera from the app, reset it, and start over with the correct credentials. If your phone keeps losing the WiFi signal during setup, it sometimes resembles the handshake issues seen with SD card errors.
LED solid red and app says "Connection timed out". This often means the camera is trying to connect but the WiFi signal is too weak. Move the camera closer to the router during setup, even if you run an extension cord just to test. Once it connects, you can mount it back and check the signal strength in the app.
If signal is weak at the mounting spot, consider a WiFi extender.
No LED at all. The camera isn't getting power. Check your circuit breaker. Make sure the wiring is correct (black to black, white to white, ground to ground, and the switch must be on).
If you're installing into a new box, ensure it's rated for the camera's weight, about 2.5 pounds. If the camera simply won't power on, it's similar to diagnosing a charging problem in other portable tech.
App keeps saying "Device not found". Your phone might be on a different network. Go to settings and confirm you're on the "Ring-XXXX" network. Also close the app fully and reopen it.
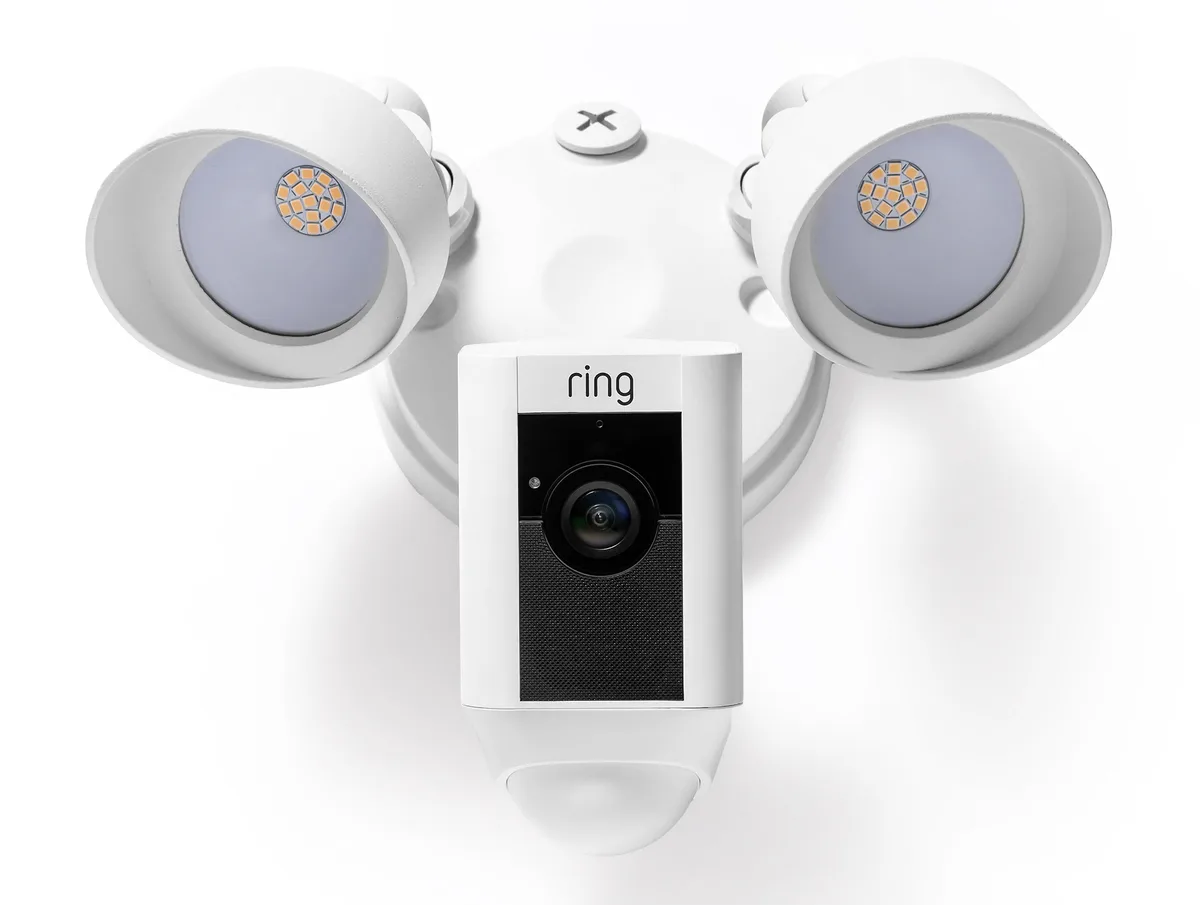
Image source: Web (Bing) / storage.googleapis.com (Web image (fair-use with source credit))
One final tip: if you've already mounted the camera and can't see the LED clearly, use the live view in the app to check if it's working. If the live view loads and you can see video, you're connected even if the LED is hard to see.
For further official guidance, Ring's own support site covers wiring requirements and network compatibility in detail. You can check the Ring support pages for model-specific specifics. That's always a reliable starting point if something above doesn't solve it.
Pro Tips for a Rock-Solid WiFi Connection After Setup
You've got the solid blue LED and the app says it's connected. Now keep it that way. Here's what matters after the handoff.
Check the signal strength in the Ring app. Open the device settings and look for the RSSI number. Anything above -60 dBm is excellent. Between -60 and -70 dBm is fine.
Below -70 dBm means you'll see laggy video or offline drops. If you're in that weak zone, move the camera closer or add a WiFi extender.
A 2.4GHz-only extender works best. Many dual-band extenders default to 5GHz for speed, but your Ring needs 2.4GHz. Set the extender to broadcast a dedicated 2.4GHz network with a different SSID. Then connect the camera to that specific network.
Keep your router's firmware updated. An outdated router can drop connections to older 2.4GHz clients. Log into your router admin panel and check for updates every few months.
Avoid interference near metal or masonry. Mounting the camera inside a metal junction box or directly on a brick wall can cut range. The metal blocks WiFi. Use a plastic weatherproof box if possible.
Reboot the camera once a month. Hold the setup button for 10 seconds until the LED flashes red, then release. The camera restarts without losing settings. This clears minor memory leaks.
Persistent software glitches are common in smart devices, much like the documented battery drain issues in other cameras.
Frequently Asked Questions About Ring Floodlight Cam WiFi
What WiFi frequency does the Ring Floodlight Cam use?
The standard Ring Floodlight Cam Wired and Plus models only work on 2.4GHz WiFi. The Pro model supports both 2.4GHz and 5GHz. If you have a dual-band router, make sure the camera isn't trying to connect to your 5GHz network.
Can I connect to WiFi after the camera is mounted?
Yes, but it's harder. You'll need to see the LED and press the setup button while the camera is in place. It's easier to do the WiFi step on a workbench or table, then mount the camera after the solid blue LED confirms connection.
How do I change the WiFi network my Ring Floodlight Cam is on?
In the Ring app, open the device, tap Device Health, then "Change WiFi Network." Press the setup button on the camera until the LED blinks white. Follow the same app steps as initial setup. You don't need to uninstall anything.
Why does my Ring Floodlight Cam keep going offline?
Weak WiFi signal is the most common reason. Check RSSI in the app. Also look for interference from thick walls, metal, or other electronics near the camera.
A power cycle of the camera and router often fixes temporary offline issues, unlike more complex hardware faults.
What do I do if the app says "Device not found" during setup?
Make sure your phone is connected to the temporary "Ring-XXXX" network. Close the app fully, reopen it, and scan the QR code again. If that fails, reset the camera by holding the setup button for 15 seconds until the LED flashes red and then starts blinking white.

Similar Posts