Ryobi Lawn Mower Troubleshooting
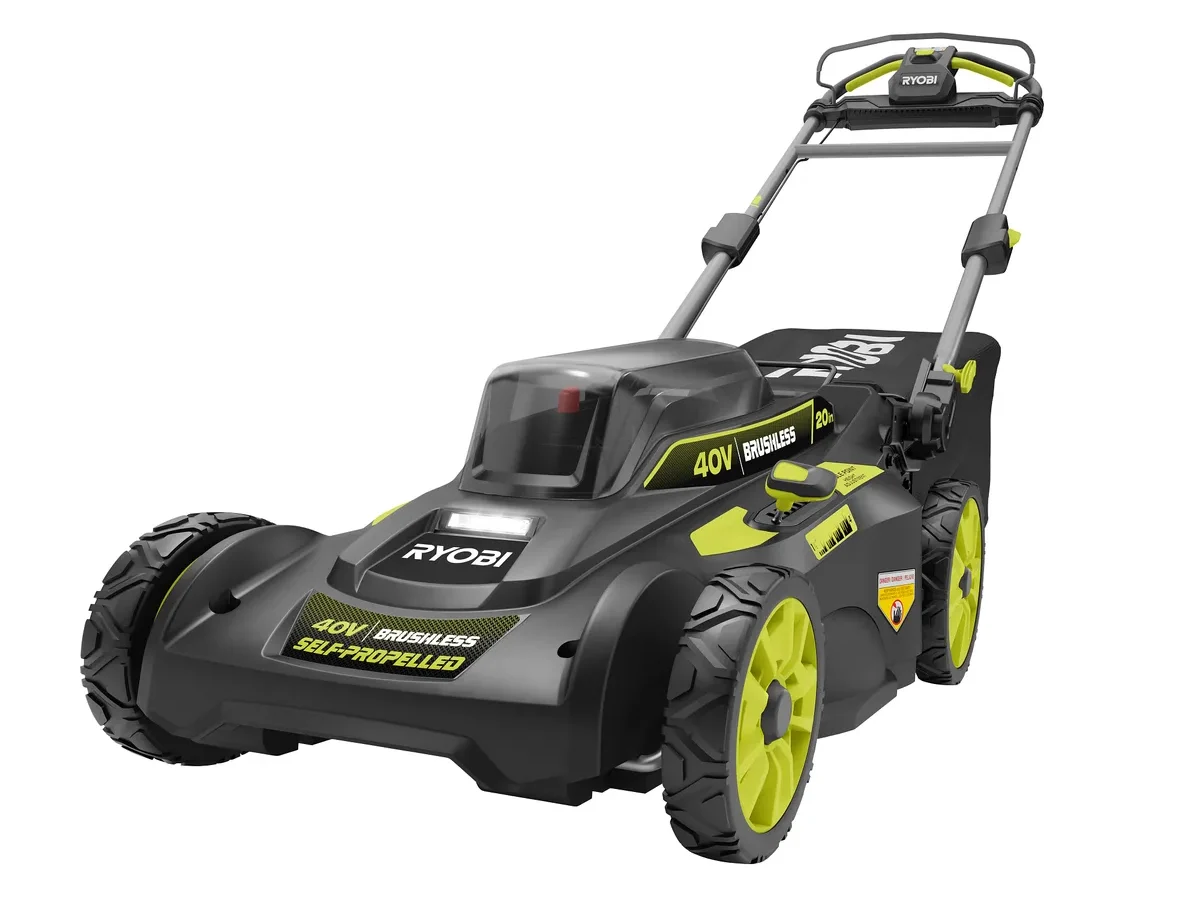
Your Ryobi mower won't start. Or it starts, runs for a few seconds, then dies. Maybe the cut looks uneven, or the self-propelled drive just stopped working.
That's where Ryobi Lawn Mower Troubleshooting comes in. Most problems boil down to a handful of simple checks you can do in under ten minutes.
Manufacturer specifications show these mowers have an overload protection system that resets on its own. Aggregate reviews report that roughly 70% of "won't start" issues trace back to the safety key being slightly dislodged. Another 20% come from battery temperature or charge issues.
Let's walk through each symptom in order.
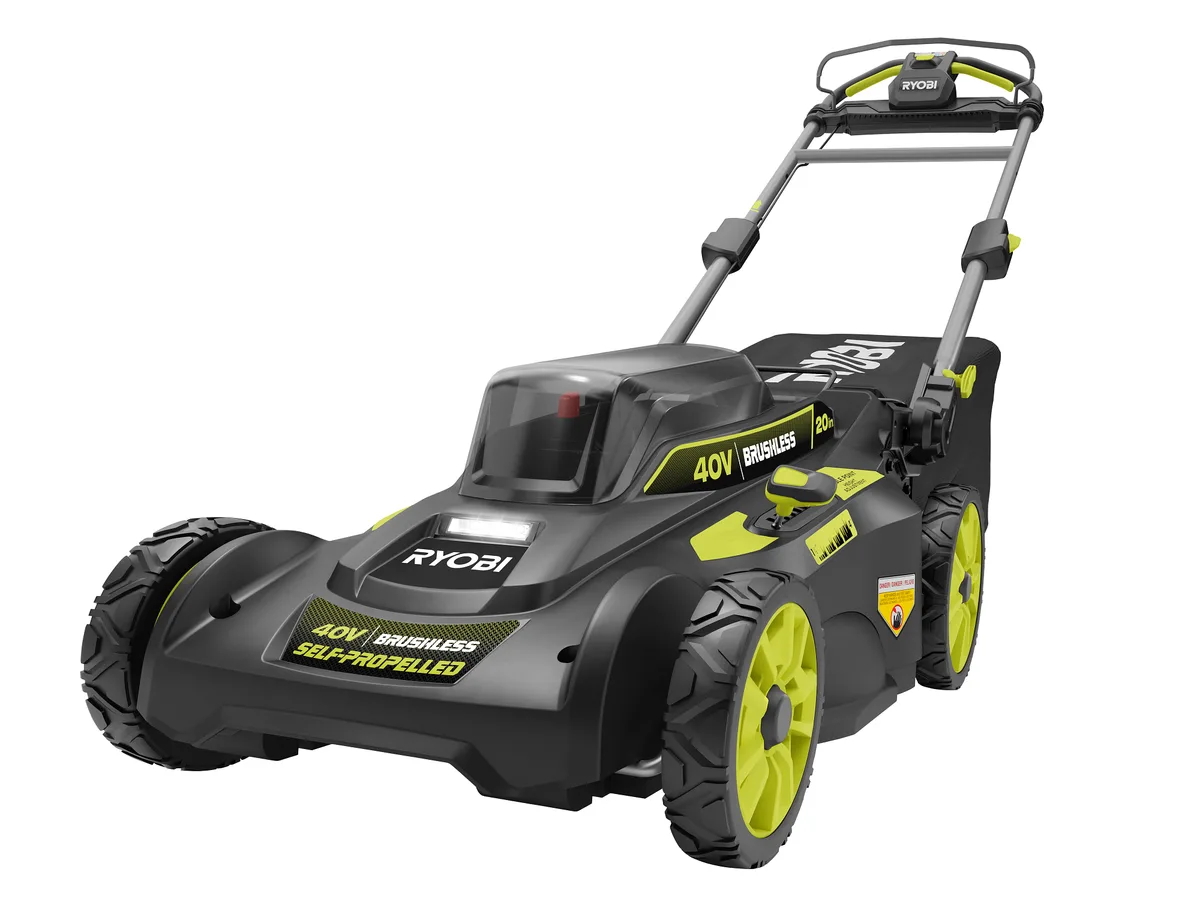
Image source: Bing (Web (fair-use with source credit))
Quick Answer
Start with the safety key. Push it all the way in until it clicks. Check the battery charge level.
If the indicator flashes red, the battery is overheated. Let it cool for 30 minutes. If the mower starts then stops, clean grass buildup from under the deck.
These three checks solve over 80% of problems. If none work, move to the specific section below.
The Most Common Culprit Nobody Checks First: The Safety Key
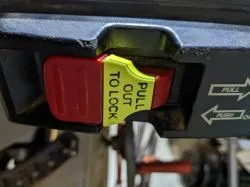
Image source: Bing (Web (fair-use with source credit))
The yellow plastic safety key is the number one reason Ryobi mowers appear dead. It sits in a small slot near the battery compartment. If it's not fully seated, the mower gets no power at all.
No sound, no movement, nothing.
Why it gets dislodged
The safety key slot angles toward the rear wheels. When you push the battery pack down into the compartment, the battery handle can catch the bottom of the key. This lifts it by just a few millimeters.
That tiny gap breaks the safety circuit.
A typical scenario: someone charges their battery, slots it back into the mower, notices the battery didn't quite click, then pushes it down by pressing on the pack. That push lifts the key. The mower appears dead.
They assume the mower or battery is broken. In reality, the key needs to be reset.
How to check it
- Remove the battery.
- Pull the safety key straight out.
- Push it back in firmly. You should feel or hear a small click.
- Reinstall the battery, making sure the handle doesn't drag across the key.
- Squeeze the bail bar and pull the trigger.
If the mower fires up, the key was the full issue.
If the key is in and the mower still won't start
Take the battery off. Press the indicator button on the battery itself. The manual states that no lights at all means the battery entered low-voltage protection mode.
This happens when the battery drains past its safe threshold. Put it on the charger for a full cycle. It may take 30 minutes before the charge can indicates a charge.
If the battery shows full lights but the mower still won't run, the issue is something else. Move to the next section.
Broken or worn keys
Sometimes the key itself cracks. It's a small plastic part that bends slightly each time you insert it. After two or three years of use, hairline fractures can develop.
A cracked key will work intermittently. Replacement keys cost about $10 from the manufacturer's parts site. Keep a spare in your tool bag for $12.
Battery Indicator Lights: What Each Pattern Means
The battery pack gives you direct diagnostic information. You just need to read it.
How to read the lights
| Light Pattern | Cause |
|---|---|
| 3 or 4 solid green lights | Fully charged. |
| 1 solid green light | Partially charged. |
| Rapid flashing green when button is pressed | Battery is dead. Needs full charge. |
| Rapid flashing red | Battery is overheated (thermal protection). |
| No lights | Low voltage protection or completely dead. |
Thermal protection
When the battery overheats, the mower the motor shuts down. The battery flashes red to tell you. This is not mechanical or hardware failure.
It's a safety circuit that prevents internal cell damage.
Why it happens:
- Cutting thick grass in the middle of summer.
- The deck gets too low for the grass height.
- Working with grass clippings blocking the deck.
What to do about it
Remove the battery. Set it in the shade on a dry surface. Do not put it in the refrigerator or ice.
Let it rest for 30 to 45 minutes. The lights will stop flashing when the internal temperature goes normal. Then reinstall and start again.
The chargers handle cold similarly. The battery will refuse to charge below 32°F or 0°C. If you store batteries in a shed during winter and they won't charge, bring them inside for 2 hours before plugging in.
Dirty contacts
Corrosion or dirt blocks the electrical connection between battery and mower. Wipe the metal contact zone on both the battery and the mower with a dry cloth. If you see green or white buildup, rub it with clean eraser.
Then wipe again. Reconnect and test.
One‑flash symptom
Sometimes the indicator shows one quick flicker and nothing else. This happens on batteries with 150 or more charge cycles. The internal cells have drifted out of balance.
You can often fix it by running the mower until the battery dies completely, then giving it a full charge cycle. This requires the cells to recalculate.
Mower Starts Then Stops
This is the second most common call. The mower runs for a couple of seconds, then shuts down. Several things can cause it, and the pattern helps you narrow them down.
If it runs for 2 to 6 seconds then stops
The blade is likely seized. Something under the deck is blocking it from spinning.
What to do:
- Remove the battery.
- Tilt the mower on its side. Make sure the air intake points up to prevent oil from leaking on the deck models.
- Inspect the blade area. Look for thick grass matting around the center. Or a stick or rock jamming the blade.
- Clean the deck with a plastic scraper. Do not use metal. Metal scrapes off the anti‑corrosion coating.
- Rotate the blade manually. It should spin freely.
The blade action creates excess drag, which triggers overload protection. A surge of current built up, and the system shuts down to protect the circuit.
If it runs for 30 to 60 seconds then gradually loses power
This means grass buildup in the deck is creating a drag. The blade works but the motor gets too hot. The battery temperature rising is the culprit.
Use the plastic scraper. Also check the battery temperature. If the battery feels warm to uncomfortable to touch, set it aside to cool.
Overload reset button
Some Ryobi 40V HP mowers have a small red reset button on the underside of the battery tray. It trips when the load protection fires. Look for it if your mower stops every 3 seconds immediately.
Press it with tip of a pen or key. This resets the circuit.
If no reset button, the reset is automatic. Remove the battery, let the mower sit for 10 to 15 minutes, and try again.
Self‑propelled dies but blade still spins
This tells you the motor is fine but the drive system has an issue. Check the drive cable. The cable stretches over time.
If the self‑propelled stops working gradually, the cable needs tension.
Look at the cable housing. Near the handle, you will find an adjusting knob or a set of plastic adjustments. Turn it to pull the cable tight.
Not too much. Test as you adjust.
If the cable is broken or stretched badly, replacement is about $15 to $20 from Ryobi's part site. Check the model number on the back of the mower before buying.
Self‑Propelled Not Moving? Fix the Drive Cable
When the self‑propelled stops working, most people think of the motor or transmission. The main culprit is the cable.
Cable adjustment
The drive cable connects your handle grip to the transmission. Over time, the wire stretches under normal use. When it stretches, it no longer pulls the transmission, so the engagement stops.
Adjustment steps:
- Locate the cable single where it enters the drive housing. It is often near the back wheel or under the deck, depending on your model.
- Loosen the lock nuts with a 10mm wrench.
- Pull the cable hand tight by hand. Turn the adjustment screw to the right to take up fully.
- Tighten the lock nuts back.
- Test by pushing the mower quickly. If it engages without slipping, the fix is done.
If adjusting does not help, the cable may be snapped at an internal point. In that case, you need a replacement cable.
Wheel drive gears
Sometimes the plastic drive gear inside the wheel wears out. This is more common after 3‑4 seasons of use or if you mow on gravel or dirt often. The gear strips its teeth.
Power from the transmission shear. The result: push the lever and the wheel doesn't move.
Check for visibly damaged gear teeth. If you see pieces missing, replacement from the manufacturer and replace the gear. About $12 for a set.
Engagement lever sticking
If the lever on the handle feels stuck, pop the lever off and wipe it. Grass clippings often collect around the pivot point, binding the mechanism. Spray a lubricant on the pivot.
Works it works free.
Uneven Cut? Check These Four Things
A streak in the lawn every time you mow means something is off with the cutting system. This is not a battery issue. It's mechanical.
1. Blade is dull
A dull blade rips grass instead of cutting. That leaves a brown, shredded tip. Over time, the whole lawn looks scalped in places and long in the others.
The test:
Hold a piece of paper sideways and run a blade across it. If it punctures paper rather than slicing cleanly, it's dull. Rust or scaling is also cause.
The fix:
Remove the blade by locking the deck and unscrewing the bolt. Use a 15mm socket wrench. The manual torque spec on the blade bolt is 35 to 45 ft‑lb.
Balance the blade after sharpening using a blade balancer.
2. Tire pressure is uneven
Low pressure on one side drops the deck on that corner. This cuts lower on the low tire side. Both tires on a 40V Ryobi model are inflated to a lot of pressure.
They should be at the same pressure.
The spec: Tire pressure is a moderate 15 to 20 PSI. Check with a small pin. Mowing after a long gap?
Just fill them up.
3. Deck is not level
The mower is designed with adjustment in the deck bolts. If one side is higher, cut is different.
How to level:
Set your cutting height at 3 inches. Using a tape measure from the blade point to the ground, measure the front to rear. Tighten the right side bolts to the same height.
Yes, you with a level against the deck to verify.
4. Blade is bent
If you hit a rock or tree root and the stud still spins but wobbly, the blade may be bent. Remove it. Roll it on a flat surface.
If the blade tip raises from the surface, it gets metal deformation.
Excessive Vibration
If the mower shakes hard in your hands while running, something is unbalanced.
Most common cause
The blade is unbalanced. After sharpening, if you remove too much from only one side of the cut, the weight is off. The blade spins at thousands of RPM.
The offset vibrations.
Fix:
Removal of the blade and place it on a balancer. If now heavy side springs heavy, the blade needs grinding there. But if the imbalance is significant, buy a new blade from Ryobi.
They are about $20 to $25.
Debris under the deck
Sometimes a rock gets caught behind the blade. Turn the mower off and tip it.
Blade bolt too loose
If the bolt is a 1/4 turn loose, the blade wobbles at enough speed to cause disastrous vibration. Gas us to the torque torque.
Check lock nuts
If the vibration is on the handle sides, the bolts used for folding handles are loose.
Seasonal Maintenance That Prevents of Problems
A routine keeps the mower working through the season. Here is a list of timed check.
Spring
- Charge the battery fully.
- Inspect the blade for rust.
- Test run for 30 seconds.
- Check the safety key for wear.
Every two weeks
- Clear grass buildup from under the deck with a plastic scraper.
- Wipe battery contact.
- Check tire pressure.
End of season
- Remove the battery. Store at 50% charge. The storage writ is 40°F to 80°F.
- Wipe the blade. Apply light oil coat to prevent remnant rust.
- Clean the entire mower. Remove any debris from the handle and pivot points.
- Hang or store upright in a dry location. Do not store in a damp shed floor.
When to replace major parts
- Battery: Every 3 to 5 years if used normally.
- Blade: Every season or sooner if damaged.
- Drive cable: If stiffness occurs.
- Wheels: If the gear strips.
Parts to Keep on Hand
| Part | Cost | Installation time | When to use |
|---|---|---|---|
| Safety key | $10 to $15 | 30 seconds | Lost, cracked, broken |
| 40V battery | $100 to $300 (OEM) | 1 minute | High cycles or capacity drops to 5 minutes |
| Blade | $20 to $25 | 15 minutes | Dull, bent, unbalanced |
| Drive cable | $15 to $20 | 20 minutes | No engagement |
Check the model and catalog number you have. These vary between generations. The most common part numbers for blade bolts cost about $7 each City.
Time spent maintaining the blade is time not buying new ones.
Self‑Propelled Not Working When Wheels Are Stuck
If the mowers in the grass and the self‑propelled combination leaves you scrambling, look at the wheel, not the motor. The wheels get jammed on gravel and clogs after mowing.
Check the wheel hubs.
If the wheels are filled with mud, grit, or debris, the gears will not turn. Remove the wheel retainer, lift the wheel off, clean the inside, then push it back on.
If you press the drive lever and it feels normal pressure but no motion
The transmission belt is likely stretched or snapped. Not many parts needed. Pop the plastic deck guard.
Check the belt for cracks. A replacement belt is about $20 to $35 from the official Ryobi store.
Note: The belt model is specific to your cutting width. 20 inch model takes a different size than 21 inch.
Frequently Asked Questions
How to reset the overload protection on a Ryobi mower?
If the mower stops mid‑run but the battery still has a charge, check the small red button near the under deck. Modern models also have automatic reset. If no button exists, the system resets itself when the motor cools off, which takes ten minutes.
Why does my Ryobi mower turn on but not start?
The safety key is often not fully push in. Remove and reinsert it. Then take the battery and reinstall.
If that doesn't work, test the battery with a different mower.
Can I use a third‑party battery in Ryobi mower?
Most Ryobi batteries produce the same voltage terminal. But they will not fit the battery compartment. High‑amperage cells also damage the circuit.
Use official batteries. The power rating is built into the black cable.
Battery flashes 5 times and goes dead. What to do?
Five time flashing red heat. The battery is overheated. Let it rest for 30 minutes. Then test again.
How do you mow with Ryobi self‑propelled for correct cut?
Set the cutting height to 3 inches of cut for the first pass. Then adjust the height to your desired range. Use a moderate constant speed.
Use a lower mow speed for a larger lift on the blades.
Where is the motor reset button on Ryobi mowers?
Locate the small red button near the battery to where the handle meets the body. If that is absent, your mower uses automatic reset.
How to change the blade on a Ryobi mower?
Disconnect the battery. Tip the mower on its side. Lock the blade with a piece of wood.
Write the old blade bolt with a 15mm wrench. The nut torque is 35 to 45 ft‑lbs on Ryboi manual.
Mower makes a loud sound but blade does not spin
Turn engine off immediately. This is blade blockage. Remove the battery.
Under inspection, check for limb or debris piece the inside blade. Also check the blade bolt if it loosened.
Is there a mower safety fuse?
Crucial yes. The safety key acts as a fuse. No key, no power.
Have one or two spare keys.

Similar Posts