Trail Camera Reset Troubleshooting
If your trail camera has gone quiet, you are not alone. Trail camera reset troubleshooting is one of the most searched topics in the outdoor tech space. These cameras sit in the field for weeks at a time, exposed to weather, bugs, and battery drain.
When they stop working, the fix is rarely obvious.
Manufacturer specifications show that most trail cameras run on lithium AA batteries rated down to -40 degrees Fahrenheit. That spec explains a lot. Cold weather alone rarely causes a full lockup.
The real culprit is almost always something else entirely. Let's walk through what that might be.
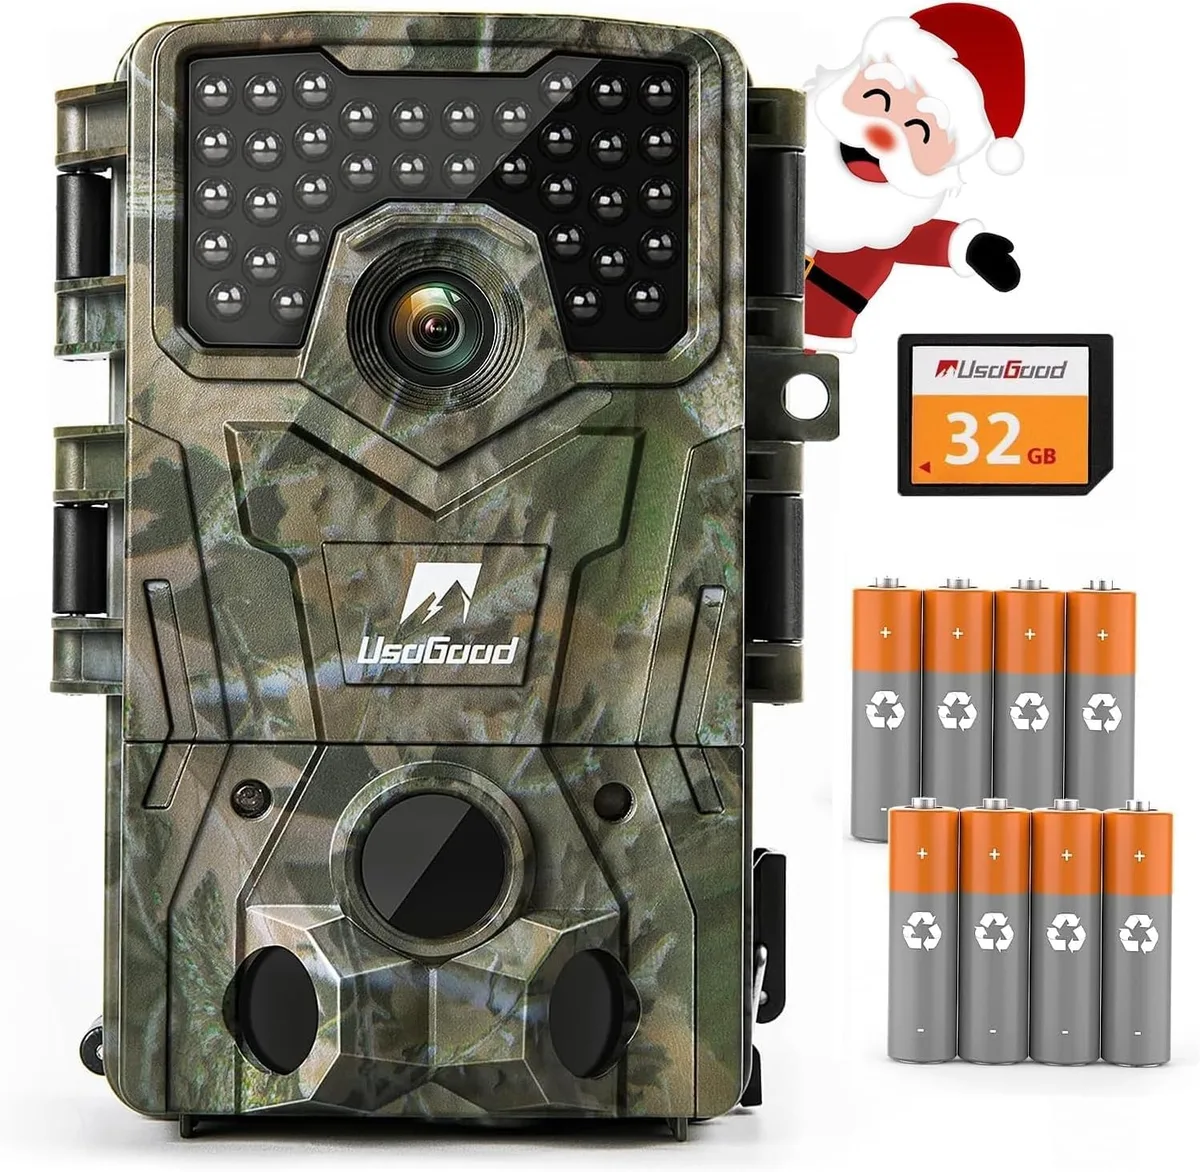
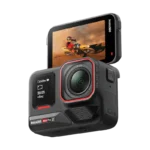
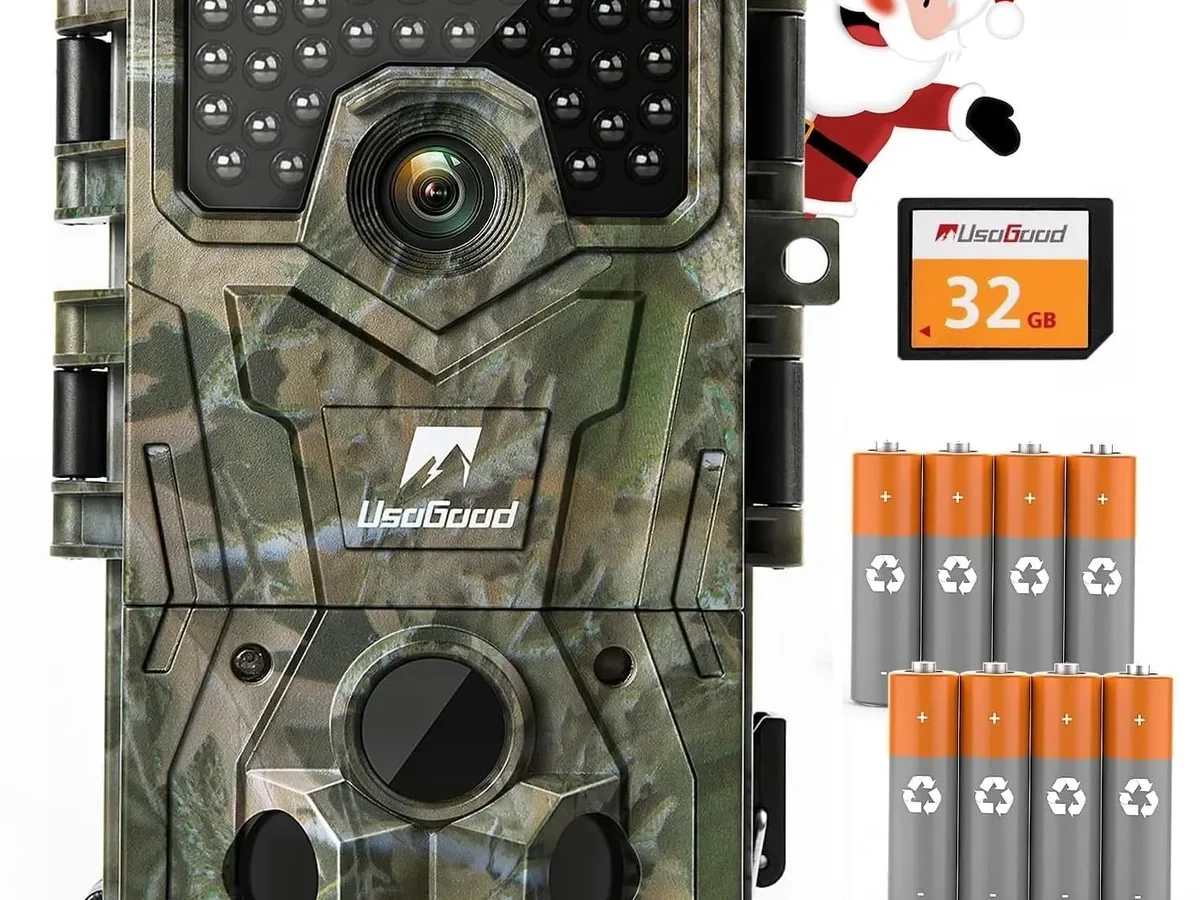
Image source: Web (Bing) / amazon.com (Web image (fair-use with source credit))
Quick Answer
Most trail camera problems come from four things. Dead or weak batteries. A corrupted SD card.
A frozen menu state. Or a failed sensor. Each cause has a different fix.
This guide helps you identify which one you are dealing with.
First, Pin Down What Your Camera Is Actually Doing
You cannot fix a trail camera until you know what kind of problem you have. Different symptoms point to different root causes. Get this wrong, and you will waste time trying the wrong fix.
Completely Dead, No Screen, No Lights
This is the most straightforward symptom. The camera draws zero power. In our research, this is overwhelmingly a battery issue.
The batteries are dead, the contacts are corroded, or the battery compartment has a broken wire.
Some cameras have a small LED that blinks when the power button is pressed. If you see nothing at all, start with the batteries. Do not skip this step.
Stuck on Logo or Boot Screen
The camera turns on, but it freezes before the menu loads. This usually means the camera is trying to read the SD card and failing. A corrupted card or a card with the wrong format can cause this.
It can also mean the camera's internal memory buffer is stuck. A hard reset or battery pull often clears this.
Turns On but Won't Take or Save Photos
The camera powers up and the menu works, but it either refuses to trigger or it says it saved a photo but the file is missing. This points squarely at the SD card. It might be full, improperly formatted, or damaged.
Acts Normal but Misses Triggers
This one fools a lot of people. The camera seems fine, but it catches half the passes or none at all. The problem is usually a setting, not a hardware failure.
Detection zone, recovery time, or sensitivity mode are common culprits.
Buttons Don't Respond
If the camera powers on but the buttons do nothing, the unit is likely frozen in a menu state. This can happen after a failed setting change or a dropped firmware update. Similar power-related lockups can affect other rugged outdoor electronics, and the same approach to forcing a restart often applies.
The Decision Tree: Follow the Branch That Matches Your Symptom
Now that you know your symptom, follow the correct branch. Do not skip to the factory reset unless you have tried the simpler fix first.

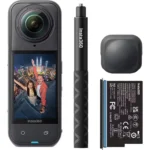
Image source: Bing (Web (fair-use with source credit))
Branch A: Camera Is Completely Dead
- Remove all batteries. Look at the contacts. If you see white or green crust, clean it with a cotton swab dipped in white vinegar. Let it dry fully.
- Insert fresh lithium AA batteries. Not alkalines that have been sitting in a drawer for two years. Fresh ones.
- If the camera has an external power port, try that. This rules out the battery compartment itself.
- Press and hold the power button for 10 seconds. Some cameras need this to jumpstart the boot sequence.
If the camera still shows nothing, the main board may be fried. That is not a fixable condition without replacing the unit.
Branch B: Camera Is Stuck on Logo or Frozen
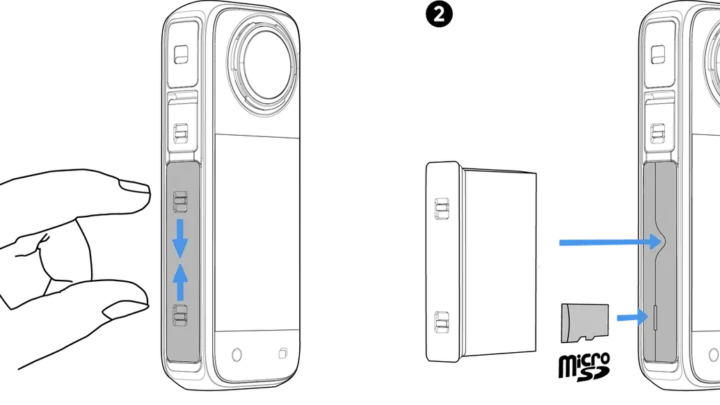
- Pull the batteries AND the SD card at the same time.
- Wait 60 seconds. Longer is fine.
- Insert the batteries first. Try to power on. If it boots, power down and insert the SD card.
- If it fails again, format the SD card on your computer as FAT32. Do not use exFAT. Many trail cameras do not support exFAT. The SD Association specifies FAT32 as the standard format for cards up to 32GB.
- Try the pinhole reset if your camera has one. Look for a tiny recessed button on the side or bottom. Use an unfolded paperclip to press and hold it for 15 seconds.
Branch C: Camera Takes Photos but Won't Save Them
- Remove the SD card. Put it in a card reader on your computer.
- Try to open the files. If they are corrupted or missing, the card is failing.
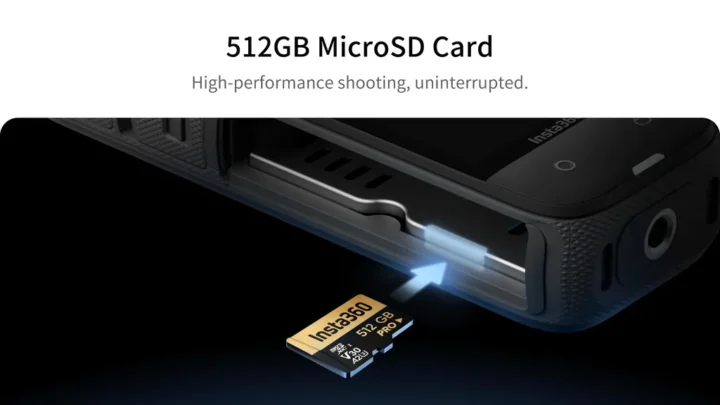
- Try a different SD card that you know works in another device. Choose one with a capacity of 32GB or less. Larger cards can cause compatibility problems with older cameras.
- Format the new card inside the camera, not on your computer. The camera writes a folder structure that your computer might not create. Good formatting habits prevent most of these issues before they start.
Branch D: Camera Acts Normal but Misses Triggers
- Check the detection zone. Grass, branches, or spider webs may have grown in front of the sensor.
- Verify the camera is not in time lapse mode. Time lapse ignores motion entirely.
- Reduce the recovery time setting. If the camera waits 30 seconds between photos, it can miss a lot of activity.
- Check the sensitivity setting. Low sensitivity in cold weather can fail to detect animals.
Quick Symptom Reference Table
| Symptom | Most Likely Cause | First Action |
|---|---|---|
| Completely dead, no lights | Dead batteries or corroded contacts | Replace batteries, clean terminals |
| Stuck on logo screen | Corrupted SD card or frozen buffer | Remove batteries and card, wait 60 seconds |
| Won't save photos | SD card failure or wrong format | Try a different card, format in camera |
| Misses triggers | Incorrect settings or blocked sensor | Check mode, sensitivity, and recovery time |
| Buttons unresponsive | Frozen menu state | Battery pull, then pinhole reset |
| Erratic behavior after firmware update | Failed or interrupted update | Factory reset, then reapply update |
Factory Reset: When It Helps and When It's a Waste of Time
A factory reset wipes every setting. Time, date, password, trigger mode, sensitivity, everything. You will need to set the camera up from scratch.
That is a pain, but sometimes necessary.
Factory Reset Helps When
- The camera is stuck in a language or menu loop that normal button presses cannot exit.
- You have tried battery pulls, card swaps, and pinhole resets, and the camera still acts weird.
- You just bought a used camera and want to clear the previous owner's settings.
A factory reset essentially clears the internal memory and forces the camera to rebuild its configuration files. This can resolve bugs that a simple reset cannot touch.
Factory Reset Is a Waste of Time When
- The camera is completely dead with no power. A factory reset cannot fix a dead board.
- The SD card is full or corrupted. Fix the card first.
- The problem is a blocked sensor or incorrect settings. A factory reset will not change the physical environment around the camera.
Per manufacturer documentation from brands like Browning and Reconyx, a factory reset is typically triggered by a specific button combination. Check the inside of the battery compartment door. Many manufacturers print the reset combo there.
If not, check the manual PDF on their website.
How to Properly Execute a Factory Reset
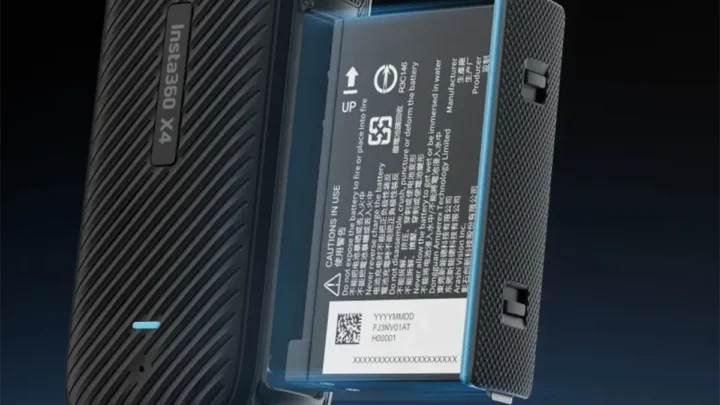
- Remove the SD card. You do not want the camera trying to write to it during the reset.
- Insert fresh batteries.
- Press and hold the reset button combination. This varies by brand. Common combos include holding the menu and up buttons simultaneously, or holding power and OK for 10 seconds.
- Wait for the screen to flash or go blank. The camera should then boot to a fresh setup screen.
- Reinsert the SD card only after the camera is running and asking for a card.
Do not interrupt the reset process. Pulling batteries during a factory reset can brick the camera. This is one of those cases where patience pays off.
The same caution applies to firmware updates on other devices, where an interrupted process can cause permanent damage.
Common Reset Mistakes That Cost You a Full Day in the Field
Reset mistakes are frustrating because they waste time and often make things worse. Here are the ones we see most often.
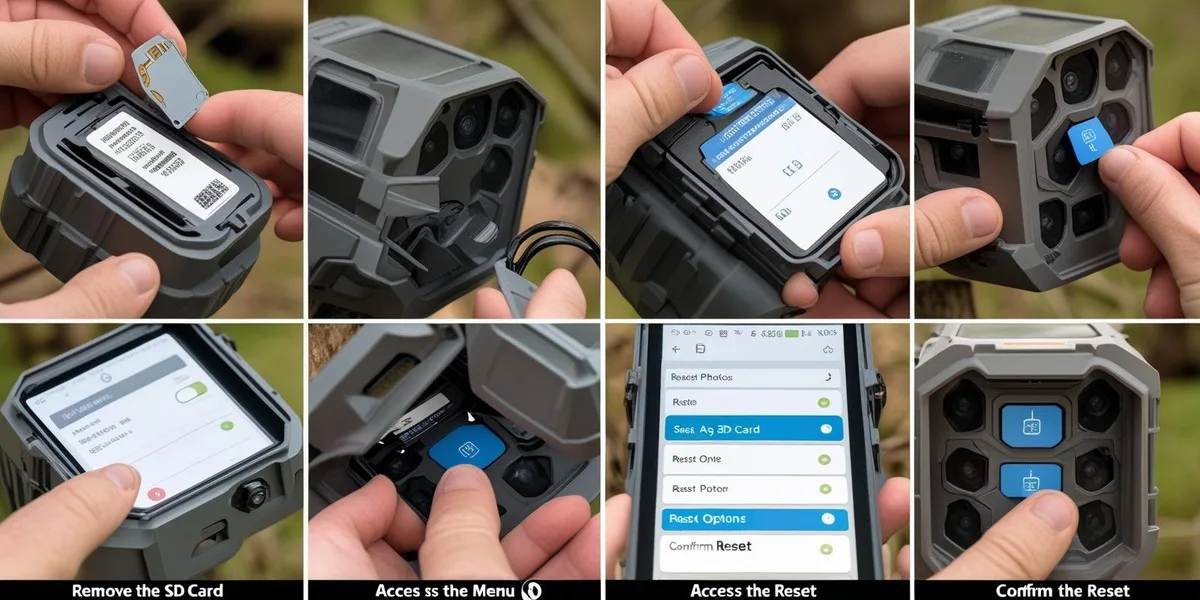
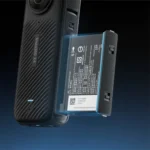
Image source: Bing (Web (fair-use with source credit))
Mashing Buttons While the Camera Is Frozen
Pressing buttons repeatedly while the camera is hung can send multiple commands to a stuck processor. This can push the camera deeper into a locked state. Always pull the batteries first, then try the reset.
Using the Wrong SD Card Format
Many users format SD cards as exFAT on their computers because that is the default for cards over 32GB. Most trail cameras do not support exFAT. Always format as FAT32.
Cards larger than 32GB may need a third-party formatting tool to do this.
Ignoring the Pinhole Reset
The pinhole reset button is easy to miss. It is often recessed and unlabeled. But it is the most reliable way to force a hard reset on many brands.
Look closely at the sides and bottom of the camera housing.
Skipping Fresh Batteries During Testing
Trying to diagnose a camera with old batteries is a waste of time. Weak batteries can cause the camera to power on but fail during operation. Always use fresh lithium batteries when testing.
Forgetting to Format the Card Inside the Camera
Formatting an SD card on your computer does not create the folder structure the camera expects. The camera needs to write its own folders. Always format the card inside the camera after you have confirmed the card is functional.
The Final Six-Step Checklist Before You Give Up
Run through these six steps in order. If the camera still does not work after this, you have a hardware defect.
- Fresh batteries. Use lithium AA batteries. Not alkalines. Not rechargeables unless you have confirmed the voltage is correct.
- Clean battery contacts. Use white vinegar on a cotton swab. Let dry completely.
- Different SD card. Use a card you know works in another device. Keep it under 32GB if possible.
- Format the card inside the camera. Do this after the camera powers on with no card inserted.
- Pinhole reset. Press and hold the recessed button for 15 seconds with batteries installed.
- Test with no SD card. If the camera boots to a "no card" message, the camera itself is working. The problem is the card.
Trail Camera Reset FAQs
How do I reset my trail camera without a button?
Some models have a small pinhole reset switch. Use an unfolded paperclip to press and hold the button inside for 10 to 15 seconds. If your camera has no reset button, remove the batteries and SD card for at least 60 seconds.
That forces a full power cycle.
What does a hard reset do on a trail camera?
A hard reset clears the camera's volatile memory and forces it to reboot from scratch. It does not wipe user settings or saved photos the way a factory reset does. It is the first step to try when the camera is frozen or unresponsive.
How do I factory reset my trail camera without a password?
Look for a physical reset button or pinhole on the camera body. Press and hold it for 15 seconds. If that does not work, remove the batteries for 10 minutes.
This clears the volatile memory including the stored password.
Why is my trail camera not detecting motion anymore?
The most common cause is something blocking the sensor. Grass, spider webs, or branches can grow in front of the camera between visits. The second most common cause is the camera being set to time lapse mode instead of motion detection.
Can a bad SD card cause my trail camera to freeze?
Absolutely. A damaged or corrupted SD card can cause the camera to hang during boot or while trying to save a photo. This is one of the most common causes of trail camera lockups.
Try a different card before assuming the camera is broken.
Why does my trail camera work fine at home but not in the field?
Temperature and humidity can affect battery performance. Cold weather reduces battery voltage significantly. Lithium batteries handle cold better than alkalines.
Also, the camera may be positioned incorrectly in the field, with the sensor aimed at a heat source or an empty zone.

Similar Posts