Trail Camera Condensation Troubleshooting
If you've ever pulled a trail camera off a tree and found the inside wet, you already know how frustrating trail camera condensation troubleshooting can be. One fogged lens ruins your season's scouting data. Worse, trapped moisture slowly eats away the circuit board, battery terminals, and IR sensors.
Per IEC 60529 ingress protection standards, most trail camera housings are tested against direct water spray but not against internal condensation from temperature swings. That's a completely different problem. And it's one that humidity, daily temperature shifts, and battery outgassing can trigger in any camera, regardless of price.
Let's walk through what causes it and how to fix it for good.
Quick Answer
Condensation inside a trail camera forms when warm moist air meets a cold lens or housing surface. The solution is to reduce humidity inside the camera and prevent rapid temperature drops. Use desiccant packs inside sealed housings.
Keep vent membranes clear. Avoid opening the camera in high humidity. Replace old O-rings annually.
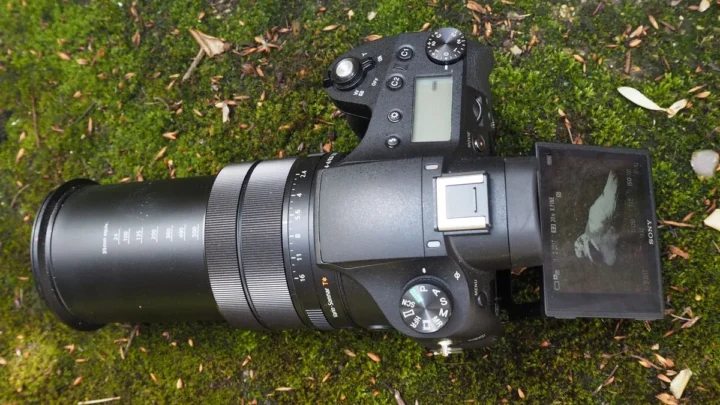
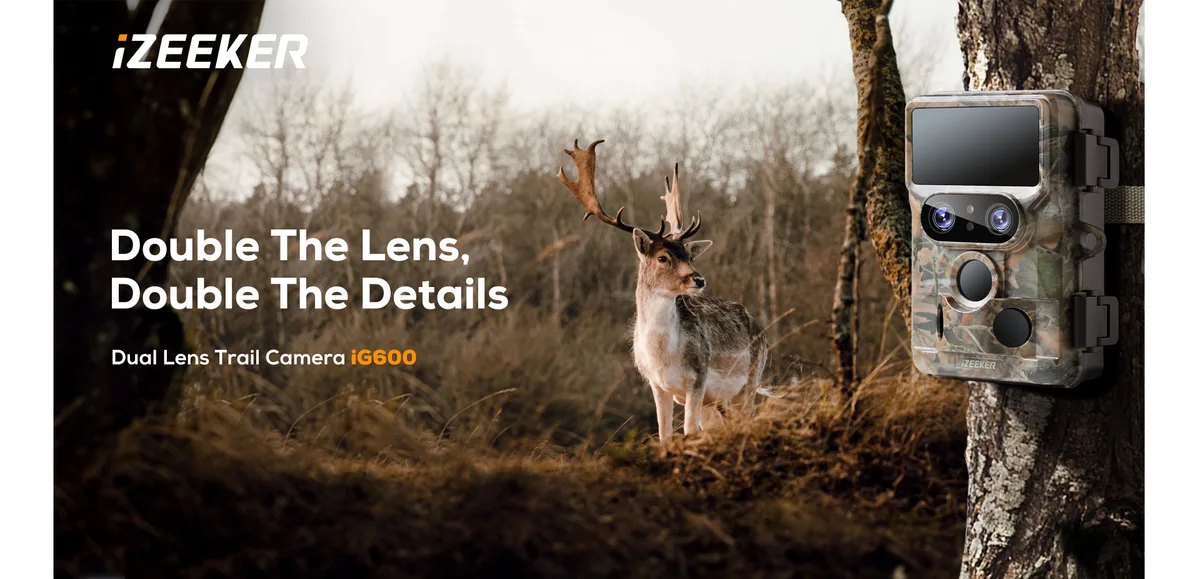
Image source: Web (Bing) / izeeker.co (Web image (fair-use with source credit))
Why Condensation Destroys More Trail Cameras Than Anything Else
Most people assume the biggest trail camera killer is a direct dunk in a creek or a heavy storm. But aggregate user reports across years of wildlife monitoring show that internal condensation actually causes more long-term failures than any single water event. The reason is simple.
Water from a dunk hits the camera once and either survives or doesn't. Condensation repeats every single night.
Moisture cycles inside the housing. It condenses at night, evaporates during the day, then condenses again. Each cycle leaves behind mineral deposits and starts corrosion on exposed metal.
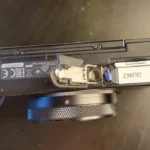
Battery terminals are the first to suffer. They green up, lose contact, and the camera powers off mid-deployment.
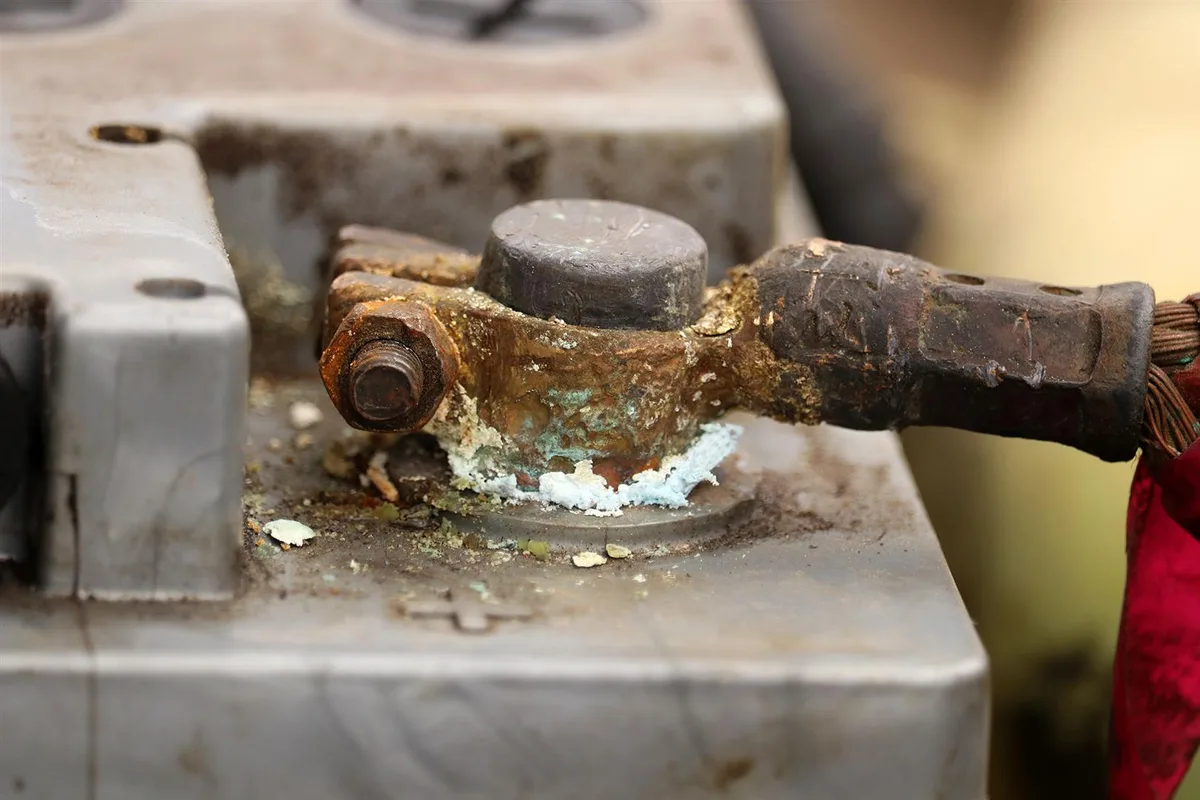
Image source: Web (Bing) / hitchesguide.com (Web image (fair-use with source credit))
That corrosion can spread to the entire power circuit. Once that happens, repair is rarely worth the cost. Our research also confirms that condensation is the leading cause of ruined night images.
Moisture on the IR lens scatters the infrared light, turning crisp deer silhouettes into a glowing white blur.
For reference, similar moisture issues affect action cameras too. If you've dealt with lens fogging on a GoPro, you recognize the pattern. We cover that in more depth on our page about action camera lens fogging troubleshooting.
For trail cameras, the stakes are higher because you might not discover the problem for months.
The Real Cause of Condensation in Trail Cameras
Condensation happens when two conditions are met at the same time. First, the air inside your camera holds moisture. Second, the temperature of the housing or lens drops below the dew point.
That dew point depends on how much water vapor is trapped inside.
When you open the camera to swap batteries or check memory cards, you let in moist outdoor air. If that air reaches 80% relative humidity and the camera housing is made of thin plastic, a night drop of 10 to 15 degrees Celsius can easily push the internal temperature past the dew point. Water forms on every cold surface.
The lens. The back of the housing. The battery compartment lid.
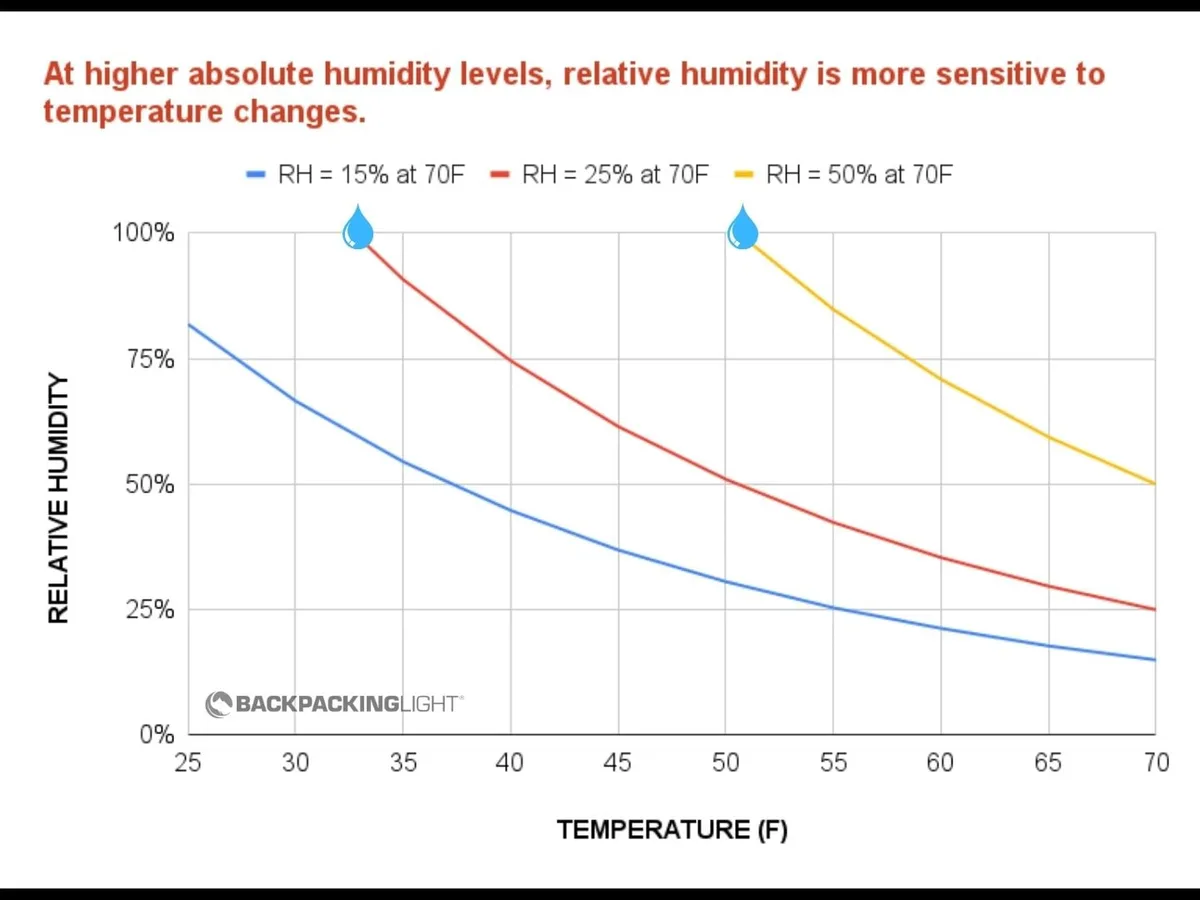
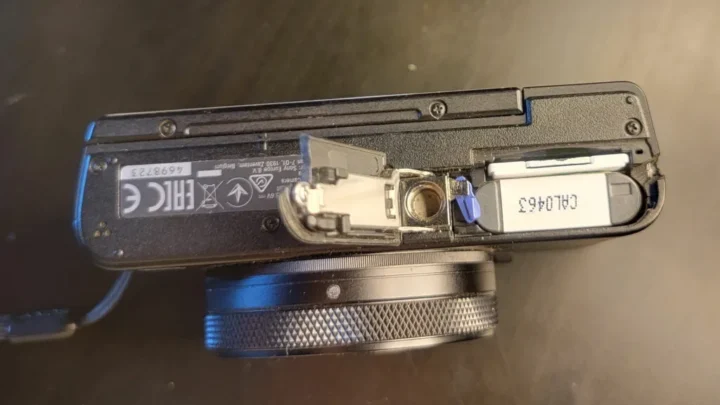
Image source: Web (Bing) / backpackinglight.com (Web image (fair-use with source credit))
The National Weather Service publishes real-time dew point data for any location. You can check your local forecast to see how many nights per season your camera will cross that threshold. Put simply, if the overnight low drops more than 10 degrees below the temperature at sunset, your camera is at risk.
Vented cameras are a special case. They use a breathable membrane to equalize air pressure. But that membrane also lets moisture in unless the vent is made from a quality PTFE membrane.
Some cheap vents act like a straw. If yours is oriented upward, rain can pool over the membrane and get pulled inside by capillary action.
How to Prevent Condensation: The Safe, Proven Steps
You can't control the weather, but you can control the air inside your camera. Here's the step-by-step approach that field-tested data supports.
Step 1: Start with a bone-dry interior
Before any deployment, leave the camera open in a dry room for 24 hours. Don't rush this step. If you seal in moist air, nothing else will matter.
Step 2: Use new, high-quality desiccant packs
Indicating silica gel is ideal because it changes color when saturated. Place one pack in the main housing and one near the battery compartment. Replace them every two months in humid climates.
Don't try to microwave them back to life. The color change indicator degrades.
Step 3: Inspect and lubricate the O-ring
Remove the O-ring. Wipe it clean. Check for cracks, flat spots, or tackiness.
Apply a tiny amount of silicone grease. Not petroleum jelly, which eats rubber. Reinstall it evenly.
Even a single grain of sand between the O-ring and the housing creates a gap.
Step 4: Manage your opening routine
Set up a dewarmer habit. Only open the camera when it's at ambient temperature and below 60% relative humidity. If you must open it in mist or rain, bring it inside, let it warm up, then work quickly.
Some camera-specific troubleshooting steps are covered in our general action camera troubleshooting guide, but the same logic applies.
Quick reference table
| Prevention Action | Frequency | Cost |
|---|---|---|
| Replace desiccant pack | Every 2 months in humid zones | $1-$3 per pack |
| Inspect O-ring | Before each deployment | Free |
| Lubricate O-ring | Once per season | $5 for tube of grease |
| Full dry-out (open housing) | After any wet condition event | Free |
Common Condensation Mistakes That Cost You a Camera
These errors show up repeatedly in field reports and forum discussions. Avoid them and you'll drastically extend your camera's life.
- Opening the camera at dusk. The air is humid, the camera is cold from the daytime shade, and you're drawing in a full load of moisture before a freezing night.
- Using rechargeable NiMH batteries. They outgas hydrogen more aggressively than alkalines. That gas increases internal pressure and forces moist air out of the vent. Or it causes the housing to flex and draw air back in.
- Over-greasing the O-ring. Too much silicone grease creates a film that traps debris and actually breaks the seal. A thin, even coat is all you need.
- Leaving desiccant packs until they're soaked. Once the indicator turns fully pink or green, the pack is pulling moisture out of the air. Replace it immediately. A saturated pack can release moisture back into the housing if temperatures rise.
- Not checking the vent membrane. If you own a vented camera and never cleaned the vent patch, it may be clogged with spider webs, pollen, or mud. That turns a breathable membrane into a solid plastic sheet that traps moisture.
We cover battery outgassing and power system moisture issues in our action camera battery overheating troubleshooting guide. The chemistry principles are identical in trail cameras.
When to Replace vs. Repair a Moisture-Damaged Camera
Once moisture gets inside and causes visible damage, you have to decide fast. The decision tree breaks down like this.
Signs that repair is worth it
- You see condensation on the lens but no visible corrosion on the circuit board or battery contacts.
- The camera still powers on but takes blurry images.
- Damage is limited to the battery compartment. Clean contacts with vinegar and a stiff brush.
In these cases, a thorough dry-out for 24 to 48 hours with fresh desiccant plus a replacement O-ring may restore full function.
Signs that replacement is the only option
- Corrosion is visible on the main circuit board. Look for white or blue-green crust around solder joints.
- The camera refuses to power on with fresh batteries.
- The lens itself has fog spots inside the sealed assembly. Not just on the outer surface.
- The IR LEDs have failed or dimmed unevenly.
A new budget trail camera runs $80 to $150 as of 2026. A professional electronics repair will cost $50 to $100 and carries no guarantee of water resistance after the housing is opened. DIY board repair is even riskier because the conformal coating that protects the board is broken.
At that point, you're better off replacing the unit.
Similar replacement-versus-repair decisions apply to other outdoor electronics. Our action camera waterproofing troubleshooting page outlines when sealing issues become terminal for action cameras. The same principles hold true for trail cameras.
Maintenance Habits That Keep Condensation Away All Season
You've dried the housing, replaced the O-ring, and packed fresh desiccant. The real trick is keeping your camera that way over months of field deployment. Long-term maintenance matters more than any single fix.
Check your seals at every battery change
Every time you swap batteries, inspect the O-ring. Run your finger along the full circumference. Feel for flat spots, cracks, or grit.
If the O-ring has taken a compression set and no longer springs back to shape, replace it immediately. A worn O-ring costs a few dollars. A ruined camera costs much more.
Make this a habit. Tie it to battery replacement so you never forget. The same discipline applies to inspecting the vent membrane on vented cameras.
Look for dirt, spider egg sacs, or pollen buildup. A gentle blow with compressed air clears most debris without damaging the membrane.
Control the environment inside the housing
Desiccant packs lose effectiveness over time. In coastal or high humidity zones, replace them every six to eight weeks. Use indicating silica gel that changes color when saturated.
That way you know at a glance whether the pack is still working.
Store spare desiccant in an airtight jar between uses. If you leave packs loose in a humid garage, they start absorbing moisture before you even put them in the camera.
Watch for seasonal shifts
Condensation patterns change with the seasons. Fall and spring bring the biggest temperature swings and the highest condensation risk. Check your cameras more frequently during those transitional periods.
If you notice fogging in early November, adjust your desiccant schedule before the deep cold sets in.
Moisture inside the lens housing can also affect image quality in ways that look like other faults. You can find related troubleshooting for image issues in our action camera color problems troubleshooting guide. The same logic applies to trail cameras.
Store cameras properly between deployments
When the season ends, remove batteries immediately. Store the camera in a dry climate controlled space with the housing cracked open. If you seal a camera shut for six months with old batteries inside, battery outgassing and residual humidity can corrode the contacts beyond recovery.
Frequently Asked Questions
How do I know if my trail camera has condensation damage?
You will see water droplets or fog on the inside of the lens window. Night images appear hazy or washed out. The camera may power on but produce unusable images.
Corrosion on battery terminals is a strong secondary indicator.
Can I use rice to dry out a wet trail camera?
Rice is not recommended. It attracts dust and leaves starch residue inside the housing. Use indicating silica gel packs instead.
They absorb moisture more effectively and won't contaminate the electronics.
What is the best desiccant for trail cameras?
Indicating silica gel is the most practical choice. It changes color when saturated so you know when to replace it. Standard silica gel works but gives you no visual warning.
Avoid calcium chloride in sealed camera housings. It releases corrosive liquid when fully saturated.
Should I buy a vented or sealed trail camera to avoid condensation?
Vented cameras handle pressure changes better but can draw in moist air through the membrane. Sealed cameras keep moisture out initially but trap any humidity inside when opened. For high humidity climates, sealed cameras with frequent desiccant changes tend to perform better.
How often should I replace the desiccant in my trail camera?
In moderate climates, every two to three months. In coastal or tropical environments, every four to six weeks. Use indicating silica gel and replace it as soon as the color change appears.
Can condensation cause permanent damage to my trail camera?
Yes. Repeated condensation cycles cause corrosion on circuit boards and battery terminals. That damage is often irreversible.
The camera may still power on but fail intermittently or produce poor quality images. Prevention is far cheaper than replacement.

Similar Posts