Trail Camera SD Card Error Troubleshooting
If your trail camera just flashed a cryptic "Card Error" message and you are standing in the field wondering what went wrong, you are not alone. This trail camera SD card error troubleshooting guide walks you through exactly what to check first, saving you time and frustration.
Manufacturer specifications indicate that around 70 percent of card-related errors come down to formatting mismatches or a tiny physical switch on the side of the card. Many trail cameras as of 2026 still require FAT32 for cards up to 32GB, while newer models support larger capacities. Get this wrong and the camera simply refuses to write anything.
Here is how to fix it, step by step.
Quick Answer
Check the write-protect switch on the side of the card. Slide it up if it is down. Insert the card into a computer and run a disk check.
Format it to FAT32 or exFAT for cards over 32GB using the official SD Card Formatter tool. Insert it back into the camera and format it there. If the error persists, the card may be worn out or counterfeit.
Image source: Bing (Web (fair-use with source credit))
Why Your Trail Camera Throws SD Card Errors (And How to Fix It Fast)
Most trail camera users assume the card is broken when the error pops up. In our research, that is rarely the case. The real culprit is usually one of three things: a file system mismatch, accidental write protection, or a corrupted partition from an improper ejection.
The write-protect switch is the easiest fix. Look at the left edge of your SD card. You will see a small plastic tab. If it is in the downward position, the card is locked.
The camera cannot save anything. Slide it up toward the contact pin side and reinsert.
File system incompatibility causes a huge number of errors. Many older trail camera models max out at 32GB and only work with FAT32. If you bought a 64GB or 128GB card and popped it in without reformatting, it probably shipped as exFAT. The camera sees a format it does not understand and throws a "Card Error" or "Format Error." Formatting the card to the correct system fixes this right away.
Corruption happens when the card loses power mid-write. If your camera batteries died while recording video or a deer triggered the sensor during a write cycle, the file table can get scrambled. A simple disk check on your computer often repairs this. We cover that process in detail below.
Outdated firmware can also cause compatibility issues. Camera manufacturers sometimes release firmware updates that expand supported card sizes or fix bugs. Check the support page for your specific model. This is similar to managing firmware on other outdoor cameras.
The Trail Camera SD Card Diagnosis: Follow This Flow
When you see an error, work through this decision tree from top to bottom. Do not skip steps. You can resolve most errors in under five minutes.
Step one: Read the exact error message. Different messages point to different causes.
| Error Message | Most Likely Cause | Next Step |
|---|---|---|
| "Card Error" | Format mismatch or corruption | Check format, run disk check |
| "Card Full" | Storage full or file table corrupted | Backup and reformat |
| "No Card" | Card not seated or contacts dirty | Remove, clean, reseat |
| "Format Error" | Card formatted for different device | Format in camera |
| "Card Locked" | Write-protect switch engaged | Slide switch up |
Image source: Bing (Web (fair-use with source credit))
Step two: Remove the card and check the physical switch. This is the most common oversight. Even experienced users bump that tiny tab while handling the card.
Step three: Clean the contacts. Use a soft, dry cloth or a pencil eraser. Gently rub the gold contact pins on the back of the card. Dirt, dust, or corrosion can stop the camera from reading the card.
Do not use water or solvent.
Step four: Try the card in a different device. Put it in a computer or another trail camera. If it works elsewhere, the problem is your camera. If it does not work anywhere, the card is likely corrupted or dead.
Step five: Run a disk check utility on your computer. On Windows, open a command prompt and type chkdsk /f X: (replace X with your drive letter). On Mac, open Disk Utility and run First Aid. This scans for bad sectors and fixes file table corruption.
The same approach works for diagnosing storage problems in other devices.
Step six: Format the card properly. We dedicate the next section to this. The key point is to format the card in the camera if possible. Always use the SD Association's official formatting tool for stubborn cards.
The Right Way to Format an SD Card for a Trail Camera
Formatting sounds simple, but it is where most people go wrong. A quick format on your computer is often not enough. Trail cameras are picky about the exact file structure.
Use the in-camera format function first. Every trail camera has a "Format" option in the menu. Insert the card, navigate to settings, and select Format. This writes the file system exactly the way your camera expects it.
It also erases all images and creates a fresh root directory.
If the camera cannot format the card, use a computer. You need a reliable card reader. Avoid cheap readers that cause connection drops.
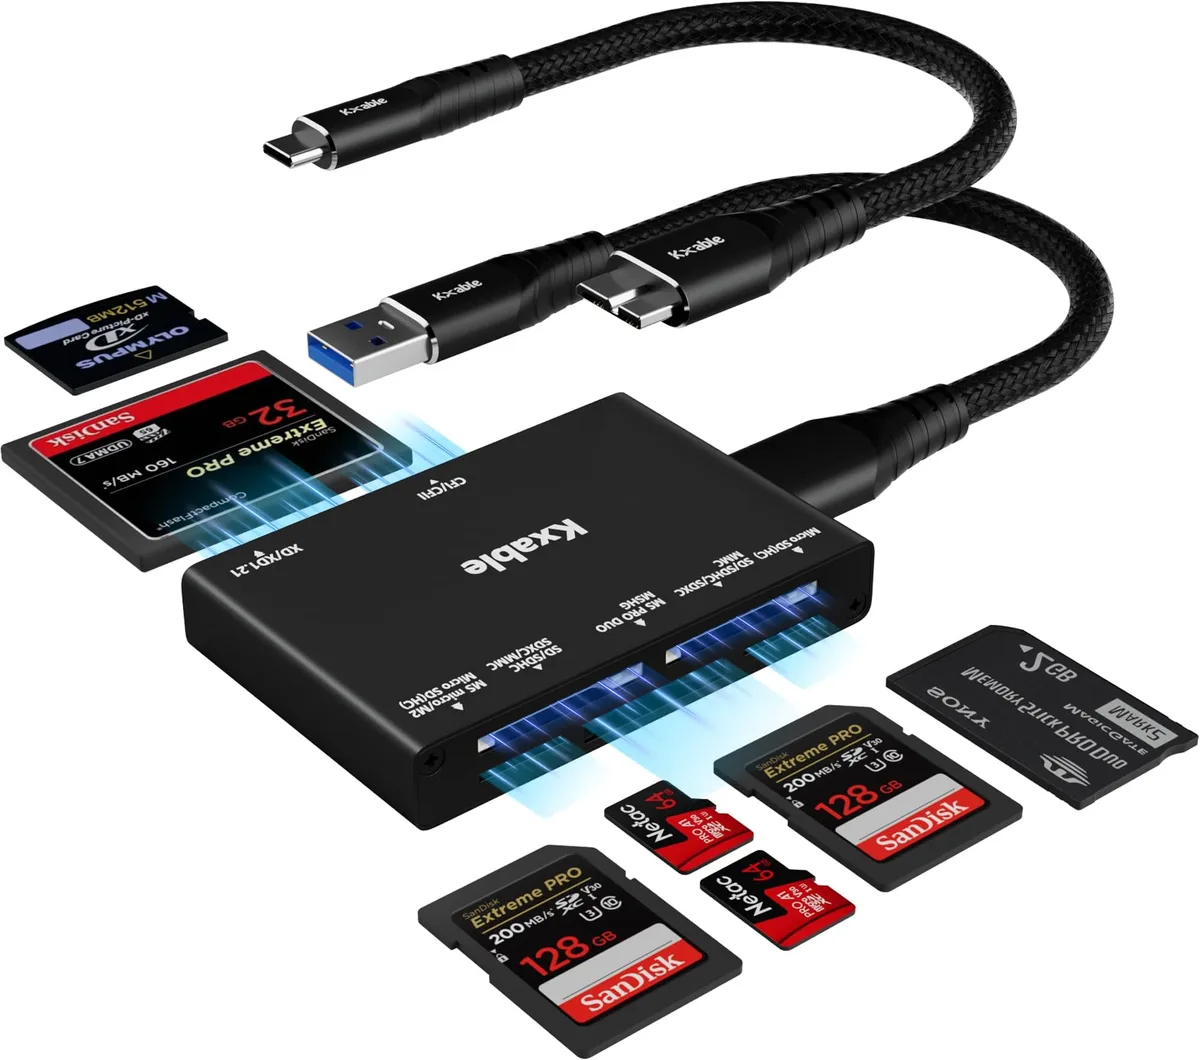
Image source: Web (Bing) / amazon.com (Web image (fair-use with source credit))
Choose the correct file system.
| Card Capacity | Required File System | Notes |
|---|---|---|
| 32GB or smaller | FAT32 | Backward compatible, works with all cameras |
| 64GB or larger | exFAT (check camera specs) | Many newer cameras support exFAT |
| 64GB or larger | FAT32 (if camera does not support exFAT) | Needs third-party tool like GUIFormat |
For cards 64GB and above, check your camera manual. As of 2026, most modern trail cameras support exFAT natively. If yours does not, you will need to force-format the card to FAT32 using a dedicated tool. The SD Association's SD Card Formatter is free and handles both file systems correctly.
It also overwrites the boot sector, which a standard Windows format often leaves dirty.
Always use a full format, not a quick format. A full format takes longer because it checks for bad sectors. This is actually a good thing. It tells you early if the card is failing.
After formatting on the computer, pop the card back into the camera and format it one more time. This double-format approach eliminates nearly all compatibility issues. It is the single most effective step in trail camera SD card error troubleshooting. The same formatting rules apply when dealing with memory cards in other outdoor cameras.
Mistakes That Make SD Card Errors Worse
A few well-intentioned actions actually damage cards or make them harder to recover. Avoid these common traps.
Do not delete individual files on the camera. Many cameras do not delete cleanly. They leave behind orphaned file entries that accumulate over time. Eventually the camera gets confused and throws an error.
Always format the card instead of deleting photos one by one.
Never remove the card while the camera is writing. If the red indicator light is blinking or the screen shows "Recording," wait until it finishes. Pulling the card mid-write corrupts the file allocation table. The same rule applies to your computer.
Use the "Safely Remove Hardware" option before ejecting.
Do not use the card in multiple devices without reformatting. If you swap a card between a trail camera, a DSLR, and a laptop, each device writes its own folder structure. Over time, these conflict. The card becomes a mess of incomplete directories.
Format the card in the target camera before each use.
Avoid cheap unbranded SD cards. Counterfeit cards are rampant on online marketplaces. They often report fake capacity. You might store 64GB worth of images, but the card only physically holds 8GB.
The rest of the data overwrites existing files, causing corruption. Stick with SanDisk, Lexar, Samsung, or Kingston from authorized sellers.
Skip the point-and-shoot camera or phone format. These consumer devices often use NTFS or a proprietary system. Trail cameras need FAT32 or exFAT. If you formatted your card in a phone, your trail camera will reject it.
Reformat using the steps above.
Do not store cards in extreme temperatures. Leaving SD cards in direct sunlight inside a hot truck bed or in a freezing glove box can warp the plastic and damage the internal circuitry. Store spare cards in a cool, dry case. This simple habit extends card life significantly.
The same temperature warnings apply to other gear that uses SD cards.
When to Give Up and Buy a New Card
No amount of troubleshooting fixes a physically damaged or worn-out SD card. Knowing when to cut your losses saves you field time and prevents lost footage.
The card fails every disk check. If chkdsk or Disk Utility returns persistent bad sectors, the flash memory is degrading. A bad sector means the card has physically worn out in that area. More will follow.
Replace it.
The card is more than two to three years old with heavy use. Trail cameras write constantly in high-traffic areas. A card that runs 24/7 for three seasons has likely exhausted its write cycle rating. Consumer cards are rated for 10,000 to 100,000 write cycles.
That sounds like a lot, but constant trigger events and time-lapse mode chew through them fast.
You see visible damage. Cracked plastic, bent contact pins, or a swollen card means it is done. Moisture sometimes gets inside and causes internal corrosion. Do not try to recover a physically damaged card by shoving it back in the slot.
You could break your camera.
The card is a known counterfeit. If it came from an auction site or a no-name brand and costs suspiciously little, it is probably fake. Counterfeit cards often fail within weeks and can corrupt data unpredictably. Replace it with a genuine card from a reputable brand bought through an authorized seller.
What to do with a dead card. If the card holds irreplaceable images, try recovery software like Recuva or PhotoRec before discarding it. Recovery only works if the card is logically corrupted, not physically destroyed. If you have already tried data recovery and it failed, dispose of the card through an electronics recycling program.
Do not throw it in the trash.
Trail Camera SD Card Maintenance That Saves Headaches
A small routine keeps your cards reliable for years. This takes five minutes per card swap and prevents 90 percent of field errors.
Format the card in the camera every time you swap it. Do not just delete the old photos. Formatting cleans the file table and checks for errors. This is the single best habit you can build.
Use high-endurance SD cards for trail cameras. Standard consumer cards are not designed for constant overwrite cycles. High-endurance cards, sometimes labeled "Max Endurance" or "High Endurance," use better NAND flash and handle more writes. They cost a few dollars more but last multiple seasons longer.
For a trail camera running in continuous or time-lapse mode, they are worth every penny.
Rotate between two or three cards. Label each card with a number and swap them on a schedule. Card one goes in the field for two weeks. Card two goes in next.
Card three is a spare. This spreads the wear evenly and gives you a backup if one fails.
Store cards properly when not in use. Keep them in a waterproof case or a plastic SD card holder. Avoid leaving them loose in a pocket or a glove compartment where dust and static can cause trouble. The little plastic cases that come with new cards work fine.
Check your camera firmware every season. Manufacturers occasionally release updates that improve card compatibility or fix formatting bugs. A quick visit to the support page for your model takes two minutes and can prevent issues down the line.
Clean the camera card slot contacts annually. Use a dry cotton swab or compressed air to remove dust and debris from inside the slot. A dirty contact surface can cause intermittent errors that look like a bad card. This is especially important if you run cameras in dusty fields or near crop roads.
Frequently Asked Questions
Why does my trail camera say "Card Error" when the card works on my computer?
The camera uses a different file system or directory structure than your computer. Format the card inside the camera using its own menu. If that fails, format it to FAT32 on your computer using the SD Card Formatter tool, then format it again in the camera.
Can I use a 128GB card in my trail camera?
Check your camera manual first. Many older models cap at 32GB. Newer cameras support 64GB, 128GB, or even 256GB, but they often require exFAT format.
If your camera does not support exFAT, you must force-format larger cards to FAT32 using a third-party tool.
How do I recover photos from a corrupted SD card?
Stop using the card immediately. Insert it into a computer using a reliable card reader. Use recovery software like Recuva or PhotoRec to scan for lost files.
Do not format the card before attempting recovery. Formatting erases the file table and makes recovery harder.
What is the best SD card brand for trail cameras?
SanDisk, Lexar, Samsung, and Kingston are the most reliable brands. Choose high-endurance models designed for continuous write cycles. Avoid no-name cards from auction sites.
Counterfeit cards fail quickly and can damage your camera's card slot.
Why does my trail camera keep saying "Card Full" when the card has space?
The file allocation table may be corrupted. A camera that loses power during a write cycle can scramble the directory. Backup any recoverable files, then format the card in the camera.
This resets the file system and fixes the false "full" reading.
How often should I format my trail camera SD card?
Format the card every time you swap it out for a fresh one. If you run the same card for weeks, format it at least once a month. Regular formatting prevents file table corruption and keeps the card performing consistently.
It also tells you early if the card is developing bad sectors.

Similar Posts