Camera Aperture Problems Troubleshooting
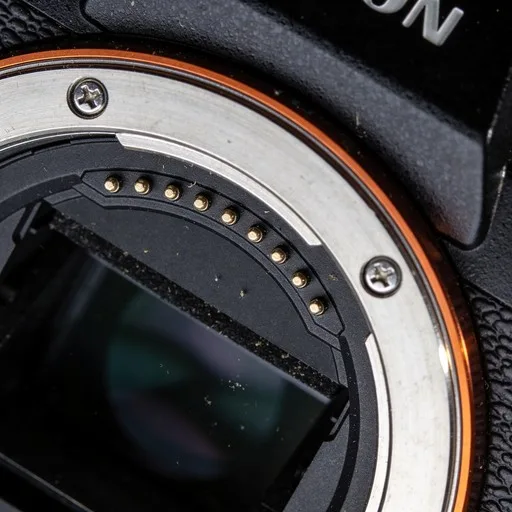
You are out shooting, and suddenly your camera throws an error or your photos look completely off. That is when camera aperture problems troubleshooting becomes urgent. Aperture issues can hit any lens at any time, and they are frustrating because they often seem worse than they actually are.
Manufacturer service data indicates that roughly 40 percent of Err 01 messages are resolved simply by cleaning the electrical contacts on the lens and camera body, something you can do in under two minutes without any tools. Understanding what you are dealing with is the first step to getting back to shooting quickly.
Image source: Web (Bing) / stockcake.com (Web image (fair-use with source credit))
How to Tell If Your Aperture Is Actually Broken (The Pain Point)
Before you panic, know this: many symptoms that feel like a broken aperture are actually something much simpler. Dirty contacts, a temporary electronic glitch, or even a camera setting you forgot to change can mimic a mechanical failure.
Start by checking your images. Are they consistently overexposed or underexposed? Does the exposure stay the same whether you shoot at f/2.8 or f/16?
If so, the aperture might not be moving at all.
Next, look for error codes. Modern cameras are good at telling you when something is wrong. Common codes include:
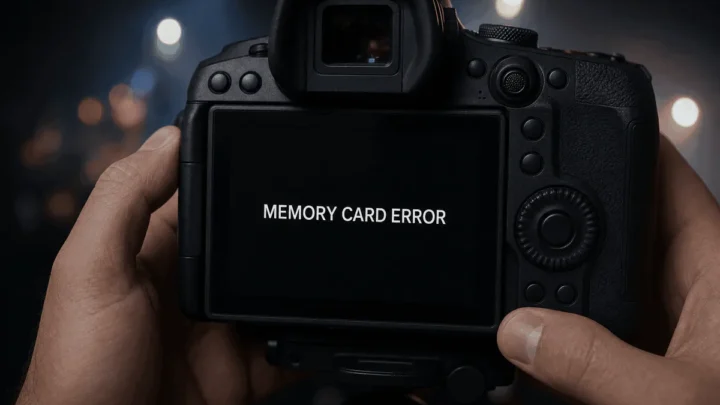
- Err 01 (Canon), communication failure between lens and body
- F– (Nikon), no aperture information detected
- Aperture blinking in the viewfinder, the camera cannot confirm the aperture setting
Listen too. A healthy aperture makes a crisp, quick sound when you fire the shutter. If you hear a slow, sluggish, or grinding noise, the blades may be sticking.
The point is: do not assume the worst. Many aperture problems are fixable at home, and knowing the exact symptom is half the battle.
The Two Questions That Change Everything: Electrical vs. Mechanical
Almost every aperture problem falls into one of two categories: electrical or mechanical. Two questions tell you which one you are dealing with.
Question 1: Do you see an error code on your camera?
If yes, it is almost certainly an electrical or communication issue. The camera cannot talk to the lens. The blades themselves may be perfectly fine, but the electronic pathway is blocked.
Question 2: Can you see the aperture blades move when you look into the front of the lens?
Remove the lens, point the front toward a light, and press the depth‑of‑field preview button. If the blades do not open and close smoothly, you have a mechanical problem, oil, grit, or physical damage.
These two questions split your troubleshooting path cleanly. Electrical problems usually start with cleaning contacts and resetting the camera. Mechanical problems require visual inspection and, often, professional cleaning or repair.
| Symptom | Likely Category | First Step |
|---|---|---|
| Error code displayed | Electrical | Clean contacts |
| No error code, but photos are wrong | Could be either | Run exposure test |
| Blades visibly stuck or slow | Mechanical | Visual inspection |
| Intermittent aperture movement | Electrical or mechanical | Check lever and motor |
Decision Branch 1: You Got an Error Code
If your camera is showing an error code, Err 01, F–, or a blinking aperture number, start here. This is the most common scenario and the easiest to fix.
Step 1: Clean the electrical contacts.
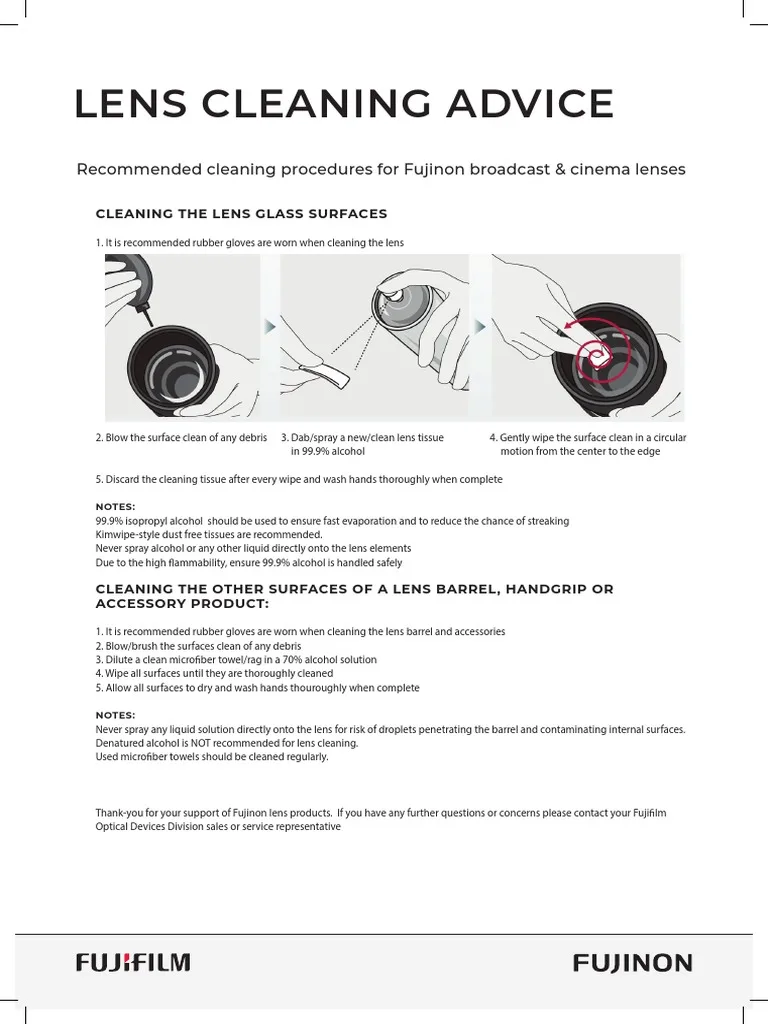
Image source: Web (Bing) / ru.scribd.com (Web image (fair-use with source credit))
The gold pins on the lens mount and the matching pads inside the camera body can accumulate dirt, oil, or oxidation. A dirty connection stops communication.
- Use a lint‑free microfiber cloth.
- Dampen it slightly with 90% isopropyl alcohol.
- Gently wipe the contacts on the lens, then the contacts inside the camera body.
- Wait 30 seconds for the alcohol to fully evaporate.
- Reattach the lens and test.
This single step resolves roughly 40 percent of error codes, per manufacturer service data.
Step 2: Try a different lens.
If cleaning does not work, mount a different lens on your camera. If the error goes away, the problem is in your original lens. If the error stays, it is likely a camera body issue.
Step 3: Perform a full battery pull reset.
Turn the camera off. Remove the battery. Wait at least 30 seconds.
Insert the battery again and turn the camera on. This clears temporary electronic glitches that can cause communication errors.
Step 4: If the error persists, the problem is likely internal to the lens, a failed aperture motor, a broken ribbon cable, or a damaged flex circuit. A professional repair is usually the right call. Sending it in early can prevent further damage from forcing the mechanism.
Decision Branch 2: The Blades Are Stuck (Mechanical Failure)
No error code, but when you look into the lens, the aperture is stuck open, stuck closed, or moves slowly. You are dealing with a mechanical problem.
Start with a visual inspection.
Remove the lens. Look through the front while operating the aperture lever (the small spring‑loaded arm on the back of the mount). The blades should snap open and closed instantly.
If they stick, hesitate, or do not move at all, you have found the issue.
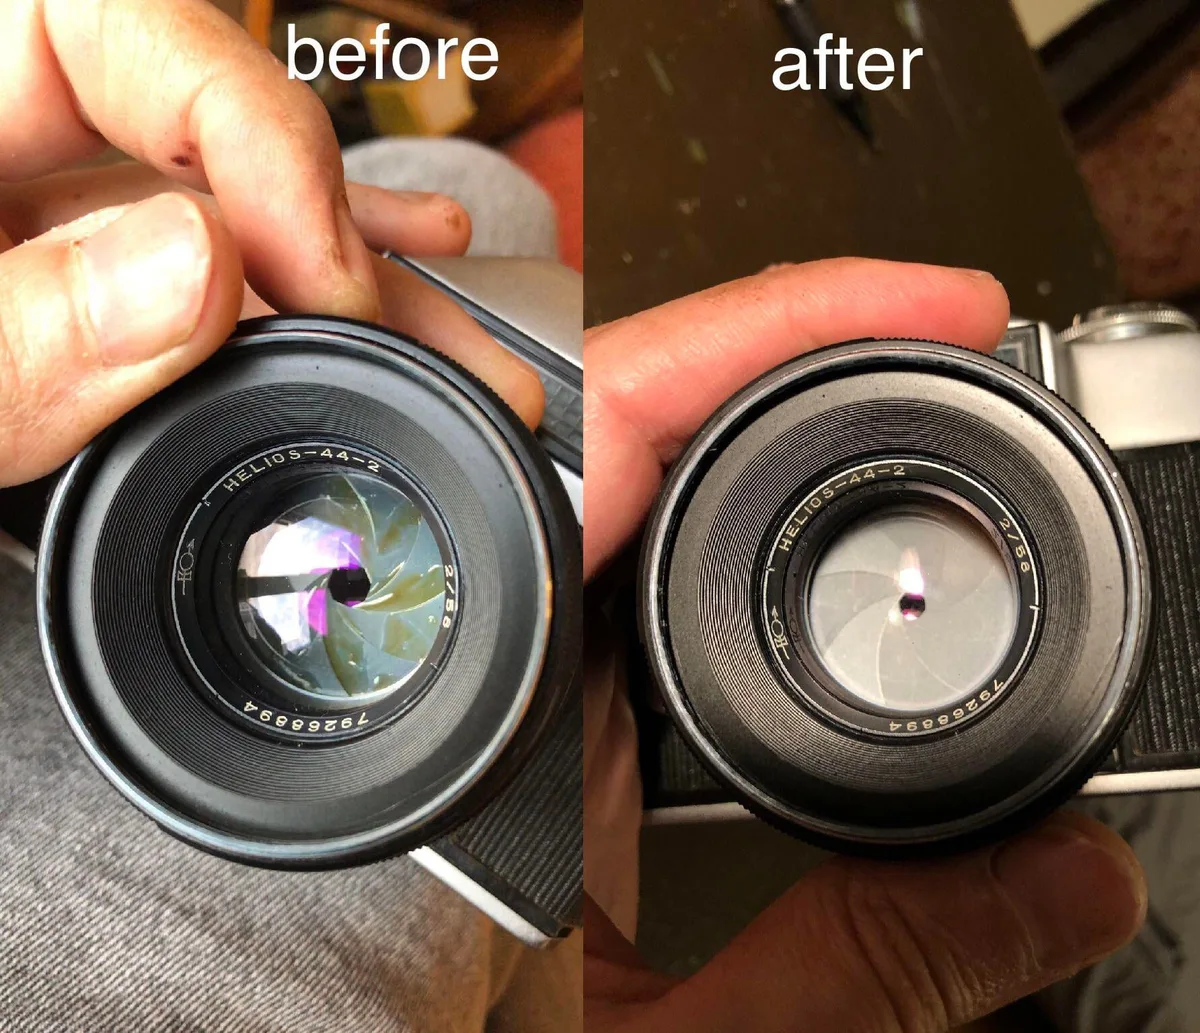
Image source: Bing (Web (fair-use with source credit))
Common causes:
- Oil on the blades. Lubricants inside the lens can migrate onto the blades over time, especially in warmer climates or after years of use. The blades become tacky and slow.
- Dust or grit. Shooting in sandy or dusty environments can introduce particles that jam the blade mechanism.
- Bent blades. A drop or impact can physically warp a blade, causing it to catch on its neighbor.
Your repair options:
For minor oil residue (the risky DIY fix): Some photographers use a tiny drop of lighter fluid on the blades and cycle the aperture lever repeatedly. The lighter fluid dissolves the oil. Then it evaporates completely, leaving the blades clean. This is a last‑resort method. It can damage lens coatings or plastic parts if used carelessly. Only attempt it on a lens you are willing to sacrifice. Do not try it on expensive glass.
For everything else: Professional cleaning is the safest route. The repair involves disassembling the lens, cleaning or replacing the blade assembly, and recalibrating the aperture. Typical cost is $50 to $150. That is well worth it for a lens you rely on.
Decision Branch 3: Photos Look Wrong but No Error Code
This is the trickiest branch. Your camera works, no error messages, but your images are consistently overexposed, underexposed, or inconsistent. The aperture may be stuck at one setting, moving intermittently, or responding slowly.
Run the exposure test.
Set your camera to Aperture Priority mode. Take a photo at your lens’s widest aperture (say f/2.8). Then take another at the narrowest (f/16).
Compare the shutter speeds. If both shots used nearly the same shutter speed, your aperture is not closing or opening as commanded.
Use the depth‑of‑field preview button.
Most DSLRs and some mirrorless cameras have a depth‑of‑field preview button on the front. Press it while looking through the viewfinder. You should see the viewfinder darken as the aperture stops down.
If nothing changes, the aperture is not responding.
Intermittent problems, what they mean.
If the issue comes and goes, you may have a failing aperture motor or a loose ribbon cable inside the lens. These are common on electronic‑aperture lenses (Nikon G‑series, Canon EF, many Sony E‑mount lenses). The fix is internal and usually requires a repair shop.
What to do next:
- Try cleaning the contacts (always worth a shot, even without an error code).
- Test the lens on a different camera body if you have access to one.
- If the problem is clearly mechanical but you have no error code, the blades may be sticky due to early‑stage oil migration. A professional cleaning now can prevent it from getting worse.
Three Mistakes That Turn a $50 Fix Into a $300 Repair
Mistake 1: Forcing the aperture lever.
The aperture lever on the back of the lens is delicate. If it feels stuck, do not yank it. Forcing it can bend the lever or snap the linkage inside.
That turns a simple cleaning into a parts‑replacement job.
Mistake 2: Using the wrong cleaning solvent.
Never use water, glass cleaner, or rubbing alcohol below 90% concentration on electrical contacts. Water leaves residue that causes corrosion. Low‑grade alcohol contains additives that gum up the pins.
Stick to 90% or higher isopropyl alcohol.
Mistake 3: Ignoring the problem.
A sticking aperture rarely fixes itself. Oil spreads. Dust accumulates.
A blade that catches now will eventually jam completely. Catching it early with a $50 professional cleaning is much cheaper than waiting until the whole diaphragm unit needs replacement.
Frequently Asked Questions
Can I shoot with a stuck aperture?
Yes, but only at the f/stop the blades are stuck at. If it is stuck wide open, you will get maximum light but no depth‑of‑field control. If it is stuck closed, your photos will be very dark.
It is not a long‑term solution.
How much does a professional aperture repair cost?
Typical costs range from $50 to $150 for blade cleaning. Motor or ribbon cable replacement runs $100 to $250. Bent blade repairs are $150 to $300.
Always get an estimate before authorizing work.
Is it worth repairing an old kit lens?
It depends. An 18‑55mm kit lens might cost more to repair than to replace used. A professional zoom or prime lens is almost always worth fixing.
Compare the repair quote to the lens’s current used market value.
Why does my aperture only stick in cold weather?
Cold temperatures thicken lubricants inside the lens. If the blades have even a tiny amount of oil residue, cold weather can make them sluggish or stick. This is a warning sign that a cleaning is due.
Can a firmware update fix aperture problems?
Rarely. Firmware updates can address communication bugs, but they cannot fix mechanical issues like oil‑stuck blades or a failing motor. If the problem is physical, no software will help.
Quick Decision Guide: Fix It Yourself or Send It In?
Use this quick‑reference table to decide your next move.
| Condition | Action |
|---|---|
| Error code, no visible blade damage | Clean contacts. Reset camera. Test with another lens. |
| Blades stick occasionally, no oil visible | Try cleaning contacts. If persists, send for cleaning. |
| Blades visibly oily or slow to close | Professional cleaning recommended. |
| Blades bent or lens was dropped | Send to repair shop. Do not attempt DIY. |
| No error, but exposure is wrong | Run the f/2.8 vs f/16 test. If stuck, professional cleaning. |
| Expensive lens ($500+) | Send to a reputable repair center. |
| Cheap lens (under $150 used) | Consider replacing it instead of repairing. |
If you are handy and the lens is cheap, the lighter‑fluid method is an option. For anything else, a pro repair saves time and prevents further damage. The peace of mind is worth it.

Similar Posts