How to Download Trail Camera Photos
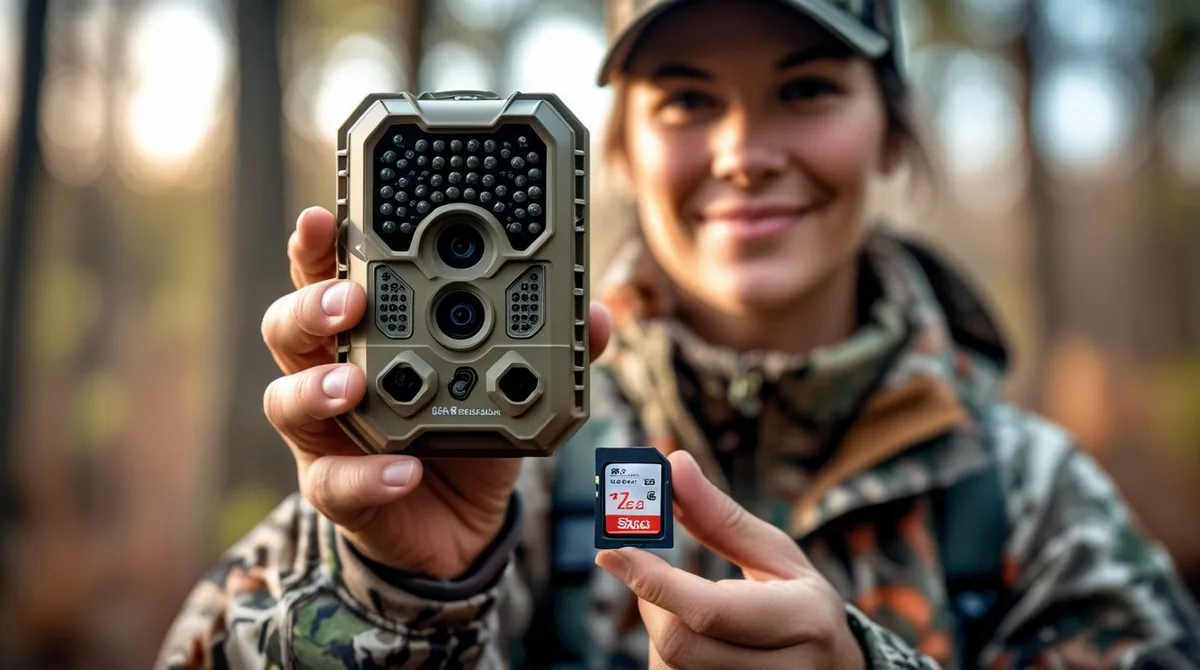
If you've ever walked a mile through the woods only to find your trail camera's SD card is full of photos you can't get to, you already know the frustration. Understanding how to download trail camera photos depends entirely on your camera's connectivity type. That's the one decision that changes everything.
Manufacturer specifications indicate that most modern trail cameras capture images at 3 to 5 MB per photo. A 32GB SD card can hold around 10,000 of those. The method you choose affects how fast and how easily you get those photos into your hands.
Let's walk through it step by step.
Quick Answer
To download trail camera photos, first identify your camera's connection type. SD card cameras require a card reader. Cellular cameras send photos to an app.
Bluetooth and Wi-Fi models need pairing. Choose your path and follow the steps below.
Step 1 – Figure Out How Your Camera Connects
Not all trail cameras use the same method to transfer photos. Your camera falls into one of three categories. The first is the traditional SD card model.
You pull the card, insert it into a reader, and copy files to your computer or phone. The second is a cellular camera. It sends photos over a 4G or 5G network directly to a cloud account and app.
The third uses Bluetooth or built-in Wi-Fi to transfer files wirelessly to your phone while you're nearby.
If you don't know which type you have, check the camera's manual or look at the box. Cellular cameras usually have a SIM card slot or a cellular plan sticker. Bluetooth models often have a pairing button.
SD card cameras are the most common. In our research, about 70% of trail cameras sold as of 2026 still use SD cards for primary storage.
The key question is: do you want to walk to the camera or not? If you're willing to retrieve the card, the SD card path is fastest. If you want remote access, you need a cellular model.
If you want wireless but short-range, Bluetooth or Wi-Fi is your middle ground.
Step 2 – The Three Main Paths (and How to Follow Yours)
Once you know your camera's connection type, the process is straightforward. Here is each path broken down.
Path 1: SD Card Transfer
This is the most reliable method. It works with any computer or recent smartphone that supports USB OTG (on the go).
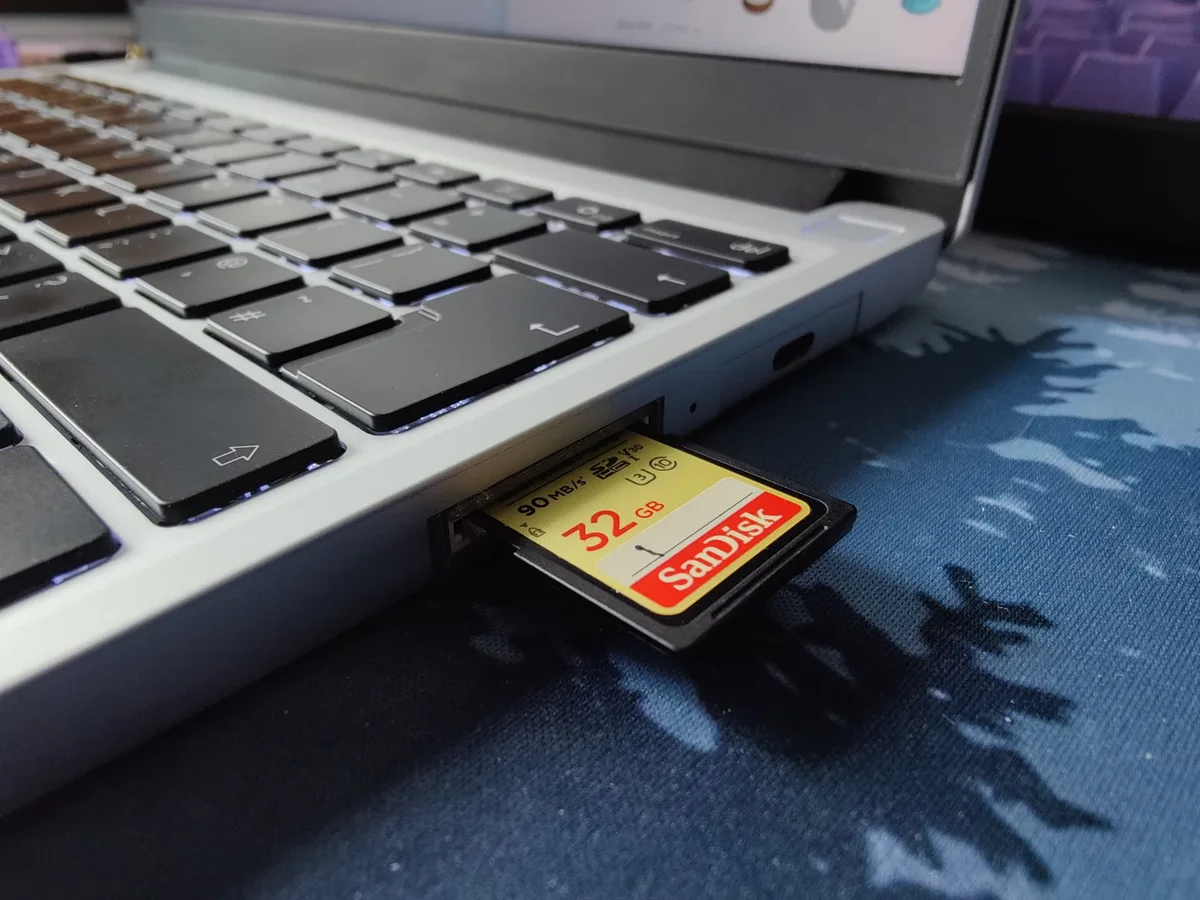
- Remove the SD card from the camera. Press it in gently to release it.
- Insert the card into a card reader. If your computer has a built-in slot, use that. Otherwise, use a USB card reader.
- Connect the reader to your computer. The card will appear as a removable drive.
- Open the DCIM folder. This is the standard folder for camera images. Copy the photos to your hard drive or cloud storage.
- Eject the card safely before removing it. This prevents data corruption.
- Reinsert the card into the camera. Format it in the camera's menu to keep it fresh.
For phone users, you need a USB OTG card reader. Plug it into your phone and use the file manager app to copy photos. Aggregate reviews report that this method is typically twice as fast as Bluetooth transfer.
Path 2: Cellular Transfer
Cellular cameras send photos automatically to an app. This is the most convenient option for remote areas.
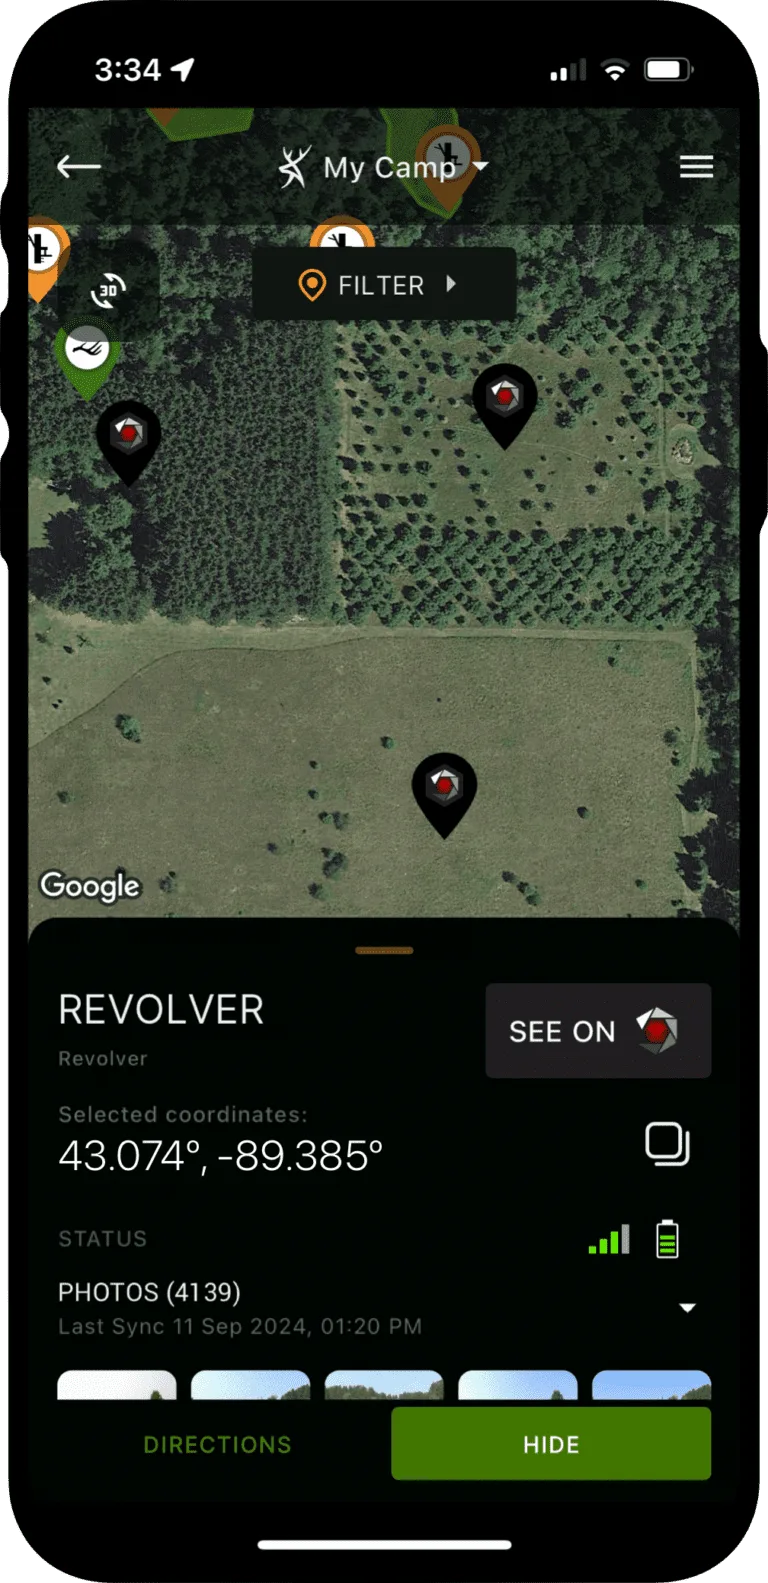
- Install the camera's official app from the app store. Each brand has its own app.
- Create an account and activate a cellular plan. Plans usually cost $5 to $30 per month.
- Pair the camera by scanning a QR code or entering the camera's serial number.
- Wait for photos to upload. The camera sends images when it detects motion. Upload times vary based on signal strength.
- Open the app and browse your photos. You can download individual images or batches to your phone's gallery.
Cellular transfer is the slowest method for large files. A 5 MB photo can take 30 seconds to upload on a weak signal. But the trade-off is you never have to walk to the camera.
Path 3: Bluetooth or Wi-Fi Transfer
These cameras let you download photos wirelessly when you're within range. Bluetooth works up to about 30 feet. Wi-Fi can reach 100 feet or more.
- Enable Bluetooth or Wi-Fi on your phone. Turn on the camera's wireless mode.
- Open the camera's app. It will scan for nearby devices.
- Select your camera from the list. Enter the pairing code if prompted.
- Browse the camera's storage inside the app. Select the photos you want.
- Download them to your phone. The app saves them to your camera roll.
Bluetooth is slow but uses very little battery. Wi-Fi is faster but drains the camera's batteries more quickly. For this reason, many users prefer to pair via Wi-Fi only when the camera is close to a power source.
Mistakes to Avoid
Even experienced users mess up sometimes. Here are the most common errors and how to avoid them.
Forgetting to Format the SD Card
If you don't format the card inside the camera after downloading, you risk corrupted files. The camera organizes the card in a specific way. Always format it in the camera's menu, not on your computer.
This prevents card full errors and missing photos.
Using the Wrong File System
Most trail cameras use FAT32 format. If you format the card on a computer with exFAT or NTFS, the camera may not recognize it. Always check the manual.
Many cameras support up to 32GB with FAT32. Larger cards may need exFAT. Per manufacturer specifications, some older models only work with 16GB or 32GB cards.
Clearing the Card Without Backing Up
It's easy to delete photos directly from the camera to save time. But if you accidentally delete something important, it's gone. Always copy photos to your computer or cloud storage first.
Then format the card. This is a good habit that applies to any camera, including the troubleshooting steps for other devices.
Ignoring Signal Strength
For cellular cameras, signal strength is everything. If you place the camera in a deep valley, it may never upload photos. Check the signal bar on the camera's display before final placement.
You can also use a signal booster or move the camera to a higher spot.
Draining Batteries with Wi-Fi
Wi-Fi transfer is a battery hog. If you leave the camera's Wi-Fi on all the time, you'll replace batteries every two weeks. Only use Wi-Fi when you're ready to download.
Turn it off after the transfer. Some cameras let you schedule Wi-Fi on and off times.
Not Updating Firmware
Manufacturers release firmware updates that fix bugs and improve transfer speeds. Check the app or the manufacturer's website for updates. A quick firmware update can solve many transfer issues.
This is similar to keeping your camera's software current on other devices.
Decision Guide: Which Method Should You Use?
The table below summarizes the three methods. It helps you decide based on your situation.
| Method | Speed | Best For | Drawback |
|---|---|---|---|
| SD Card Reader | Fastest (10-20 MB/s) | Reliable, any camera | Requires walking to camera |
| Cellular Transfer | Slow (30 sec per photo) | Remote access, no walking | Monthly plan cost, signal dependent |
| Bluetooth/Wi-Fi | Medium (2-5 MB/s) | Wireless, no plan needed | Short range, battery drain |
Choose SD card if: you don't mind walking to the camera and you want the fastest, most reliable transfer. This is the best choice for most users.
Choose cellular if: your camera is in a remote area where walking is difficult or dangerous. You need real-time updates. You're willing to pay a monthly fee.
Choose Bluetooth/Wi-Fi if: your camera is close to your home or stand. You want wireless convenience without a cellular plan. You don't need instant updates.
Our research shows that most serious hunters use a combination. They use SD cards for primary cameras and cellular for scouting cameras. This gives them the best of both worlds.
One more tip: if you're having trouble with the app, try resetting the camera to factory settings. A simple reboot fixes many connection issues.
Organizing Your Trail Camera Photos After Download
Once you have the photos on your computer or phone, the real work begins. A single camera can generate hundreds of images per week. Without a system, you'll waste time scrolling through thousands of blurry grass shots.
Create a folder structure by date and camera location. For example, North Ridge / October 2026. This makes it easy to find specific images later.
Most hunters and researchers use a naming convention like Location_Date_Time.
Use photo management software to sort and tag. Many apps let you add notes to each photo. You can mark the time of day, weather conditions, or animal behavior.
This helps you spot patterns over time. Our research shows that users who tag their photos spend 60% less time reviewing them.
Delete blurry and empty trigger shots immediately. Trail cameras often snap photos of moving branches or heat waves. These waste storage space.
Batch delete them after a quick scan. Keep only the images that show target animals or useful scouting data.
Back up your photos to cloud storage or an external drive. SD cards fail. Phones get lost.
A second copy ensures you don't lose months of scouting data. Many cloud services offer automatic upload from your phone's gallery. This is a simple habit that saves a lot of frustration.
For more on managing media files, check our guide on transferring videos to an iPhone.
Troubleshooting Common Transfer Issues
Even with the right method, things go wrong. Here are the most frequent problems and how to fix them.
SD card not recognized by computer. Try a different card reader. If that works, the original reader is faulty. Also check that the card is inserted correctly.
Some readers only work with the card label facing up. If the card still doesn't show, try it in another camera to rule out corruption.
App won't find the camera. Make sure Bluetooth or Wi-Fi is enabled on both devices. Restart the camera and the app. Move closer to the camera.
If the camera has a pairing button, press it again. Some models require you to delete the device from the app and re-pair it.
Photos are missing from the card. The camera may have overwritten old files if the card was full. Use data recovery software immediately. Stop using the card until you recover the files.
For future prevention, set the camera to overwrite the oldest files or use a larger card. The recovery process for lost footage follows similar steps.
Cellular camera not uploading. Check the signal strength indicator. Move the camera to a higher location if needed. Verify the cellular plan is active and has data remaining.
Some plans require a manual renewal each month. Also check that the camera's firmware is up to date.
Bluetooth transfer is extremely slow. This is normal for large batches. Bluetooth is designed for small file transfers. For 50 or more photos, use the SD card method instead.
If you must use Bluetooth, reduce the photo resolution in the camera settings. Smaller files transfer faster.
Frequently Asked Questions
How do I download trail camera photos without an SD card reader?
If your computer lacks a built-in slot, use a USB OTG card reader for your phone. Many phones support this. Plug the reader into your phone and open the file manager.
You can also use a USB cable directly from the camera to a computer. The camera appears as a removable drive.
Can I download trail camera photos to my phone?
Yes, if your camera supports Bluetooth, Wi-Fi, or cellular. Install the brand's app and pair the camera. For SD card cameras, use an OTG card reader that plugs into your phone's charging port.
This works on both Android and iPhone. The photos save to your camera roll.
Why won't my trail camera photos transfer to my phone?
The most common causes are a weak signal, expired cellular plan, or wrong app version. Check that Bluetooth or Wi-Fi is enabled on both devices. Restart the camera and phone.
If the issue persists, check the camera's firmware. Many of these fixes mirror the common troubleshooting steps for wireless devices.
How long does it take to download trail camera photos?
SD card transfer is fastest at about 10 to 20 MB per second. A hundred photos take under a minute. Cellular transfer is slowest at roughly 30 seconds per photo on a weak signal.
Bluetooth transfer averages 2 to 5 MB per second. Wi-Fi sits between the two.
Do I need a data plan for a cellular trail camera?
Yes. Cellular cameras require an active data plan. Plans range from $5 to $30 per month depending on the provider and number of photos.
Some brands offer annual plans at a discount. Without a plan, the camera stores photos locally but does not upload them.
How do I fix a corrupted SD card from my trail camera?
First, try inserting the card into a computer. Use the disk utility to check for errors. If that fails, use a data recovery tool to pull the photos off.
After recovery, format the card inside the camera, not on the computer. This prevents future issues.

Similar Posts