DSLR Camera Grainy Photos Troubleshooting
Image source: Web (Bing) / pexels.com (Web image (fair-use with source credit))
You are looking at a photo on your computer screen, and it is covered in weird speckles, like someone sprinkled sand over the image. That is exactly the problem we are tackling here: DSLR camera grainy photos troubleshooting means figuring out why your image has unwanted digital noise and, more importantly, how to fix it. Grainy photos happen when your camera's sensor struggles to capture enough light, and the fix is rarely just "lower the ISO."
Manufacturer specifications indicate that most DSLR sensors perform best within their native ISO range, typically ISO 100 to 1600 for APS-C models, before noise becomes clearly visible. Anything beyond that, and you are amplifying both signal and sensor noise together. The trick is learning to identify what kind of grain you are seeing, because the cure depends on the cause.
Quick Answer
Grainy photos come from high ISO, underexposure, or both. Check your histogram first. Expose to the right (ETTR) to hide noise in brighter tones.
Shoot RAW for better noise reduction in post. Use a tripod to lower ISO. Clean your sensor if hot pixels appear.
In software, target color noise before luminance noise.
Why Grain Looks Different (and Why You Need to See It)
Digital noise is not all the same. A photo shot at ISO 6400 looks completely different from one that was underexposed by two stops and then brightened in Lightroom. The first shows a fine, even grain across the whole frame.
The second shows dark, blotchy patches in the shadows with a weird color cast.
Why does that matter? Because if you treat both the same way, you will destroy fine detail in the first photo. For example, cranking up Lightroom's Luminance noise slider too far ruins detail.
The second image still looks splotchy. Aggregate reviews from experienced photographers confirm that the most common mistake is applying a single noise-reduction recipe to every noisy image.
In our research, the best approach is to zoom in to 100 percent on your screen and look at the grain pattern. Is it a uniform speckle? A splotchy mess?
Banding lines? Each pattern points to a different root cause. You cannot fix what you cannot name.
If you shoot in extreme conditions like underwater low light, you will encounter even more noise from the water column. Understanding how to set your camera's ISO properly is half the battle. Check our guide on setting the right ISO for underwater scenes for specific tips.
The Four Types of Grain You Can Actually See
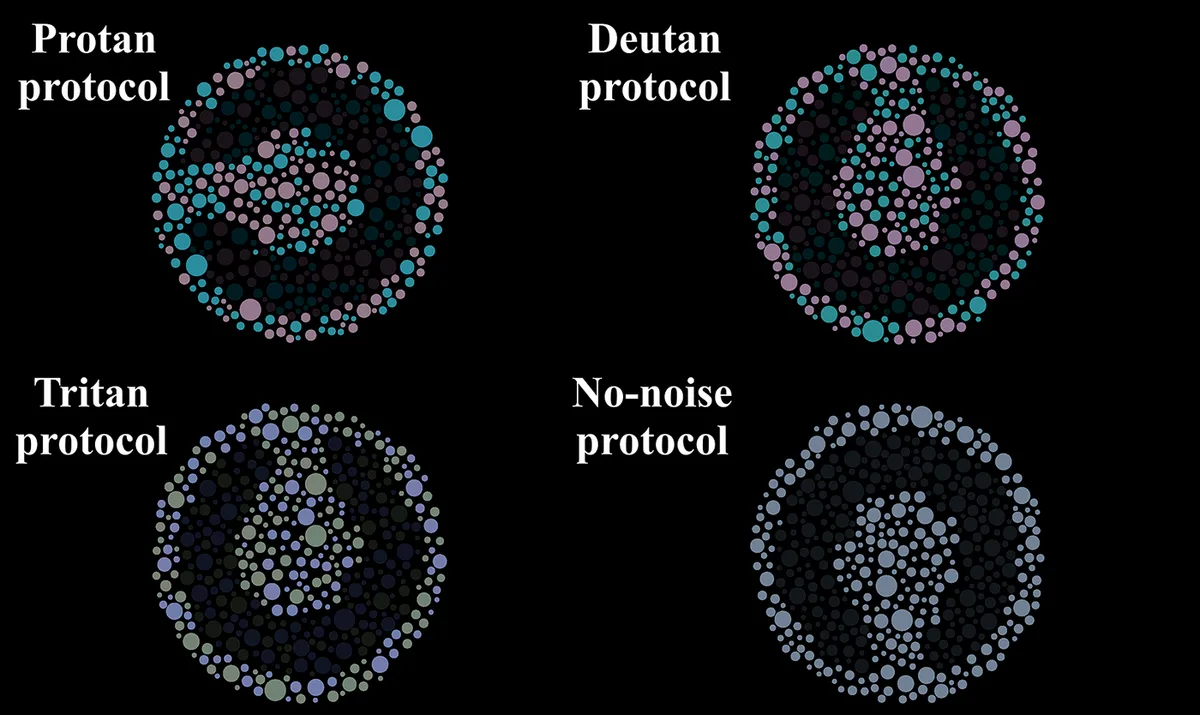
Let's look at what you will see on your monitor. There are four distinct visual patterns. Once you recognize them, the solution becomes obvious.
- Luminance noise (fine, monochrome speckle). Looks like film grain. Most common at high ISO. Easily reduced without too much detail loss.
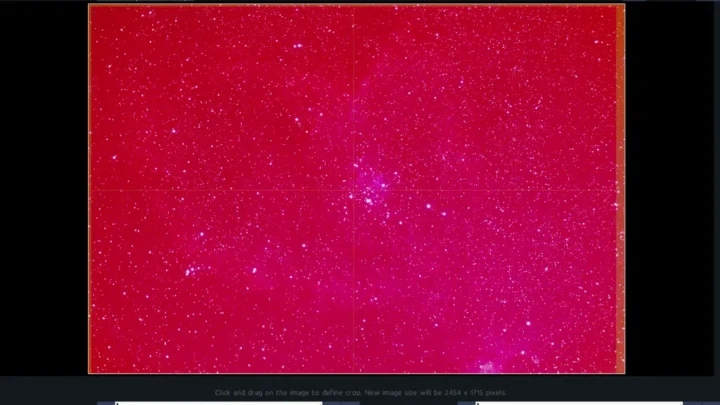
- Color noise (red, green, blue blobs). Appears in shadows when the sensor is pushed too far. That ugly purple-green blotch under a dark table? That is color noise. Needs aggressive color noise reduction, but be careful not to oversmooth.
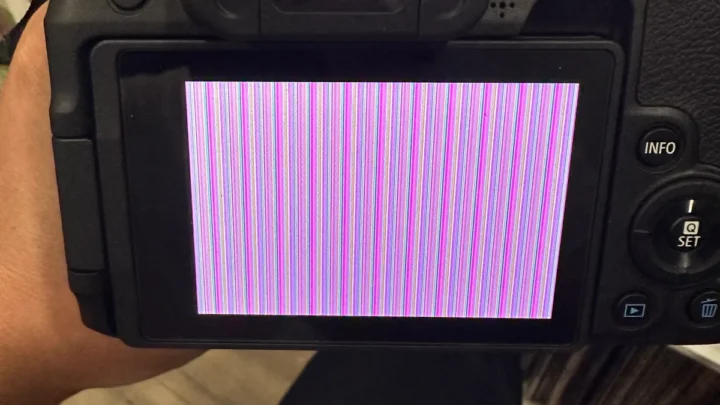
- Banding (horizontal or vertical lines). Rare, but shows up in smooth areas like sky or water. Caused by poor in-camera processing or extreme ISO expansion. Hard to fix. You may need to shoot RAW and use banding-specific tools.
- Hot pixels (single bright dots). Look like stars in a dark area. Usually fixed by automatic sensor pixel mapping in the camera menu. If you see the same dot in the same spot on every image, run that function.
Each type demands a different post-processing strategy. Sliders in Lightroom or Capture One give you separate controls for luminance and color. Banding often needs a dedicated tool like the gradient-based banding removal in Photoshop or DxO PhotoLab.
If you are editing underwater photos that combine water refraction with noise, you will need to layer noise reduction carefully to avoid losing detail on the subject. Our guide on editing underwater camera photos walks through that exact workflow.
Step-by-Step: Diagnose Your Grain in 5 Minutes
You do not need expensive software to identify the problem. Follow these steps with any photo that looks grainy.
- Open the image at 100 percent zoom. Crop to a shadow area and a midtone area. Look at both.
- Check the EXIF data. What ISO, aperture, and shutter speed were used? If ISO is above 3200 on an APS-C sensor, that is your primary cause.
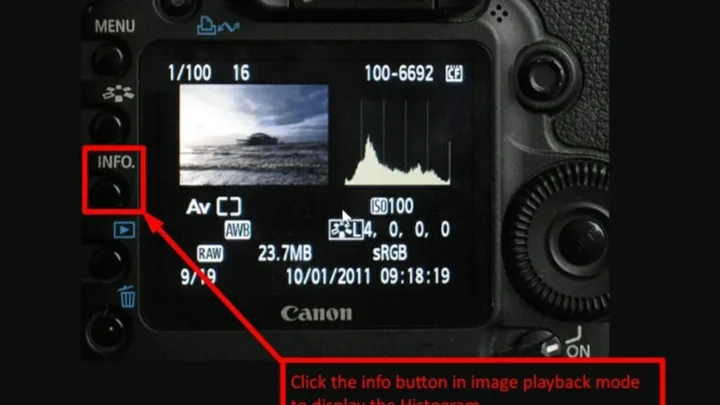
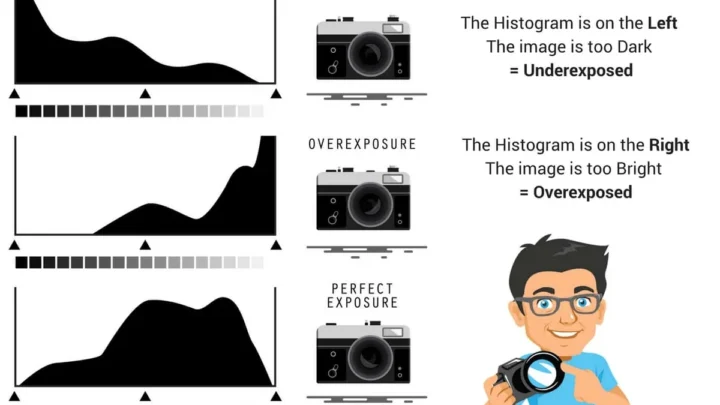
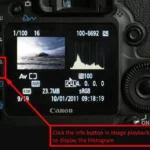
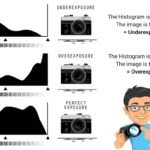
- Examine the histogram. A histogram bunched up against the left edge means underexposure. That tells you the grain is from pushing shadows later, not from high ISO alone.
- Identify the grain pattern using the four types above. Use the color noise vs luminance noise test. If the speckles are colorless, it is luminance. If they have red/green tint, it is color noise.
- Compare to a reference shot. Take a test photo at base ISO under the same light. If that is clean, your camera is fine. If that is also noisy, you may have a sensor issue.
This five-minute diagnosis saves hours of guessing. For example, if your histogram is centered and the ISO is modest, but you still see grain, the problem could be an old sensor with a lower signal-to-noise ratio. Upgrading to a camera with a backside-illuminated sensor (BSI) can give you two stops of improvement.
When shooting in low light underwater, similar diagnostics apply. But you also have to account for light loss through water. Our guide on troubleshooting an underwater camera covers broader issues that can mimic grain.
Before You Touch the ISO: Common Visual Mistakes
Many photographers blame the ISO setting before they check the real culprit. Let's clear up the biggest ones.
- Mistaking underexposure for ISO noise. You shoot at ISO 800, but you underexpose by two stops. When you brighten the shadows in post, the noise looks like ISO 3200. The fix is not lowering ISO. It is nailing the exposure in camera. Use the histogram and expose to the right (ETTR) without clipping highlights.
- Using in-camera high-ISO noise reduction. This often smears out detail and creates a waxy look. It is designed for JPEG shooters who want clean images straight out of the camera. If you shoot RAW, turn it off. You will get better results doing noise reduction yourself in Lightroom or DxO.
- Ignoring the lens aperture. A slow kit lens (f/5.6 at the long end) forces a higher ISO than a fast prime (f/1.8). Switching to a faster lens can cut your ISO in half or more. That is often a cheaper upgrade than buying a new camera.
- Over-sharpening before denoising. Sharpening amplifies noise. The correct order is noise reduction first, then sharpening second. Apply sharpening only to edges using a mask or Luminance masking in Lightroom.
If you are shooting at night with an underwater camera, these mistakes compound. The water absorbs light and causes more noise. Our guide on using an underwater camera at night explains how to balance ISO, aperture, and shutter speed in those conditions.
Fix It in Camera or Fix It in Post?
This question comes up constantly. The honest answer is to do both. But prioritize in-camera fixes because they are free and prevent noise from being created in the first place.
In-camera solutions:
- Lower your ISO by using a wider aperture (f/2.8 or faster) or a slower shutter speed (a tripod helps here).
- Enable long-exposure noise reduction for shots over 1 second. This takes a dark frame after your exposure and subtracts the noise pattern.
- Use exposure compensation to push the histogram to the right (ETTR) without clipping highlights.
- Clean your camera's sensor using the menu option for pixel mapping if you see hot pixels.
In post-processing solutions:
- Open the RAW file in Lightroom, Capture One, or DxO PhotoLab.
- Apply color noise reduction first. Slider typically between 25 and 50.
- Then apply luminance noise reduction. Start low (15-25) and increase only until the grain is acceptable.
- For extreme noise, use DxO DeepPRIME or Topaz Denoise AI. These use trained AI to separate noise from detail. They work surprisingly well for saving a shot that would otherwise be unusable.
One important rule: do not push your image too far in post. If you underexpose by three stops and try to recover everything, no noise reduction will save the detail. That is where the camera-side exposure decision really matters.
If you have a noisy underwater photo that was underexposed due to murky water, you can often recover it with careful post-processing. Our guide on recovering underwater camera photos shows the exact workflow for salvaging these shots.
Remember that some noise is inevitable in low-light photography. The goal is not zero noise. It is acceptable noise that does not distract from the subject.
Knowing when to stop reducing noise is as important as knowing how. As of 2026, camera sensors have improved dramatically. But even a full-frame Nikon Z8 will show some grain at ISO 12800.
Learn to work with it.
Frequently Asked Questions
Why are my photos grainy even at low ISO?
Low ISO grain often means underexposure. Check your histogram. If the data is piled against the left edge, you pushed shadows in post and amplified hidden noise.
Expose to the right (ETTR) without clipping highlights to minimize noise at any ISO.
Can a dirty lens cause grainy photos?
No. Dirt or smudges on the lens cause softness, flare, or loss of contrast, not digital grain. Grain comes from the sensor's signal-to-noise ratio.
A dirty sensor can produce hot pixels, but those are single bright dots, not uniform grain.
Does shooting in JPEG reduce grain?
JPEG applies in-camera noise reduction that can smooth grain but also destroys fine detail. RAW files preserve all sensor data. This lets you apply smarter noise reduction in software.
For the best balance between detail and noise, shoot RAW and reduce noise yourself.
Is grain normal at ISO 3200 or 6400?
Yes, especially on APS-C sensors. Full-frame sensors typically show less noise at the same ISO due to larger pixels and better signal-to-noise ratio. At ISO 6400, even full-frame cameras show some luminance noise.
The goal is acceptable grain, not zero grain.
How do I fix grainy photos in Lightroom?
Open the Detail panel. First, set Color noise reduction to 25-50 to remove color blotches. Then adjust Luminance noise reduction starting at 15-25.
Increase only until the grain is acceptable. Always preview at 100%. Apply sharpening after noise reduction using a mask.
What if noise reduction makes my photo look waxy?
You have over-applied luminance noise reduction. Lower the Luminance slider. Instead use a mask or brush to apply NR only to smooth areas.
Preserve edges and textured zones. For extreme noise, consider dedicated AI software like DxO DeepPRIME or Topaz Denoise AI.

Similar Posts