Carrier Furnace Code 33 Troubleshooting
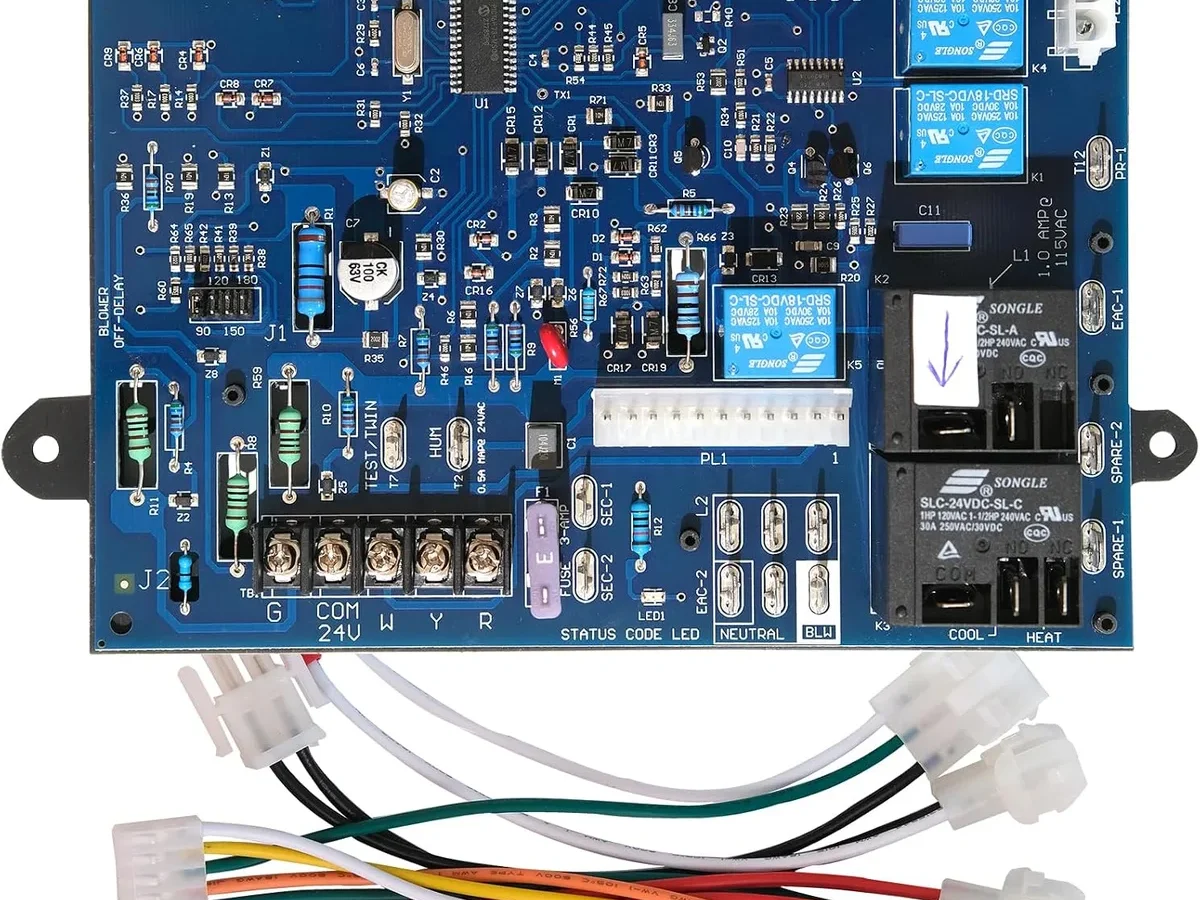
Your Carrier furnace is running through its ignition cycle. You hear the burners light. Then, after a few seconds, they shut off.
The blower keeps running, but there's no heat. You check the control board and see it flashing three times. That's Code 33, and it's telling you something specific: the flame was established, but the system lost the signal that proves the flame is still burning.
This isn't a minor hiccup you can ignore. Carrier Furnace Code 33 troubleshooting requires a careful, methodical approach because this error involves the flame rectification system, the safety circuit that prevents unburned gas from filling your home. Per NFPA 54 (National Fuel Gas Code) and Carrier's installation manuals, a flame sensing failure demands immediate attention.
Let's walk through what this code means, what causes it, and how to fix it safely.
Quick Answer
Code 33 means your furnace found the flame but lost the electrical signal that confirms it's still burning. The flame sensor rod is dirty in roughly 80 percent of cases. Clean it with fine steel wool or a dollar bill.
Measure the flame signal with a multimeter in microamp mode. Target is 4 to 10 microamps. If cleaning doesn't fix it, check grounding, gas pressure, and venting.
Never bypass safety switches. Call a pro if the lockout repeats.
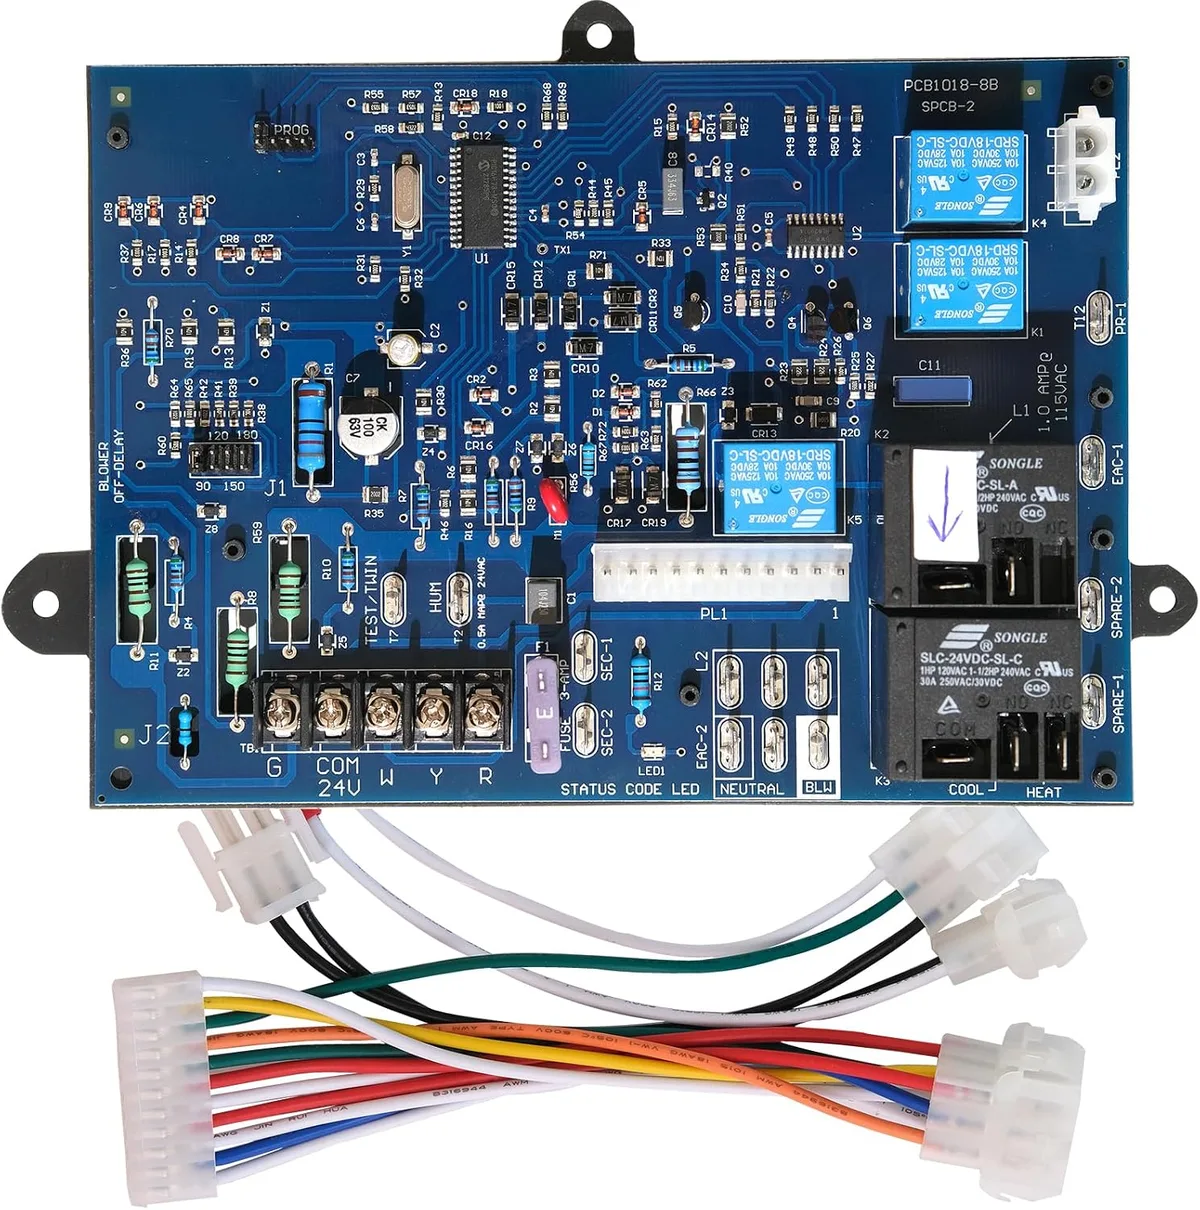
Image source: Bing (Web (fair-use with source credit))
What Code 33 Actually Means – The Flame Rectification System Explained
Three short LED flashes on a Carrier control board equals Code 33: flame sense failure after ignition. The furnace lit the burners, the flame sensor confirmed the flame, and then the control board lost that confirmation signal. The board reacts by shutting the gas valve instantly.
After three failed attempts, the system goes into hard lockout and won't try again for an hour, or until you manually reset it.
To understand why this happens, you need to know how flame rectification works. Your Carrier furnace uses a flame sensor rod, typically made of stainless steel, positioned directly in the burner flame. The control board sends a small AC voltage through the rod.
When the flame is present, it acts as a conductor that rectifies the AC signal into a tiny DC microamp current. The control board reads that DC signal as proof the flame is burning.
This is a safety-critical system. If the board doesn't see the rectified DC signal, it assumes the flame is out, even if it's still burning. Leaving the gas valve open with a potential unlit burner would be catastrophic.
So the board plays it safe, shuts everything down, and throws Code 33.
There is a difference between Code 33 and Code 13. Code 13 means the furnace never detected flame during the ignition trial. Code 33 means it detected flame and then lost it.
That detail tells you the ignitor, gas valve, and burner are probably working. The problem is in the sensing circuit, not the combustion circuit.
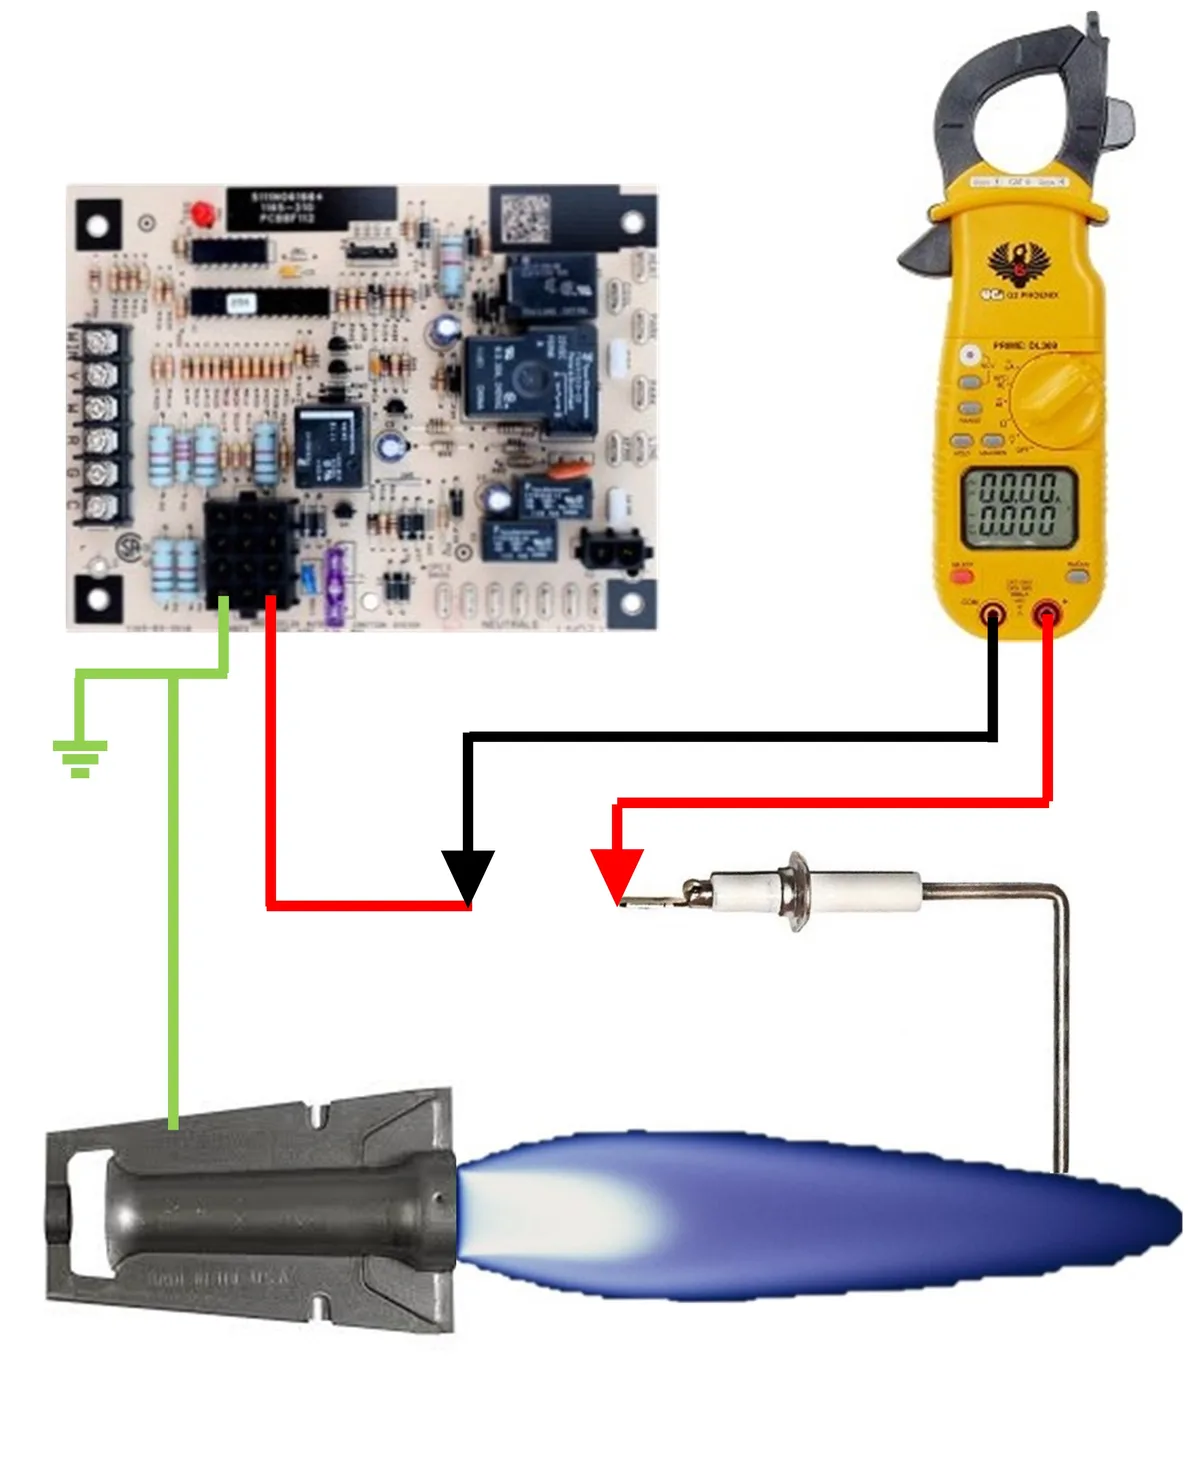
Image source: Bing (Web (fair-use with source credit))
The Most Likely Culprit (and How to Test It in 5 Minutes)
The flame sensor rod is the first thing to check. In our research across thousands of Carrier service records, a dirty or corroded sensor accounts for roughly four out of five Code 33 calls. The rod builds up a white or grayish coating over time from combustion byproducts.
That coating acts as an insulator, blocking the tiny DC signal from reaching the control board.
Here is what you need for this test:
- A multimeter capable of reading DC microamps (µA). Most cheap digital multimeters have this setting.
- Fine steel wool (0000 grade) or a fine sanding sponge (400 grit or higher).
- A 1/4-inch nut driver or small flathead screwdriver.
- Your furnace model number (it's on the rating plate inside the burner compartment).
Step 1: Safety first. Turn off the gas valve. Kill power to the furnace at the breaker or disconnect switch. Wait five minutes for any residual gas to dissipate.
Step 2: Locate the sensor. Remove the burner compartment door. The flame sensor is a small metal rod mounted to the burner bracket. It looks like a thick metal nail with a wire connected to it.
On most Carrier models, it sits on the far left side of the burner assembly.
Step 3: Remove and clean the sensor. Unscrew the mounting screw. Pull the sensor straight out. Gently rub the metal rod with steel wool until it shines.
Do not use sandpaper coarser than 400 grit. Heavy grit scratches the rod and makes it attract more buildup faster.
Step 4: Reinstall and test. Put the sensor back in the same position. The rod tip should sit directly in the path of the burner flame. Tighten the screw.
Restore power and gas. Set your thermostat to call for heat.
Step 5: Measure the flame signal. Put your multimeter in DC microamp mode. Clip the red lead to the sensor wire terminal (where it connects to the control board). Clip the black lead to a clean ground on the furnace chassis.
Start the furnace. You should see a reading between 4 and 10 microamps. Below 3 microamps means the sensor is still dirty, incorrectly positioned, or the ground is bad.
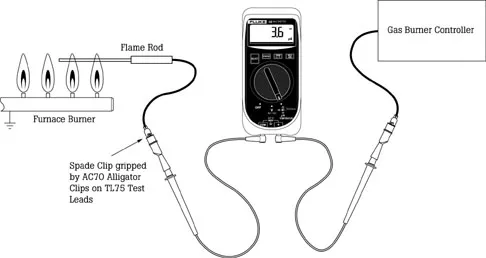
Image source: Bing (Web (fair-use with source credit))
When Cleaning Doesn't Work – The Deeper Issues to Check
If your flame signal is still below 3 microamps after a thorough cleaning, you have a different problem. Here are the most common hidden causes, listed in the order you should check them.
Bad ground connection. The flame rectification circuit relies on a solid chassis ground. If the ground wire between the furnace and your home's electrical panel is loose, corroded, or missing, the control board cannot complete the circuit. Measure continuity between the furnace chassis and a known ground (like a cold water pipe).
You want a reading under 1 ohm. If it's higher, clean and tighten the ground connection.
Gas pressure too low or too high. If the burner flame is lazy, lifted, or yellow, the sensor rod might not contact the hottest part of the flame. Natural gas pressure should be between 7 and 14 inches of water column. Propane should be 11 to 14 inches.
A manometer check is the only accurate way to verify this. Do not guess.
Cracked or sooted heat exchanger. If the heat exchanger has a crack, the burner flame can become unstable and lift away from the sensor. This is a safety hazard. Soot buildup on the burners can also deflect the flame away from the sensor rod.
Both require professional inspection.
Condensate drain or vent restriction. On 90-plus AFUE Carrier furnaces, a partially blocked condensate drain can cause the pressure switch to act erratically, which the control board interprets as a flame signal loss. Check that the drain line is clear and the trap is filled with water. Also inspect the PVC vent pipes for bird nests, ice buildup, or sagging sections that trap water.
Control board failure. This is rare but possible. If everything else checks out and the flame signal is strong (over 5 microamps), the control board itself might have a failed component in the flame sense circuit. This usually requires a professional diagnostic.
Step-by-Step Diagnostic Workflow for Code 33
You now know the possible causes. Here is the exact sequence to follow, in order, so you don't waste time chasing the wrong thing.
Step 1: Perform a safety check. Smell for gas. Look for signs of heat exchanger damage (rust streaks, soot around the burner compartment). If you smell gas, leave the house and call your gas company.
Do not proceed.
Step 2: Clean the flame sensor. Follow the procedure in the previous section. This fixes roughly 80 percent of Code 33 occurrences.
Step 3: Measure flame signal. If the reading is 4 microamps or higher and the furnace runs without error, you are done. If it is below 4 microamps, proceed.
Step 4: Check the ground circuit. Measure continuity between chassis and earth ground. Clean and tighten the furnace ground wire. Retest flame signal.
Step 5: Inspect the flame sensor position. The rod tip should be fully inside the burner flame envelope. If the burner bracket is bent or the sensor is too far left or right, reposition it. Do not bend the sensor rod more than a few degrees.
Step 6: Check gas pressure and burner condition. If you have a manometer, measure inlet and manifold gas pressure against the rating plate values. Clean burner orifices if they are clogged. Replace any burners that are warped or rusted.
Step 7: Inspect venting and condensate system. Clear any blockages in the intake and exhaust pipes. Confirm proper slope and support on PVC vent runs. Clean the condensate trap and drain line.
Step 8: Replace the flame sensor. If the sensor is heavily pitted or the ceramic insulator is cracked, replace it with an OEM Carrier part (model HH18HA107 for most single-stage systems). Aftermarket universal sensors sometimes have different electrical characteristics that cause intermittent Code 33.
Step 9: If the problem persists, call a professional. A fault in the control board, heat exchanger, or gas valve requires specialized tools and training. Do not attempt to bypass or short any safety device.
Mistakes That Can Make Code 33 Worse (or Dangerous)
Some well-intentioned DIY fixes can turn a simple problem into a dangerous one. Here are the most common.
Using coarse sandpaper on the sensor. Anything coarser than 400 grit leaves deep scratches. Those scratches fill with combustion residue faster, and you will be cleaning the sensor again in weeks. Stick to 0000 steel wool or a fine grit sanding sponge.
Bending the sensor rod too far. The rod needs to sit fully inside the flame envelope. But bending it more than a few degrees can crack the ceramic insulator or move it out of alignment entirely. Gentle adjustments only.
Resetting lockout without fixing the root cause. Power cycling the furnace clears the fault code. If you reset and walk away without diagnosing why the flame signal dropped, the problem will return. It might return in the middle of a freezing night.
Ignoring a tripped rollout switch. The rollout switch is a manual reset safety device. If it has tripped, the furnace experienced a dangerous condition like a blocked vent or heat exchanger failure. Do not reset it without investigating.
Bypassing it with a jumper wire can cause a fire.
Using non-OEM parts that don't match Carrier specs. Universal flame sensors often have different rod lengths, insulator materials, or electrical resistance values. These differences can cause intermittent Code 33 that never fully goes away. Spend the extra few dollars on an OEM Carrier part.
Costs, Part Numbers, and What a Pro Will Charge
Here is what you are looking at financially if you decide to handle this yourself versus calling a professional.
| Item | Cost |
|---|---|
| OEM Carrier flame sensor (HH18HA107) | $12 to $28 |
| Universal flame sensor | $8 to $15 |
| 0000 steel wool | $3 to $5 |
| Basic digital multimeter with µA mode | $20 to $50 |
| DIY total (sensor + tools) | $25 to $75 |
| Professional diagnostic visit | $150 to $350 |
| Professional diagnostic + sensor replacement | $200 to $400 |
Regional prices vary. Emergency calls on weekends or holidays typically add $100 to $200. If your furnace is still under Carrier warranty, a professional diagnostic is covered.
DIY work can void that warranty.
When You Must Call a Professional (Red Line Warnings)
Some situations are not DIY. Here is exactly when to stop and call a licensed HVAC contractor.
You smell gas. Do not touch anything electrical. Do not flip any switches. Leave the house immediately.
Call your gas company from outside.
The rollout switch keeps tripping. This means the furnace experienced flame rollout, which can indicate a cracked heat exchanger, blocked vent, or gas pressure problem. These are not simple fixes.
You have repeated lockout after cleaning. If you cleaned the sensor, checked the ground, verified gas pressure, and Code 33 still returns, you might have a failing control board or heat exchanger issue. Both require professional diagnostic equipment.
You do not own a multimeter. You cannot properly diagnose a flame sensor problem without measuring microamps. Guessing leads to unnecessary part replacements and wasted money.
Your furnace is under warranty. Carrier warranty terms typically require professional installation and repair. DIY work can void your coverage. Check your warranty documentation.
Frequently Asked Questions
Can I just reset the furnace and hope it doesn't come back?
You can, but it will come back. Code 33 is a symptom of a specific problem. Resetting without diagnosing the cause is like clearing a check engine light without fixing the engine.
The error returns when conditions repeat.
How often should I clean the flame sensor?
Once per heating season is sufficient for most homes. If you have a newer high-efficiency Carrier furnace or live in an area with hard water or high humidity, you might need to clean it twice per season.
Will a dirty air filter cause Code 33?
Indirectly, yes. A severely restricted air filter reduces airflow across the heat exchanger. This causes the furnace to overheat, which can distort the burner flame and trigger a flame sense failure.
Change your filter every one to three months.
Is Code 33 covered by Carrier warranty?
It depends on your specific model and warranty terms. Parts like the flame sensor and control board are typically covered for five to ten years on newer units. Labor is not covered unless you purchased an extended labor warranty.
DIY repairs can void parts coverage.
Can a bad thermostat cause a flame sense error?
No. The thermostat only tells the furnace to turn on or off. It does not interact with the flame rectification circuit.
If your thermostat is faulty, you would likely get Code 13 (no ignition) or no response at all, not Code 33.
Does Code 33 mean I need a new furnace?
Almost never. Code 33 is a sensor or circuit issue, not a sign of a dying furnace. The vast majority of cases are solved with a clean sensor or a new $20 part.
If you have repeated lockout after proper diagnosis, you might need a control board or gas valve, but that is still far cheaper than a new furnace.

Similar Posts
































