DSLR Camera Not Turning on Troubleshooting
You press the shutter button, and nothing happens. No lights. No beep.
No viewfinder glow. That sinking feeling is familiar to almost every photographer, and knowing where to start with DSLR camera not turning on troubleshooting can save you a lot of time and panic.
Manufacturer service reports indicate that roughly 70 to 80 percent of no-power cases trace back to the battery or its connections. The fix is often simpler than you think. Let's walk through the most likely suspect first.
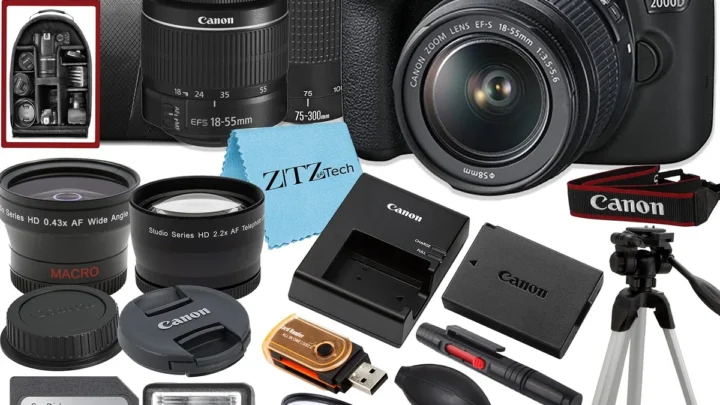
Image source: Bing (Web (fair-use with source credit))
The Most Likely Reason Your DSLR Is Dead – and How to Test It in 60 Seconds
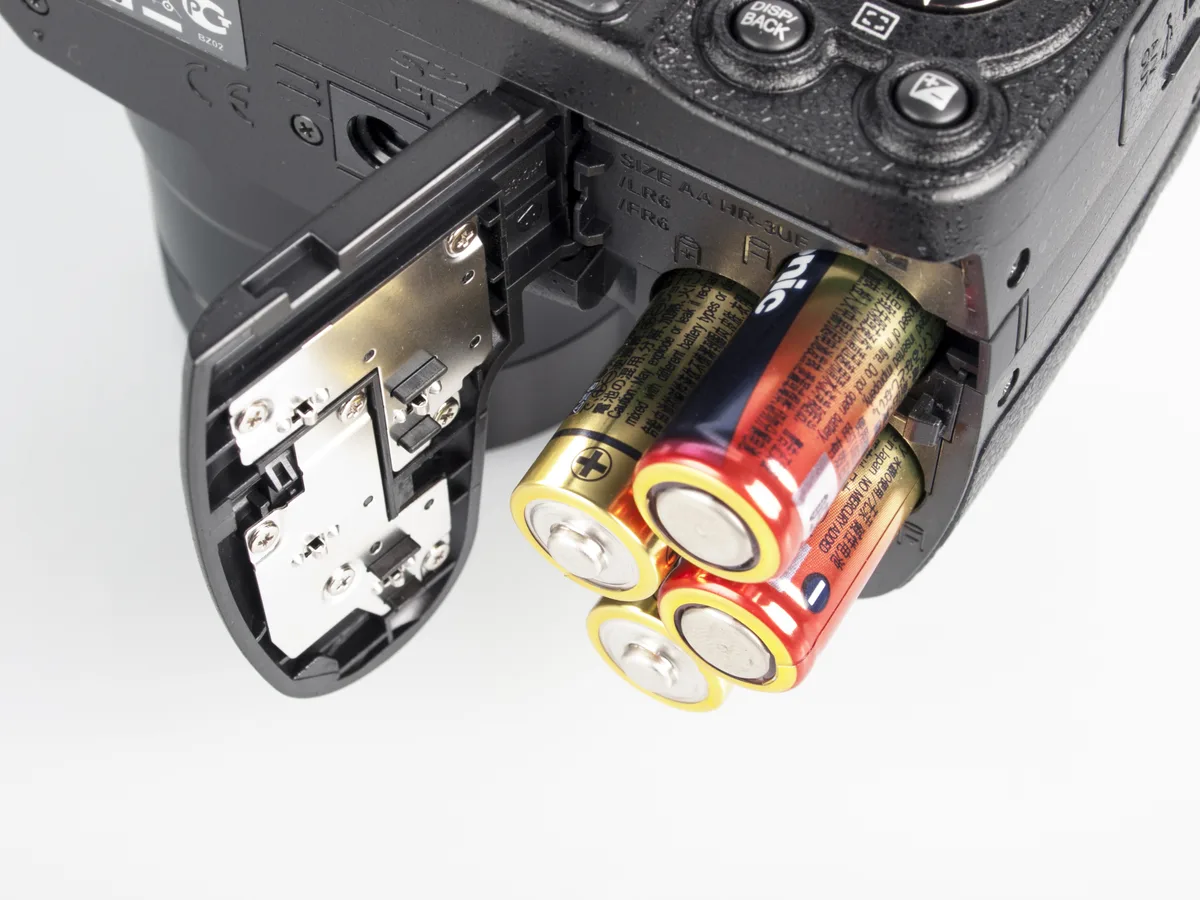
It is almost always the battery. Not just a dead battery, but a lithium-ion pack that has entered a deep discharge protection mode. As of 2026, most DSLRs still use standard packs like the Canon LP-E6 or Nikon EN-EL15, and these cells behave differently than standard alkaline batteries.
Here is the quick test. Put the battery on its original charger and look at the LED. If the charger shows no light, the battery might be in deep discharge or the charger itself has failed.
If the charger shows a blinking or solid red light, it is trying to recover the cell. Leave it for two to three hours.
If the battery was sitting unused for months, it could be stuck in a protective sleep mode. Some third-party chargers can revive these, but original manufacturer chargers often cannot. You might need to jump-start it with a multimeter or replace it entirely.
Manufacturer specifications indicate that voltage below 6.0 volts on a 7.2-volt pack means the internal protection circuit has tripped.
If the Battery Checks Out: Next Step – Hard Reset and Contact Cleaning
The charger looks fine and the battery reads correct voltage, but the camera stays dead. Do not skip this step. A hard reset clears residual charge from the camera's internal capacitors and resets the power management circuit.
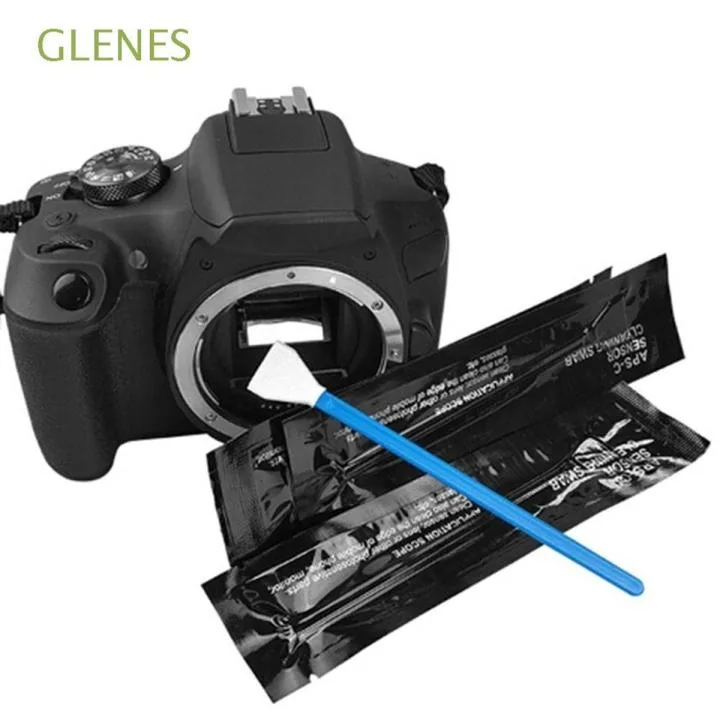
Image source: Web (Bing) / daraz.com.bd (Web image (fair-use with source credit))
Remove the battery completely. Leave it out for at least 60 seconds. While it is out, press and hold the shutter button for 10 seconds.
This drains any leftover charge in the system. Then reinsert the battery firmly until the latch clicks.
If that does not work, pull the battery again and inspect the metal contacts inside the camera body and on the battery itself. Look for dark spots, corrosion, or a fine dust layer. Use a cotton swab lightly dampened with 91 percent isopropyl alcohol to wipe the contacts clean.
Never use a metal tool or an eraser. Rubbing too hard can scratch the gold plating and create future problems.
Still No Power? Remove the Lens and Memory Card
A stuck or faulty lens can physically block the camera from powering on. This is more common than you might think, especially with kit lenses that have been dropped or bumped.
Remove the lens by pressing the lens release button and twisting gently. If it resists, do not force it. Inspect the lens mount for bent pins or a jammed aperture lever.
With the lens off, try turning the camera on. If it powers up, the problem is in the lens electronics or mechanical mechanism.
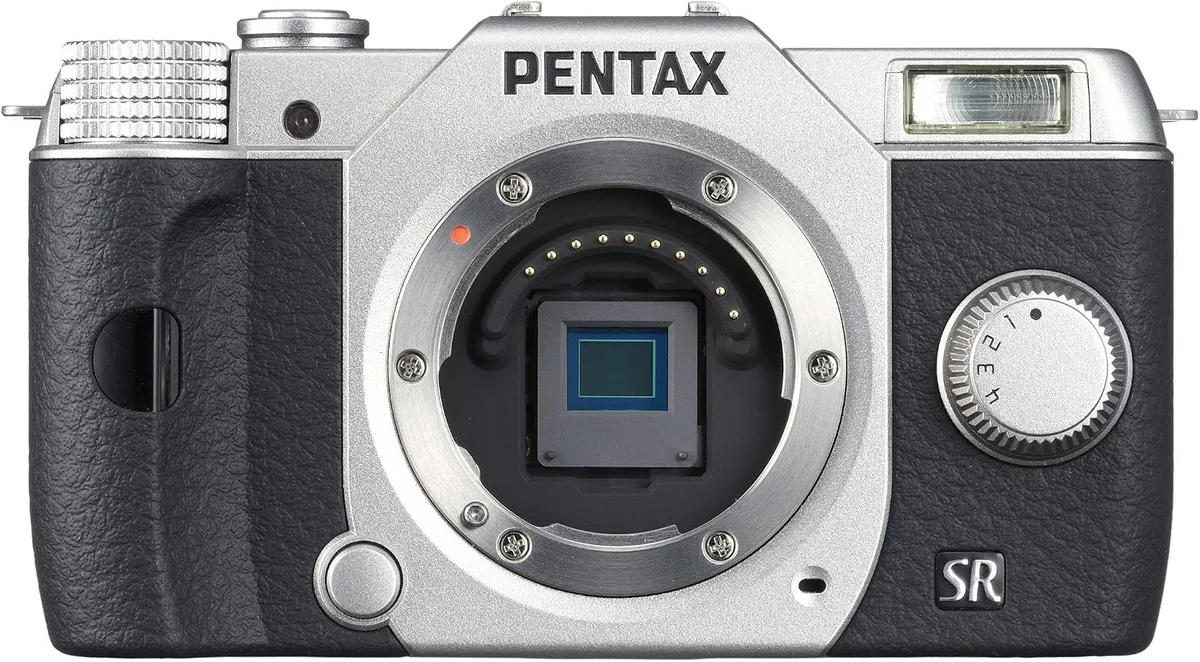
Image source: Bing (Web (fair-use with source credit))
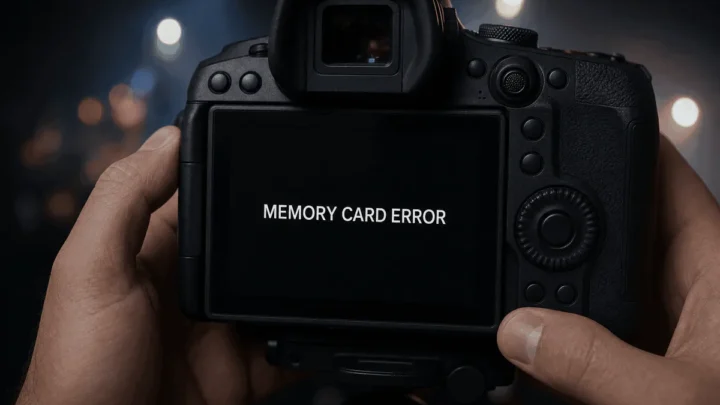
Next, eject the memory card. A corrupted or incompatible card can sometimes hang the camera's boot sequence. You can also try a card you know works in another camera.
If the camera turns on without a card, format the original card in your computer or replace it entirely. This step is often overlooked but solves a surprising number of dead camera moments.
What to Do If You Just Updated Firmware or Dropped the Camera
Firmware updates are rare, but they can go wrong. If your camera died mid-update, the main firmware might be corrupted. Most manufacturers have a recovery mode.
On Canon DSLRs, you hold the Menu and Set buttons while powering on. On Nikon, you hold the Menu and the left arrow key. This forces the camera to look for a firmware file on the memory card.
If you dropped the camera, the situation changes. Internal components like solder joints on the power circuit can crack on impact. A hard drop can also misalign the lens mount, causing the camera to detect a jam and refuse to power on.
You can check the alignment by mounting a lens and looking for uneven gaps.
If the camera has been exposed to water or extreme humidity, corrosion can start in hours. Even a small amount of moisture on the main circuit board can cause a short that prevents the power button from working. This is one case where waiting usually makes things worse.
When to Stop DIY – Signs of Physical or Water Damage
There is a limit to what you can fix at the kitchen table. If you smell burnt electronics, stop immediately. That smell means a component on the main board has failed, and powering the camera on again could cause more damage.
Check the camera's water damage indicators. These small white or red stickers are usually inside the battery compartment. If they have turned pink or solid red, moisture has entered the body and corrosion is already underway.
Do not try to dry it out by putting it in rice. That method introduces more debris into the camera.
A swollen battery is a fire risk. If the battery does not sit flat on a table or feels puffy, stop using it right away. Dispose of it at a certified battery recycling center.
Do not throw it in the trash.
For any of these situations, the smartest move is to contact an authorized repair center. Opening the camera yourself usually voids any warranty and can easily turn a 150-dollar repair into a 400-dollar replacement. For general troubleshooting steps, you can check our guide on how to clean saltwater from underwater cameras, which follows the same principles for any water exposure.
Top 5 Mistakes People Make When Their Camera Won’t Turn On
Even experienced photographers reach for the wrong fix first. Avoid these common errors to save time and money.
1. Replacing the battery without checking the charger first.
People buy a new battery only to discover the original charger is the actual problem. Test the charger with a multimeter or borrow a friend's compatible charger. A defective charger can destroy a fresh battery in hours.
2. Leaving the battery out for only a few seconds during a hard reset.
The internal capacitors need at least 60 seconds to discharge fully. A quick in-and-out does nothing. Follow the full step we covered earlier and press the shutter button after removing the battery.
3. Using a metal tool to clean battery contacts.
A paperclip or screwdriver scratches the gold plating. That leads to future connection issues and corrosion. Use a cotton swab with 91 percent isopropyl alcohol instead.
4. Ignoring the lens as a possible cause.
A jammed aperture lever or bent pins can prevent the camera from powering on. Always remove the lens and try powering up without it. This single test resolves a surprising number of dead cameras.
5. Assuming water damage is hopeless and trying to dry the camera with heat.
Hair dryers and ovens warp plastic parts and loosen adhesive seals. If moisture is suspected, remove the battery and lens immediately. Place the camera in a sealed bag with silica gel packets for 48 hours.
Frequently Asked Questions
How long should I leave the battery out for a hard reset?
Remove the battery and wait at least 60 seconds. While it is out, press and hold the shutter button for 10 seconds to drain residual charge. This resets the camera's power management circuit.
Can a corrupted memory card stop my DSLR from turning on?
Yes. A faulty or corrupted card can hang the camera's startup sequence. Eject the card and try powering on without it.
If the camera works, format the card in a computer or replace it.
What does a swollen battery look like?
A swollen battery will not sit flat on a table. The casing may feel puffy or show visible bulging. Stop using it immediately and dispose of it at a certified recycling center.
The Environmental Protection Agency provides guidelines for safe lithium-ion battery disposal.
Is it safe to leave my DSLR on the charger overnight?
Most modern chargers have automatic shutoff when the battery is full. Charging overnight once in a while is fine. Doing it every night can shorten long-term battery life.
How do I know if my firmware update failed?
If the camera stops responding mid-update, the screen may freeze or show an error code. Try forcing recovery mode by holding the specific button combination for your brand (Menu + Set for Canon, Menu + left arrow for Nikon). Our guide on how to update underwater camera firmware applies similar recovery steps to standard DSLRs.
Should I repair a camera with water damage myself?
No. Water damage spreads quickly and causes corrosion on the main circuit board. Opening the camera yourself voids the warranty and often makes professional repair harder.
Send it to an authorized service center within 48 hours for the best chance of recovery.

Similar Posts