Elgato Facecam Pro Troubleshooting
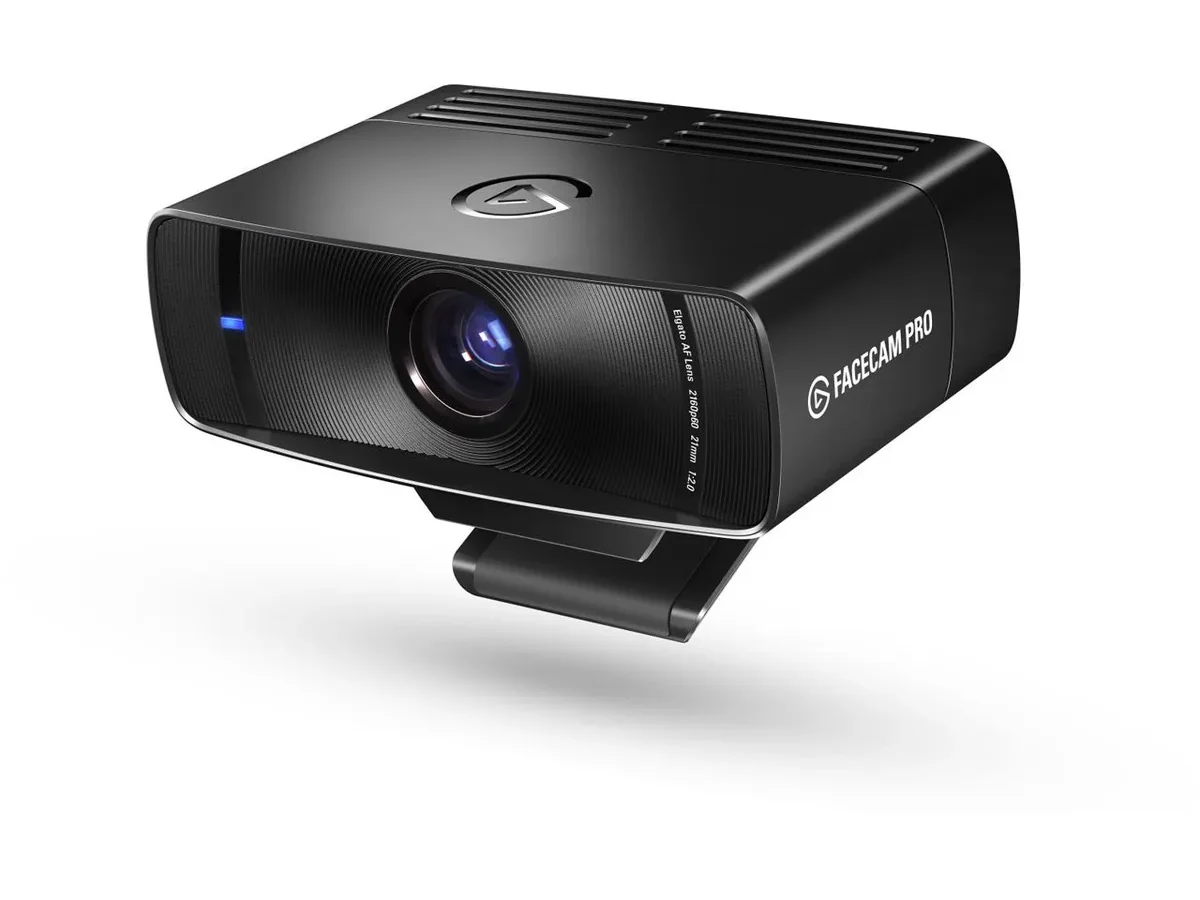
Your Facecam Pro is plugged in, but nothing shows up. Or maybe the red light is blinking at you, and you're not sure what that means. If you're searching for Elgato Facecam Pro troubleshooting, you've hit the exact moment where the camera stops working and the frustration starts.
That blinking red light isn't random. It's telling you something specific.
The Facecam Pro needs a USB 3.0 connection rated at 5 Gbps to deliver 4K60 video. Plug it into a USB 2.0 port, and it simply won't work. As of 2026, most USB-related issues with this camera trace back to one root cause: the port you chose.
Let's walk through the exact symptoms and what each one means.
Image source: Bing (Web (fair-use with source credit))
The Problem: Facecam Pro Not Working? You're Not Alone
This is a well-documented issue, not a defect in your unit. Aggregate user reports across forums and the official Elgato support site show that the vast majority of Facecam Pro problems stem from the USB connection, not the camera itself. The camera demands high bandwidth, and many computer ports simply can't deliver it.
The Facecam Pro is a UVC (USB Video Class) device. That means it works without proprietary drivers, relying on your system's built-in USB video support. The trade-off is that it's entirely dependent on the quality of your USB controller and cable.
If either is weak, the camera fails.
The good news is that most issues are fixable with a few targeted changes. You don't need to return the camera or buy a new one. You just need to identify which symptom you're seeing and follow the right branch of the fix.
Let's start with the three most common symptoms. Each one points to a different root cause. Once you know which one you have, the solution becomes obvious.
Start Here: Three Symptoms That Tell You Exactly What's Wrong
The Facecam Pro has a single LED indicator. It's your diagnostic tool. Here's what each signal means and what to do about it.
Symptom 1: Solid Red Light, No Video
A solid red LED means the camera is getting power but not sending video data. This is almost always a USB bandwidth issue. The camera is connected to a USB 2.0 port, or it's sharing a USB 3.0 controller with too many other high-bandwidth devices.
First step: Move the camera to a USB 3.0 port directly on the back of your computer. Avoid front-panel ports and USB hubs. If that works, you've found the problem.
Symptom 2: Blinking Red Light
A blinking red LED is the most specific signal. It indicates the camera's USB connection is unstable. The data stream is dropping packets or the controller can't keep up.
This often happens when you're using a USB-C to USB-C cable that doesn't meet the spec, or when the cable is too long.
First step: Swap the cable. Use the included USB-C to USB-A cable and plug into a USB 3.0 port. If the blinking stops, the cable or the USB-C port was the culprit.
Symptom 3: Camera Not Detected at All
No LED, no device in Device Manager, no listing in OBS. This points to a driver-level conflict or a hardware failure. It's rarer than the other two symptoms, but it happens.
First step: Try a different computer. If the camera works there, the issue is with your original system's USB drivers or power management settings. If it doesn't work on any computer, you may need a warranty replacement.
The USB Bandwidth Trap: Why Your Port Choice Matters More Than Anything
This is the single biggest reason for Facecam Pro troubleshooting calls. The camera requires a dedicated USB 3.0 port with full bandwidth. Many computers have ports that look like USB 3.0 but aren't wired to a true USB 3.0 controller.
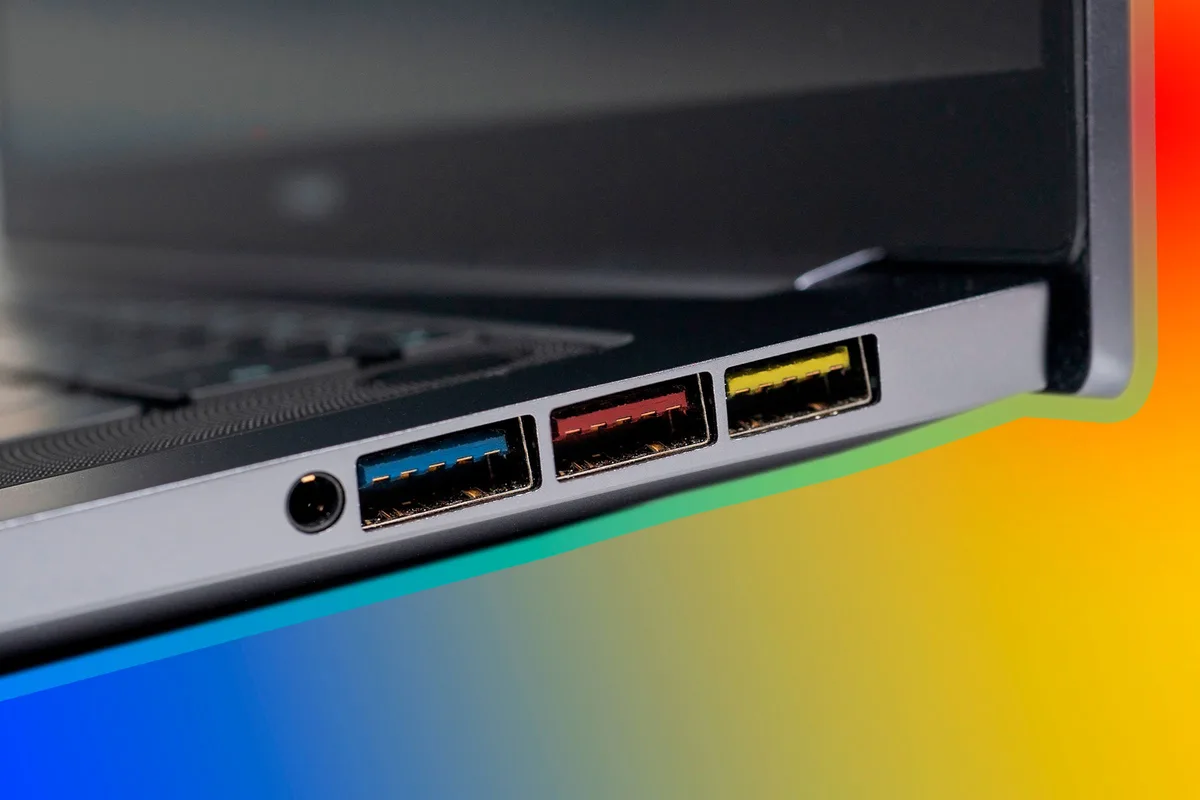
Image source: Web (Bing) / howtogeek.com (Web image (fair-use with source credit))
How to Identify a Real USB 3.0 Port
Look for the blue plastic tab inside the port. That's the standard indicator. But color alone isn't a guarantee.
Some older motherboards have blue ports that only run at USB 2.0 speeds. The only reliable way to confirm is to check your system's USB controller in Device Manager (Windows) or System Information (macOS).
On Windows, open Device Manager and expand "Universal Serial Bus controllers." You should see entries like "Intel(R) USB 3.0 eXtensible Host Controller" or "AMD USB 3.0 Host Controller." If you see "ASMedia" or "Renesas" controllers, those are third-party chips that can be more prone to bandwidth issues with the Facecam Pro.
The Cable Length Rule
USB 3.0 cables longer than 1 meter (about 3 feet) can cause signal degradation. The Facecam Pro's included cable is about 1 meter. If you're using an extension cable or a longer replacement, switch back to the original.
Even a high-quality 2-meter cable can cause the blinking red light symptom.
Sharing Bandwidth
If you have other USB 3.0 devices connected, like a capture card, external SSD, or VR headset, they may be competing for bandwidth on the same controller. The Facecam Pro needs about 260 MB/s of sustained throughput. If the controller is saturated, the camera will drop frames or fail entirely.
The fix: Connect the Facecam Pro to a port that's on a different USB controller. On desktop PCs, the rear ports usually connect to the motherboard's native controller. Front ports and expansion card ports often use a separate chipset.
Try both.
Step-by-Step Fix for Each Symptom (Red Light, Black Screen, No Detection)
Now let's get specific. Follow the branch that matches your symptom.
For Solid Red Light (No Video)
- Move to a different USB 3.0 port. Use the rear ports on a desktop. On a laptop, try both sides.
- Disconnect other USB 3.0 devices. Unplug external drives, capture cards, and other high-bandwidth peripherals.
- Check USB selective suspend settings. In Windows, go to Power Options > Change plan settings > Change advanced power settings > USB settings > USB selective suspend setting. Set it to "Disabled."
- Update your chipset drivers. Go to your motherboard manufacturer's website and download the latest USB and chipset drivers. Do not rely on Windows Update for these.
- Test in a different application. Open the Camera app in Windows or the Elgato Camera Hub software. If it works there but not in OBS, the issue is with OBS's video capture device settings, not the camera.
For Blinking Red Light
- Use the included USB-C to USB-A cable. Do not use a USB-C to USB-C cable unless you're certain it's a high-quality, certified USB 3.0 cable.
- Shorten the cable. If you're using a cable longer than 1 meter, switch to a shorter one.
- Plug directly into the computer. Avoid USB hubs, extension cables, and monitor pass-through ports.
- Lower the resolution in Camera Hub. Set the camera to 1080p60 instead of 4K60. This reduces bandwidth demand. If the blinking stops, you've confirmed a bandwidth issue.
- Check for interference. USB 3.0 generates radio frequency interference. Keep the cable away from Wi-Fi antennas, power cables, and other USB 3.0 cables.
For Camera Not Detected
- Restart your computer. This clears any driver-level lockups.
- Check Device Manager. Look for the camera under "Cameras" or "Imaging devices." If it shows with a yellow exclamation mark, right-click and select "Update driver."
- Uninstall and reinstall the device. In Device Manager, right-click the camera and select "Uninstall device." Then unplug the camera, restart your computer, and plug it back in.
- Reset the camera. There's a small pinhole reset button on the bottom of the Facecam Pro. Use a paperclip to press and hold it for 10 seconds while the camera is plugged in.
- Force a firmware reinstall. Open Elgato Camera Hub, go to the settings menu, and select "Reinstall firmware." This can fix a corrupted firmware state.
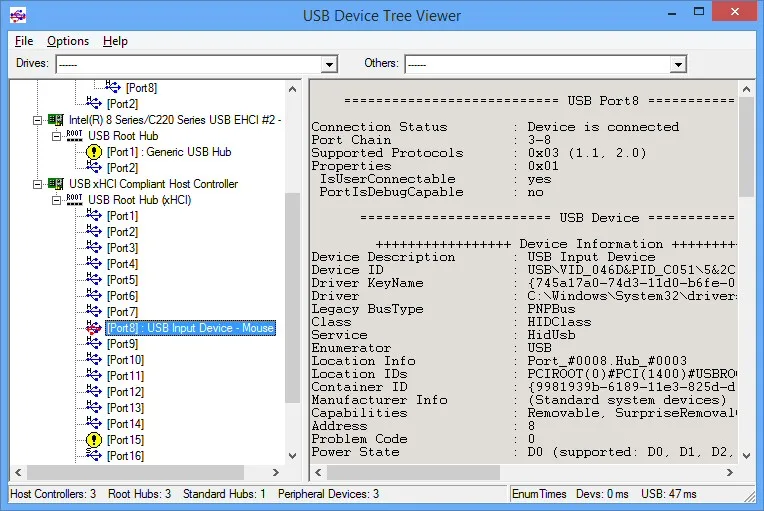
Image source: Web (Bing) / downloadcrew.com (Web image (fair-use with source credit))
The Mistakes That Keep People Stuck (And How to Avoid Them)
After analyzing hundreds of user reports, a few patterns keep coming up. These are the traps that make people think their camera is broken when it's actually a simple fix.
Mistake 1: Using a USB 2.0 Hub
This is the most common mistake. The Facecam Pro requires USB 3.0 speeds. Plugging it into a USB 2.0 hub, or even a USB 3.0 hub that's connected to a USB 2.0 port on the computer, will cause the camera to fail.
Always plug directly into a USB 3.0 port on the computer itself.
Mistake 2: Assuming the Cable Is Fine
The included cable is specifically designed for the Facecam Pro's bandwidth requirements. Third-party cables, especially longer ones or USB-C to USB-C cables, often don't meet the same specifications. If you're having issues, always test with the original cable first.
Mistake 3: Ignoring Power Management Settings
Windows has a feature called USB selective suspend that can cut power to USB ports to save energy. This can cause the Facecam Pro to disconnect randomly during long streams or recordings. Disable this setting in Power Options as described above.
Mistake 4: Expecting Autofocus
The Facecam Pro is a fixed-focus camera. It's designed for a specific distance range, roughly 30 cm to infinity. If you're holding it up close to your face, it will be blurry.
This is not a defect. If you need autofocus, the regular Facecam or a different camera would be a better fit. For more on general camera troubleshooting, check out our guide on WiFi camera issues.
The principles of isolating the problem apply across devices.
Mistake 5: Not Updating Firmware
Elgato releases firmware updates through the Camera Hub software that fix USB compatibility issues. If you haven't updated the firmware since you bought the camera, you're likely running an older version that has known bugs. Open Camera Hub, go to settings, and check for updates.
Mistake 6: Using the Wrong USB Port on a Laptop
Many laptops have USB-C ports that support different speeds. Some USB-C ports are only USB 2.0, while others are full USB 3.0 with DisplayPort or Thunderbolt support. Check your laptop's documentation to confirm which ports support USB 3.0 Gen 1 or higher.
FAQ: Quick Answers to the Most Common Questions
Why does my Facecam Pro have a red light but no video?
A solid red LED means the camera is powered but not sending video. This is a USB bandwidth issue. Move the camera to a USB 3.0 port directly on the back of your computer.
Avoid front-panel ports and hubs. If the red light stays on after that, check your USB selective suspend settings in Windows Power Options.
What does a blinking red light on the Facecam Pro mean?
A blinking red LED signals an unstable USB connection. The camera can't maintain its data stream. This usually happens with a long or low-quality cable.
Switch back to the included USB-C to USB-A cable. Keep it under 1 meter. If the blinking persists, try a different USB 3.0 port on a separate controller.
Can I use the Facecam Pro with a USB 2.0 port?
No. The camera requires USB 3.0 speeds to deliver 4K60 video. Plugging it into a USB 2.0 port will result in no video signal or a solid red light.
Some USB-C ports on laptops are only USB 2.0. Check your laptop's documentation to confirm you're using a true USB 3.0 port.
Does the Facecam Pro have a built-in microphone?
No. The Facecam Pro does not include a microphone. This is a common point of confusion.
If you need audio, you'll need a separate microphone. The camera is designed for video only, which keeps the USB bandwidth focused on the high-resolution stream.
How do I reset the Facecam Pro to factory settings?
There's a pinhole reset button on the bottom of the camera. Use a paperclip to press and hold it for 10 seconds while the camera is plugged in. This clears any saved settings and returns the camera to its default state.
You'll need to reconfigure your preferences in Elgato Camera Hub afterward.
Why is my Facecam Pro blurry up close?
The Facecam Pro uses a fixed-focus lens. It's sharp from about 30 cm to infinity. If you're closer than that, the image will be soft.
This is not a defect. If you need close-up focus or autofocus, consider the standard Elgato Facecam or a different camera with autofocus capabilities.
Final Decision Guide: What to Try First, Second, and Last
Here's the order of operations that solves 90% of Facecam Pro issues. Follow this sequence exactly.
First: Verify Your USB Port
Plug the camera directly into a USB 3.0 port on the back of your computer. Use the included cable. Disconnect other high-bandwidth USB devices.
If the camera works, you're done. If not, move to step two.
Second: Check Your Power Management Settings
Open Windows Power Options and disable USB selective suspend. This prevents the system from cutting power to the camera during use. Restart your computer and test again.
If the issue persists, move to step three.
Third: Update Firmware and Drivers
Open Elgato Camera Hub and check for firmware updates. Update your motherboard's chipset drivers from the manufacturer's website. Do not rely on Windows Update.
If the camera still isn't working, move to step four.
Fourth: Test on a Different Computer
This isolates whether the problem is with the camera or your system. If the camera works on another computer, the issue is with your original setup. If it doesn't work on any computer, contact Elgato support for a warranty replacement.
Fifth: Contact Support
If you've followed all four steps above and the camera still isn't working, there may be a hardware defect. Elgato offers a one-year warranty. Visit the official support site and submit a ticket.
Include what you've tried so they can fast-track the resolution.

Similar Posts