Genie Model 7055 Troubleshooting
Your garage door opener stops working. The remote does nothing. The wall button is dead.
You press it again. Nothing. Now you are standing in your driveway wondering if this is a quick fix or an expensive service call.
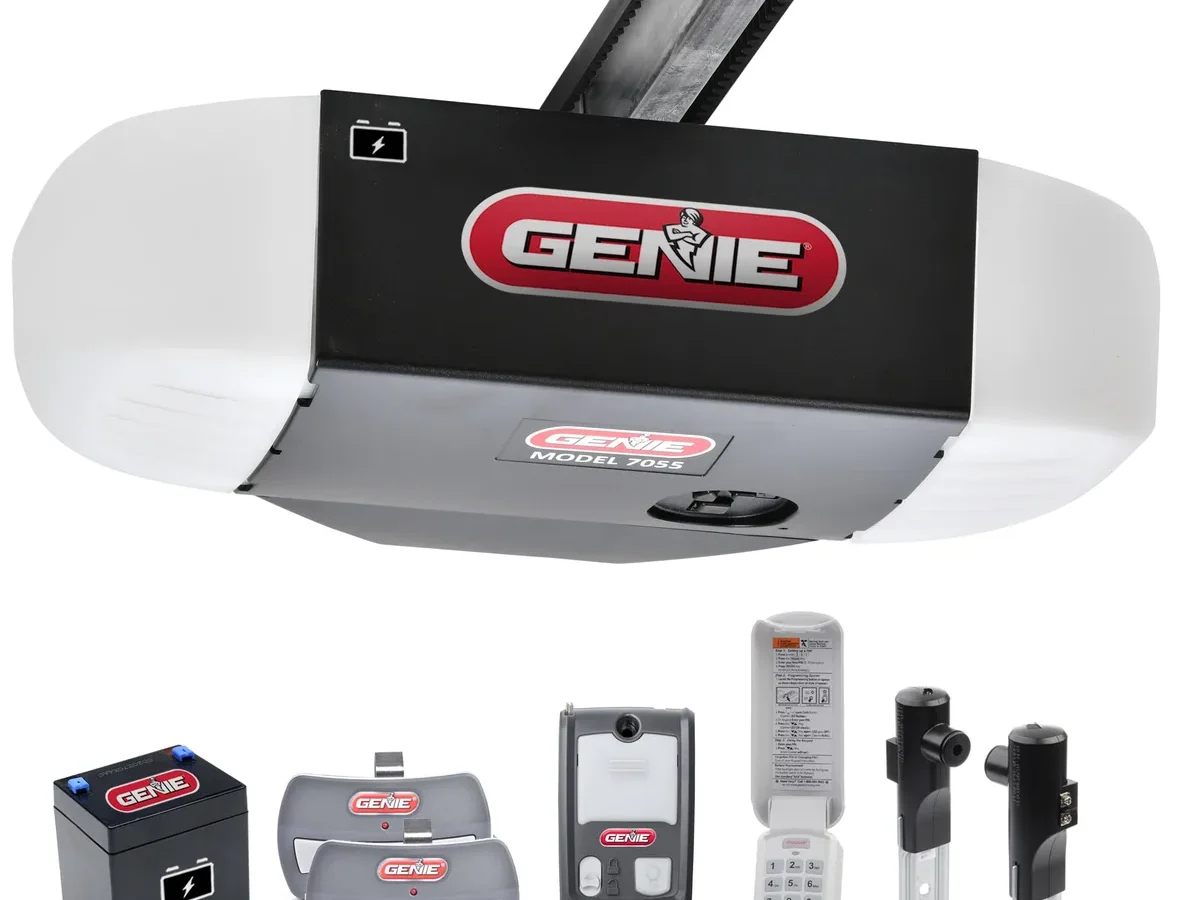
If you own a Genie Model 7055, troubleshooting this unit is actually simpler than most people think. The 7055 is a belt drive opener with a 1.25 HP DC motor and Intellicode 2 security. It has been a reliable workhorse in American garages since its release.
The good news is that most issues come down to three things: travel limits, safety sensor alignment, and power. This article walks you through exactly what to check and in what order.
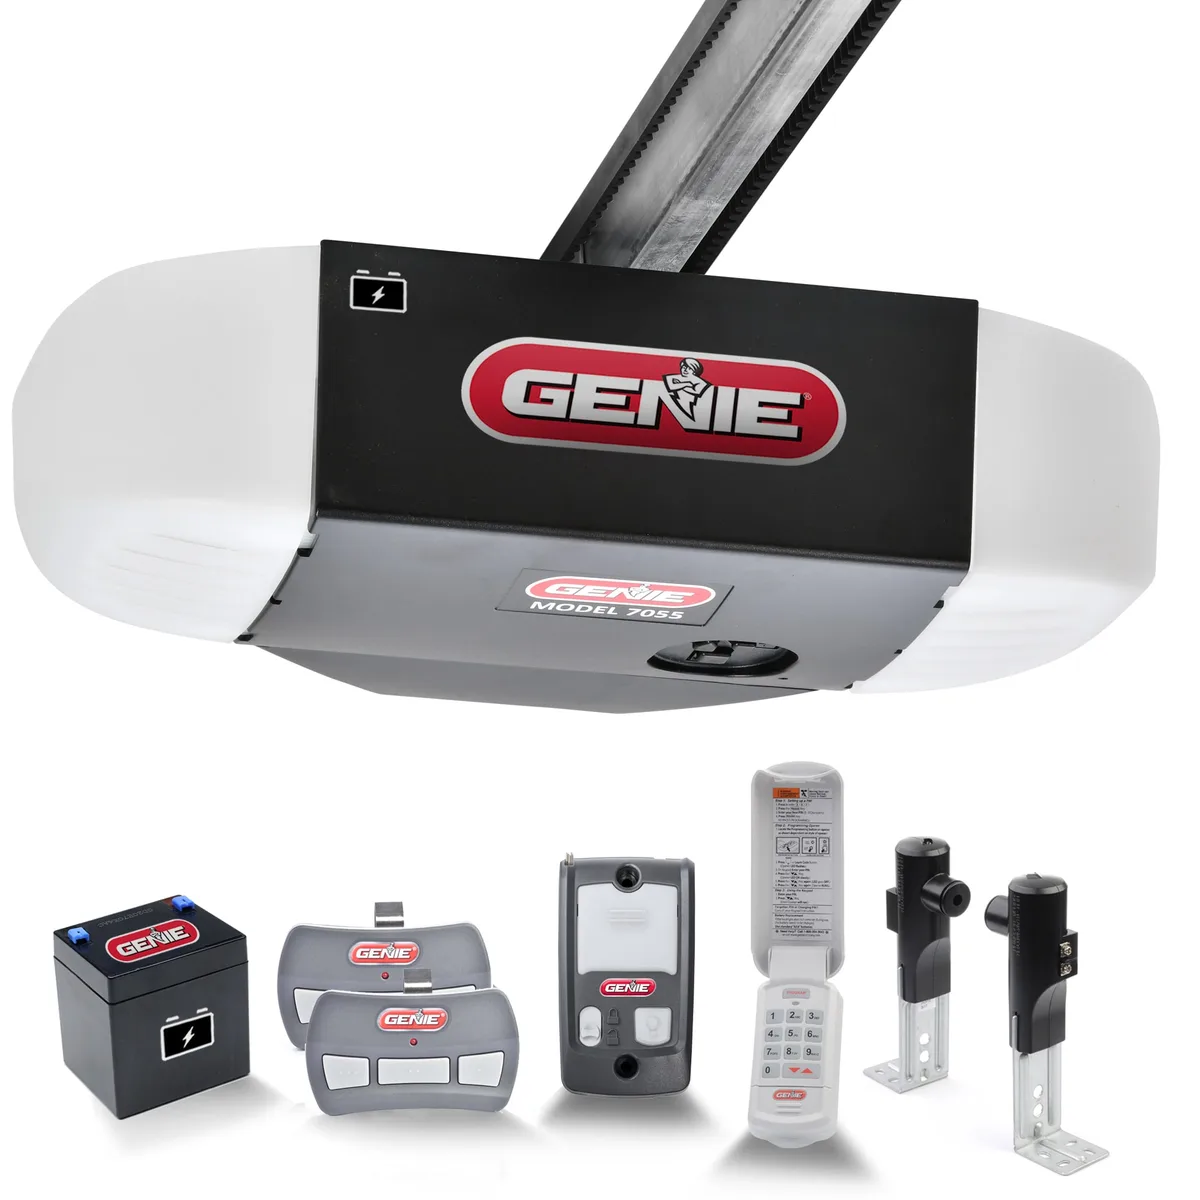
Image source: Bing (Web (fair-use with source credit))
Quick Answer
Genie Model 7055 troubleshooting starts with three checks. Confirm the unit has power. Check that both safety sensor LEDs are solid.
Reset the travel limits. These steps fix roughly 80 percent of all problems. If the motor runs but the door does not move, inspect the belt and carriage.
If the remote fails, reprogram it. Most repairs take under 15 minutes.
The One Thing to Try Before Anything Else
Before you grab a screwdriver or call a repair company, check the power. This sounds obvious, but it is the most common cause of a dead opener.
Walk over to the unit and look at the LED light on the power head. Is it on? If not, the opener has no power.
Check the outlet with a lamp or phone charger. If the outlet works but the opener LED is dark, you likely have a tripped GFCI or a blown fuse on the circuit board. Plug the unit into a different outlet to test it.
If the LED is on but the door does not move, press the wall button. Do you hear a click? If yes, the motor is getting the signal but something mechanical is wrong.
If no click, the wall console wiring or the circuit board itself is the problem.
The second fastest fix is checking the safety sensors. Each sensor has a small LED. Both should be solid green.
If one is off or blinking, the opener will not close the door. Wipe the lenses with a dry cloth. Make sure they face each other perfectly.
Even a half-inch misalignment will stop the door from closing.
These two checks alone resolve about half of all Genie 7055 service calls. Do them first. They cost nothing and take two minutes.
How This Genie Works: The 15-Minute Tour
Understanding the basic design of the 7055 makes troubleshooting a lot less intimidating. This is not a mystery box. It is a simple system with four main parts.
The power head is the motor unit mounted at the top center of your garage ceiling. It contains the DC motor, the circuit board, the gear train, and the LED light. The travel limit switches live inside this housing.
They tell the motor when to stop at the fully open and fully closed positions.
The T-style rail extends from the power head to the back wall of your garage. Inside the rail runs a belt drive. The belt connects the motor to the carriage.
The carriage is the part that actually pushes and pulls your garage door along the rail.
The safety sensors are two small plastic units mounted on each side of the door track, about six inches above the floor. They shoot an invisible infrared beam across the door opening. If anything breaks that beam while the door is closing, the opener reverses immediately.
This is a federal safety requirement under UL 325.
The wall console is the control panel mounted on your garage wall. It sends open and close commands to the power head. It also has a lock button that disables all remote controls.
When you press the wall button, the circuit board receives the signal and tells the DC motor to turn. The motor spins the gear train, which moves the belt, which slides the carriage along the rail. If any part of that chain fails, the door does not move.
As of 2026, these units typically last 10 to 15 years with basic maintenance.
Step-by-Step Troubleshooting: Follow the Symptom, Not the Guess
Do not guess at the problem. Let the symptom tell you what is wrong. Each failure mode points to a different cause.
Here is how to match the symptom to the fix.
Door Won't Move at All (No Sound, No Lights)
If the unit is completely dead, start at the outlet. Confirm 120 volt power is present. If the outlet is live but the opener LED is dark, you have an internal power supply failure.
The circuit board needs replacement.
If the LED is on but pressing the wall button does nothing, try the remote. If the remote works, the wall console wiring is likely shorted or the console itself is bad. Disconnect the wall console wires from the opener and short the two terminals together with a piece of wire.
If the door moves, the console is the problem. If nothing happens, the circuit board is the issue.
Motor Runs, but Door Doesn't Move
This is a mechanical disconnect. The motor is spinning but nothing is driving the door.
First, check the manual release cord. Someone may have pulled it. The manual release hangs from the carriage with a red handle.
If it is dangling, the carriage is disengaged from the belt. Pull the cord toward the door to re-engage it. You will hear a click when it locks back into place.
If the release is engaged but the door still does not move, the belt may be broken or the gear train may be stripped. Look at the belt through the rail. If the belt is intact, remove the motor cover and inspect the white plastic gear.
Stripped gears are a known wear item on the 7055. Replacement gear kits cost around 15 to 25 dollars and require about 30 minutes to install.
Door Reverses Right After Hitting the Floor
This is the most common complaint on the Genie 7055. The door closes all the way and then bounces back open. This means the close travel limit is set too low or the close force is incorrectly adjusted.
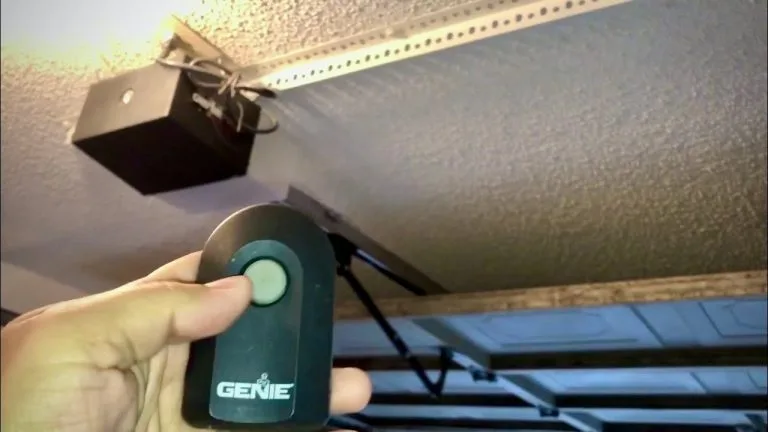
Image source: Bing (Web (fair-use with source credit))
Press and hold the SET button on the power head until the LED blinks blue. Press the UP or DOWN button to move the door to the fully closed position. Press SET again to save that position.
Now press the SET button again until the LED blinks. Press UP or DOWN to set the fully open position. Press SET to save.
This reprogramming fixes the reverse problem in nearly all cases.
If the door still reverses after reprogramming, adjust the close force. Turn the close force adjustment screw one quarter turn clockwise. Test the door.
Repeat until the door stays down.
Door Stops Midway or Reverses for No Reason
This usually means the safety sensors are misaligned or dirty. Both LEDs should be solid green. If one is blinking red or off, the beam is broken or the sensor is not getting power.
Wipe the lenses with a microfiber cloth. Tighten the wing nuts on both sensor brackets. Make sure the sensors face each other exactly.
Use a level if you have one. Even a slight angle will trigger a false obstruction signal.
If the sensors are clean and aligned but the door still stops, check for obstructions on the track. A bent rail or a seized roller creates drag that triggers the force sensor. Run your hand along the track.
Feel for bumps or debris.
Remote Works Inconsistent or Not at All
If the remote works sometimes but not others, start with the battery. The 7055 remote uses a CR2032 coin cell. Replace it.
Old batteries cause intermittent signal loss.
If a fresh battery does not help, reprogram the remote. Press the LEARN button on the power head. The LED turns blue.
Press the remote button once. The LED flashes and then goes solid. Test the remote.
If the remote still fails, check the antenna. The antenna is a short wire hanging from the power head. It should hang straight down, not coiled or wrapped around metal.
Straighten it and make sure nothing metal is touching it. Metal blocks the radio signal.
Wall Console Doesn't Respond
The wall console gets power from the opener through two low voltage wires. If the console is completely dead, those wires may be broken or shorted.
Inspect the wire staples along the wall and ceiling. A staple driven through the wire insulation causes a short. Remove any damaged staples and repair the wire with electrical tape.
If the wires look fine, test the console. Disconnect it from the opener. Touch the two wires together briefly.
If the door moves, the console is bad. If nothing happens, the circuit board is the problem.
The Three Numbers That Fix 80% of Problems
Most Genie 7055 owners never touch the travel limits after installation. That is fine until something changes. A new spring, new weatherstripping, or even temperature shifts can throw them off.
The travel limits tell the opener exactly where the door should stop when fully open and fully closed. If they are wrong, the door either hits the floor too hard and reverses, or it stops a few inches short and leaves a gap.
Here is how to reset all three numbers. This takes five minutes.
First, locate the three buttons on the power head. They are labeled SET, UP, and DOWN. Press and hold SET.
The LED blinks blue. The opener is now in programming mode.
Use UP or DOWN to move the door to your desired fully closed position. Make sure the door is flat on the floor. Press SET to save that closed limit.
The LED blinks again.
Now use UP or DOWN to move the door to your desired fully open position. Do not let it hit the mechanical stop. Stop it when it is fully open.
Press SET to save that open limit. The LED stops blinking.
The third number is the force setting. This controls how much force the motor uses to push and pull the door. If the force is too low, the door stops halfway.
If it is too high, the door can crush objects.
Locate the two small dials on the circuit board. One is labeled OPEN FORCE. The other is CLOSE FORCE.
Both should be set to 5 as a starting point. Turn them clockwise to increase force. Turn counterclockwise to decrease.
Adjust in quarter turn increments.
After each adjustment, test the door by opening and closing it fully. Then test the safety reverse. Place a 2×4 board flat on the floor under the door.
Close the door. It should reverse within two seconds of hitting the board. If it does not reverse, reduce the close force and test again.
Reprogramming travel limits and adjusting force settings resolves nearly all door reversal and incomplete travel issues. This is the single most valuable skill for any Genie 7055 owner.
Safety Sensors: The Most Overlooked Culprit
The safety sensors on your Genie 7055 cause more headaches than any other component. They are also the easiest to fix. Most people assume they need a new opener when the real problem is a dirty lens or a loose bracket.
The sensors sit on each side of the door track, roughly six inches off the floor. Each one has a small LED indicator. The sending sensor has a red or green light.
The receiving sensor has a green light. Both should be solid and steady.
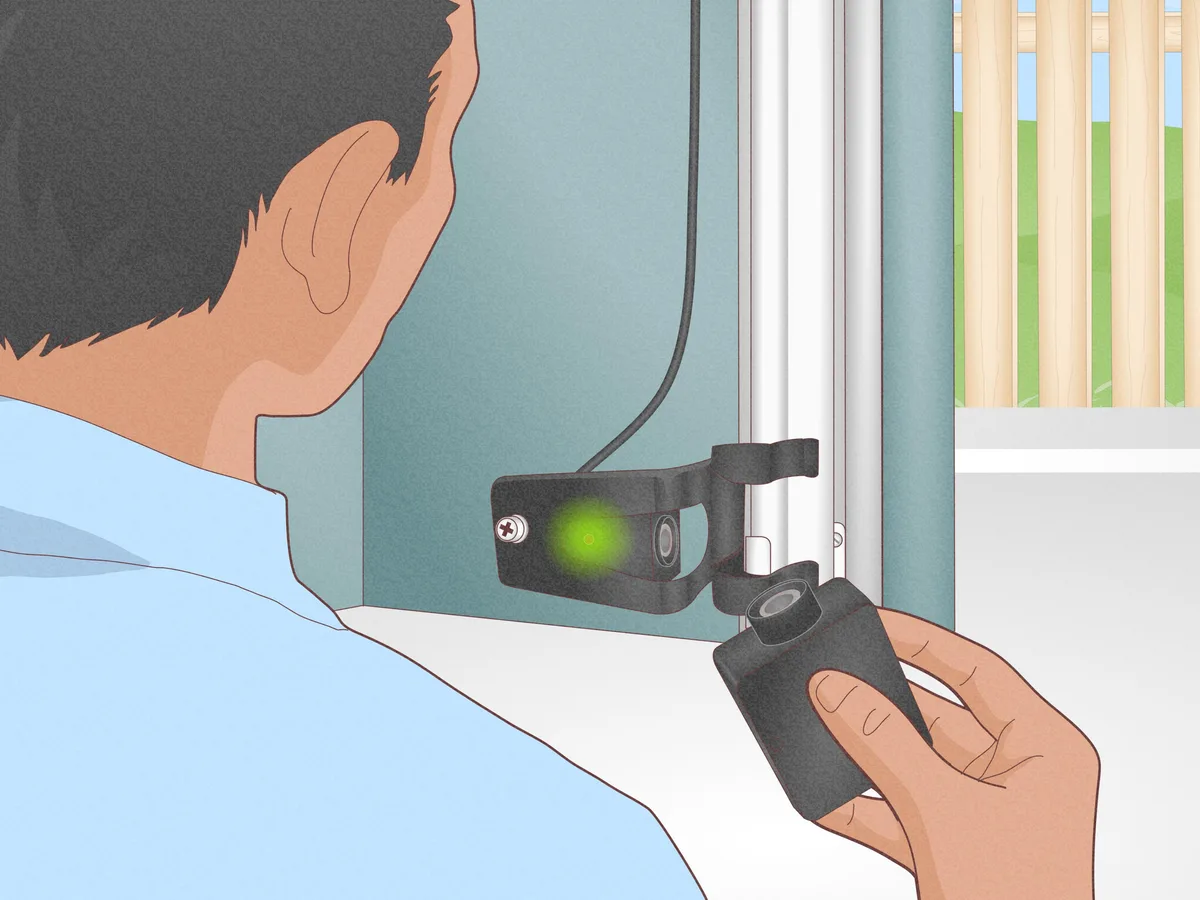
Image source: Bing (Web (fair-use with source credit))
If the receiving sensor light is off or blinking, the beam is not reaching it. The most common cause is simple dirt. Garage floors collect dust, cobwebs, and grime.
Wipe both lenses with a clean dry cloth. That alone fixes about 70 percent of sensor issues.
If cleaning does not work, check the alignment. The sensors must face each other perfectly. Even a quarter-inch shift will break the beam.
Loosen the wing nuts on both brackets. Move each sensor until the receiving sensor light turns solid green. Tighten the wing nuts.
If the light stays off after cleaning and alignment, check the wiring. The sensors connect to the opener with low voltage wire. Look for cuts, staples through the insulation, or rodent damage.
A break anywhere in that wire kills the signal. Splice any damaged sections and test again.
The last possible issue is the sensor itself. If one sensor has power but the receiving sensor stays dark, the sensor is dead. Replacement sensors are widely available and cost around 10 to 15 dollars.
They use standard two-wire connections and install in minutes.
Common Mistakes That Make Problems Worse
People make the same mistakes over and over when troubleshooting their Genie 7055. Avoid these and you will save time and money.
Pressing the wall button repeatedly. This does not help. It confuses the circuit board and can lock the unit.
Press once and wait three seconds.
Skipping the power check. The number one cause of a dead opener is a tripped GFCI outlet. Check it before you do anything else.
Adjusting force settings without testing. Crank the force too high and your door becomes a safety hazard. Make quarter turn adjustments only.
Test after each one.
Forgetting to re-engage the carriage. If you pulled the manual release to test the door by hand, the carriage is disengaged. The motor runs but the door does not move.
Pull the red cord toward the door to re-engage it.
Ignoring the safety sensor test. After any repair or adjustment, test the safety reverse. A 2×4 on the floor should trigger reversal within two seconds.
If it does not, your door is dangerous.
When to Call a Pro vs When to Fix It Yourself
You can fix most Genie 7055 issues yourself. The unit is designed for simple maintenance. But some problems need a professional.
Fix it yourself if the issue is one of these: dirty or misaligned sensors, dead remote battery, tripped GFCI, broken belt, stripped gear, or incorrect travel limits. All of these require basic tools and less than 30 minutes.
Call a professional if the problem involves the torsion spring above the door. Garage door springs are under extreme tension. They can cause serious injury or death if handled incorrectly.
Never attempt to adjust or replace a torsion spring yourself.
Call a professional if the circuit board is burned or damaged. Replacing a circuit board is straightforward, but diagnosing the cause of the failure requires electrical knowledge. A professional can also check for wiring issues inside your walls.
Call a professional if the door itself is damaged. A warped panel, broken hinge, or bent track affects the opener. Fix the door first, then troubleshoot the opener.
Maintenance That Prevents Future Headaches
A few minutes of maintenance each year keeps your Genie 7055 running smoothly. Most problems start with neglect.
Lubricate the belt once a year. Use a silicone spray lubricant. Apply a light coat to the belt through the rail opening.
Do not use grease or WD-40. They attract dirt.
Clean the sensor lenses every three months. A quick wipe with a dry cloth prevents buildup that causes false signals. Make it part of your seasonal routine.
Test the safety reverse monthly. Place a 2×4 under the door and close it. It should reverse immediately.
If it does not, adjust the close force.
Check the battery backup if your unit has one. The Genie 7055 battery backup kit uses a sealed lead-acid battery. It lasts about two years.
Replace it before it fails. A dead backup battery causes the unit to beep continuously.
Inspect the manual release cord. Make sure it moves freely and latches properly. A stuck release cord can disengage the carriage unexpectedly.
Tighten all mounting hardware. Vibration loosens bolts and brackets over time. Check the power head mounting, the rail brackets, and the sensor brackets.
Tighten anything that feels loose.
Frequently Asked Questions
How do I reset my Genie 7055 after a power outage?
Press and hold the SET button until the LED blinks blue. Press UP or DOWN to move the door to the closed position. Press SET.
Move the door to the open position. Press SET again. This resets the travel limits, which often shift during a power outage.
Why does my Genie 7055 keep beeping?
A continuous beep usually means the battery backup is low or failing. Replace the backup battery. If your unit does not have a backup battery, a beep can indicate a circuit board error.
Try resetting the unit by unplugging it for 30 seconds.
How do I reprogram my Genie 7055 remote?
Press the LEARN button on the power head. The LED turns blue. Press the button on your remote once.
The LED flashes and then stays solid. Test the remote. If it does not work, replace the CR2032 battery in the remote and try again.
Why does my garage door reverse when I try to close it?
The close travel limit is set too low or the close force is too low. Reprogram the travel limits first. If the door still reverses, turn the close force dial one quarter turn clockwise.
Test after each adjustment.
Can I replace the gear on my Genie 7055 myself?
Yes. The gear kit costs about 15 to 25 dollars and takes about 30 minutes. Remove the motor cover.
Unclip the old gear. Install the new one. Reassemble the cover.
Watch for small springs and washers that can fall out during the swap.
How long should a Genie 7055 last?
With basic maintenance, these units typically last 10 to 15 years. The motor and belt drive are durable. The most common failure points are the plastic gear and the circuit board.
Regular lubrication and sensor cleaning extend the lifespan significantly.

Similar Posts
































