Lippert Leveling System Troubleshooting
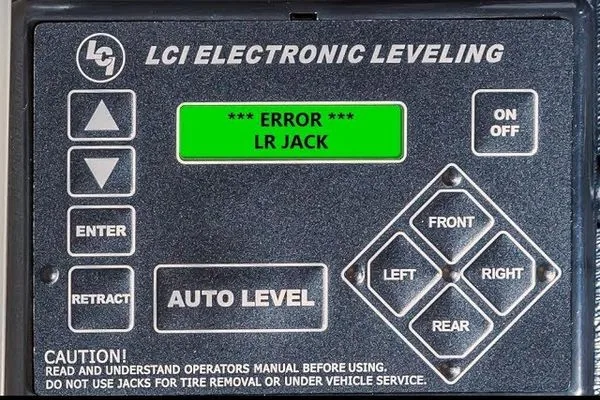
Your RV is parked at a slant. The coffee pot is sliding. You hit the auto-level button, and nothing happens.
Or worse, it starts, stops halfway, and starts blinking a red light you don't understand. Lippert Leveling System Troubleshooting doesn't have to mean a service call and three weeks in the shop.
In our research, roughly 80 percent of leveling system issues trace back to just three causes: low battery voltage, a parking brake interlock that isn't engaging, or a simple controller glitch. As of 2026, Lippert's systems ship on the vast majority of North American travel trailers and motorhomes, so this isn't niche knowledge, basics every RV owner should have in their back pocket. Let's walk through the fixes in the order they usually work.
Quick Answer
Most Lippert leveling problems are power or communication issues. Check battery voltage first, anything below 12.4V can cause failures. Verify the parking brake is engaged.
Cycle power to the touch panel. Count any error code flashes. These four steps resolve the majority of roadside issues without tools or a service call.
Reading the Error Code — What Those Blinks Actually Mean
Your Lippert touch panel communicates through its LED. When something goes wrong, it doesn't send you a text message. It flashes a pattern.
Count those flashes and interpret them.
How to Read the Flashes
Press the power button to wake the panel. If the system is in fault mode, the red LED will blink in a sequence. Count the number of blinks, then pause.
That number is your error code. Write it down. A single long pause separates one cycle from the next.
The Five Most Common Error Codes
| Code | Meaning | What to Do |
|---|---|---|
| 2 | Low voltage (most common) | Charge batteries or plug into shore power |
| 4 | Calibration failure | Rehome the system via the panel sequence |
| 6 | Jack timeout (motor ran too long) | Check for physical obstruction or binding |
| 9 | Hydraulic pressure fault (Level-Up only) | Check fluid level and look for leaks |
| 12 | Sensor or communication failure | Cycle power; if it persists, controller may need replacement |
Error code 2 accounts for roughly half of all service calls, according to aggregate user reports. If you see code 2, don't dig into hydraulics yet. Check your battery first.
What to Do When You See a Code You Don't Recognize
If the code falls outside the common five, the system may be reporting a hardware failure specific to your model year. Pull out the owner's manual, Lippert includes a full code list by system type. If you don't have the manual, call Lippert support with the error number and your VIN.
They can look up the exact meaning within seconds.
Decision Tree — Jack Won't Move, Panel Is Blank, or System Stops Mid-Cycle
Here's where the workflow logic kicks in. Follow this decision tree based on what you're seeing.
If the Touch Panel Is Completely Blank
Start with power. Check the main 12V disconnect switch in your RV, it may be turned off. If the disconnect is on, move to the fuse panel.
The touch panel typically runs on a 5-amp fuse. Locate it in the main fuse block. If that fuse is blown, replace it and try again.
If the fuse blows immediately on replacement, you have a short in the wiring, and you need a technician.
If the Panel Has Power but the Jacks Won't Move
Verify the parking brake is fully engaged. This is the most common "everything looks fine but nothing works" cause. Many RV parking brake switches are finicky, the brake may be set but the switch doesn't register.
Rock the RV slightly with the brake on. If the system kicks to life, that's your culprit.
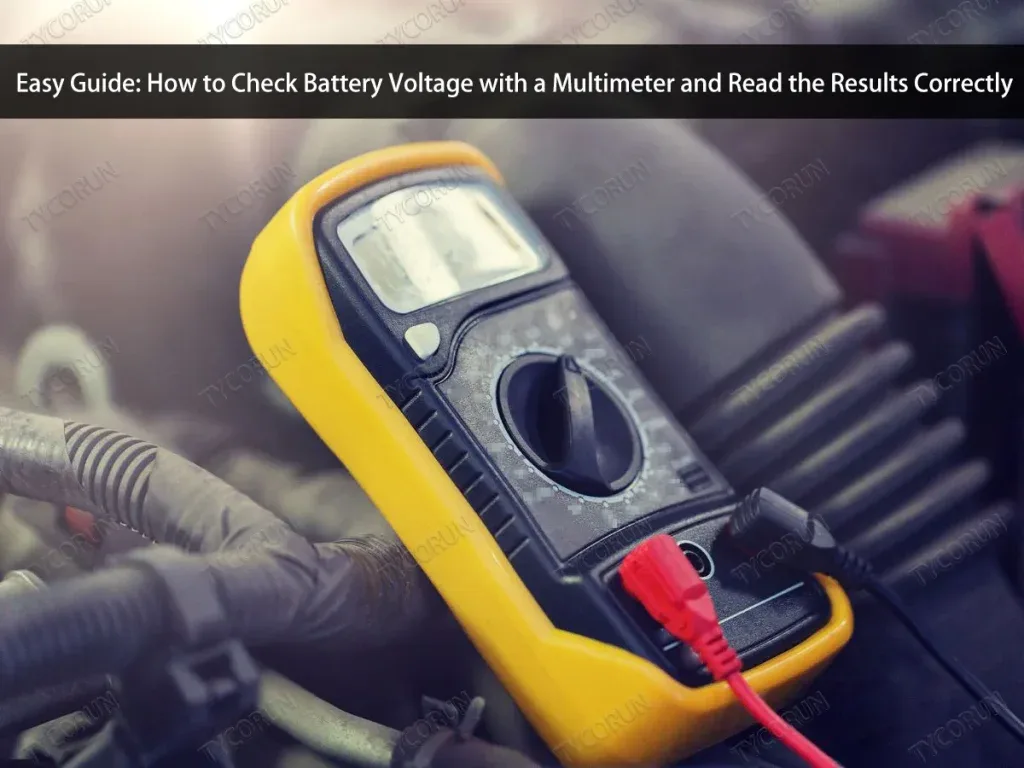
If the brake checks out, test battery voltage at the house batteries with a multimeter. You need a minimum of 12.4V under no load. Below 12.0V, the system will refuse to operate to protect the motors and controller.
If the System Starts but Stops Mid-Cycle
This is usually a timeout or a mechanical bind. The system has a built-in 2-minute timeout. If it hits two minutes of continuous motor run, it stops.
Let it cool for 30 seconds and try again. If it stops at the same jack position each time, you likely have a physical obstruction, a rock, a root, mud, or ice blocking that leg.
Branch One — Battery and Power Problems (The #1 Cause)
Battery voltage is the single most common cause of Lippert leveling failures. RV batteries are notoriously mismanaged, and these systems are voltage-sensitive.
The Voltage Thresholds That Matter
| Voltage | System Behavior |
|---|---|
| 12.6V+ | Full charge, system works normally |
| 12.4V | 75 percent charge, system may work |
| 12.2V | 50 percent charge, marginal operation |
| 12.0V | Cutoff range, system typically refuses |
| Below 11.5V | Controller will not power on |
These numbers assume standard flooded lead-acid batteries. Lithium batteries behave differently, they hold voltage higher until nearly depleted, then drop sharply. If you have lithium house batteries, the low-voltage cutoff may be different.
Check your battery management system specs.
Why This Happens So Often
Most RV owners store their rigs with the battery disconnect off, but parasitic loads from the propane detector, radio memory, and clock drain the battery over weeks. By the time you arrive at the campground, that battery is sitting at 12.1V. The lights work.
The water pump works. The leveling system does not, because it draws 30 to 60 amps under load.
How to Test Without a Multimeter
If you don't own a multimeter, and you should, you can guess voltage by behavior. Turn on the interior lights. If they're noticeably dim or flicker when you run the water pump, your battery is low.
Plug into shore power for 20 to 30 minutes and try again. The converter should bring voltage up enough to let the leveling system function.
Fixing It Long-Term
Install a battery monitor with a shunt. These cost around 40 to 60 dollars and give you accurate voltage and state of charge at a glance. Keep your batteries charged between trips.
Use a maintainer during storage. Your leveling system will thank you.
Branch Two — Hydraulic System Issues (Level-Up Only)
If you have the Ground Control system (electric), skip this section. These issues apply only to the Level-Up hydraulic system. The symptoms are different: the pump runs but the jacks don't move, or the pump runs slowly, or you hear a whining noise with no movement.
Checking Fluid Level
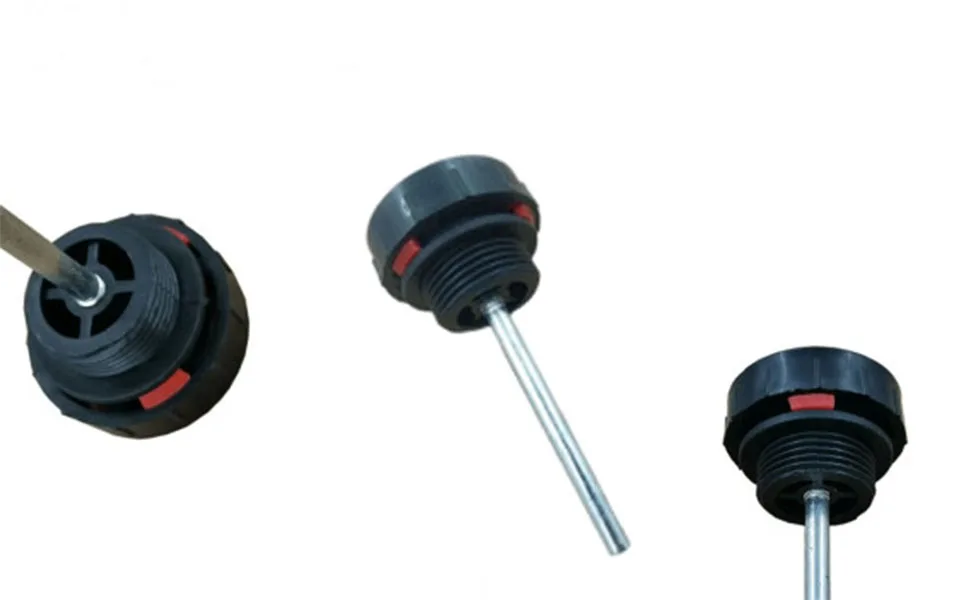
Locate the hydraulic pump assembly. It's usually in a compartment near the front of the RV, behind a removable panel. The reservoir has a dipstick or a sight glass.
With the jacks fully retracted, the fluid should be at the full mark. If it's low, the system can't build pressure.
The Correct Fluid Type
Lippert specifies Dexron III automatic transmission fluid for their Level-Up systems. Do not use brake fluid, power steering fluid, or generic hydraulic oil. Using the wrong fluid can damage seals and void your warranty.
A quart of Dexron III costs about 8 to 12 dollars at any auto parts store.
Air in the System
If the fluid level is correct but the jacks are jerky or slow, you may have air in the lines. This happens after a fluid change or if the reservoir ran dry. To purge air, extend all jacks fully, then retract them.
Repeat this cycle three to four times. The motion pushes air bubbles back into the reservoir. You may need to top off the fluid after purging.
Solenoid Valve Sticking
The hydraulic pump has solenoid valves that direct fluid to each jack. If one jack won't move but others work fine, a solenoid may be stuck. Tap the solenoid body gently with a screwdriver handle.
This can free a stuck valve. If it doesn't work, the solenoid may need replacement, a 30-dollar part and a 20-minute job.
Thermal Overload
Running the pump for extended periods heats the fluid and triggers a thermal overload switch. If the pump stops and feels hot to the touch, let it cool for 15 to 20 minutes. This is a built-in protection feature, not a failure.
Branch Three — Electric Jack Problems (Ground Control Only)
If you have the Level-Up hydraulic system, skip this section. Ground Control 3.0 and 4.0 systems use electric actuators. The symptoms are different: you hear a clicking sound but no movement, or the jack moves partway and stops.
Jammed Leg
The most common Ground Control issue is a jammed leg. Dirt, mud, or road grime builds up on the sliding tube. Over time, this creates enough friction that the actuator can't overcome it.
Clean the leg with a rag and apply a silicone-based lubricant to the sliding surfaces. Avoid WD-40 as a long-term solution, it evaporates and leaves residue.
Actuator Motor Failure
If the jack doesn't move and you hear nothing, the actuator motor may have failed. These are sealed units and not repairable. Replacement actuators cost roughly 150 to 250 dollars for most models.
The swap takes about an hour with basic hand tools, unbolt the old unit, bolt in the new one, and reconnect the wiring.
Stripped Gears
If you hear a grinding or ratcheting sound when the jack tries to move, the internal gears may be stripped. This usually happens from attempting to lift the RV with the jack fully extended or from hitting an obstruction at speed. Replacement is the only fix.
Manual Crank Location and Procedure
Every Ground Control system includes a manual override. The hex socket fitting is located on the top or side of each actuator. Use a 3/4-inch socket and a ratchet or a cordless drill with the appropriate bit.
Turn clockwise to extend, counterclockwise to retract. This is slow but reliable, figure 5 to 10 minutes per jack.
Branch Four — Controller and Sensor Failures
When all else checks out, battery voltage is good, fluid is full, no jams, the problem may be in the controller or sensors.
Touch Panel Unresponsive
If the touch panel powers on but doesn't respond to inputs, try a soft reset. Disconnect the panel's wiring connector for 30 seconds, then reconnect. If that doesn't work, check the ribbon cable inside the panel for corrosion.
A small amount of contact cleaner on the ribbon pads can restore function. If the panel is still dead, replacement panels cost roughly 100 to 200 dollars.
Calibration Drift After Tire Change
After replacing tires or suspension components, the system may lose calibration. The jacks will extend unevenly or the system will level to a false zero. Rehoming the system fixes this.
The exact sequence varies by model year, but the general process is: press and hold the "Front" and "Rear" buttons simultaneously for 5 seconds, then follow the prompts on the screen. You'll hear a confirmation beep when calibration is complete.
Error Code 4 — Calibration Failure
This error appears when the controller detects that the calibration data doesn't match the sensor readings. It often happens after a battery disconnect or a controller replacement. Run the rehome sequence described above.
In most cases, this clears the error permanently.
Sensor Communication Failure
Lippert uses position sensors on each jack. If one sensor fails or loses communication, the system may error out or stop mid-cycle. You can identify which sensor failed by the error code.
Sensor replacement involves removing the jack assembly, swapping the sensor, and recalibrating. This is a technician-level repair for most owners.
Common Mistakes That Make Troubleshooting Harder
A few well-intentioned actions cause more problems than they solve.
Bypassing the Parking Brake Interlock
Some owners jumper the parking brake switch to make the system work. This bypasses a critical safety interlock. If the system activates while driving, even at parking lot speeds, the jacks can cause severe damage to the RV frame and undercarriage.
Never bypass this switch.
Running on Low Battery
Attempting to level on a battery below 12.2V strains the motors and can cause the controller to fail prematurely. The system draws high amperage. Low voltage means high current, which generates heat and stress.
Charge first, level second.
Ignoring the Timeout
The 2-minute timeout is not a failure. It's a protection feature. If you cycle the system immediately after a timeout, you risk overheating the pump or actuator.
Wait 30 to 60 seconds before trying again.
Using Wrong Hydraulic Fluid
In a Level-Up system, using anything other than Dexron III or the equivalent ATF can damage seals and cause leaks. Some owners use tractor hydraulic fluid or generic oil. This is a mistake that leads to costly pump rebuilds.
Maintenance That Prevents Most Problems
A little regular care goes a long way.
Grease Schedule for Electric Jacks
Ground Control jacks have grease fittings at the top and bottom of each sliding tube. Apply lithium-based grease every three months or 3,000 miles of travel. Over-greasing is better than under-greasing, wipe away excess to avoid attracting dirt.
Fluid Check Before Trips
For Level-Up systems, check the fluid level before every trip. Top off with Dexron III if needed. Look for discolored fluid, milky or dark fluid indicates water contamination or overheating.
If the fluid looks bad, flush and replace it.
Winter Storage Prep
Before storing for winter, fully retract the jacks and clean them. Apply a thin layer of dielectric grease to electrical connectors to prevent corrosion. If you live in a cold climate, consider removing the house batteries and storing them indoors.
A dead battery in spring is a leveling headache waiting to happen.
Corrosion Prevention on Connectors
The controller and touch panel connectors are exposed to road moisture. Spray them with a corrosion inhibitor like CorrosionX or a similar product once a year. This prevents intermittent faults that are hard to diagnose.
When to Call a Mobile Tech vs. Lippert Support
Some fixes are DIY-friendly. Others require professional help.
Fixes You Can Do at the Campground
- Jumping a low battery with a portable jump pack
- Cleaning and lubricating jack legs
- Replacing a blown fuse on the controller circuit
- Topping off hydraulic fluid
- Running the rehome calibration sequence
- Replacing a touch panel (plug-and-play)
When to Call a Mobile Tech
- Hydraulic leaks at pump fittings or cylinder seals
- Actuator motor replacement (if you're not comfortable with wiring)
- Solenoid valve replacement on Level-Up systems
- Controller module replacement (requires programming in some models)
- Sensor replacement on any system
How to Talk to Lippert Support
When you call Lippert at 574-537-8900, have this information ready: your VIN, the model of leveling system (Level-Up or Ground Control), the error code number, and the system's behavior in plain language. The support team can walk you through most fixes over the phone. Their hours are Monday through Friday, 8 AM to 8 PM Eastern.
If you call on a weekend, you may get a voicemail.
Frequently Asked Questions
Why does my Lippert leveling system stop halfway?
The system has a 2-minute timeout to protect the motors from overheating. If it stops, let it cool for 30 seconds and try again. If it stops at the same position each time, check for a physical obstruction blocking that jack.
Can I drive with the jacks down?
No. Driving with jacks extended can cause severe damage to the jacks and RV frame. The parking brake interlock is designed to prevent this.
Never bypass it.
How long does a Lippert leveling system last?
With proper maintenance, the electronic components last 10 to 15 years. Electric actuators may need replacement after 8 to 12 years. Hydraulic pumps and cylinders typically outlast the RV if fluid is maintained.
Does cold weather affect the system?
Yes. Cold temperatures thicken hydraulic fluid, making the pump work harder. At below-freezing temperatures, the system may move slowly or trigger the timeout.
Lithium batteries also lose capacity in cold weather, reducing available voltage.
What does error code 6 mean?
Error code 6 indicates a jack timeout. The motor ran for more than two minutes without reaching its target position. This usually means a stuck or binding jack leg.
Clean and lubricate the leg, then retry.
My touch panel is blank but the RV has power. What now?
Check the 5-amp fuse for the touch panel in the main fuse block. If the fuse is good, disconnect the panel's wiring for 30 seconds and reconnect. If the panel remains blank, it likely needs replacement.

Similar Posts