GoPro HERO13 Black How to Use
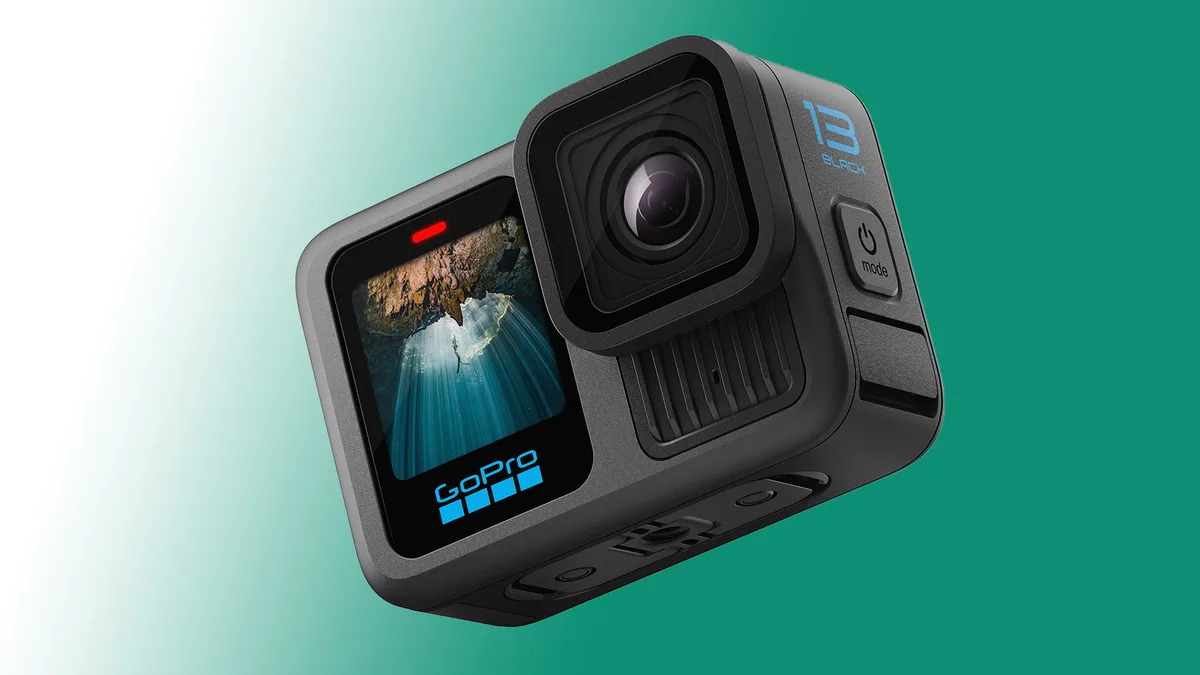
You’ve got the GoPro HERO13 Black, and now you want to know how to use it. The camera is small, tough, and loaded with settings that can feel overwhelming at first. But the core workflow is simpler than the box makes it look.
The HERO13 Black is the first GoPro with a magnetic latch mount system. It changes how you attach and remove the camera from accessories. The camera is waterproof to 10 metres without a housing, and it can shoot 5.3K video at 60 frames per second.
Let’s walk through what you need to get the best footage out of this action camera.
Image source: Web (Bing) / cined.com (Web image (fair-use with source credit))
Quick Answer
Turn on the GoPro HERO13 Black. Swipe down on the rear touchscreen to open the settings menu. Choose your video resolution and frame rate.
Press the red shutter button on top to start recording. Use the Quik app to transfer and edit your footage.
The Big Picture: What’s Changed and Why It Matters
The HERO13 Black is a refinement of the HERO12, with a few key hardware and software updates.
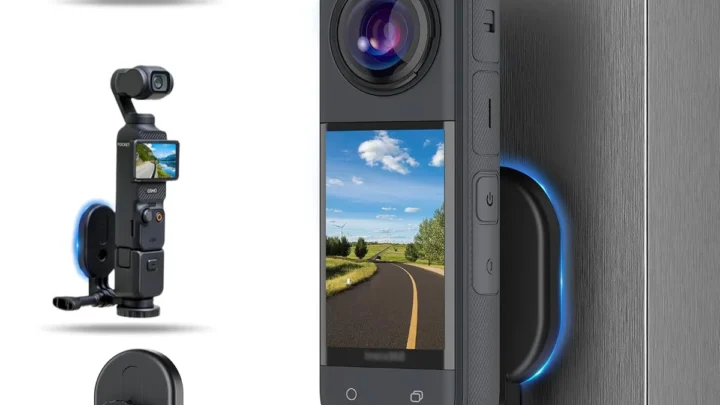
The biggest change is the magnetic latch mount system. It replaces the old thumb screw and plastic finger loop. You pull a lever, the mount clicks into place, and you’re done.
It’s faster and more secure than the previous design. Verified buyer feedback reports that it rattles less on rough terrain, which is a real benefit for mountain biking and motocross.
The second major update is HDR video mode. This is a toggle you enable in the video settings menu. When active, it captures more detail in the highlights and shadows.
Colors look more natural, and the footage feels closer to what your eye actually saw. It genuinely improves image quality, especially in mixed lighting conditions like a sunny day with deep shadows.
The camera also supports HLG (Hybrid Log-Gamma) 10‑bit color, which is a professional-grade format for post-production grading. If you edit in DaVinci Resolve or Adobe Premiere, this gives you more flexibility to pull detail out of shadows without introducing noise.
| Feature | HERO12 Black | HERO13 Black |
|---|---|---|
| Mount system | Thumb screw + plastic finger loop | Magnetic latch with lock lever |
| HDR video | Not available | Toggle in video settings |
| Color profile | 8‑bit (standard) | 10‑bit HLG available |
| GPS | No | Yes (speed, elevation, location) |
| Lens mods | Standard + wide | Standard + wide + macro + anamorphic |
The magnetic latch and HDR mode alone make the upgrade worthwhile if you’re coming from a HERO11 or earlier. If you’re on a HERO12, the decision is less clear. You get the mount and HDR, but the rest of the shooting experience is very similar.
Unboxing and First Setup: The Magnetic Latch and Cellphone Rule
When you open the box, you’ll find the camera, the Enduro battery, a USB-C cable, a curved adhesive mount, a mounting buckle, a thumb screw, and a protective lens cover. The manual is basic. You’ll want to charge the battery fully before your first use.
Treat it like a new phone and give it a full charge cycle.
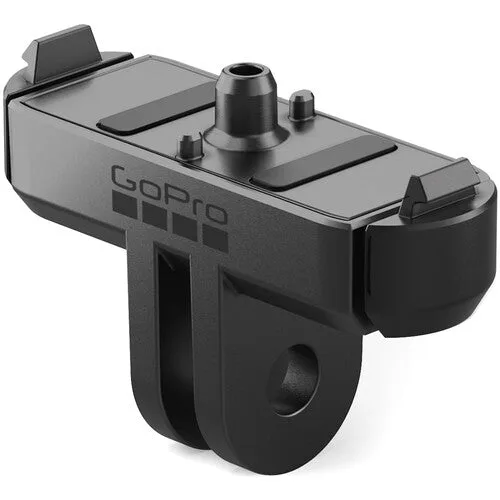
Image source: Web (Bing) / onboard.tv (Web image (fair-use with source credit))
The magnetic latch mount is already attached to the bottom of the camera. It has a small lever on the side. To attach it to a mount, push the latch into the mount’s slot until you hear it click.
Then flip the lever down to lock it. To remove it, flip the lever up, pull the latch out, and it slides off. It’s that simple.
You also need to insert a microSD card. The camera accepts UHS-I V30 cards or faster. Using a slower card can cause the camera to stop recording unexpectedly.
That’s a common frustration. We have a separate guide on choosing the right storage card if you run into trouble.
Before you head out, format the card inside the camera. Go to Preferences > Format SD Card. This clears any residual data from previous use and ensures the card is ready for the high bitrate footage the HERO13 produces.
Skipping this step is one of the most common mistakes new users make.
The included USB-C cable is for charging and data transfer. You can also use it to power the camera directly from a portable battery pack, which is useful for long time-lapses or extended recording sessions.
The Menu System: A Quick Visual Tour of the GoPro HERO13 Black
The rear touchscreen is the main interface. It’s a 2.27‑inch display that responds to swipes and taps. The front has a small status display that shows the current mode, battery level, and remaining recording time.
It’s not a touchscreen, but it’s bright enough to read in direct sunlight.
The main menu is organized into four swipe directions.
Swipe down from the top of the screen to open the Quick Settings panel. This is where you’ll find the most used toggles: resolution, frame rate, stabilization level, field of view, and HDR mode. You can also access the full settings menu from here.
Swipe up from the bottom to enter the media gallery. This lets you review your recent clips and photos. You can delete, protect, or favorite them directly on the camera.
Swipe left from the right edge to cycle through the main shooting modes. The default order is Video, Photo, Time Lapse, Slow Motion, and Burst. You can customize this order in the preferences menu.
Swipe right from the left edge to open the mode presets. This is where you can save your favorite settings as a custom preset. For example, you can save a “Mountain Bike” preset with 5.3K at 30fps, HyperSmooth Boost, and Wide field of view.
Then you can switch to it instantly without digging through the menu.
The touchscreen is responsive, but it can be tricky to use with gloves. If you’re skiing or snowboarding, the voice control is a solid alternative. Say “GoPro start recording” and it begins.
The camera recognizes 12 commands, including “GoPro stop recording” and “GoPro take a photo”.
The Most Important Settings: Resolution, Stabilization, and HDR Mode
The three settings that have the biggest impact on your footage are resolution, stabilization, and HDR mode. Getting these right for your specific scenario is the difference between great footage and a blurry mess.
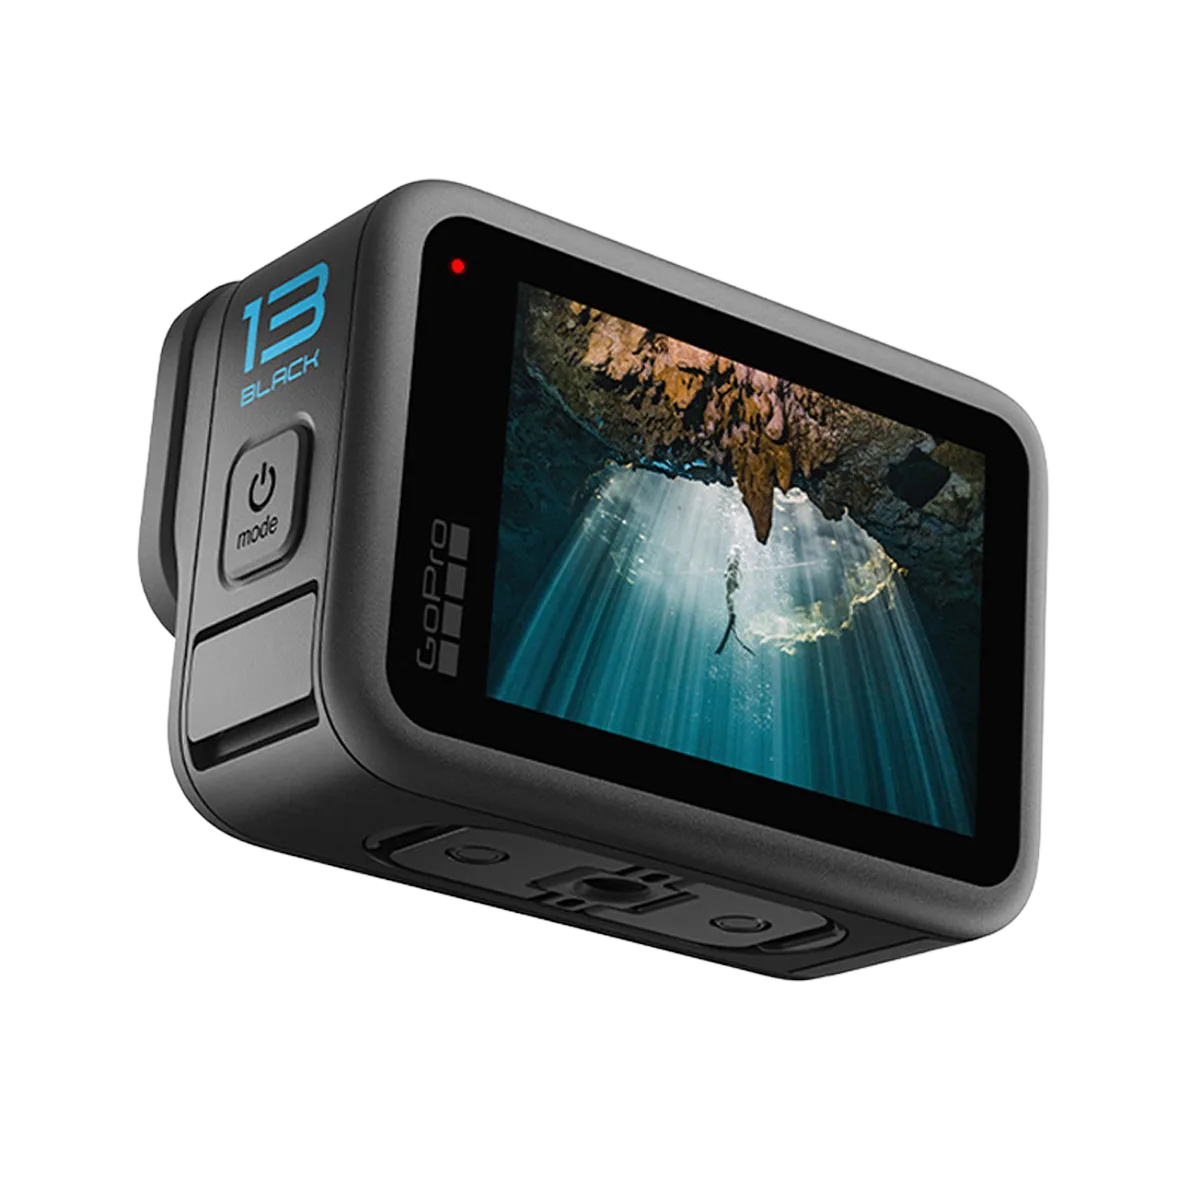
Image source: Web (Bing) / gopro.pe (Web image (fair-use with source credit))
Resolution and frame rate. The HERO13 Black can shoot 5.3K at 60fps, 4K at 120fps, and 2.7K at 240fps. The higher the frame rate, the smoother the slow motion will be when you slow it down in editing. Here’s a simple rule of thumb:
- Use 5.3K at 30fps for maximum quality and dynamic range. This is the best option for cinematic shots and vlogs.
- Use 4K at 60fps for standard action footage. It’s a good balance between quality and file size.
- Use 4K at 120fps for slow motion. You can slow it down to 25% speed in editing and still get smooth playback.
- Use 2.7K at 240fps for extreme slow motion. This is where you capture the water splash, the snow spray, or the impact.
Stabilization. HyperSmooth 6.0 is the best stabilization system GoPro has ever made. You have five levels: Off, Low, High, Boost, and Auto. Each level crops into the image differently.
Auto is the most impressive. It analyzes the movement and adjusts the stabilization dynamically. If you’re walking, it uses a moderate crop.
If you’re running or riding a bike, it increases the crop to smooth out the bumps.
HDR mode. This is a toggle you enable in the video settings. When active, the camera captures two exposures simultaneously and blends them into one frame. The result is footage with more detail in the bright sky and the dark shadows.
The trade-off is a slight increase in processing time, which can reduce the maximum frame rate. HDR mode works best at 30fps or below. If you try to use it at 60fps, the camera will default to standard mode.
The HDR mode is particularly useful for scenes with a wide dynamic range: a sunset over a landscape, a person standing in front of a bright window, or a forest with dappled sunlight. It’s not necessary for flat, even lighting.
Common Mistakes and How to Avoid Them
Even experienced users make these mistakes. Here’s what to watch out for.
Forgetting to format the SD card. If you insert a card that was used in another device, the camera may not recognize it. It could also cause recording errors. Always format the card in the camera before your first use.
This is a two-second process that saves hours of frustration.
Using a slow SD card. The HERO13 Black writes at up to 120 Mbps. A V30 card is the minimum required. A V60 or V90 card is better.
If you use a slower card, the camera will stop recording and show a card error. This is a well-documented problem, and we have a dedicated guide on the HERO13 Black SD card issue if you need to troubleshoot.
Leaving the lens cap on. The camera comes with a clear protective lens cover. It’s easy to forget it’s there. The footage will look soft and slightly out of focus.
Remove it before you start recording.
Not updating the firmware. GoPro releases firmware updates that fix bugs and improve performance. The camera ships with the initial firmware version. Check the Quik app for updates and install them before your first shoot.
This is especially important for the HDR mode, which received a performance improvement in an early update.
Expecting good low-light performance. The HERO13 Black has a small sensor. It’s not a low-light camera. If you’re filming indoors or at night, the footage will be noisy and the stabilization will struggle.
The camera works best in bright outdoor conditions. If you need low-light performance, consider a camera with a larger sensor.
Ignoring the battery indicator. The Enduro battery is good for about 1.5 hours of continuous recording at 5.3K. But the battery indicator on the front display is small. It’s easy to miss.
Set a reminder to check the battery level every 30 minutes, especially if you’re in the middle of a long activity. Running out of battery mid-session is a common frustration, and it’s one that can be avoided with a simple habit. We have a guide on battery-related issues for earlier models if you want to understand the patterns better.
Real-World Use Cases: How to Set Up for Different Scenarios
The settings you choose depend entirely on what you’re filming. Here’s how to set up the HERO13 Black for the most common scenarios.
Mountain biking or downhill action. Use 4K at 60fps with HyperSmooth Boost. The Boost level adds extra crop but smooths out the biggest bumps. Use the Wide field of view to capture the trail and your handlebars.
Mount the camera on your chest or helmet. The magnetic latch mount makes it easy to switch between the two mid-ride.
Vlogging or travel. Use 5.3K at 30fps with HDR mode enabled. This gives you the best image quality and dynamic range for outdoor scenes. Use the Linear field of view to avoid the fisheye distortion.
The front status display helps you frame yourself. If you’re talking to the camera, enable voice control so you can start and stop recording without touching it.
Slow motion captures. Use 4K at 120fps or 2.7K at 240fps. Turn off HDR mode, as it’s not supported at these frame rates. Use HyperSmooth High or Auto for stabilization.
This setup works well for skateboarding tricks, water splashes, or any fast movement you want to replay in slow motion.
Time-lapse or hyperlapse. Use the dedicated Time Lapse mode in the menu. Set the interval to 0.5 seconds for fast-moving subjects like traffic or clouds. Use 2 seconds for slower scenes like a sunset.
Mount the camera on a tripod or a stable surface. The camera will stitch the frames together automatically. For hyperlapse, use the walking mode and keep the camera steady.
Underwater or snorkeling. The camera is waterproof to 10 metres without a housing. Use 4K at 30fps with HDR mode on. The HDR mode helps with the contrast between the bright surface and darker underwater areas.
Use the SuperView field of view to capture the widest scene. Attach a floaty handle to prevent the camera from sinking if you drop it.
Frequently Asked Questions
How do I turn on the GoPro HERO13 Black?
Press the side button for one second. The camera will power on and show the rear touchscreen. Press the side button again briefly to switch between modes.
Hold it for three seconds to power off.
How do I transfer footage to my phone?
Connect the camera to the Quik app via Wi-Fi. Open the app and tap the camera icon. Select the clips you want to transfer and tap download.
The app compresses the files for mobile sharing. For full quality, use a USB-C cable to transfer to a computer.
What SD card do I need?
The camera requires a UHS-I V30 microSD card or faster. A V60 or V90 card is recommended for 4K at 120fps and higher. Brands like SanDisk, Samsung, and Lexar are reliable options.
A 256GB card holds about 4 hours of 5.3K footage.
How long does the battery last?
The Enduro battery lasts about 1.5 hours of continuous recording at 5.3K at 30fps. At 4K at 60fps, expect about 1.8 hours. In cold weather, the battery drains faster.
The camera uses the included Enduro battery, which is optimized for cold temperatures.
Can I use it underwater without a housing?
Yes. The camera is waterproof to 10 metres (33 feet) without a housing. For deeper dives, you need the optional dive housing.
The waterproof rating applies to fresh water. Salt water requires rinsing the camera with fresh water after use.
How do I update the firmware?
Open the Quik app on your phone. Connect the camera via Wi-Fi. The app will check for updates automatically.
If an update is available, tap install. Keep the camera connected to power during the update. Do not interrupt the process.

Similar Posts