Harley Davidson Cv Carburetor Troubleshooting
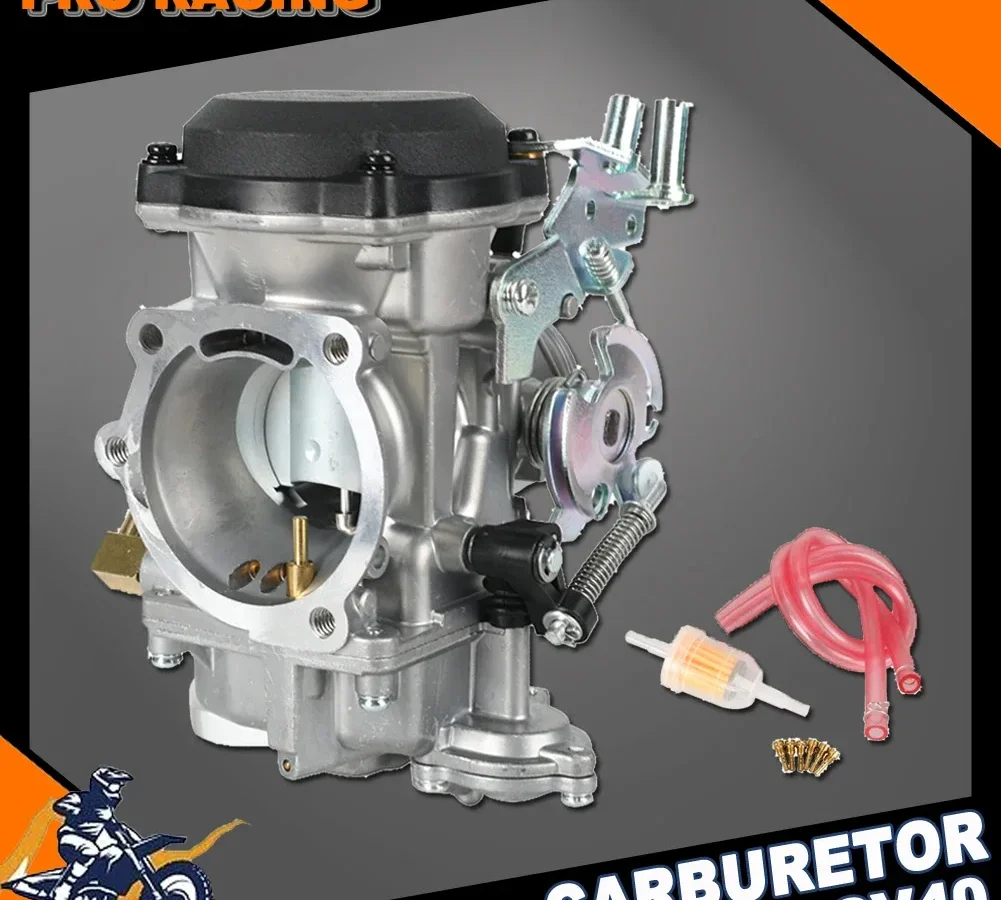
If your Harley hesitates, stumbles, or refuses to idle, you're dealing with the most common gremlin in the carbureted Big Twin and Sportster world. Harley Davidson CV carburetor troubleshooting doesn't have to mean tearing the whole thing apart and hoping for the best. In most cases, it's one of three simple failures, and you can nail it in under ten minutes with basic hand tools.
The Keihin CV40 and CV44 carbs that left the factory on millions of Harleys between 1988 and 2006 are reliable pieces when they're clean and sealed. But age, ethanol fuel, and vibration take their toll. Per the factory service manual, the stock float height sits at 0.197 inches, and the idle mixture screw comes set at roughly 1.75 turns out.
Once those numbers drift, your bike starts talking back. Let's walk through exactly what it's telling you.
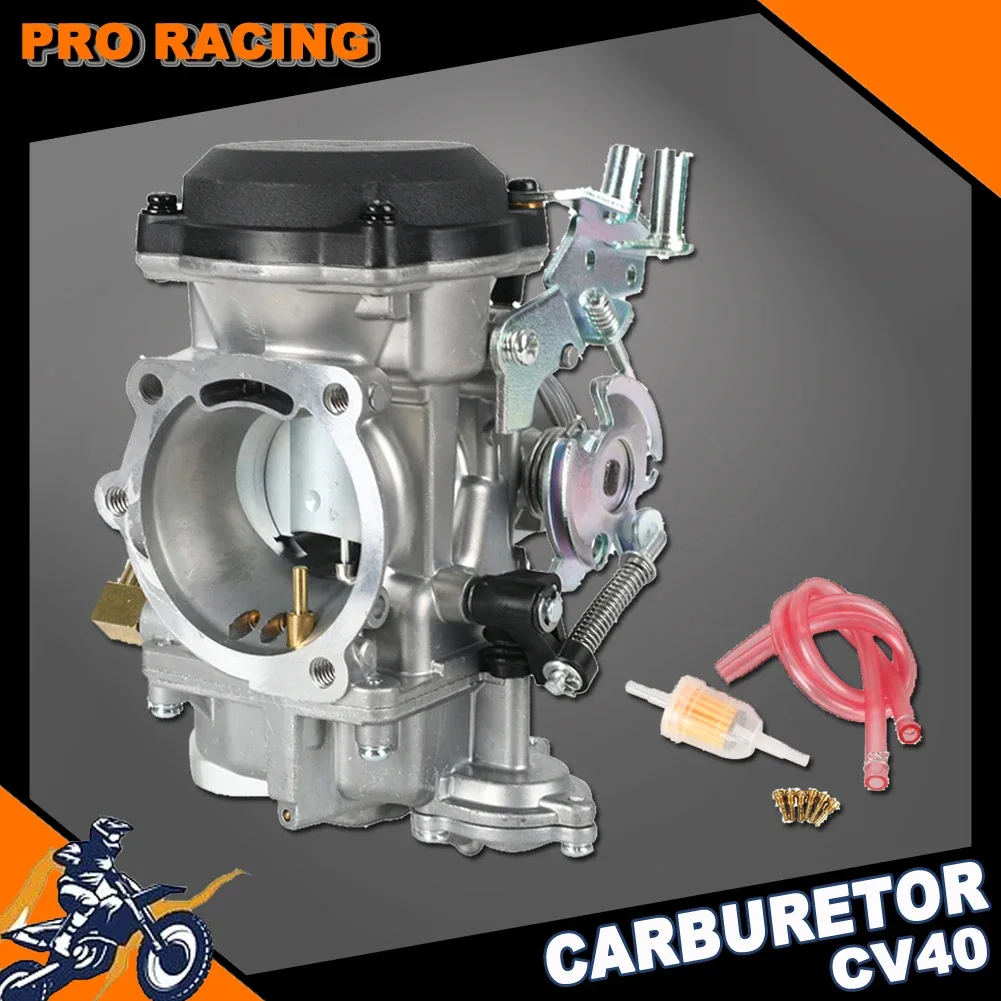
Image source: Bing (Web (fair-use with source credit))
Quick Answer
Most CV carb problems come down to three culprits. A clogged pilot jet kills idle. A torn slide diaphragm kills top-end power.
A failed accelerator pump causes the dreaded off-idle stumble.
Clean the pilot jet first. Check the diaphragm second. Test the accelerator pump squirt third.
That order catches roughly 80 percent of running complaints without pulling the carb from the bike.
If the bike sat for more than three months with ethanol fuel in the bowl, plan on a full bowl and jet cleaning. If it runs fine cold but dies hot, check fuel boiling in the float bowl or a stuck float needle.
Why Your CV Carb Acts Up (And Why It Feels Random)
The constant velocity design is brilliant when it works. It uses engine vacuum to lift the slide, so the carb meters air and fuel based on actual demand rather than just throttle position. That gives you smooth roll-on and decent fuel economy.
But it also means any vacuum leak or diaphragm issue messes with the whole metering curve.
Here's the part that trips most owners up. The CV carb has three separate fuel circuits operating at different throttle positions. The pilot circuit handles idle and just off idle.
The main circuit takes over from about one-quarter throttle up. The accelerator pump shoots a squirt of raw fuel when you crack the throttle to cover the lag while the slide rises.
When something goes wrong, the symptom tells you exactly which circuit is the problem. A bike that idles fine but bogs when you whack the throttle open has a bad accelerator pump almost every time. A bike that starts and runs cold but dies at stop signs has a pilot jet issue.
A bike that pulls cleanly to 3000 RPM then falls flat has a slide diaphragm that's torn or leaking.
Owner reports and repair logs confirm that the diaphragm is the single most common failure point on bikes older than 15 years. The rubber hardens, develops pinhole cracks, or tears at the outer lip. The bike still runs, but it feels gutless above half throttle because the slide never fully lifts.
The 3-Minute Quick Check (Do This Before You Tear Anything Apart)
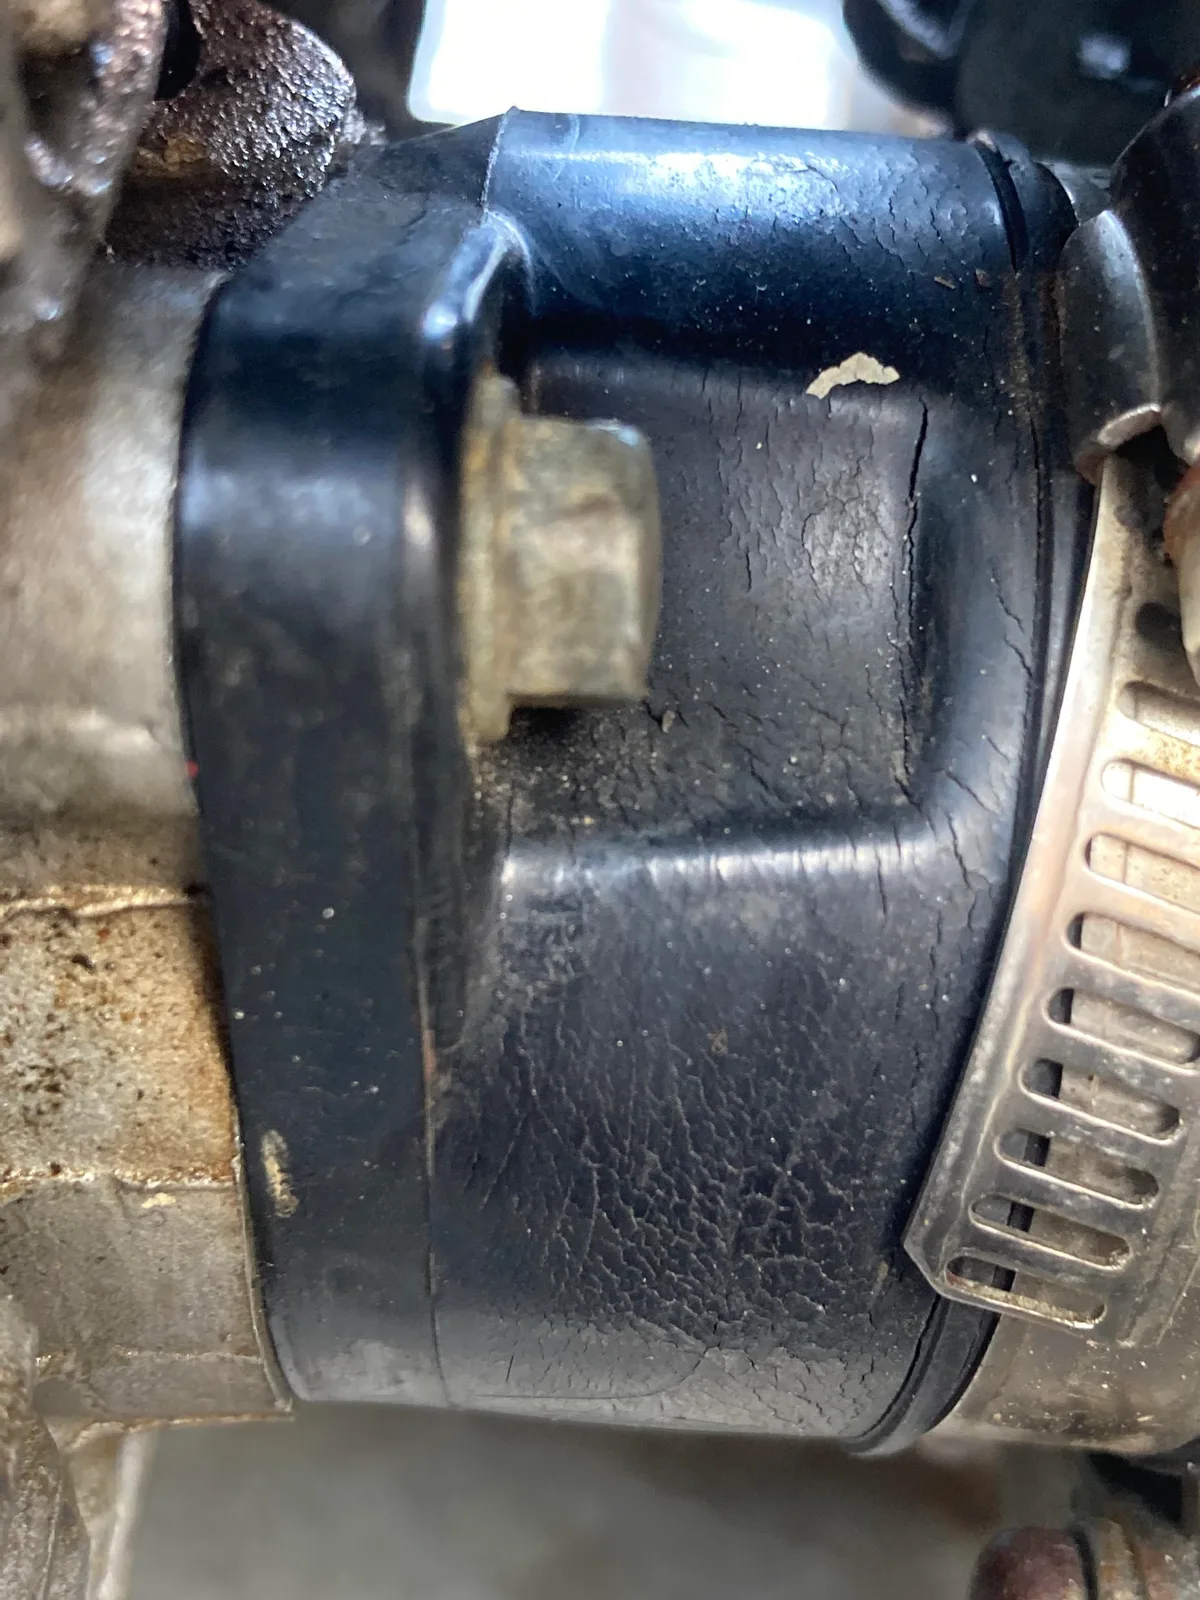
Image source: Bing (Web (fair-use with source credit))
Before you pull the air cleaner or loosen a single bowl screw, do these four checks. They take three minutes and catch problems that look like carburetor issues but aren't.
Check the fuel supply first. Turn the petcock to prime or run and open the float bowl drain screw. Fuel should flow steadily. If it dribbles or stops, you have a petcock vacuum problem, a clogged tank vent, or a gummed fuel line.
No amount of carb tuning fixes no fuel.
Squeeze the intake boot. The rubber manifold between the carb and the cylinder head cracks with age. Run your finger along the underside. Cracks there leak air, create a lean surge at idle, and make the bike run hot.
If you find a crack, replace the boot before you touch the carb. Owner reports on bikes over a decade old indicate that roughly one in four CV carb problems is actually a cracked intake boot.
Look at the spark plugs. Pull the front plug only if you're in a hurry. A tan color means the mixture is close. White or ash-gray means lean.
Black and sooty means rich. This is your single best clue about which direction the carb is actually running.
Start the bike cold with the enrichener on. If it starts and idles fine cold but stalls as soon as you push the enrichener in, you have a lean pilot circuit. If it won't start cold even with full enrichener, you likely have a fuel delivery problem or a clogged enrichener passage.
Decision Tree: Match Your Symptom to the Fix
This is the fastest way to a repair. Find your symptom, follow the branch.
Branch 1: Won't idle or dies at stop signs
Likely cause: Clogged pilot jet or pilot passage. The pilot circuit meters fuel at idle and just off idle. Ethanol varnish deposits clog the tiny orifice in the pilot jet first.
Quick test: With the bike warm, turn the idle speed screw up slightly to keep it running. Spray carb cleaner through the pilot jet access if you have a removable pilot, or pull the pilot jet and run a strand of wire through it. If the idle smooths out after cleaning, you nailed it.
The fix: Remove the pilot jet. Clean it with a jet-specific tool or a thin wire. Do not use a drill bit.
The jet is brass and drills oversize easily. Reinstall and test.
Branch 2: Stumbles when you twist the throttle
Likely cause: Accelerator pump failure. The pump shoots a stream of fuel into the venturi when you open the throttle. If the diaphragm is torn, the check ball is stuck, or the nozzle is clogged, you get a flat spot.
Quick test: Remove the air cleaner cover and look down the carb throat. Twist the throttle quickly. You should see a strong, steady stream of fuel shooting from the pump nozzle.
If you see nothing or just a dribble, the pump is the problem.
The fix: Replace the accelerator pump diaphragm. It is a rubber disc under a small cover on the right side of the carb. The rebuild kit costs around $15 and includes the diaphragm, gaskets, and o-rings.
Branch 3: Runs fine cold, dies when hot
Likely cause: Fuel boiling in the float bowl or a stuck float needle. As the engine heat soaks into the carb after a hard run, the fuel in the bowl can boil, creating vapor lock in the bowl. The bike stalls and won't restart until it cools.
Quick test: Next time it dies hot, open the float bowl drain screw. If fuel sprays out with force, you have a stuck float needle causing flooding. If fuel barely dribbles out and you see bubbles, the fuel is boiling.
The fix: For fuel boiling, install a carburetor insulator spacer between the manifold and the carb head. For a stuck float needle, clean the float bowl and replace the needle and seat assembly.
Branch 4: Revs out flat, won't pull past 3500 RPM
Likely cause: Slide diaphragm tear or pinhole. The vacuum slide needs a perfect seal to lift properly. Even a tiny hole bleeds vacuum and keeps the slide from rising fully.
Quick test: With the bike off, remove the air cleaner and push the slide up with your finger. Cover the carb mouth with your hand and release the slide. It should drop with a firm snap.
If it falls slowly or hangs, the diaphragm is leaking.
The fix: Replace the slide diaphragm and spring. The assembly is available as a complete unit or as a separate diaphragm. Do not attempt to glue a torn diaphragm.
It will fail again within a few heat cycles.
Branch 5: Black smoke, smells rich, fouls plugs
Likely cause: Float level too high or stuck float needle. The float height controls the fuel level in the bowl. If it's too high, fuel dribbles into the intake even when the engine isn't pulling.
Quick test: Remove the float bowl. Invert the carb and measure from the bowl mating surface to the top of the float. Stock spec is 0.197 inches.
Bend the float tab gently to adjust.
The fix: Clean the float needle tip and seat. Replace the float valve assembly if the tip shows wear or a groove.
Step-by-Step: How to Fix the 5 Most Common Failures
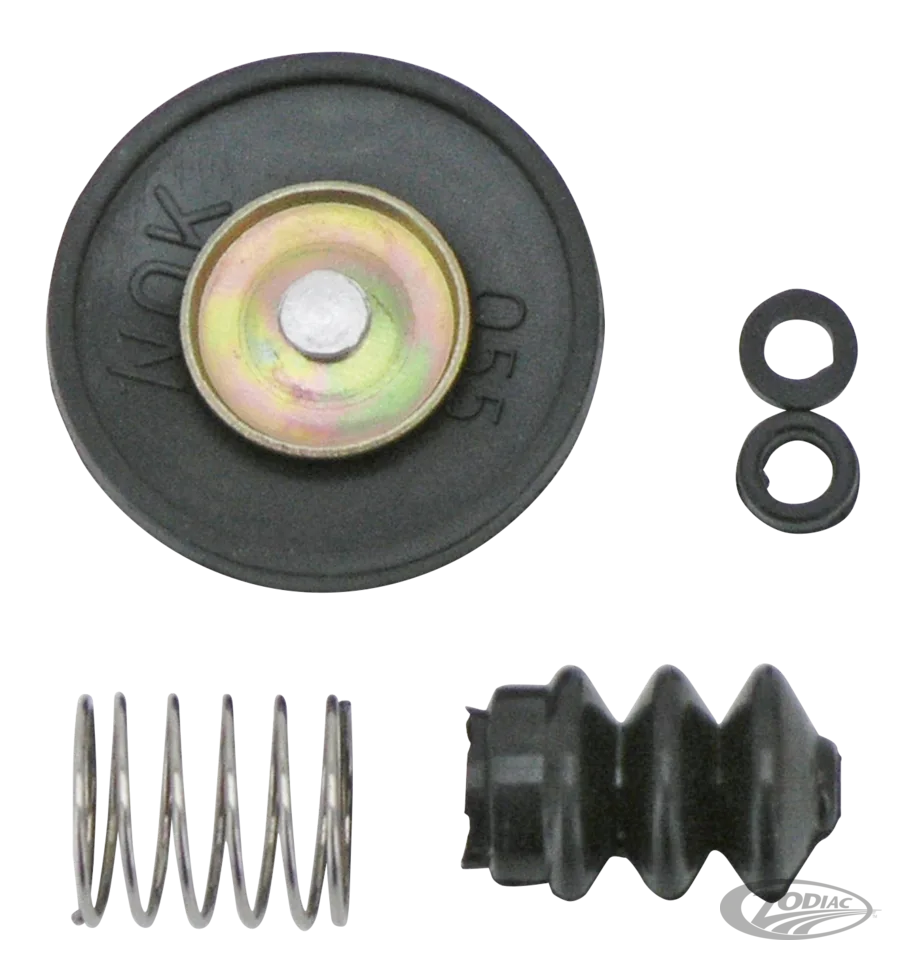
Image source: Bing (Web (fair-use with source credit))
You do not need to remove the carb from the bike for most of these repairs. That saves gaskets, frustration, and time. Here is exactly how to handle each failure in order of likelihood.
Cleaning the pilot jet without pulling the whole carb
The pilot jet sits inside the float bowl on most CV carbs. Drain the bowl first by opening the drain screw. Remove the four bowl screws and lift the bowl off.
You will see the main jet in the center and the pilot jet tucked to the side.
Remove the pilot jet with a flat-blade screwdriver that fits the slot snugly. Soak it in carb cleaner for fifteen minutes. Blow through it with compressed air.
If you cannot see light through the tiny orifice, run a single strand of copper wire through it. Reinstall and close the bowl.
Do not crank the bowl screws down like lug nuts. They strip the aluminum threads easily. Snug plus an eighth turn is plenty.
Replacing the accelerator pump diaphragm
The accelerator pump cover is on the right side of the carb, held by two Phillips screws. Remove the cover carefully. The diaphragm underneath is a thin rubber disc with a plastic plunger nub in the center.
Pull the old diaphragm out. Note the orientation of the plunger. Install the new diaphragm so the plunger sits in the same position.
Reinstall the cover and test the squirt by twisting the throttle with the air cleaner off.
A strong stream that lasts for about half a second is the goal. A weak stream or no stream means you need to check the check ball or the nozzle passage.
Setting float height the right way
With the bowl off and the carb inverted, the float should hang down by gravity. Measure from the bowl mating surface (the gasket surface) to the top of the float. The spec is 0.197 inches plus or minus 0.010.
If the measurement is off, bend the small metal tab that contacts the float needle. Bend up to lower the float height (leaner). Bend down to raise it (richer).
Check your work by reassembling the bowl and doing a leak test before reinstalling the carb.
Testing and replacing the slide diaphragm
Remove the top cover of the carb. Slide the spring out, then pull the slide assembly out. Inspect the rubber diaphragm around the perimeter.
Look for tears, pinholes, or areas where the rubber has hardened and lost its flexibility.
Hold the assembly up to a light. Pinprick holes are visible as tiny bright spots. If you see any damage, replace the whole slide assembly or just the diaphragm depending on availability.
Adjusting the enrichener cable
The enrichener plunger should fully seat when the cable is released. If the cable is too tight, the plunger stays partially open and you get a high idle and rich running after warm-up.
Loosen the cable adjuster at the handlebar control. Turn it in until the cable has a slight amount of slack. Then test by pulling the enrichener on and off.
The plunger should click in and out of its seat.
Mistakes I See Rookies Make Every Time
These errors show up in every forum thread and repair bay. Avoid them and you skip the learning curve.
Overtightening float bowl screws. The threads are aluminum and strip at the first sign of gorilla force. Use a short screwdriver and stop when you feel resistance. A torque spec of about 12 inch-pounds is enough.
Using the wrong pilot jet for a stage 1 setup. A stock pilot jet in the #42 or #45 range works fine with a stock air cleaner and mufflers. But if you added a Screaming Eagle intake and free-flowing slip-ons, the engine pulls more air at idle. You need to step up to a #48 or even #50 pilot jet depending on altitude.
The stock jet will make the bike hunt for idle and pop on deceleration.
Skipping the intake boot o-ring. The intake manifold has a small o-ring at the cylinder head flange. It crumbles with age. If you reuse a flattened o-ring, you get an air leak that no amount of mixture adjustment can fix.
Replace it every time you pull the carb.
Setting mixture screw without the bike fully warm. The idle mixture screw only matters when the engine is at operating temperature. If you set it on a cold engine, it will be too rich once the engine is hot. Always warm the bike up fully before making your final adjustment.
Rebuilding the whole carb when only the diaphragm is bad. This is the most expensive mistake. A full rebuild kit runs $40 to $60. A slide diaphragm costs about $12.
Diagnose first, buy parts second. You save time and money.
When to Walk Away and Buy a New Carb (Or Go EFI)
Not every CV carb deserves a rebuild. Some are past the point of economical repair.
Look for a cracked carb body at the flange where the intake boot mounts. Cracks there cannot be welded reliably. The casting sees constant heat cycling and stress.
If you see fuel weeping from a hairline crack, the carb is done.
Slide wear is another hard stop. If the slide is scored or the bore wall shows deep grooves, the vacuum seal is permanently compromised. A new slide assembly costs nearly as much as a used carb.
Cost comparison as of 2026:
| Option | Typical cost | What you get |
|---|---|---|
| Rebuild kit (gaskets, o-rings, diaphragm) | $25 – $40 | Fixes seals only |
| Accelerator pump rebuild | $12 – $18 | Fixes stumble only |
| Complete slide assembly | $35 – $55 | Fixes top-end flatness |
| Used CV40 or CV44 carb | $75 – $125 | Whole carb, may need its own rebuild |
| New Mikuni HSR42 | $350 – $450 | Manual slide, no diaphragm to fail |
| EFI conversion (Thundermax or Dynojet) | $800 – $1,200 | Eliminates carb entirely |
If you ride a bike that sits for months at a time, the manual slide Mikuni is worth considering. It lacks the vacuum diaphragm entirely, so there is one less thing to dry out and crack. It also reacts instantly to throttle input rather than waiting for vacuum build.
But if your stock carb is sound and you just need a single fix, a $12 accelerator pump diaphragm and a few hours of patience will get you back on the road. Most riding is done with a CV carb that is clean, sealed, and set correctly.
Real-World Tuning Notes for Stage 1 and Altitude
Stage 1 modifications change the airflow through the engine. A free-flowing air cleaner and less restrictive mufflers let the engine breathe more. The stock jetting from the factory is already lean for emissions compliance.
Adding more airflow without adding fuel leans the mixture further.
Baseline jetting for a stage 1 setup at sea level:
| Component | Stock | Stage 1 |
|---|---|---|
| Pilot jet | #42 or #45 | #48 |
| Main jet | #170 to #180 | #185 to #195 |
| Slide needle | 2-groove (middle) | 4-groove (second from top) |
| Idle mixture screw | 1.75 turns out | 2.0 to 2.5 turns out |
These numbers are starting points. Your specific bike may need a half-step in either direction depending on exhaust design and cam timing. The spark plug reading is your final authority.
If the plug stays tan after a hard pull, you are close.
Altitude adjustments. For every 2,000 feet above 4,000 feet, drop the main jet by two sizes and the pilot jet by one size. A bike that runs perfectly at sea level with a #190 main jet will need roughly a #180 main jet at 6,000 feet. The air is thinner and requires less fuel to achieve the same mixture.
Ethanol concerns. E10 fuel (10 percent ethanol) absorbs moisture from the air and leaves a sticky varnish when it evaporates. If you store the bike for more than a month, drain the float bowl or run ethanol-free fuel. Fuel stabilizers help but do not prevent phase separation in high-humidity conditions.
Frequently Asked Questions
Can I run a CV carb without the vacuum diaphragm?
No. The diaphragm controls the slide position. Without it, the slide will not lift properly and the engine will run poorly at any throttle position above idle.
The diaphragm costs about $12 and takes ten minutes to replace. There is no workaround.
How often should I rebuild a CV carb?
Plan on a full rebuild every five years if you ride regularly and use ethanol-blend fuel. If you use ethanol-free fuel and store the bike properly, the carb can go ten years without issues. The accelerator pump diaphragm usually needs replacement sooner, around the three to four year mark.
Will a 44mm carb bolt onto a 40mm intake?
No. The 44mm carb has a larger bore and a different intake flange diameter. The intake manifold from a 40mm bike does not fit.
Swapping requires the corresponding intake manifold, air cleaner backing plate, and throttle cable bracket. The performance gain is minimal on a stock engine.
Why does my carb spit gas out the vent tube?
The float level is too high or the float needle is not sealing. Fuel overflows from the bowl into the vent tube when the level exceeds the designed height. Check the float height setting first.
If that is correct, replace the float needle and seat assembly.
Do I need to rejet for just a muffler swap?
Most of the time, yes. A less restrictive muffler reduces backpressure and changes the scavenging effect at the exhaust valve. The engine pulls more air through the carb at the same throttle position.
If you change only the mufflers, start with a main jet two sizes larger than stock and check the plug color.

Similar Posts
































