High Superheat Normal Subcooling
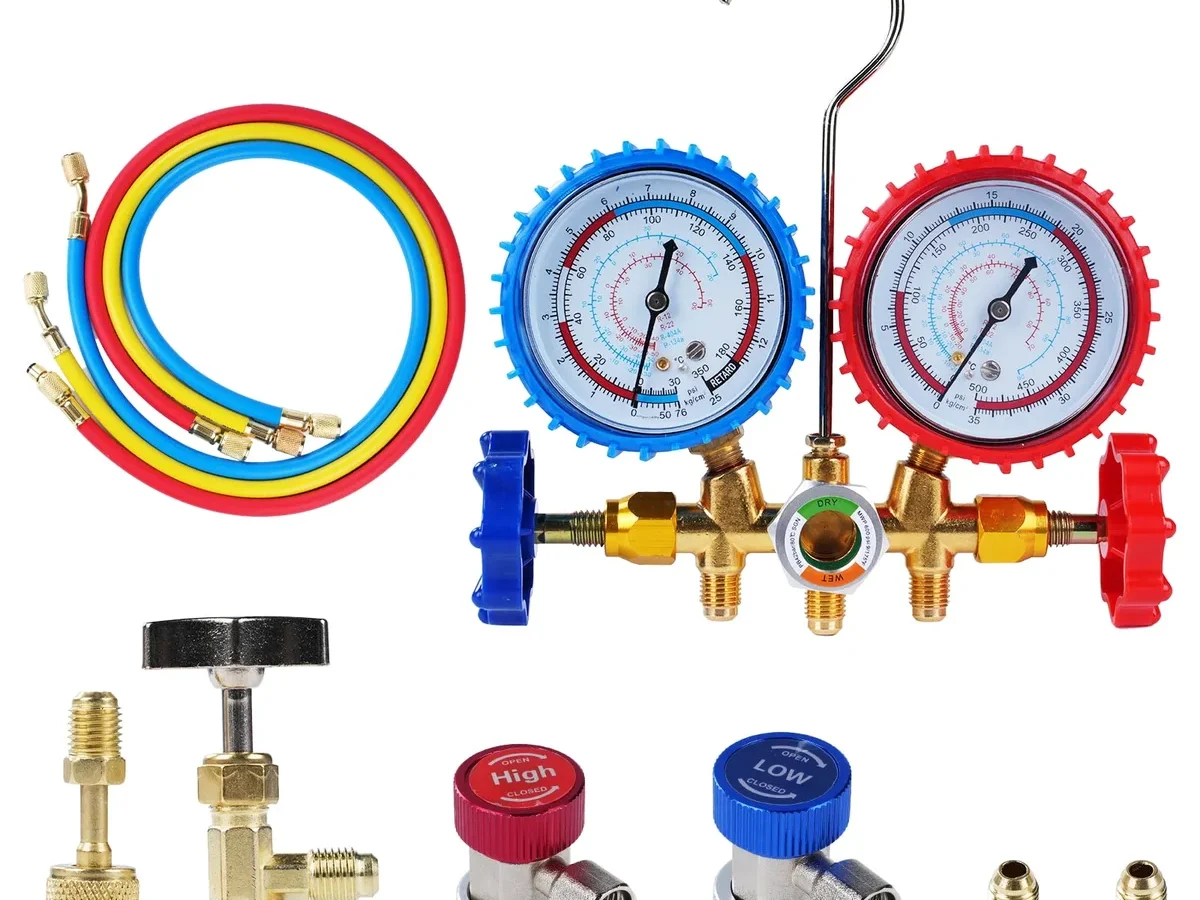
You pull your gauges off the rack, connect them to the service ports, and wait for the numbers to settle. The suction pressure looks a little low. The head pressure looks normal.
You calculate superheat and it is high, way above target. Then you check subcooling and it is right where it should be. If you have ever seen "High Superheat Normal Subcooling" on your digital manifold or analog gauges, you know the feeling.
It is not the obvious low-charge pattern you learned in trade school.
Manufacturer specifications for most split-system air conditioners and heat pumps using R-410A typically call for 8 to 14 degrees Fahrenheit of superheat at the compressor and 10 to 15 degrees of subcooling at the liquid line. When superheat climbs past 20 degrees but subcooling stays in that normal 10 to 15 degree window, you are looking at a specific set of problems. Let us walk through what causes it and how to fix it in the order that actually works in the field.
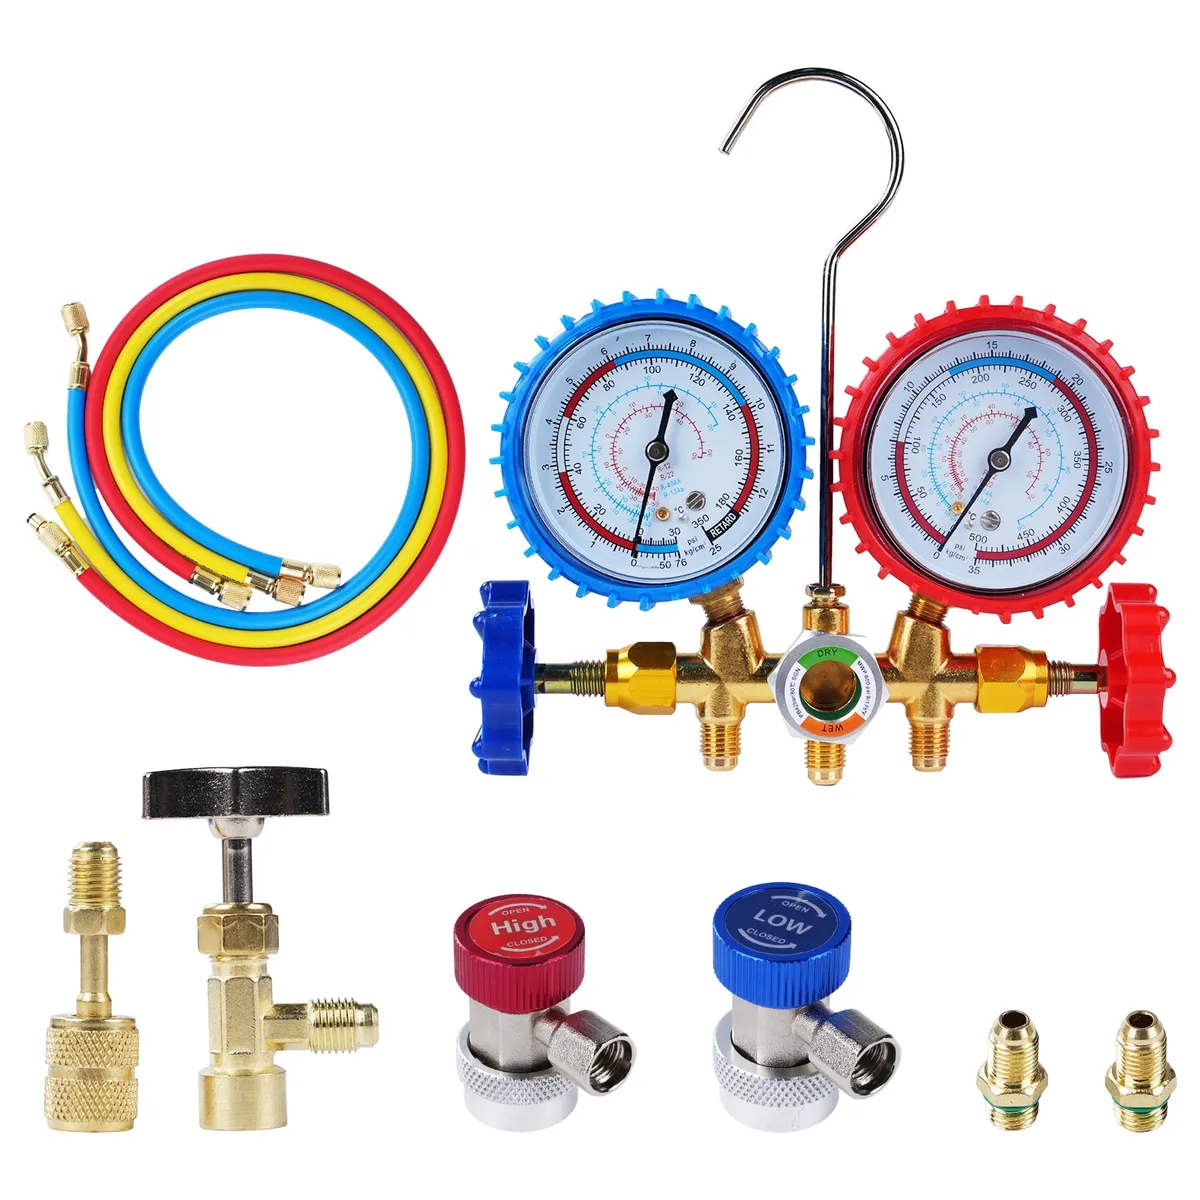
Image source: Bing (Web (fair-use with source credit))
Quick Answer
High superheat with normal subcooling means the evaporator is not getting enough liquid refrigerant. The condenser is condensing fine. The liquid line is full.
But the evaporator is starving. This is almost never a simple low-charge situation. It is usually an airflow problem, a metering device issue, or a liquid line restriction.
Check airflow first. Then check the TXV or piston. Then check for blockages in the liquid line.
Adding refrigerant without fixing the root cause will flood the condenser and waste your time.
Core Explanation: Why Superheat and Subcooling Behave Differently
Most technicians learn the refrigeration cycle as one big loop. But superheat and subcooling measure two completely separate parts of the system. Understanding why they can disagree is the key to accurate diagnosis.
Understanding Superheat
Superheat tells you how much heat the refrigerant vapor has absorbed after all the liquid has boiled off. You measure it at the evaporator outlet or at the compressor service valve. Take the suction line temperature.
Subtract the saturation temperature from your pressure-temperature chart. That is your superheat.
High superheat means the vapor is leaving the evaporator hotter than it should be. That happens when there is not enough liquid refrigerant in the evaporator to absorb the heat load fully. The refrigerant boils off too early.
The remaining coil surface just heats up the vapor further.
Understanding Subcooling
Subcooling measures how much the liquid refrigerant has cooled below its condensation point after leaving the condenser. You take a liquid line temperature near the service valve and subtract the saturation temperature from your high-side pressure reading.
Normal subcooling means the condenser has enough liquid refrigerant stacked up inside it. The system is rejecting heat properly. The liquid leaving the condenser is fully condensed and cooled down.
This is a good sign for the high side of the system.
What the Combination Really Means
When you see high superheat and normal subcooling together, you are looking at a system that has a full liquid line but a starving evaporator. The condenser is flooded enough to maintain subcooling. But something upstream of the evaporator or inside it is preventing the right amount of liquid refrigerant from entering and boiling off effectively.
This pattern rules out a simple undercharge. A low charge would drop both superheat and subcooling, high superheat with low subcooling is the classic pair. When subcooling stays normal, the problem is not about total refrigerant volume.
The problem is about distribution or delivery.
Step-by-Step Troubleshooting Process
Let us walk through the four checks in the order you should do them. This sequence saves time and stops you from swapping parts you do not need.
Step 1: Check Airflow First
This is the most common cause of high superheat with normal subcooling, and it is also the easiest to fix. Low airflow across the evaporator means the coil cannot transfer heat effectively. The refrigerant does not absorb enough heat to boil off at the right rate.
The coil temperature drops, and the vapor leaves the evaporator hotter than it should.
Start with the simple stuff. Check the air filter. A dirty filter is responsible for more high-superheat service calls than any other single cause.
Replace it if it looks clogged. Then check the evaporator coil itself. If it is caked with dust or lint, clean it.
Then check the blower motor. Make sure it is running at full speed. Check the blower wheel for debris.
Check for collapsed or blocked return ducts.
You can verify airflow by measuring the temperature drop across the evaporator. Return air temperature minus supply air temperature should be 15 to 20 degrees Fahrenheit for most systems. If the drop is under 14 degrees or over 25 degrees, you likely have an airflow problem.
Fix it before you touch anything else on the refrigerant side.
Step 2: Inspect the Metering Device
If airflow checks out, the next suspect is the metering device. This is the component that controls how much liquid refrigerant enters the evaporator. Two main types exist, and each fails differently.
For systems with a thermostatic expansion valve or TXV, check the sensing bulb first. The bulb should be strapped tightly to the suction line near the evaporator outlet. It must be clean and properly insulated.
If the bulb is loose, dirty, or exposed to ambient air, it tells the TXV the wrong temperature. The valve closes down when it should not, starving the evaporator. Reattach and reinsulate the bulb.
Then recheck your readings.
For systems with a fixed orifice or piston, the issue is usually debris. A small piece of dirt or copper shaving can partially block the orifice screen. This restricts flow into the evaporator.
The fix is to recover the refrigerant, remove the piston, clean the screen, and reassemble. If the piston itself is damaged, replace it with the correct size for your system.
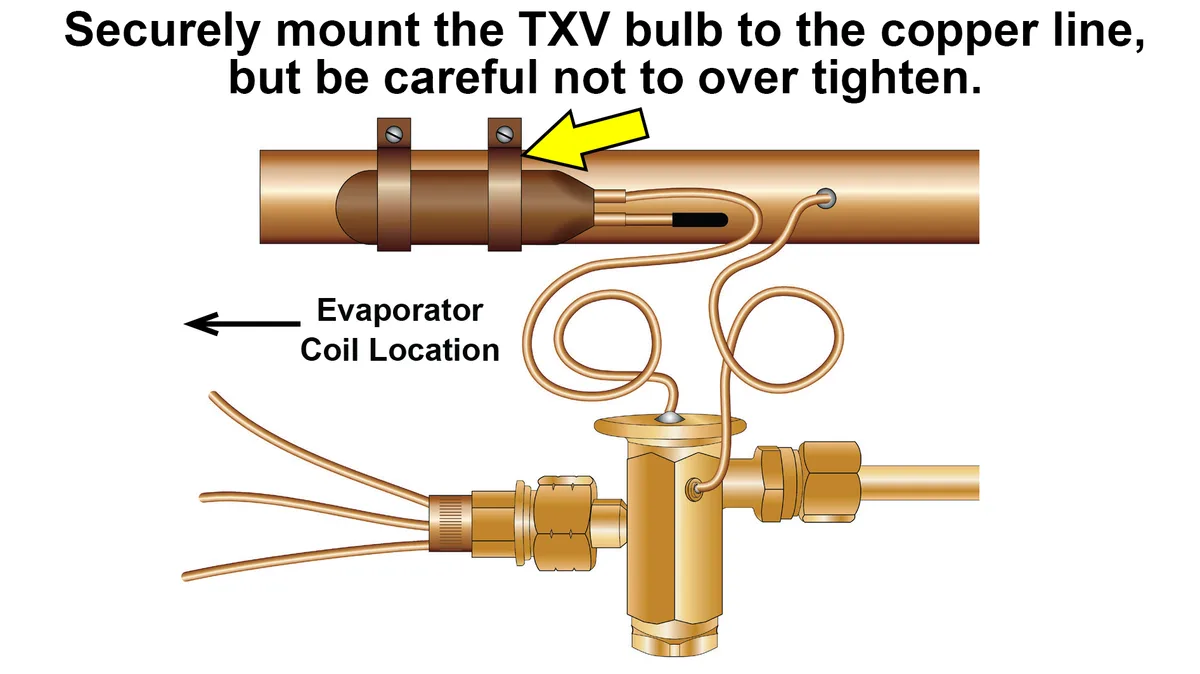
Image source: Bing (Web (fair-use with source credit))
Step 3: Look for Liquid Line Restrictions
This step is easy to skip, but it catches problems that mimic airflow and TXV issues. A restriction in the liquid line reduces the amount of refrigerant reaching the metering device. The condenser still fills with liquid, so subcooling stays normal.
But the evaporator does not get what it needs.
The most common restriction points are the filter-drier and the liquid line itself. Check for a temperature drop across the filter-drier. Use an infrared thermometer or a contact probe.
Measure the temperature on the inlet side and the outlet side. A difference of more than 3 degrees Fahrenheit means the drier is partially blocked. Replace it.
Also inspect the liquid line for kinks, dents, or crushed sections. A sharp bend where the line passes through a wall or around a metal edge is a common place to find restrictions. You can fix a small kink by carefully straightening it.
If the line is badly damaged, you may need to cut out the damaged section and braze in a new piece.
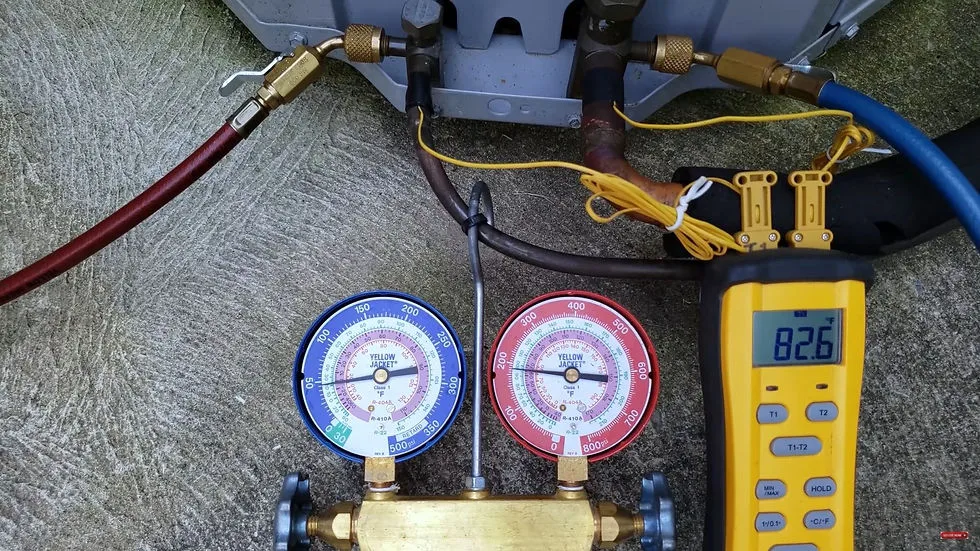
Image source: Bing (Web (fair-use with source credit))
Step 4: Verify the Refrigerant Charge
If airflow is good, the metering device is working, and there are no restrictions, the problem might actually be a subtle charge issue. This is the least common cause of this pattern, but it happens.
Some systems with long line sets, receivers, or oversized condensers can appear to have normal subcooling even when they are slightly undercharged. The condenser happens to have enough liquid stacked up to read correctly, but the total charge is just barely below what the evaporator needs.
The only way to confirm this is to recover the refrigerant, weigh it, and compare it to the manufacturer's specified charge. That number is on the unit nameplate or in the installation manual. If the recovered weight is low, recharge to the factory spec and recheck your readings.
If the weight matches the spec, the problem is not the charge. Go back through steps 1 through 3.
Common Mistakes to Avoid
Mistake number one is adding refrigerant without diagnosis. If you see high superheat and normal subcooling and just dump in more juice, you will flood the condenser. Subcooling will climb into the 20s or 30s.
The compressor will work harder. Liquid refrigerant may slug back through the suction line and damage the valves. Do not add refrigerant until you have confirmed the charge is actually low.
Mistake number two is skipping the airflow check. It seems too simple. But aggregate service data consistently shows that dirty filters and low blower speed cause more high-superheat calls than any refrigerant-side problem.
Check airflow first. It takes two minutes and costs nothing.
Mistake number three is replacing the compressor based on pressures alone. High superheat puts stress on the compressor because the discharge temperature rises. But that is a symptom, not a cause.
Replacing a compressor when the real problem is a dirty coil or a stuck TXV wastes thousands of dollars and leaves the system broken. Always find the root cause before you change major components.
Mistake number four is ignoring the filter-drier temperature drop. A 2 degree difference is normal. A 4 degree difference means the drier is starting to clog.
An 8 degree difference means it is almost completely blocked. Catch it early and you save a call back later.
When to Call In a Pro
If you have worked through all four steps and the numbers still do not make sense, stop. Some systems have unusual configurations. Long line sets, multiple evaporators, or custom installations can behave differently than standard split systems.
That is when you need a senior technician or the manufacturer's technical support line.
Refrigerant handling also requires proper certification under EPA Section 608 in the United States. If you do not have the license or the equipment to recover and weigh refrigerant, call a licensed professional. Mistakes with refrigerant can damage equipment and carry legal penalties.
There is no shame in asking for help. It beats breaking a compressor or contaminating a charge.
Real-World Examples: Three Quick Case Scenarios
Scenario A: The Dirty Filter. A technician arrives at a house where the second floor is warm. Superheat reads 28 degrees. Subcooling reads 12 degrees.
The air filter is completely clogged with pet hair. Replacing the filter drops superheat back to 10 degrees within 15 minutes. No refrigerant work needed.
Scenario B: The Loose TXV Bulb. A commercial walk-in cooler shows high superheat at 32 degrees with normal subcooling at 11 degrees. Airflow is fine. The TXV sensing bulb is hanging loose against the suction line, held only by a single zip tie.
The bulb is not insulated. Securing it with a proper clamp and insulating it drops superheat to 9 degrees. No refrigerant added.
Scenario C: The Partially Blocked Filter-Drier. A residential system runs poorly after a recent compressor replacement. Superheat is 24 degrees. Subcooling is 13 degrees.
The temperature across the filter-drier shows a 6 degree drop. The drier is clogged with debris from the failed compressor. Replacing the drier and evacuating the system restores normal superheat.
Frequently Asked Questions
Can high superheat with normal subcooling ever be normal?
On rare systems with very long liquid lines or intentional subcooling circuits, the numbers can look unusual. Always compare your readings against the manufacturer's target values for that specific unit. If the factory target is 20 degrees superheat and you are at 22, it is normal.
If the target is 10 and you are at 25, something is wrong.
Should I recover and weigh the charge first?
No. Do the airflow check and the metering device inspection first. Those fixes are faster and cheaper.
Only recover and weigh the charge if you have ruled out everything else. Starting with recovery is a waste of time on most calls.
Does a dirty condenser coil cause high superheat?
No. A dirty condenser coil usually causes high head pressure and high subcooling. It affects the high side, not the low side.
High superheat with normal subcooling is almost always about the evaporator or the liquid line.
Can a bad compressor cause this reading?
Rarely. A compressor with weak valves can cause high suction pressure and low head pressure, not high superheat with normal subcooling. If you suspect a compressor problem, check compression ratio and amp draw.
Do not jump to that conclusion from superheat and subcooling alone.
How long does it take to diagnose this pattern?
Fifteen to thirty minutes for a straightforward case. Longer if you need to recover and weigh refrigerant. The airflow check takes two minutes.
The metering device check takes five. The filter-drier check takes two. Most cases resolve in under an hour.
Final Recommendation: Your Troubleshooting Decision Guide
Here is the one-page version. Print it or save it on your phone.
- If superheat is high and subcooling is normal, start with airflow. Check the filter. Check the coil. Check the blower. Fix any airflow problem first.
- If airflow is fine, check the metering device. Inspect the TXV bulb. Clean the piston screen.
- If the metering device looks good, check the liquid line. Measure temperature drop across the filter-drier. Look for kinks.
- If all of that checks out, recover and weigh the charge. Compare to the nameplate spec. Recharge if low.
- If nothing works, call the manufacturer or a senior tech. Some systems need factory-level support.
Follow this sequence and you will solve most high superheat with normal subcooling calls on the first trip. Stick to the order. Skip nothing.
That is how accurate diagnostics work in the real world.

Similar Posts