How to Change Action Camera Settings
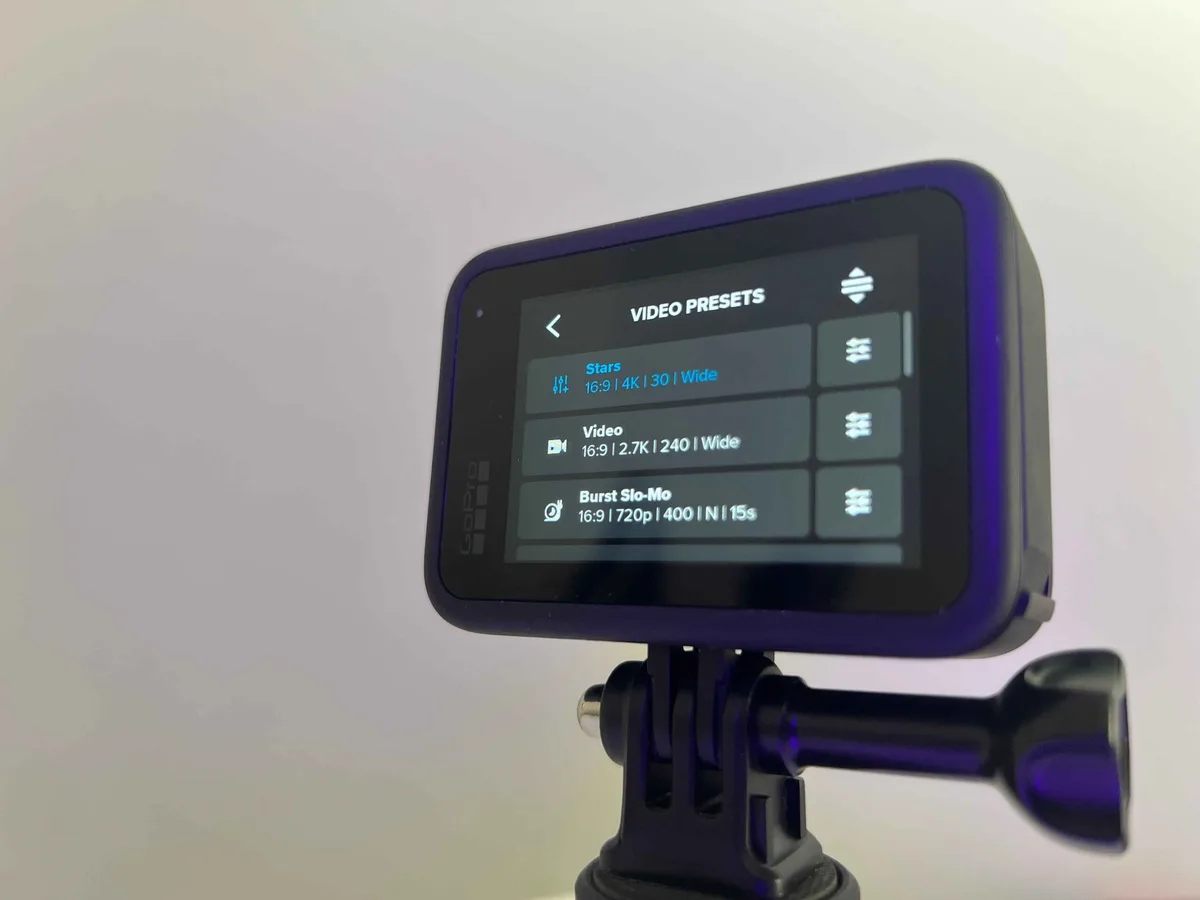
You just bought a new action camera, and the first thing you want to do is adjust the settings. But the menu is confusing, the buttons are small, and nothing seems to work the way you expect. That's the real problem most people face when they're learning how to change action camera settings.
You want to drop the resolution from 4K to 1080p, and instead you end up in a menu called "Protune" with no idea what it does.
As of 2026, the average action camera offers over 30 adjustable parameters across video, photo, and timelapse modes. That's a lot of options packed into a small touchscreen. The good news is that the menu layout follows a consistent pattern once you understand the basics.
Let's walk through it step by step.
Image source: Web (Bing) / projectgo.pro (Web image (fair-use with source credit))
Quick Answer
Swipe down on the touchscreen for quick settings. Swipe left or right to switch modes. Tap the gear icon for the full menu.
For detailed changes, use the companion app. That's the basic pattern for most modern action cameras.
Why Menu Navigation Varies So Much by Model
Every brand has its own menu logic. GoPro uses a swipe-down panel for quick settings, a swipe-left for mode selection, and a gear icon for the full menu. DJI Osmo Action cameras put the most-used settings behind a single button press on the side.
Insta360 models rely more on gesture controls and voice commands.
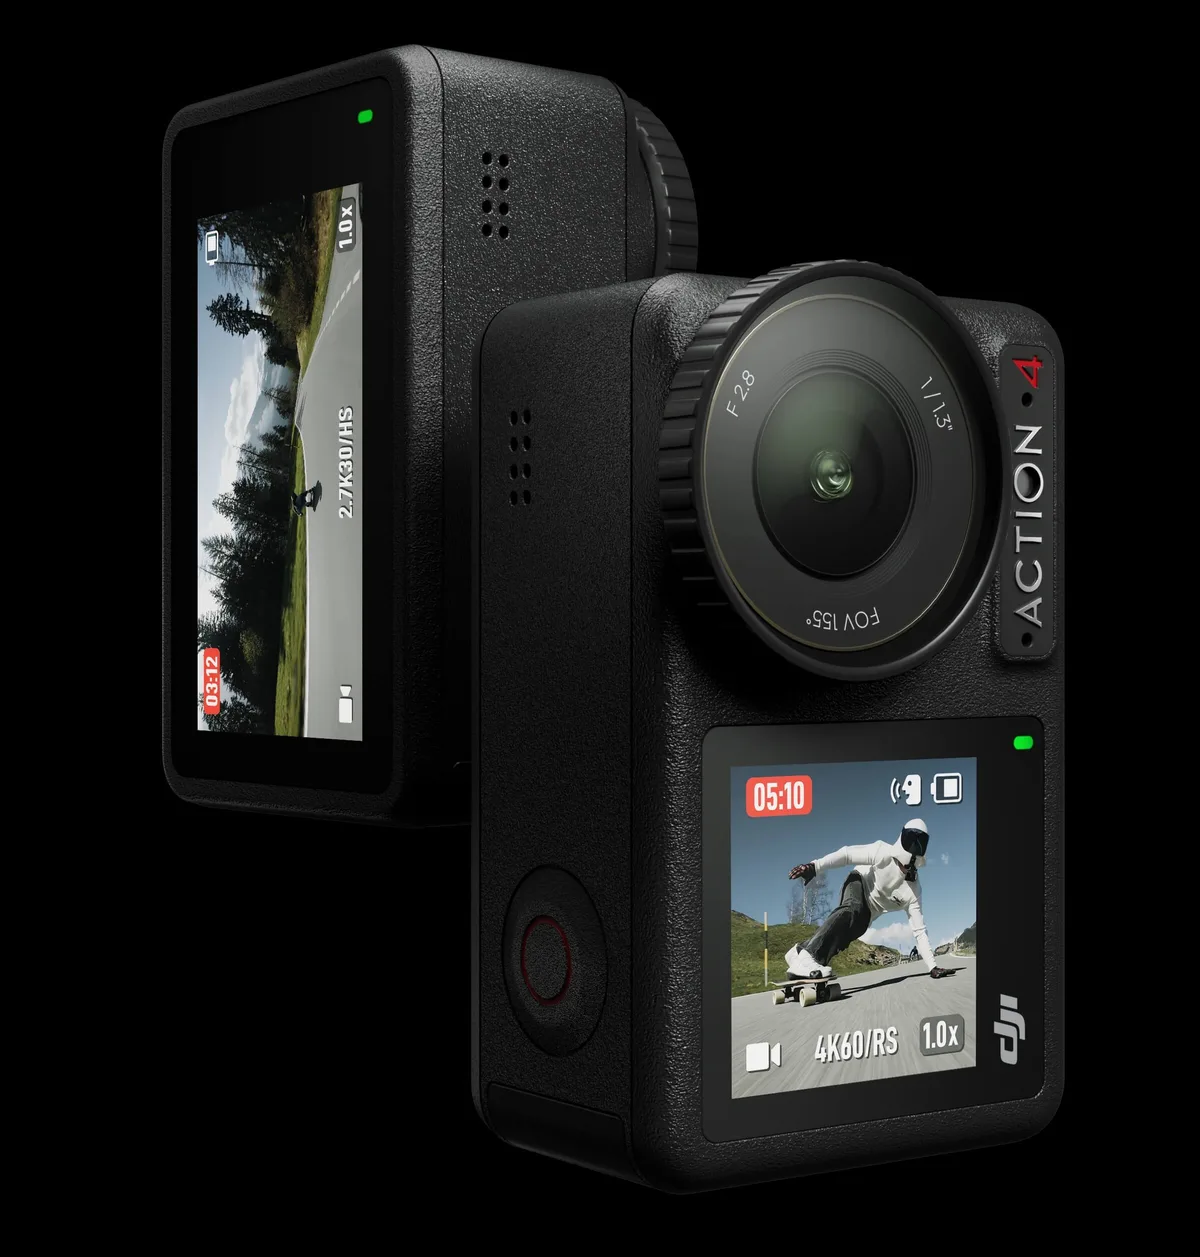
Image source: Web (Bing) / dronshop.hu (Web image (fair-use with source credit))
The screen size and layout matter too. A 2.27-inch display gives you more room to tap than a 1.5-inch screen on older budget models. The icons are usually universal: a gear for settings, a film strip for video, and a camera for photo.
Learning to use touchscreen menus on different devices helps build muscle memory that transfers between brands.
Some models hide key settings in sub-menus. For example, switching between wide and linear field of view might be buried under "Video Settings" instead of the quick panel. That's by design.
The quick panel saves battery and keeps the screen clean. But it means you have to learn where each brand hides its controls.
The good news is that once you learn one brand's system, you can figure out any other within a few minutes. The bad news is that switching between brands can be confusing at first. If you're upgrading from a budget model to a premium one, expect a completely different layout.
Step-by-Step: Changing Your Most-Used Settings
Let's walk through the five settings you'll change most often. These are the ones that make the biggest difference in your footage.
Resolution and Frame Rate
This is the first thing most people want to adjust. Here's how to do it on any modern action camera:
- Press the mode button to enter video mode.
- Swipe down or tap the gear icon to open settings.
- Look for the resolution icon. It usually says "4K" or "1080p".
- Tap it and choose your desired option.
- Confirm by tapping the checkmark or pressing the shutter button.
Here's a quick reference table for common video resolutions:
| Resolution | Best For | Typical Max Frame Rate |
|---|---|---|
| 4K (3840×2160) | High-quality vlogs, professional footage | 60 fps (most models) |
| 2.7K (2704×1520) | Good balance of quality and file size | 120 fps |
| 1080p (1920×1080) | Social media, slow motion, battery saving | 240 fps |
| 720p (1280×720) | Extreme slow motion, backup footage | 480 fps |
Stabilization
Stabilization is often on by default. To turn it off or adjust it:
- Open the quick settings panel by swiping down.
- Look for the stabilizer icon. It looks like a mountain or a shaky camera.
- Tap it to cycle through options: Off, Standard, High, Boost.
- For Horizon Lock or Horizon Balancing, go into the full menu.
Field of View
Field of view changes how wide or narrow your shot looks. The options are usually:
- SuperView or Wide: Very wide, curved edges. Best for immersive action shots.
- Linear: Straight lines, no fisheye effect. Good for walking vlogs.
- Narrow: Tight field of view. Useful for distant subjects.
Exposure and White Balance
For manual control, enter the full menu. Look for "Pro" or "Manual" mode. From there, you can adjust ISO, shutter speed, and white balance.
If you're dialing in the right exposure for a specific lighting condition, the same principles apply that you'd use when setting exposure on any camera.
Saving a Custom Preset
Once you have your settings right, save them as a preset. Most cameras let you create one or two custom presets that appear on the mode selection screen. That way you can switch between "Daytime Vlog" and "Night Time Lapse" with one tap.
Common Mistakes: Where Most People Get Lost
Even experienced users make these mistakes. Here are the most common ones and how to avoid them.
Not Being in the Right Mode
You can't change video settings while in photo mode. The settings you see depend on the mode you're in. If a setting is grayed out, switch modes first.
This is the number one cause of confusion.
Forgetting to Stop Recording
Many settings are locked while the camera is recording. You have to stop first, then make your changes. Some cameras let you adjust exposure while recording, but most don't let you change resolution or frame rate.
Setting Resolution Too High for Your SD Card
High bitrate 4K footage requires a fast SD card. A UHS-I class 3 card is the minimum. If your card is too slow, the camera will stop recording after a few seconds.
Always check the manufacturer's recommended card list.
Not Resetting After a Specific Shoot
You change your settings for a night shoot, then go back to daytime filming the next day. If you forget to reset, you'll get overexposed, washed-out footage. Make it a habit to reset to your default preset between shoots.
Ignoring the Overheating Warning
Recording at 5.3K at 60 fps for more than 20 minutes can cause overheating. The camera will shut down to protect itself. If you need long recordings, drop to 4K at 30 fps or use an external fan.
If you're troubleshooting common issues with any camera, the same systematic approach works. Check your mode, check your card, and check your settings.
Is the App Better? When to Use the Screen vs. the Phone
The companion app is a powerful tool, but it's not always the best choice. Here's a breakdown of when to use each method.
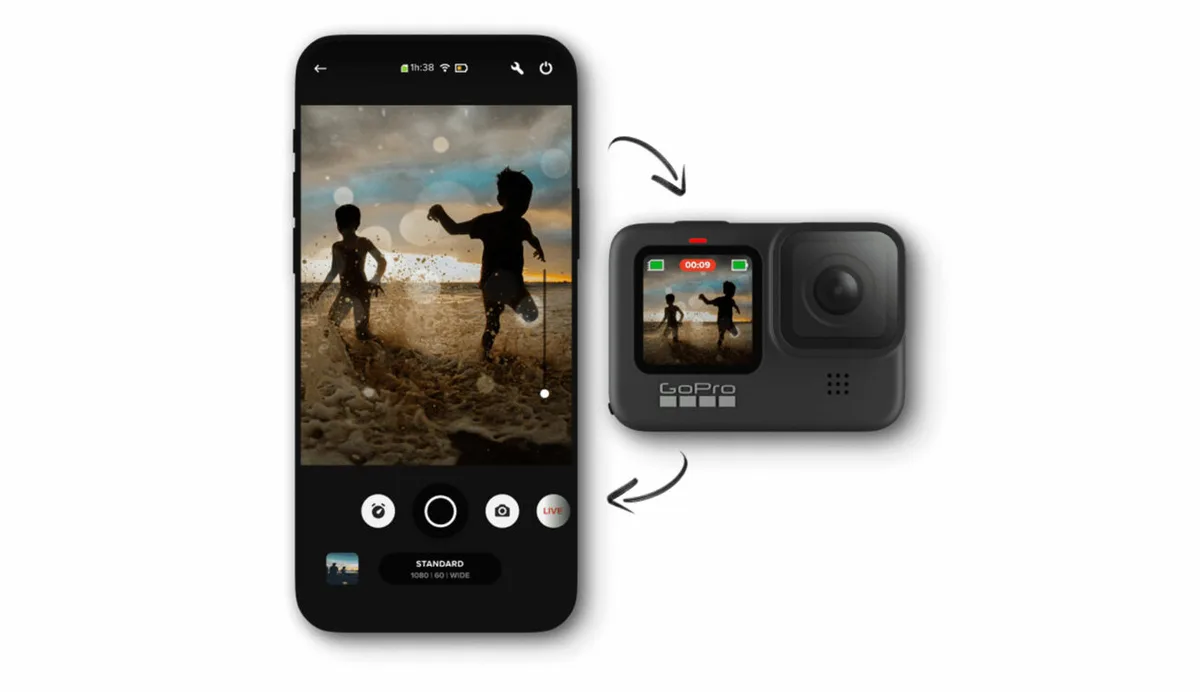
Image source: Web (Bing) / cined.com (Web image (fair-use with source credit))
| Method | Best For | Not Good For |
|---|---|---|
| Touchscreen | Quick changes, one-off adjustments | Detailed settings, batch changes |
| App | Deep settings, presets, firmware updates | Quick changes on the go |
When to Use the Screen
The touchscreen is faster for quick adjustments. You can change resolution, frame rate, and stabilization in under 10 seconds. It's also more reliable when you're in the field with no phone signal.
If you're in a hurry or you're already wearing the camera, the screen is the way to go.
When to Use the App
The app is better for setting up custom presets, adjusting advanced settings like color profiles or audio gain, and updating firmware. It also gives you a live preview, which helps you see the effect of your changes before you start recording. If you're pairing your camera with a phone for the first time, the app handles the setup process.
The Middle Ground
Use the app for initial setup and preset creation. Use the screen for daily adjustments. That way you get the best of both worlds without wasting time on the wrong tool.
Pro Tips: Settings You Should Save as Presets
Presets save you time and prevent mistakes. Here are the three presets worth creating on your camera.
Daytime Action
Set your resolution to 4K at 60 fps. Turn on high stabilization. Set field of view to wide.
Use auto white balance. This preset handles most outdoor sports and activities. It's your go-to for biking, skiing, and hiking.
Low Light
Set your resolution to 1080p at 30 fps. Turn stabilization to standard or off. Set ISO to a maximum of 1600.
Use manual white balance around 4000K. This preset gives you usable footage in dim conditions without excessive noise.
Vlog
Set your resolution to 4K at 30 fps. Turn stabilization to linear or horizon lock. Set field of view to linear.
Enable wind noise reduction for audio. This preset keeps your face centered and your background straight.
Save these three presets to your camera. You can switch between them in seconds. The same approach applies when you're setting up a camera for vlogging or for sports coverage.
Different scenarios need different settings.
Frequently Asked Questions
Why are some settings grayed out on my action camera?
Grayed out settings mean you're in the wrong mode or the camera is recording. Switch to video mode for video settings, photo mode for photo settings. Stop recording before making changes.
Can I change settings while recording video?
Most cameras let you adjust exposure and stabilization while recording. Resolution, frame rate, and field of view are usually locked. You must stop recording to change those.
What SD card speed do I need for 4K recording?
Use a UHS-I class 3 card with a write speed of at least 30 MB per second. For 5.3K or high bitrate 4K, use a UHS-II card. Check your camera's official support page for recommended cards.
How do I reset my action camera to factory settings?
Open the main menu and look for "Reset" or "Factory Reset" under the system settings. On most models, it's in the gear icon menu. This erases all custom presets and returns the camera to default settings.
Why does my camera overheat when recording 4K?
Recording 4K at high frame rates generates more heat. The small body of an action camera doesn't dissipate heat well. Drop to 1080p at 30 fps for longer recordings.
Use a fan for stationary shots.
Can I change settings through voice commands?
Yes, most modern action cameras support voice commands. Common commands include "GoPro start recording" or "Take a photo". Voice control is useful when your hands are full or the camera is mounted out of reach.

Similar Posts

































[…] you want to fine-tune your camera's settings, reviewing the basics on how to adjust camera settings for low light can […]