How to Set Action Camera Resolution
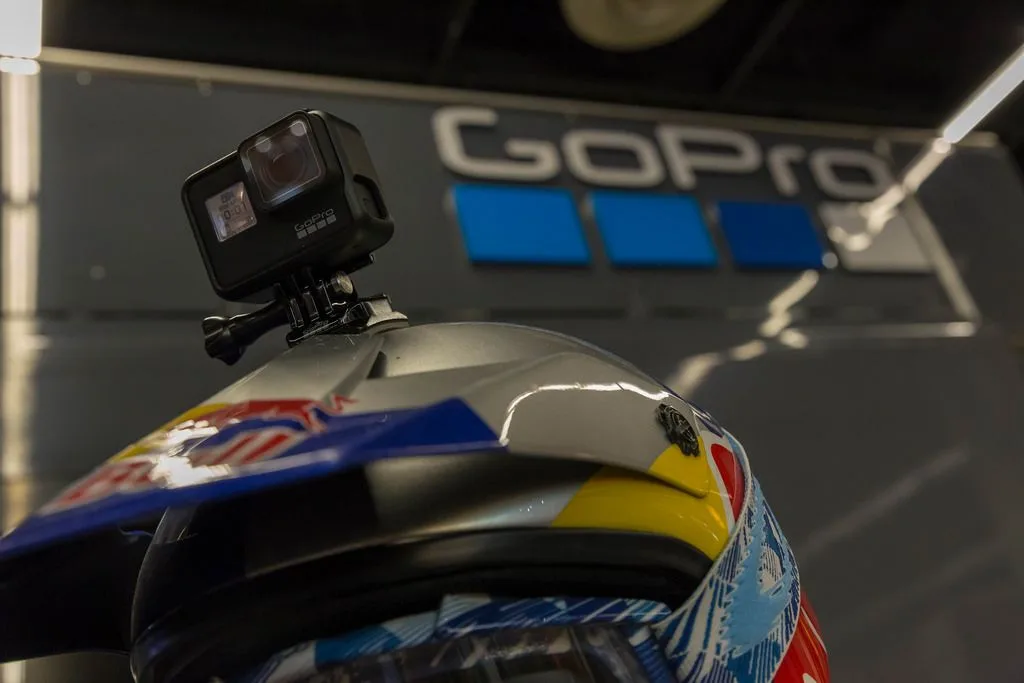
If you have ever stared at your action camera's settings menu, you know the feeling. There are so many options. 4K, 2.7K, 1080p. 30fps, 60fps, 120fps. It is easy to just pick the highest number and hope for the best.
So how to set action camera resolution the right way? The answer is not always "max out everything." It depends on what you are filming, where you are sharing it, and how much battery life you have left.
Manufacturer specifications indicate that 4K at 60 frames per second can hit a bitrate of 100 Mbps. That is a lot of data. You need a fast microSD card, and your battery drains fast.
Many users pick the wrong setting for their activity. They end up with grainy footage or a dead camera halfway through the day. Understanding the trade-offs matters.
Let us start with why most people get it wrong.
Image source: Bing (Web (fair-use with source credit))
Why Everyone Gets Resolution Wrong (And Why It Matters)
The biggest mistake people make is thinking "more is always better." They see 4K and think it is the only choice. But resolution is just one piece of the puzzle. Frame rate, bitrate, and stabilization all change how your final footage looks.
If you shoot 4K at 30fps while mountain biking, your video might look sharp but choppy. The motion blur will be distracting. You would be better off with 1080p at 60fps for smoother playback.
The real problem is that most people do not consider the three variables that change the answer. First, the lighting conditions. Action cameras have small sensors.
They struggle in low light. Shooting 4K in a dim forest or at dusk will produce noisy, grainy footage. Second, the activity speed.
Fast action needs a higher frame rate to look smooth. Slow walking or talking heads do not need 60fps. Third, the final output destination.
If you are posting to Instagram Stories or TikTok, 1080p at 30fps is more than enough. YouTube can handle 4K, but it also requires more processing power and storage.
As of 2026, most action cameras offer similar settings. But the way you navigate them differs. A GoPro menu is different from a DJI or Insta360.
That is why it pays to learn the logic behind the numbers. You do not need to memorize every setting. You just need a system.
The decision tree approach works best here. You ask yourself a few questions. Then you get your answer.
If you are looking for a budget-friendly option, there are models that handle these settings well, but they might have fewer frame rate options.
Quick Answer
To set your action camera resolution, match the setting to your activity. For fast sports, use 1080p at 60fps or 4K at 60fps. For slow motion, use 1080p at 120fps or 240fps.
For all-day recording, use 1080p at 30fps. For low light, use 1080p at 30fps. For YouTube, use 4K at 30fps.
Always use a fast microSD card.
The 3 Variables That Decide Your Best Resolution Setting
Before you touch the menu, think about these three things. They will guide every decision you make.
Lighting Conditions
Bright sunlight is your friend. It gives you the most flexibility. You can shoot 4K at 60fps with confidence.
The camera sensor has enough light to produce clean, detailed footage. Indoors or in shade, the sensor struggles. It needs more light per pixel.
That means higher resolution can actually look worse. More pixels mean less light per pixel. So 1080p at 30fps often looks better than 4K at 30fps in low light.
It is a counterintuitive rule, but it is true.
Activity Speed
The speed of your subject determines your frame rate. Fast motion needs a higher frame rate for smooth playback. If you are skiing, skateboarding, or cycling, you need at least 60fps. 30fps will look choppy.
For slow activities like hiking, walking, or vlogging, 30fps is fine. It saves battery and storage. If you want slow motion, you need a high frame rate. 120fps or 240fps gives you that smooth, dramatic effect.
But you will have to drop the resolution. 1080p at 120fps is the sweet spot for most users.
Final Output Destination
Where are you sharing the video? This changes everything. If you are posting to Instagram, TikTok, or Facebook, 1080p at 30fps is more than enough.
Those platforms compress video heavily. 4K gets squished down anyway. If you are editing for YouTube, 4K gives you more flexibility. You can crop and reframe without losing quality.
If you are archiving for personal memories, 4K might be worth it. But you need the storage space. For vlogging, these same rules apply.
You do not need 4K for a talking head video.
The Decision Tree: How to Set Resolution for Your Specific Situation
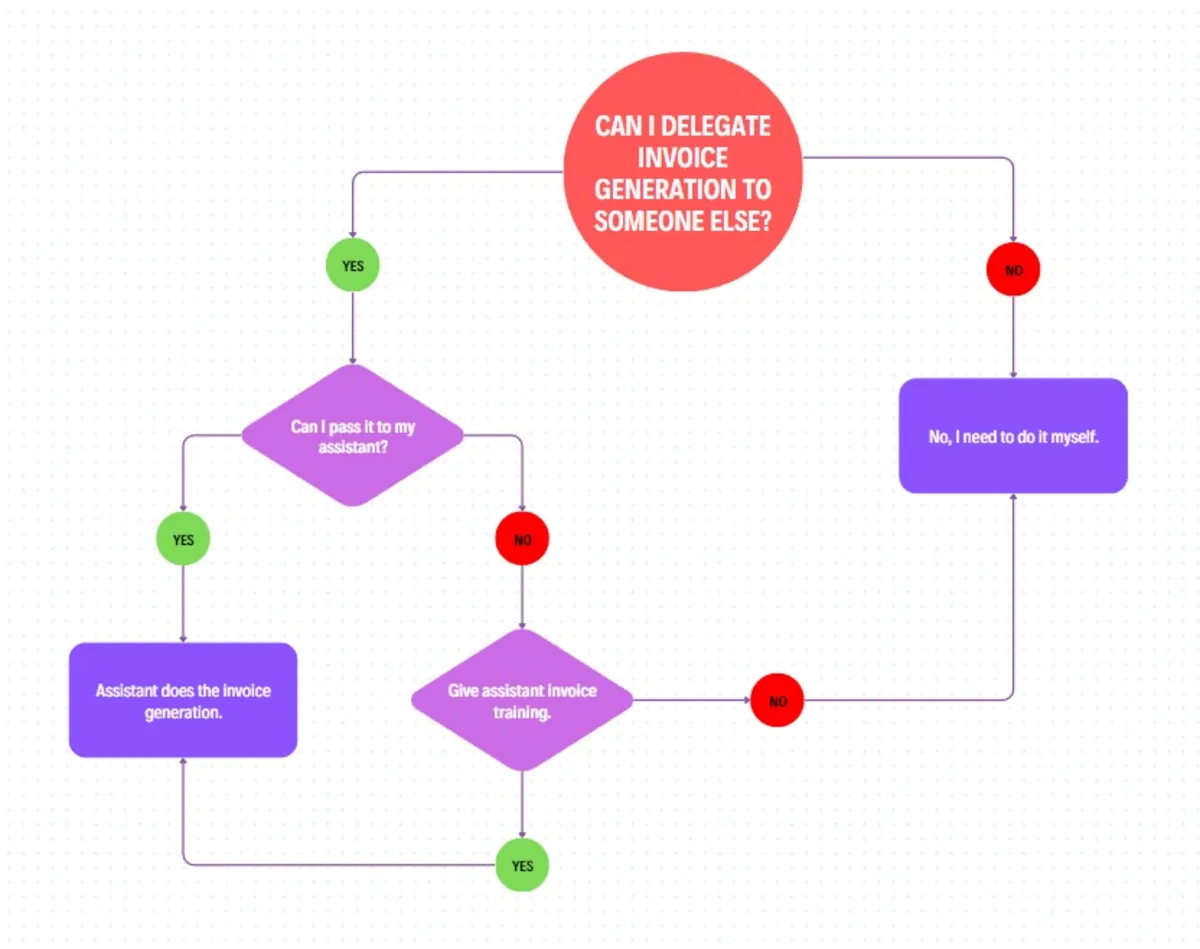
Image source: Web (Bing) / ar.inspiredpencil.com (Web image (fair-use with source credit))
Now let us put it all together. Here is a simple decision tree. Follow the branch that matches your situation.
Branch 1: Fast Action Sports
You are mountain biking, snowboarding, surfing, or skateboarding. You need smooth motion. Choose 4K at 60fps if you have good light and a fast SD card.
Choose 1080p at 60fps if you are in variable light or want longer battery life. Stabilization is a must. Turn it on.
It will crop the image slightly, but it is worth it. Many of the same principles apply if you use a mirrorless camera for sports, though the sensor size changes the equation.
Branch 2: Slow Motion Clips
You want a dramatic slow-motion effect. A skate trick or a splash. Choose 1080p at 120fps or 240fps.
You will lose resolution, but the slow motion will be smooth. Do not shoot slow motion in low light. It will look grainy.
If you have a high-end model, 2.7K at 120fps is a good middle ground.
Branch 3: All-Day Recording
You are hiking, traveling, or filming a long event. Battery life is king. Storage is limited.
Choose 1080p at 30fps. This gives you the longest recording time and smallest file sizes. You can get hours of footage on a single battery.
You will not miss the extra resolution for personal memories.
Branch 4: Low Light or Indoor Shooting
You are filming indoors or at dusk. The light is dim. Choose 1080p at 30fps.
This gives the sensor the best chance to capture clean footage. Do not use high frame rates. They require more light and will make the noise worse.
Turn off stabilization if you can. It can introduce micro-jitter in low light.
Branch 5: YouTube or Social Media Content
You are creating content for an audience. You want the best quality. Choose 4K at 30fps for YouTube.
This gives you room to crop and reframe. Choose 1080p at 60fps for Instagram Reels or TikTok. The higher frame rate looks smoother on social media.
If you are using a mirrorless camera for YouTube, the same principles apply for choosing resolution and frame rate.
Common Mistakes That Ruin Footage (And How to Avoid Them)
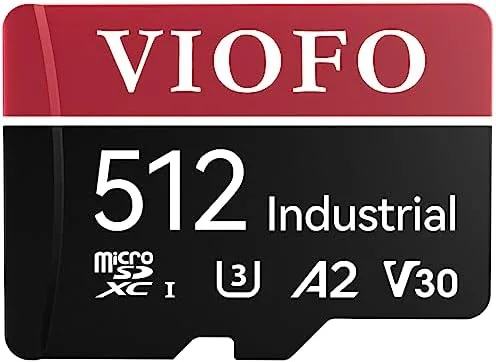
Image source: Web (Bing) / amazon.in (Web image (fair-use with source credit))
Even experienced users make these mistakes. Here are the most common ones and how to fix them.
Picking 4K60 When Your SD Card Cannot Handle It
This is the number one mistake. Your camera will warn you. It will say "slow card" or stop recording.
You need a UHS Speed Class 3 (U3) or Video Speed Class 30 (V30) card. The SD Association sets these standards. A cheap card will corrupt your footage.
You will lose everything. A slow card can also cause the camera to overheat. Get a branded card with the right rating.
Shooting 120fps in Dim Light
High frame rates need more light. If you shoot 120fps indoors, you will get a grainy, noisy mess. The camera tries to compensate by raising the ISO.
That introduces noise. The slow motion will look terrible. Only use high frame rates in bright sunlight.
If you are indoors, drop to 60fps or 30fps.
Forgetting That Stabilization Crops Your Field of View
Electronic stabilization works by cropping the image and moving it around. This narrows your field of view. If you are filming a wide landscape, stabilization might cut off the edges.
You can lose 10 to 15 percent of the frame. This is especially noticeable when you mount the camera on a helmet. Test your setup before you start recording.
If you need the full field of view, turn off stabilization. This is a common issue when you troubleshoot mirrorless camera settings too.
Using 4K for Everything
4K is great, but it is not always the right choice. It drains the battery faster. It fills up your SD card quicker.
It takes longer to transfer and edit. For casual clips, 1080p at 30fps is more than enough. Save 4K for the important moments.
You will thank yourself later when you have a full battery and a half-empty card.
Quick Reference: Resolution Settings Cheat Sheet
Here is a simple table to help you choose the right settings. Use it as a quick guide before you start recording.
| Activity | Resolution | Frame Rate | Stabilization | File Size (per hour) |
|---|---|---|---|---|
| Fast action sports | 4K or 1080p | 60fps | On | 12 to 20 GB |
| Slow motion | 1080p | 120fps or 240fps | On | 8 to 15 GB |
| All-day recording | 1080p | 30fps | On | 3 to 4 GB |
| Low light or indoor | 1080p | 30fps | Off | 3 to 4 GB |
| YouTube content | 4K | 30fps | On | 12 to 15 GB |
| Social media (Reels) | 1080p | 60fps | On | 6 to 8 GB |
This table is a starting point. Adjust based on your specific camera model. Some cameras have different bitrate options.
But the logic stays the same. If you are using an entry-level model, you might have fewer frame rate options. That is fine.
Stick to the 1080p at 30fps baseline.
Frequently Asked Questions About Action Camera Resolution
Should I always shoot in 4K?
No. 4K is overkill for many situations. It drains your battery faster and fills your card quicker. Use 4K when you need to crop in editing or when you are shooting in bright light.
For casual clips, 1080p at 30fps is perfectly fine.
What is the best resolution for slow motion?
1080p at 120fps is the best balance of quality and smoothness. It gives you a 4x slow-down effect without huge file sizes. If your camera supports 240fps, use that for extreme slow motion.
But only in bright light.
Does higher resolution drain battery faster?
Yes. 4K requires more processing power than 1080p. The camera works harder, which drains the battery. Expect 4K to give you about half the recording time of 1080p.
Plan accordingly.
Can I change resolution after recording?
No. Resolution is set during recording. You cannot increase it later.
You can only downgrade 4K footage to 1080p in editing. That is why shooting in 4K gives you future flexibility, but it costs you storage and battery now.
What SD card do I need for 4K60?
You need a card with a UHS Speed Class 3 (U3) rating or a Video Speed Class 30 (V30) rating. The card should also have a write speed of at least 30 MB per second. A slow card will cause the camera to stop recording.
The Bottom Line: Your Resolution Setting Is a Trade-Off, Not a Competition
There is no single "best" resolution setting. It is always a trade-off between quality, battery life, storage, and editing flexibility. The best setting is the one that matches your specific situation.
Use the decision tree to find your answer. It takes less than 30 seconds.
One final rule covers 90 percent of situations. If you are unsure, pick 1080p at 60fps. It is smooth enough for action.
It is sharp enough for most screens. It saves battery and storage. You can always shoot 4K later when you know you need it.
That is the real trick. Prioritize not missing the shot over getting the sharpest shot. A steady 1080p clip is always better than a corrupted 4K file.

Similar Posts