How To Change The Water Filter In Lg Refrigerator Lt1000p
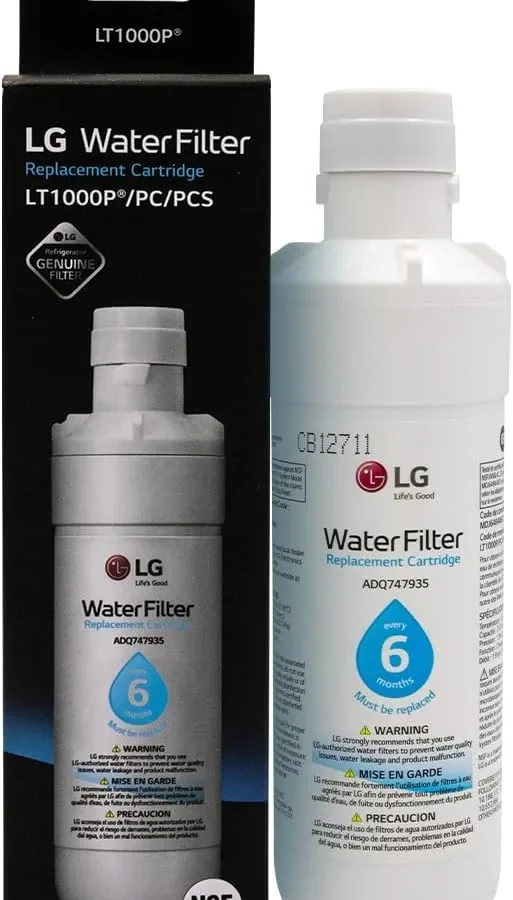
Wondering how to change the water filter in LG refrigerator LT1000P? It's a ten-minute DIY job that needs zero tools. The LT1000P is a carbon block filter that twists out and clicks into place with a simple quarter turn.
Once you've done the swap a single time, the whole process will feel like second nature.
Manufacturer specifications recommend replacing the cartridge every six months, or roughly every 200 gallons of dispensed water. That regular maintenance keeps chlorine taste, odor, and sediment out of your drinking water and ice cubes. Per NSF/ANSI 42 certification, this filter is designed to reduce those common taste and odor issues.
Ready to get your fridge pouring clean, cold water again? Let's walk through it.
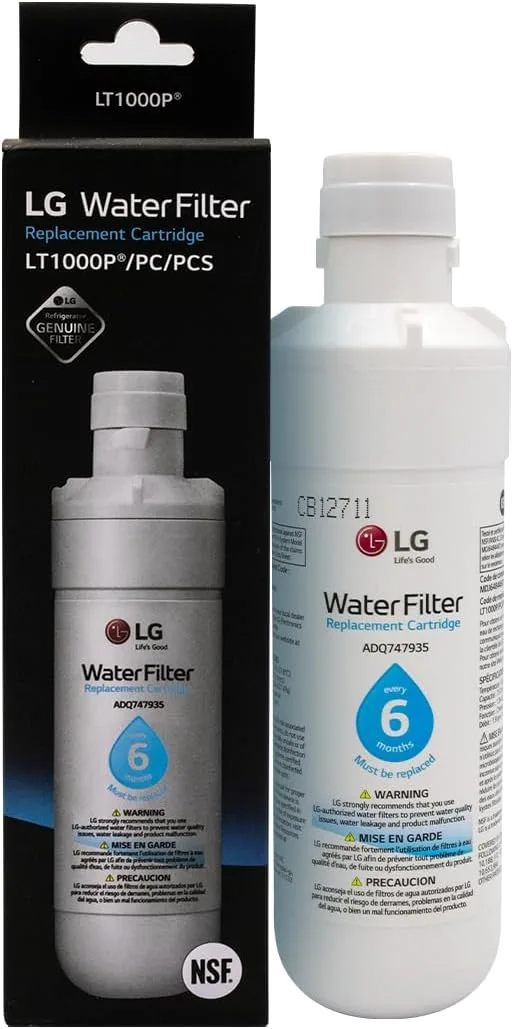
Image source: Bing (Web (fair-use with source credit))
Quick Answer
Find the filter port, twist the old filter counterclockwise, and pull it straight out. Remove the cap from the old filter and attach it to the new one. Align the arrows, push in, and twist clockwise to lock.
Run cold water through the dispenser for 3 to 5 minutes. Then reset the filter light.
Why Visuals Make This Job Easier (and Safer)
The LT1000P looks simple, but here's the catch. It can hide in two completely different places depending on your LG model. Some refrigerators tuck the filter behind a small door in the base grille.
Others mount it in the ceiling of the fresh-food compartment, by the top right corner.
Manufacturer diagrams differ for each location. So does the direction you twist. The twist-and-lock mechanism is easy to get wrong.
The filter doesn't thread like a standard screw. It locks into place with a 90-degree turn.
If you've never felt one click, it's hard to know if you've twisted far enough or too far. Overtwisting can crack the filter housing. Removing one that's still under pressure sends water everywhere.
That's where the visual cues come in. A good photo shows you which end is the top, how the arrows align, and where exactly the locking notch sits. It tells you whether your filter is in the grille or inside the cabinet before you start tugging on the wrong part.
As of 2026, the LT1000P is still a current replacement part. More third-party brands are making compatible versions, which look nearly identical but seat slightly differently. That makes recognizing genuine visual cues on your specific model even more important.
What You'll Need and Where the Filter Is Hiding
The list of tools for this job is refreshingly short. You don't need a wrench, a screwdriver, or any special filter key. You need exactly two things: a new LT1000P filter and an old towel to catch drips.
If your filter is in the base grille, you'll see a small rectangular door at the very bottom of the refrigerator. A gentle push on the door's center releases the latch and swings it downward. Inside, the filter sits vertically, held by a twist cap on top.
For ceiling-mounted filters, open the fresh-food door and look at the upper right corner. You'll spot a cylindrical cartridge pointing upward, usually with a red or blue cap and a water arrow printed on the label.
What if it's not obvious? A quick check of your model number on LG's official support page confirms the exact location. Many LG refrigerators with external dispensers use the grille position.
Side-by-side models tend toward the interior ceiling mount.
| Item | Why you need it |
|---|---|
| LT1000P replacement filter | The new cartridge goes in after the old one comes out |
| Old towel or cloth | Catches the water that escapes during removal |
| Shallow pan or bucket (optional) | Protects flooring if the filter drips a lot |
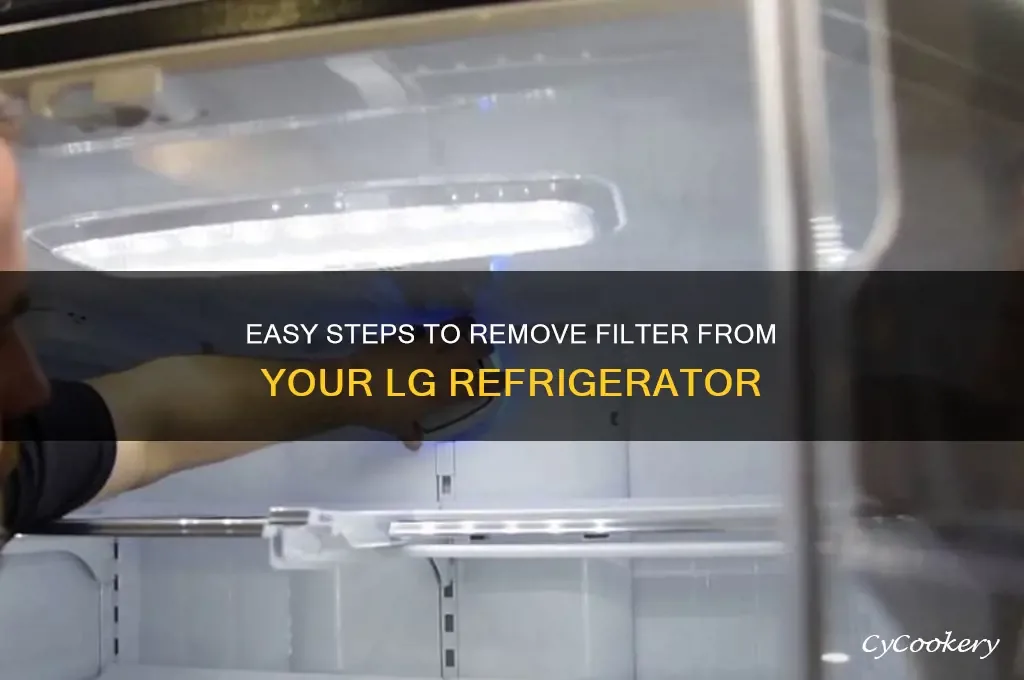
Image source: Bing (Web (fair-use with source credit))
The Step-by-Step Swap (With Visual Cues for Each Move)
This process takes about five minutes if the filter comes out easily. It takes closer to ten if you meet a stubborn cartridge. Either way, don't rush the flush step at the end.
It keeps your water clean and your dispenser air-free.
Step 1: Turn off the ice maker and dispenser on the control panel. This stops water from cycling through while you work. Place the old towel on the floor in front of the filter port.
Step 2: Open the filter access. For a grille mount, push the door in and pull it down until it hinges open. For an interior ceiling mount, open the fresh-food door and reach up to the filter near the top right corner.
Step 3: Twist the old filter counterclockwise about 90 degrees. You'll feel the filter rotate, then stop as the lock tabs release. When it won't turn anymore, it's ready to come out.
Step 4: Pull the old filter straight down and out. Keep it upright to limit drips. Then set it on the towel.
Step 5: Transfer the twist cap if your model needs one. On many grille models, the white cap stays with the old filter when you pull it out. Pull the cap off and press it onto the new filter until it clicks. Interior models usually keep the cap attached, so no transfer is needed.
Step 6: Align the arrows and slide the new filter into the socket. Match the arrow on the filter with the arrow in the housing. Push it up firmly until it seats. If it won't seat, pull it back and realign.
Forcing it can crack the housing.
Step 7: Twist the new filter clockwise a full quarter turn. You'll feel resistance, then a solid click. That click is the filter locking against the tabs, and it means the water line is seated correctly.
Step 8: Close the access door. Push the grille door up until it clicks shut, or close the fresh-food door. You're officially done with the mechanical side.
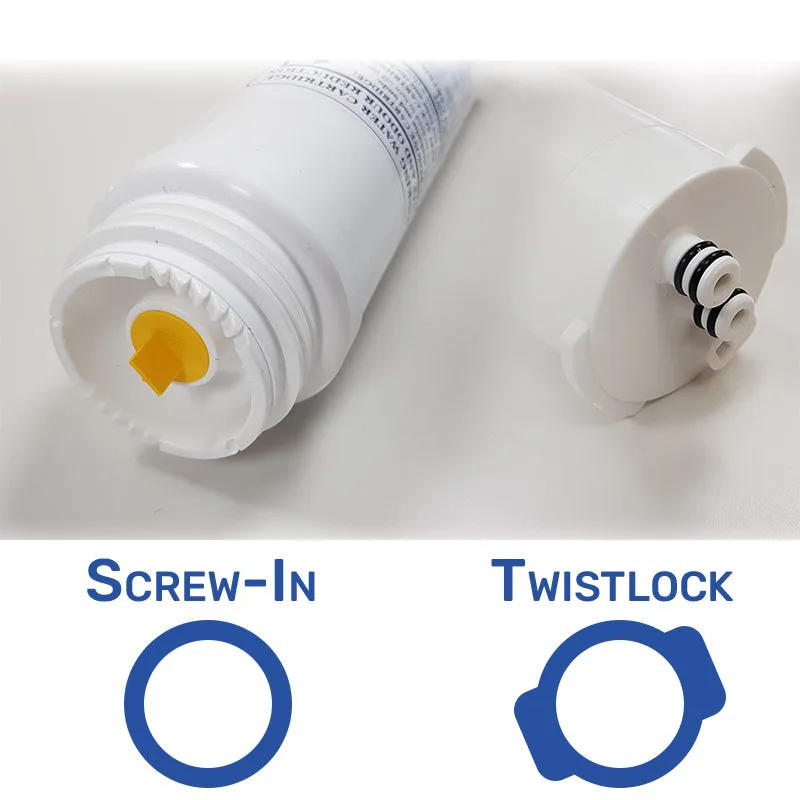
Image source: Bing (Web (fair-use with source credit))
The Most Common Mistakes People Make (and How to Spot Them)
Mistakes happen to almost everyone on the first filter swap. Here's how to catch them before they cost you time or money.
Mistake 1: Twisting the wrong way. People habitually twist clockwise to remove, like a bottle top. The LT1000P releases counterclockwise. If you're stuck, you're likely turning the wrong direction.
Mistake 2: Forcing a filter that won't seat. You push the new filter in, and it won't go. Pull it out, check the alignment arrows, and try again. Forcing it can crack the filter housing or strip the locking tabs.
Mistake 3: Forgetting the twist cap. Without the cap, the filter won't seal properly, and water will leak out around the top. Spot it by checking for drips right after the flush step.
Mistake 4: Not flushing enough water. New filters contain loose carbon powder from manufacturing. If the water comes out black or gray, you didn't flush long enough. Keep running cold water until it's clear.
Mistake 5: Skipping the reset step. The filter light stays on after replacement unless you reset the timer. The light won't turn off by itself, and you'll get nagged for the next six months.
Mistake 6: Buying the wrong filter. The LT1000P is not the same as the LT800P or LT900P. Size and connector shape differ. Check the part number printed on your existing filter or in your owner's manual before ordering.
Resetting the Filter Light and Flushing for Fresh Water
Now that the new filter is locked in, you need to prime the system. This step is easy to skip, but don't. It clears air from the line and flushes out carbon dust that settled during shipping and storage.
How to flush: Hold a large glass or pitcher under the dispenser and run cold water for 3 to 5 minutes. That's roughly half a gallon. Expect sputtering and weird spitting sounds at first.
The water may look milky, or you'll spot tiny black specks. That's loose carbon dust, and it's normal. Keep running water until the stream is completely clear.
If the dispenser doesn't produce any water during the flush, check that the filter is fully twisted into the locked position. A quarter-turn lock means it's seated. If water drips from the housing, twist one more quarter turn to seat the filter fully.
Resetting the filter light: The exact button varies by LG model, but most use either a dedicated filter reset button or the "Ice Plus" and "Refrigerator" buttons held together. Press and hold the button for about 3 to 5 seconds until the light blinks and goes out. Your owner's manual will confirm the right combination for your specific fridge.
Pro Advice for Extending Filter Life and Avoiding Headaches
Replace the filter every six months even if the water still tastes fine. Old carbon becomes a bacterial concern when left too long. Set a calendar reminder or write the replacement date on a label near the filter door.
Order your new filter before the old one expires. That way you never run the dispenser without filtration for a week. Compatible filters can be 30 to 50 percent less than genuine LG cartridges, but they don't always seat perfectly.
If you notice a drop in flow rate or an earthy taste before six months, swap the filter early. High-usage households often replace every four months. Keep your spare filter in a cool, dry place out of direct sunlight to preserve the carbon.
In hard water areas, inspect the housing for scale buildup when you swap filters. Scale can make the twist-and-lock action feel sticky. A quick wipe with a damp cloth clears it right away.
Frequently Asked Questions
How often should I replace the LG LT1000P filter?
Every six months, or after roughly 200 gallons of use. High-usage homes may need a new filter at four months. If the water tastes flat or the flow slows, replace it sooner.
The filter status light also acts as a reminder.
Do I really need to flush the new filter?
Yes. Loose carbon powder and trapped air need to clear before drinking. Run cold water for 3 to 5 minutes until the stream is clear.
The sputtering is normal and stops once the system is fully primed.
Can I use a third-party LT1000P filter instead of the genuine LG part?
Yes, but check that the filter carries NSF/ANSI 42 certification and matches the LT1000P dimensions. Some compatible brands seat looser, so test for leaks. Using a knockoff filter may void parts of your warranty if a failure directly results from it.
Why is my water dispenser dripping or sputtering after the change?
Trapped air usually causes sputtering right after a swap. Keep running cold water until it flows steadily. A continuous drip from the filter housing indicates an incomplete lock.
Turn the filter another quarter turn to seat it fully.
Final Thoughts: Genuine vs. Third-Party Filters, What's Best
Here's the honest trade-off. Genuine LG filters cost more per cartridge, but they're guaranteed to match the housing dimensions exactly. Third-party filters cost less, and many work perfectly for the full six months.
The deciding factor is your warranty. If your refrigerator is still under manufacturer warranty, LG may require proof that a genuine part was used. A third-party filter that causes a leak or valve failure can complicate a warranty claim.
That's standard appliance policy.
Find the sweet spot: Buy genuine LT1000P filters while your fridge is under warranty. Once the warranty expires, switch to a certified compatible brand if you want to save money. Just verify the NSF/ANSI 42 certification logo before you buy.
Either way, the replacement process is the same. You twist, lock, flush, and reset. The filter is a small part, but it protects the water you drink and the ice you chew.
A few extra dollars per cartridge is a cheap price for peace of mind.
At the end of the day, the best filter is the one you actually replace on time. Every six months, mark your calendar, grab a new cartridge, and spend ten minutes keeping your water clean.

Similar Posts