How To Fix Stick Drift
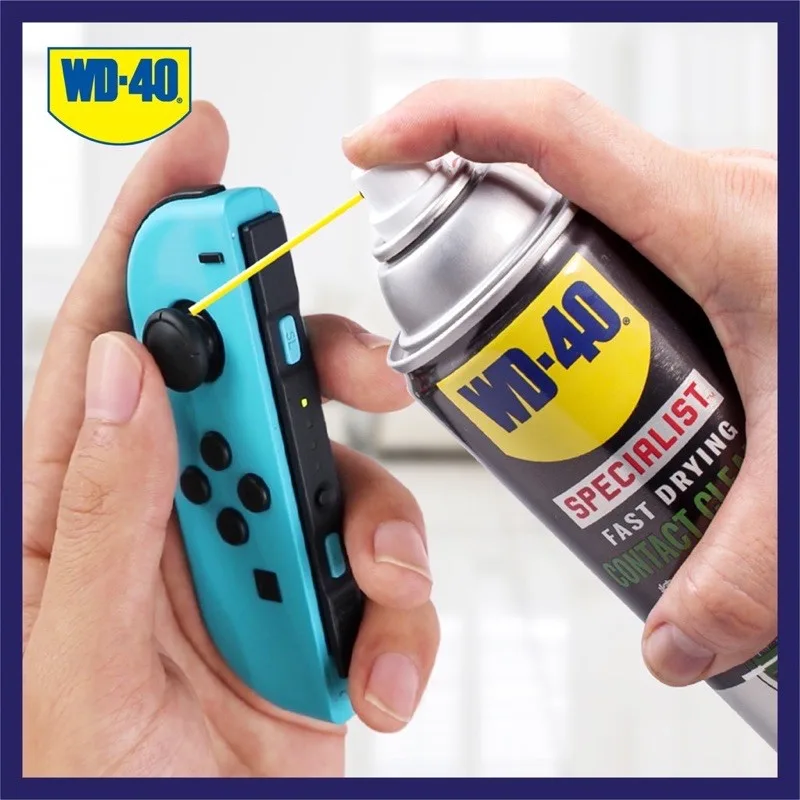
Your controller is drifting. The aiming reticle slides left on its own. Your character walks backward when you're not touching the stick.
You've checked the settings and nothing is wrong there. So how to fix stick drift without spending $70 on a new controller depends entirely on what's causing it.
The fix branches based on root cause. A standard potentiometer-based joystick module is rated for roughly 400,000 to 2 million full sweeps before the carbon track wears thin. That wear produces false voltage readings your console interprets as movement.
Dirt causes about half of all drift cases. Worn hardware causes the other half. The two fixes are completely different.
Quick Answer
Stick drift has three possible fixes. Clean the joystick with 99% isopropyl alcohol if dirt is the problem. Replace the joystick module if the carbon track is worn out.
Upgrade to Hall effect sensors for a permanent solution. Try a calibration reset first. It takes two minutes and costs nothing.
What's Actually Causing Your Drift
Stick drift happens when your controller registers input you never gave it. Inside every standard joystick module are two small potentiometers. Each one has a wiper that slides across a carbon track as you move the stick.
When the wiper hits a worn spot or lands on a fleck of dust, the voltage jumps. Your console reads that jump as stick movement.
There are three root causes. Dirt or oxidation on the carbon track creates intermittent false signals. Physical wear of the carbon track causes constant one-direction drift.
A weak or broken centering spring lets the stick rest off-center, which the console reads as a steady directional push.
You can diagnose your issue in about ten seconds. Press the stick gently in the opposite direction of the drift. If the drift stops completely, your centering spring is fine and the issue is electrical.
If the drift continues even when you hold the stick the other way, your module is worn out and needs replacement.
A calibration reset solves roughly 15 to 20 percent of drift cases. Many modern controllers store a software-based zero point that can drift right along with the hardware. Resetting that zero point is free and takes under a minute.
It is always the first branch you try.
Image source: Bing (Web (fair-use with source credit))
Branch 1: The 2-Minute Software Fix
Before you open any controller or buy any tools, run the calibration reset. This is the simplest fix and it works more often than you expect.
The process varies by platform but follows the same logic. You tell the console to forget the current neutral position and re-learn it. For a Nintendo Switch Pro Controller or Joy-Con, go to System Settings, then Controllers and Sensors, then Calibrate Control Sticks.
Follow the on-screen prompts. For a PlayStation DualSense or DualShock 4, calibration is automatic during pairing. You can force a reset by using a small pin to press the reset button on the back of the controller.
For an Xbox controller, update the firmware through the Xbox Accessories app first. Microsoft has patched dead zone handling in several updates, and those updates can fix drift that looks like hardware failure.
If calibration works, your drift may return in a few weeks. That is a sign the underlying hardware is degrading but hasn't failed entirely. You can re-calibrate as many times as you need.
Eventually you will need to move to Branch 2 or 3.
A related software trick is adjusting the dead zone. The dead zone is the small range of stick movement near center that the controller ignores. Most modern games let you adjust this in their control settings.
Increasing the dead zone by 5 to 10 percent hides minor drift completely. It is a band-aid, not a fix. But it costs nothing and takes ten seconds per game.
If calibration and dead zone adjustments do nothing, the problem is physical. Move to the next branch.
Branch 2: The Contact Cleaner Method
This is the most common successful fix for intermittent drift. If your stick drifts unpredictably, sometimes bad and sometimes fine, dirt is the likely culprit.
You need two things. A can of 99 percent isopropyl alcohol or a dedicated electronic contact cleaner like CRC QD Electronic Cleaner. And a small tool to lift the rubber dust flap under the joystick.
A plastic spudger or a toothpick works fine. Do not use a metal tool that could scratch the plastic.
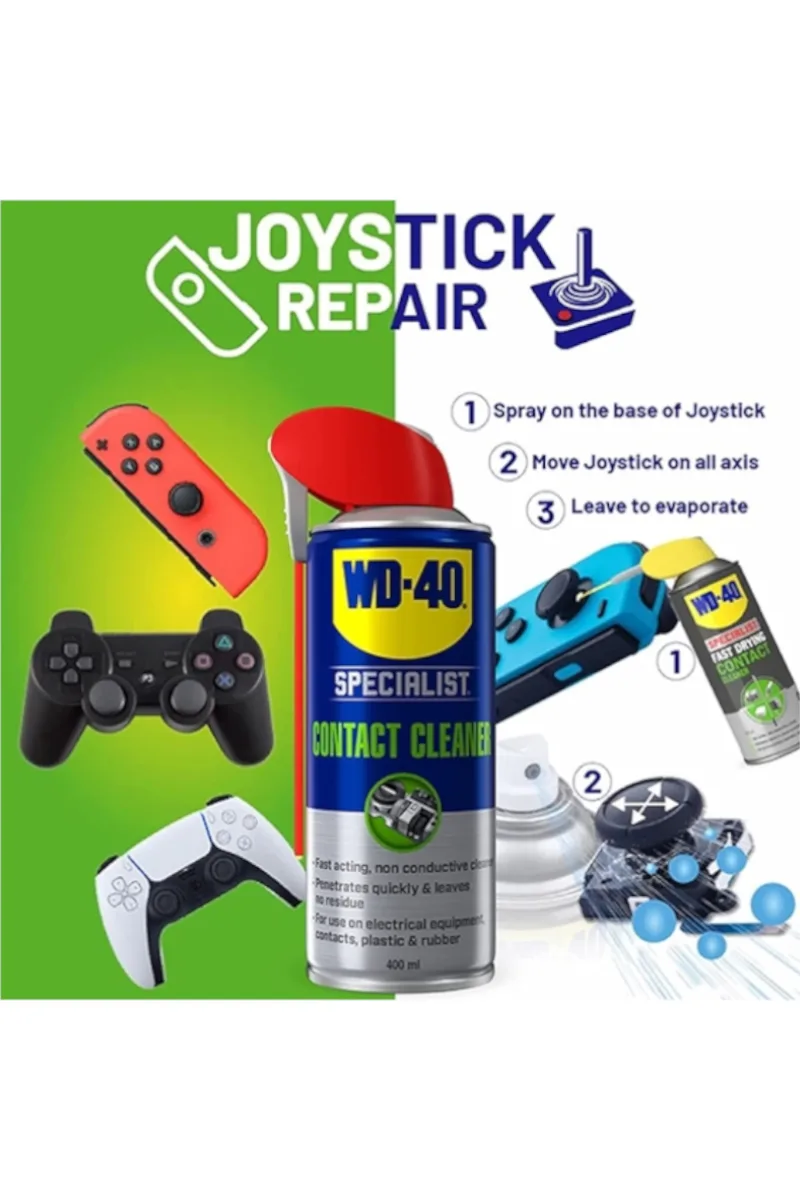
Image source: Bing (Web (fair-use with source credit))
Here is the process. Lift the dust flap gently and insert the straw from the contact cleaner into the gap. Spray a short burst, about one second.
Then move the stick in full circles for about thirty seconds to work the cleaner into the potentiometer. Let the controller sit for five minutes to allow the solvent to fully evaporate. Power it on and test.
This works because contact cleaner dissolves the thin layer of oxidized carbon or dust between the wiper and the track. That layer acts as an insulator. The wiper loses consistent contact and the voltage jumps around.
Cleaning restores that contact.
A few critical warnings. Never use WD-40 or any oil-based lubricant. It leaves a residue that attracts more dust and makes the drift worse within a week.
Never spray directly into the controller housing without lifting the dust flap. The liquid needs to reach the potentiometer inside. Never power the controller on while the solvent is still wet.
Short circuits are rare but possible.
This method resolves roughly 40 to 50 percent of drift cases permanently. If the drift returns within a month, the carbon track is likely worn past the point where cleaning helps. Move to the hardware branches.
Branch 3: The Module Swap
When cleaning fails and the drift is constant, the potentiometer's carbon track is physically worn down. You need to replace the joystick module itself.
This is the most technically demanding fix. It requires soldering on most controllers. The Nintendo Switch Joy-Con uses a ribbon cable connection, which is easier.
The Xbox Series X|S, PlayStation DualSense, and most third-party controllers have the module soldered directly to the circuit board.
The process goes like this. Open the controller shell using a tri-wing or Phillips screwdriver depending on the model. Disconnect the battery for safety.
Locate the joystick module, usually held by three or four solder joints per axis plus mounting brackets. Use solder wick or a solder sucker to remove the old solder. Desolder each joint carefully.
Install the new module and solder it in place. Reassemble the controller and test.
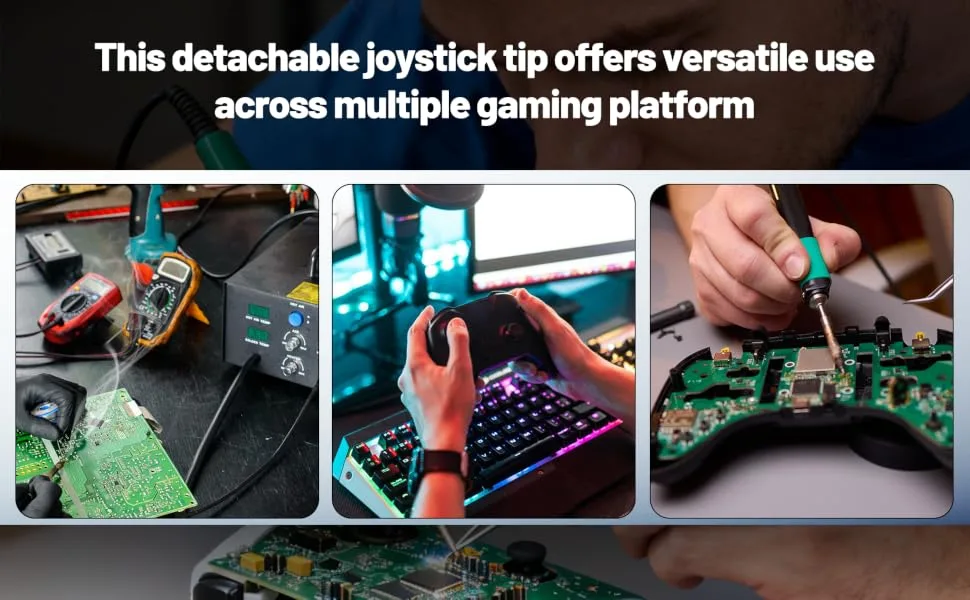
Image source: Bing (Web (fair-use with source credit))
A standard OEM replacement module costs between three and eight dollars. Gulikit brand modules cost fifteen to thirty dollars but offer a critical advantage. They use Hall effect sensors instead of physical potentiometers.
Hall effect sensors have no contact between moving parts. They cannot wear out the way carbon tracks do.
For the Nintendo Joy-Con, the ribbon cable replacement is simpler but more fragile. The cable tears easily if you fold it at the wrong angle during reassembly. Watch the routing carefully and use tweezers to seat the connector.
If you are not comfortable with soldering, alternatives exist. The PlayStation DualSense Edge controller has hot-swappable stick modules that require no tools. You pop the old one out and snap the new one in.
Those modules cost about twenty dollars from Sony.
Budget about thirty to forty-five minutes for a soldered module swap on your first attempt. Experienced repairers can do it in fifteen minutes. The cost is under twenty dollars in parts and tools versus sixty to eighty dollars for a new controller.
Branch 4: The Hall Effect Upgrade
Hall effect joysticks use magnets and sensors to detect position. There is no physical contact between the moving and stationary parts. This means zero wear on the sensing mechanism.
If you swap to Hall effect modules, you never deal with drift from a worn carbon track again.
This upgrade makes sense in two situations. You are already replacing a worn module and want to future-proof the repair. Or you are building a custom controller and want the best components from the start.
The installation process is identical to a standard module swap. You desolder the old module and solder the new Hall effect module in its place. On some controllers, you may need a calibration jig to set the neutral position after installation.
These jigs are small plastic pieces that hold the stick perfectly centered while the controller learns the new zero point.
Hall effect modules are not drop-in compatible with every controller. The Gulikit brand has become the most widely tested option, with confirmed compatibility for the Nintendo Switch, Switch Lite, Switch OLED, Steam Deck, and several third-party handhelds. Compatibility with PlayStation and Xbox controllers depends on the specific board revision.
Check the manufacturer's documentation before buying.
The trade-off is cost. A pair of Hall effect modules runs about thirty dollars compared to six to sixteen dollars for OEM replacements. You also lose the ability to use the controller's native dead zone calibration on some platforms, though this is becoming less common as firmware updates add Hall effect support.
For competitive players, the precision difference is measurable but small. Hall effect sensors offer linear response across the full stick travel. Standard potentiometers tend to have slight nonlinearity at the edges.
In practice, most players will not notice the difference outside of high-level fighting games or flight simulators.
Mistakes That Make Drift Worse
Several common mistakes turn a fixable problem into a broken controller. Here is what to avoid.
Using the wrong cleaner. Oil-based lubricants like WD-40 leave a film inside the potentiometer. That film collects dust and turns a cleanable module into a permanently dirty one.
Stick to 99% isopropyl alcohol or an electronics-grade contact cleaner that leaves no residue.
Skipping the battery disconnect. If you open a controller with a lithium battery still connected, you risk shorting a contact with your screwdriver. That can blow a fuse or damage the circuit board.
Always disconnect the battery before desoldering or cleaning inside the housing.
Forcing the ribbon cable. Joy-Con ribbon cables are thin and delicate. If the cable does not slide into the connector easily, you have the angle wrong.
Forcing it tears the traces and ruins the cable. Use tweezers and check your alignment.
Ignoring the centering spring. If your stick drifts in the same direction every time and the spring feels loose or makes a clicking sound, the spring may be broken. Cleaning and module replacement will not fix this.
You need a new spring or a complete stick assembly.
Rushing the solvent evaporation. Alcohol and contact cleaner need time to evaporate completely. If you power the controller on while solvent is still inside, you can short the potentiometer temporarily.
Wait five minutes. Ten minutes is safer.
Tools, Costs, and What to Expect at Each Stage
| Fix | Cost | Time | Skill Level | Success Rate |
|---|---|---|---|---|
| Calibration reset | Free | 2 minutes | None | 15-20% |
| Dead zone adjustment | Free | 30 seconds | None | Varies by game |
| Contact cleaner | $6-12 | 10 minutes | Beginner | 40-50% |
| Module swap (OEM) | $3-8 | 30-45 minutes | Intermediate | 90%+ |
| Hall effect upgrade | $15-30 | 30-45 minutes | Intermediate | 90%+ |
| DualSense Edge swap | $20 | 2 minutes | Beginner | 100% |
The tools you need for a module swap are minimal. A soldering iron with a fine tip, solder wick or a solder sucker, and a small Phillips or tri-wing screwdriver. Total cost for tools is about twenty to thirty dollars if you do not already own them.
That is still cheaper than a new controller.
You can also pay a local repair shop to do the swap. Most charge between twenty and forty dollars for labor. Provide your own module to save on markup.
Frequently Asked Questions
Can stick drift be fixed permanently?
Yes, if you switch to Hall effect joystick modules. They have no physical contact between moving parts, so the sensing mechanism cannot wear out. Standard potentiometer modules will eventually drift again because the carbon track degrades with use.
Is stick drift covered under warranty?
It depends on the manufacturer. Nintendo offers free Joy-Con repairs in many regions even out of warranty due to class action settlements. Sony and Microsoft generally cover drift under the standard one-year warranty but charge for repairs after that.
Check your regional warranty terms.
Does compressed air fix stick drift?
Compressed air rarely fixes drift. It blows surface dust off the top of the module but does not reach the carbon track inside the potentiometer. Contact cleaner or alcohol is required to dissolve the oxidation or debris causing the false signal.
How long does a joystick module last?
Standard potentiometer modules last between 400,000 and 2 million full sweeps. Heavy use in games with constant stick movement, like shooters or platformers, wears them faster. Hall effect modules are rated for 10 million rotations or more and do not degrade over time.
Can you fix stick drift without opening the controller?
Yes, if the issue is software-based. Calibration resets and dead zone adjustments require no tools and no disassembly. If those do not work, you must open the controller to clean or replace the module.
There is no external fix for worn hardware.

Similar Posts