How to Mount an Action Camera
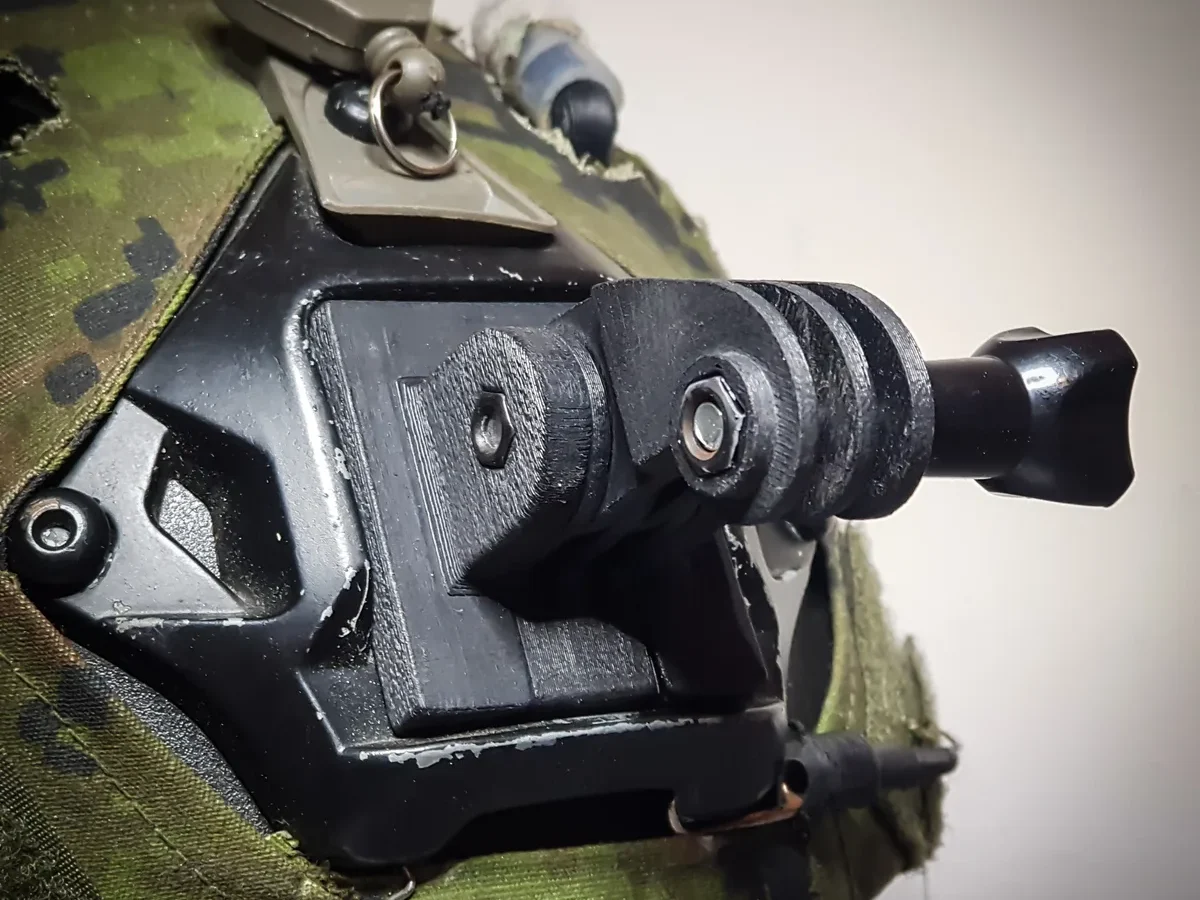
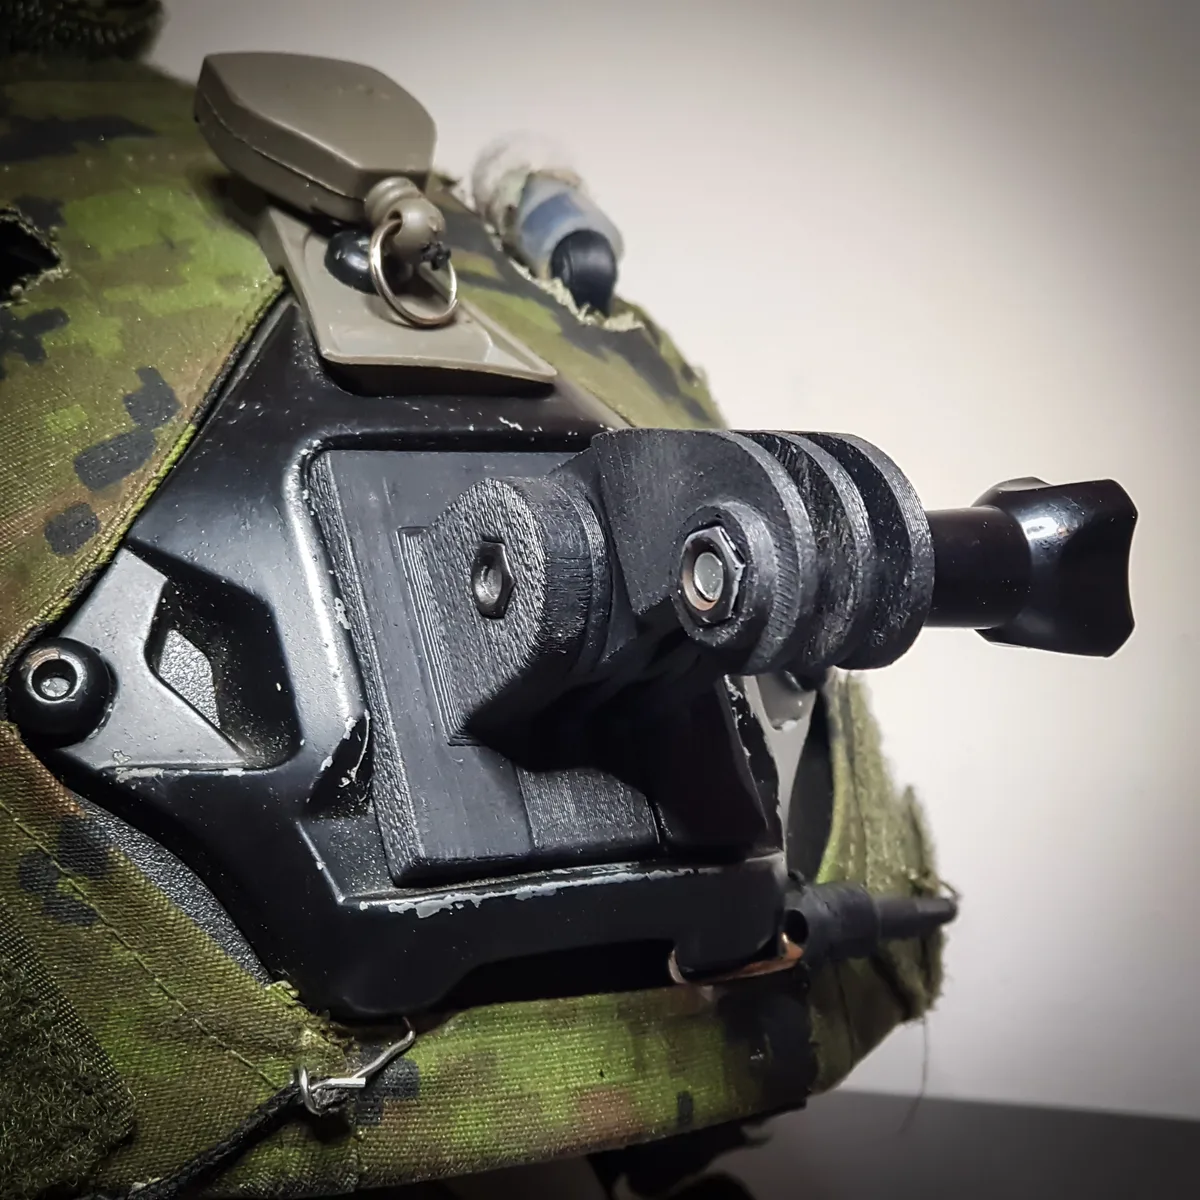
Image source: Web (Bing) / cults3d.com (Web image (fair-use with source credit))
You've got a shiny new action camera, and you're ready to capture some epic first-person footage. But before you hit record, you need to figure out how to mount an action camera to whatever you're riding, wearing, or driving. One wrong move, and your camera could be bouncing down the trail or sliding across the pavement.
The problem is that there's no single "right" way to mount these things. The best method depends entirely on what you're doing, what surface you're attaching to, and how permanent you want the setup to be. Manufacturer specifications indicate that adhesive mounts require a full 24-hour cure time before they can handle real-world loads.
That's a detail most people skip, and it's the main reason cameras fall off. Let's walk through the whole process so you get it right the first time.
Quick Answer
Clean the surface. Choose the right mount. Apply the adhesive.
Wait 24 hours. Attach the camera. Use a tether for safety.
The cure time is the most critical step. For anything high-speed or high-impact, always add a safety leash. Your camera is too expensive to lose.
Before You Stick Anything: Picking the Right Mount for Your Activity
You wouldn't use a flat adhesive pad on a curved motorcycle helmet. It simply won't grip. The shape of the surface determines the type of mount you need.
Here's how to match your activity to the right mount style.
| Activity | Best Mount Type | Why It Works |
|---|---|---|
| Mountain biking (helmet) | Curved adhesive mount | Helmet contours are round; flat pads leave gaps |
| Motorcycling (tank) | Magnetic mount | Strong hold on metal, no residue |
| Skiing or snowboarding (helmet) | Curved adhesive mount with tether | Stays on at speed, leash catches it if it fails |
| Vlogging (chest) | Chest strap harness | Distributes weight, no adhesive needed |
| Car (dashboard) | Suction cup mount | Removable, repositionable, handles glass well |
| Surfing (board) | Flat adhesive mount with 3M VHB tape | Waterproof bond, but needs 24-hour cure |
If you're unsure about the curvature of your helmet, hold the mount against it. If you can see daylight under the edges, you need a curved model. For everything else, the rule of thumb is simple.
Flat surfaces get flat mounts. Curved surfaces get curved mounts. Temporary setups get suction cups or straps.
The Two-Step Prep That 90% of People Skip
Most failures happen because the surface wasn't prepared properly. It's not the mount's fault. It's the gunk, the grease, and the impatience that cause it to peel off.
Step one: clean the surface. Use isopropyl alcohol (at least 70%) and a lint-free cloth. Wipe the area thoroughly. Then wipe it again.
You're removing sweat, oils, wax, and any residue from previous mounts. If you're mounting on a helmet that's been treated with a coating or wax, you may need to sand it lightly with fine-grit sandpaper first. That's not optional for a secure bond.
Step two: let it dry completely. Alcohol evaporates quickly, but give it a full minute. Don't blow on it. Don't wipe it with your finger.
Just wait. A clean, dry, and slightly rough surface gives the adhesive its best chance to bond.
For a more detailed look at keeping your gear in top shape, you can see our guide on cleaning mirrorless camera lenses. The same principles of patience and proper solvent use apply here.
Decision Tree: Which Mount Goes Where
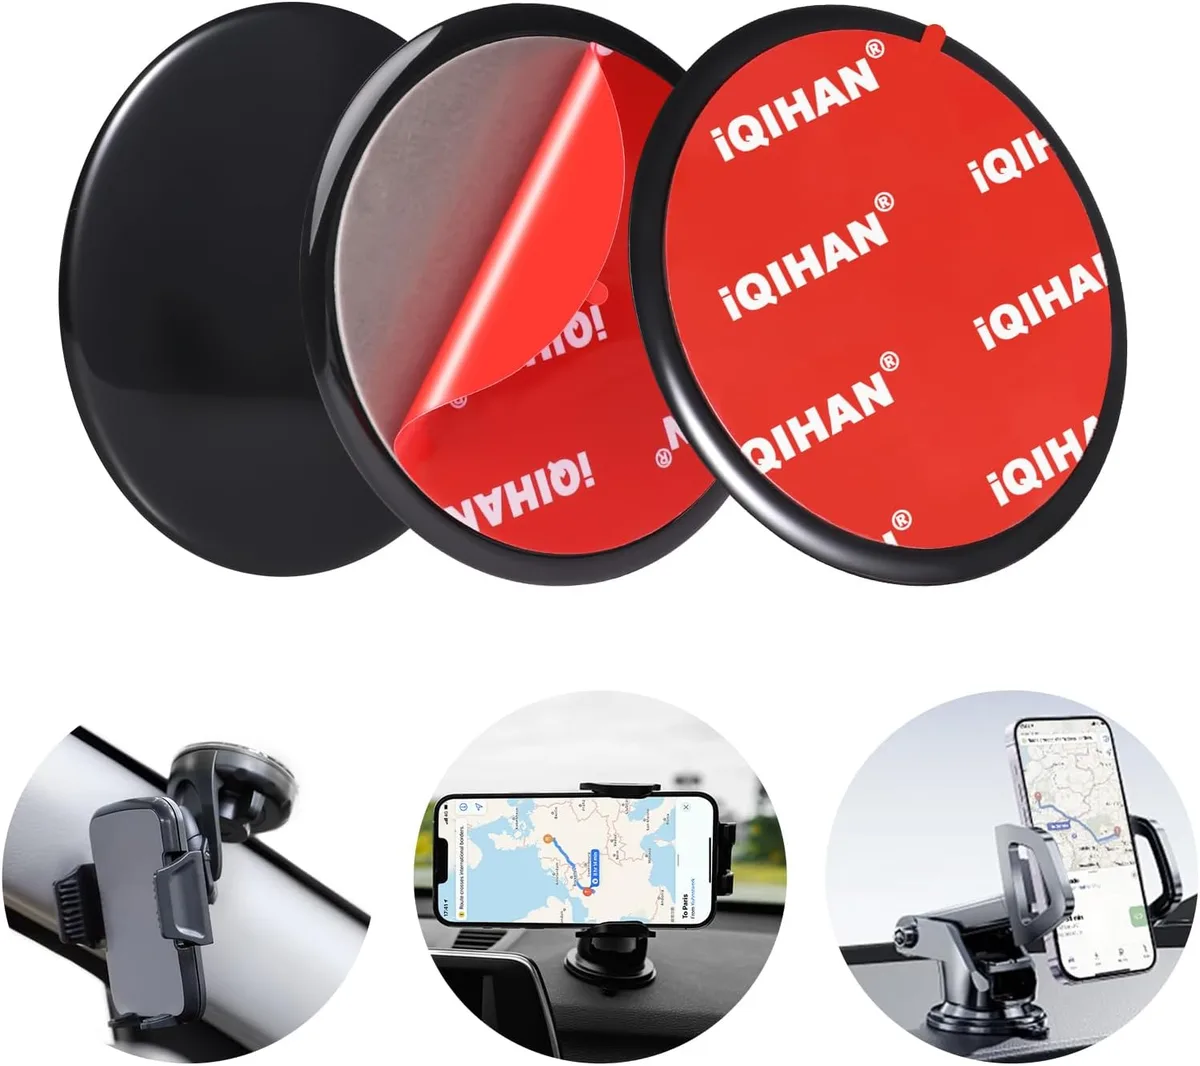
Image source: Web (Bing) / amazon.com (Web image (fair-use with source credit))
Still not sure? Let's simplify it with a decision tree. Answer these questions in order.
Question 1: Is the surface curved or flat?
- Curved → Go to Question 2
- Flat → Go to Question 3
Question 2: How permanent do you want the mount?
- Permanent (you won't remove it often) → Curved adhesive mount
- Temporary (you want to move it between gear) → Curved strap mount or helmet clamp
Question 3: Are you mounting on glass or a smooth, non-porous surface?
- Yes → Suction cup mount is your best bet
- No → Flat adhesive mount or clamp mount
Question 4: Is the activity high-speed or high-impact?
- Yes → Add a tether or safety leash no matter which mount you choose
- No → You can skip the tether, but it's still a good idea
If you're mounting a camera to a bike for a fast downhill run, you'll want to check out our guide on using a mirrorless camera for sports. The same stability and vibration concerns apply to action cameras.
How to Install Each Mount Type (Step by Step)
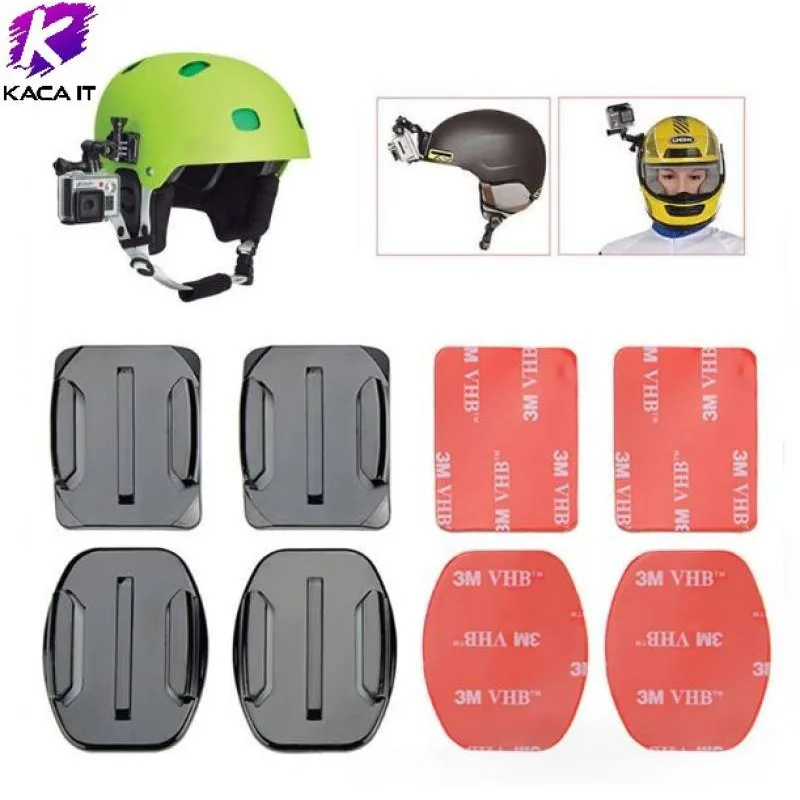
Image source: Web (Bing) / shopee.com.my (Web image (fair-use with source credit))
Let's walk through the three most common mount types. Each one has a slightly different process.
Adhesive mount (flat or curved)
- Clean the surface with isopropyl alcohol. Let it dry completely.
- Peel the backing off the adhesive pad. Do not touch the sticky side.
- Press the mount firmly onto the surface. Apply steady pressure for 30 seconds.
- Do not attach the camera yet. Wait 24 hours for the adhesive to cure. This is the step everyone rushes. Don't be everyone.
- After 24 hours, attach the quick-release buckle and snap the camera in place.
Suction cup mount
- Clean the glass or smooth surface with alcohol. Dry it thoroughly.
- Press the suction cup flat against the surface. Flip the lever to lock it in place.
- Give it a firm tug to test the seal. If it moves, reapply.
- Attach the camera and secure the tether to a solid anchor point inside the car.
- Check the suction cup before every ride. Temperature changes can weaken the seal.
Chest strap harness
- Thread the strap through the plastic buckle. Adjust it to fit snugly around your chest.
- The mount plate should sit centered on your sternum. That gives the most stable footage.
- Tighten the straps so the harness doesn't bounce. Loose straps cause shaky video.
- Clip the camera into the mount. Lock it with the retention clip.
For vlogging and content creation, setting up the camera properly matters just as much as the mount. Our guide on using a mirrorless camera for YouTube covers framing and stabilization tips that apply to action cameras too.
Mistakes That'll Cost You a Camera (or a Helmet)
The most common mistakes are the ones that seem obvious after the fact. Here are the ones that keep coming up in forum posts about lost cameras.
Skipping the cure time. Most adhesive mount failures happen within the first hour of use. If you peel and stick and then immediately hit the trail, you're asking for trouble. Wait the full 24 hours.
It's boring, but it works.
Mounting on a helmet's weak spot. Hard shell helmets are designed to absorb impact in specific areas. Drilling holes or attaching mounts to the outer shell can compromise the helmet's integrity. The Consumer Product Safety Commission (CPSC) and Snell Memorial Foundation both advise against modifying helmet shells.
Stick to adhesive mounts only. Never drill. Never use a mount that puts pressure on the shell's structural zones.
Using a flat mount on a curved surface. This creates a gap. The gap lets in water, dirt, and vibration. The mount eventually pops off.
If you're mounting on a helmet, buy a curved mount. It's not a suggestion.
Not using a tether for high-speed activities. A suction cup can fail at 60 mph. An adhesive mount can fail if it wasn't cured properly. A tether costs a few dollars.
A new camera costs hundreds. The math is simple.
Over-tightening a clamp mount on a bike frame. Aluminum frames are soft. Carbon frames are even more fragile. Tighten the clamp until it's snug, then stop.
If you're unsure, check out our guide on how to troubleshoot mirrorless camera issues. The same principle of not over-tightening applies to any threaded mount.
How to Remove a Mount Without Damaging Your Gear
Sooner or later, you'll want to move that mount. Maybe you got a new helmet. Maybe you sold the bike.
Removing an adhesive mount takes patience, not brute force.
Heat the adhesive. Use a hair dryer or heat gun on low setting. Warm the mount for about two minutes. The heat softens the 3M VHB tape.
Do not overheat the surface. If you're working on a helmet, keep the heat moving to avoid damaging the shell.
Use dental floss or fishing line. Slide the floss behind the mount. Use a sawing motion to cut through the softened adhesive. Work slowly.
Don't yank.
Clean the residue. Any leftover adhesive comes off with isopropyl alcohol or citrus-based adhesive remover. Rub gently with a microfiber cloth. Avoid metal scrapers on painted surfaces.
Inspect the surface. Check for damage before attaching a new mount. If the helmet shell shows cracks or deformation, replace the helmet. The CPSC warns that adhesive residue removal can sometimes pull off protective coatings.
Take your time.
Frequently Asked Questions
How long should I let the adhesive cure before using the mount?
Manufacturer specifications indicate 24 hours at room temperature. Cold or humid conditions may require longer. The adhesive reaches about 70% strength after 6 hours, but full cure takes a full day.
Do not attach the camera during the cure period.
Can I mount an action camera on a motorcycle helmet?
Yes, but use a curved adhesive mount designed for helmets. Never drill holes or use screws. The Snell Memorial Foundation advises against any modification that penetrates the helmet shell.
Always use a tether as a backup.
Will a suction cup mount hold on a car at highway speed?
A quality suction cup mount can hold at highway speeds, but you must secure a tether. Temperature changes, dirt, and vibration can cause the seal to fail. Check the suction cup before every drive.
How do I remove adhesive residue from a helmet?
Use isopropyl alcohol and a microfiber cloth. Rub gently in small circles. For stubborn residue, use a citrus-based adhesive remover.
Avoid harsh solvents like acetone. They can damage the helmet's outer shell and protective coatings.
What's the best mount for mountain biking?
Most riders prefer a chest mount for stable footage or a chin-mounted helmet mount for a true POV perspective. Both require adhesive mounts. The chest harness gives smoother footage, while the helmet mount captures exactly what you see.
Can I reuse an adhesive mount after removing it?
No. The adhesive loses its bond strength after removal. Replace it with a new adhesive pad.
Reusing a mount with old adhesive is a common cause of camera loss. Always buy fresh adhesive pads from the manufacturer.

Similar Posts
































