How to Set Underwater Camera Exposure
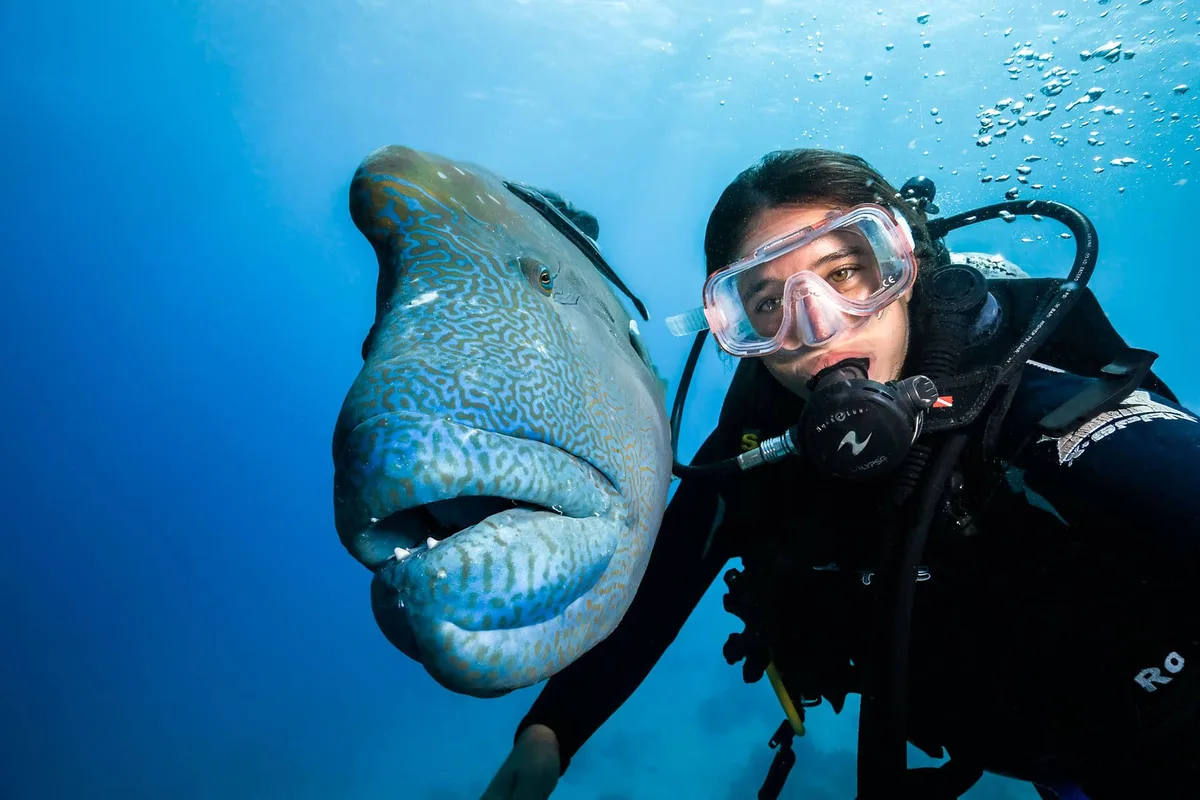
You're staring at a screen full of dark, blue-green images that look nothing like the vibrant reef you saw with your own eyes. That's the real problem with learning how to set underwater camera exposure: the water steals light and color faster than most people expect, and your camera's automatic modes weren't designed to compensate.
Red light disappears first. It loses about 30% of its intensity per meter of depth. By 5 meters down, you've already lost most of the reds and oranges.
By 15 meters, you're shooting in a blue-green world unless you add artificial light or use a color filter. This guide walks through the decision process for setting your exposure based on depth, light, and what you're shooting.
Image source: Web (Bing) / underwaterphotos.com.au (Web image (fair-use with source credit))
Why Your Underwater Exposure Keeps Failing
Most underwater photographers start with the same mistake. They trust their camera's auto-exposure system. The camera doesn't know you're underwater.
It meters for an average scene and tries to make everything medium gray. Underwater, that gives you two problems.
First, the camera sees a dark blue background and opens up the exposure. That blows out bright highlights like sand, white fish, or the sun's surface. Second, the camera's white balance tries to remove the blue cast, leaving a flat, greenish tint instead of the warm colors you actually saw.
The fix starts with switching to manual mode or aperture priority with exposure compensation dialed in. Manual control gives you predictable results across varying depths and light conditions. Water conditions change faster than automatic systems can react.
Depth is the biggest variable. At 3 meters, you might shoot at f/5.6, 1/125, ISO 200. At 12 meters, you need f/2.8, 1/60, ISO 800 just to get the same brightness.
If you rely on auto mode, the camera will compensate with shutter speed, and you'll end up with motion blur.
The other common failure is using the wrong settings for your lighting setup. Shooting with strobes requires a completely different exposure approach than shooting with ambient light only. The decision tree below covers that difference.
Quick Answer
Set your camera to manual mode. Start with ISO 200, aperture f/8, and shutter speed 1/125 for shallow reef shots with strobes. Adjust ISO up to 800 as depth increases.
Use a custom white balance or a red filter at 5 meters and deeper. Check your histogram after every shot. Keep the exposure graph biased to the right without touching the right edge.
The Underwater Exposure Triangle
The exposure triangle works the same underwater as on land. You balance aperture, shutter speed, and ISO to get the right amount of light to your sensor. The difference is that water limits your options in ways land doesn't.
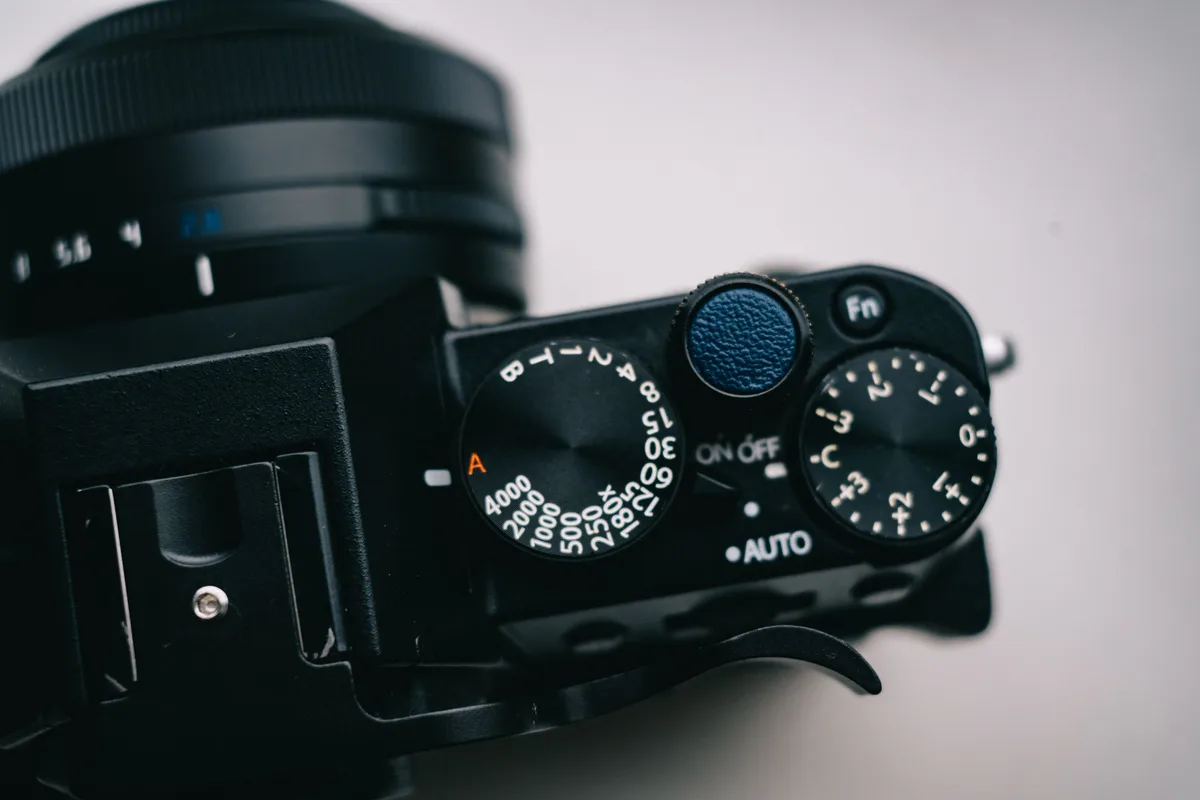
Image source: Web (Bing) / pexels.com (Web image (fair-use with source credit))
Aperture controls depth of field and light entry. Wider apertures like f/2.8 let in more light but give you a thin depth of field. That's risky underwater because subjects move.
If your focus is off by a few centimeters, the shot is gone. Tighter apertures like f/8 or f/11 keep more of your subject sharp, which is why most underwater shooters stick to f/8 as a starting point.
Shutter speed controls motion blur. Fast-moving fish need at least 1/200 second to freeze them. Slower subjects like sea fans or reef scenes can be shot at 1/60 or even 1/30 if you're steady.
The tradeoff is that slower shutter speeds let in more ambient light, which helps balance the background in deeper water.
ISO controls your sensor's sensitivity to light. Lower ISO values like 100 or 200 produce the cleanest images with the least noise. As you go deeper, you'll need to push ISO higher.
Most modern cameras produce usable images up to ISO 1600, but check your specific camera's noise performance before your dive.
The interaction between these three settings matters more underwater than on land. You can't simply open your aperture all the way. You need enough depth of field to keep your subject sharp and a fast enough shutter to freeze marine life.
That leaves ISO as your primary lever for adjusting exposure in low light.
The Decision Tree: Choose Settings Based on Depth, Light, and Subject
Use the conditions you're facing to find your starting settings. Adjust from there based on what you see in the viewfinder and the histogram.
Branch 1: Shallow Reef with Natural Light (0 to 5 meters, clear water, no strobe)
Shallow, clear water with good sunlight is the most forgiving condition. Set your camera to aperture priority at f/8. Let the camera pick your shutter speed, but keep an eye on it.
If shutter speed drops below 1/60, raise your ISO or open the aperture.
Start with ISO 200. If the sun is high and bright, drop to ISO 100 for cleaner images. Set your white balance to "daylight" or "sunny." Use a red filter if you're at 3 meters or deeper.
The red filter helps restore warm tones that water absorbs.
Shoot at 1/125 second as a baseline. If you need to freeze fish, bump to 1/200 and raise ISO to compensate. Check your histogram.
You want the graph slightly right of center without clipping the highlights. If sand or sky is blown out, stop down to f/11 or raise your shutter speed.
Branch 2: Mid-Depth with Strobe (5 to 15 meters, moderate light, moving subjects)
This is where most underwater photography happens. You're deep enough that ambient light is weak, but you still have some natural illumination. A strobe brings back color and freezes motion.
Set your camera to manual mode. Start with ISO 100, f/8, and 1/125. Your strobe provides the main light.
Ambient light handles the background. The key is balancing the two. If your background comes out black, lower your shutter speed to let in more ambient light.
If your background is too bright, raise your shutter speed.
Position your strobe at a 45-degree angle above and to the side of your subject. Point it slightly away from the lens to reduce backscatter. Backscatter happens when light hits particles in the water and reflects back into the lens.
It looks like snow in a photo.
Check your histogram after every shot. The spike on the left shows shadows. The spike on the right shows highlights.
For a strobe-lit shot, you want a broad middle range with no clipping on either end. If highlights are blown, reduce your strobe power or move it farther from the subject.
Branch 3: Deep or Dark Water (15 meters plus, low ambient, macro or night)
Ambient light is almost gone at this depth. You're relying entirely on your strobe or video light. Color is absent without artificial light.
Set your white balance to "flash" or "custom" based on a gray card taken at depth.
Start with ISO 200, f/11, and 1/200. The tighter aperture gives you more depth of field, which is critical for macro subjects close to the lens. The higher ISO compensates for the loss of ambient light.
The faster shutter speed freezes movement.
For macro subjects, position your strobe very close to the subject. Light falls off quickly underwater. A strobe that works at 1 meter for a wide-angle shot needs to be within 15 to 20 centimeters for a macro shot.
Use a diffuser to soften the light and reduce harsh shadows.
Check your histogram. For macro shots, you want a clean peak in the middle to right side. If the subject is overexposed, close the aperture or move the strobe farther away.
If the background is completely black, that's normal at this depth.
White Balance and Red Filters: The Color Temperature Fork
White balance is the second most important setting after exposure. It determines whether your underwater photos look like a swimming pool or a vibrant reef.
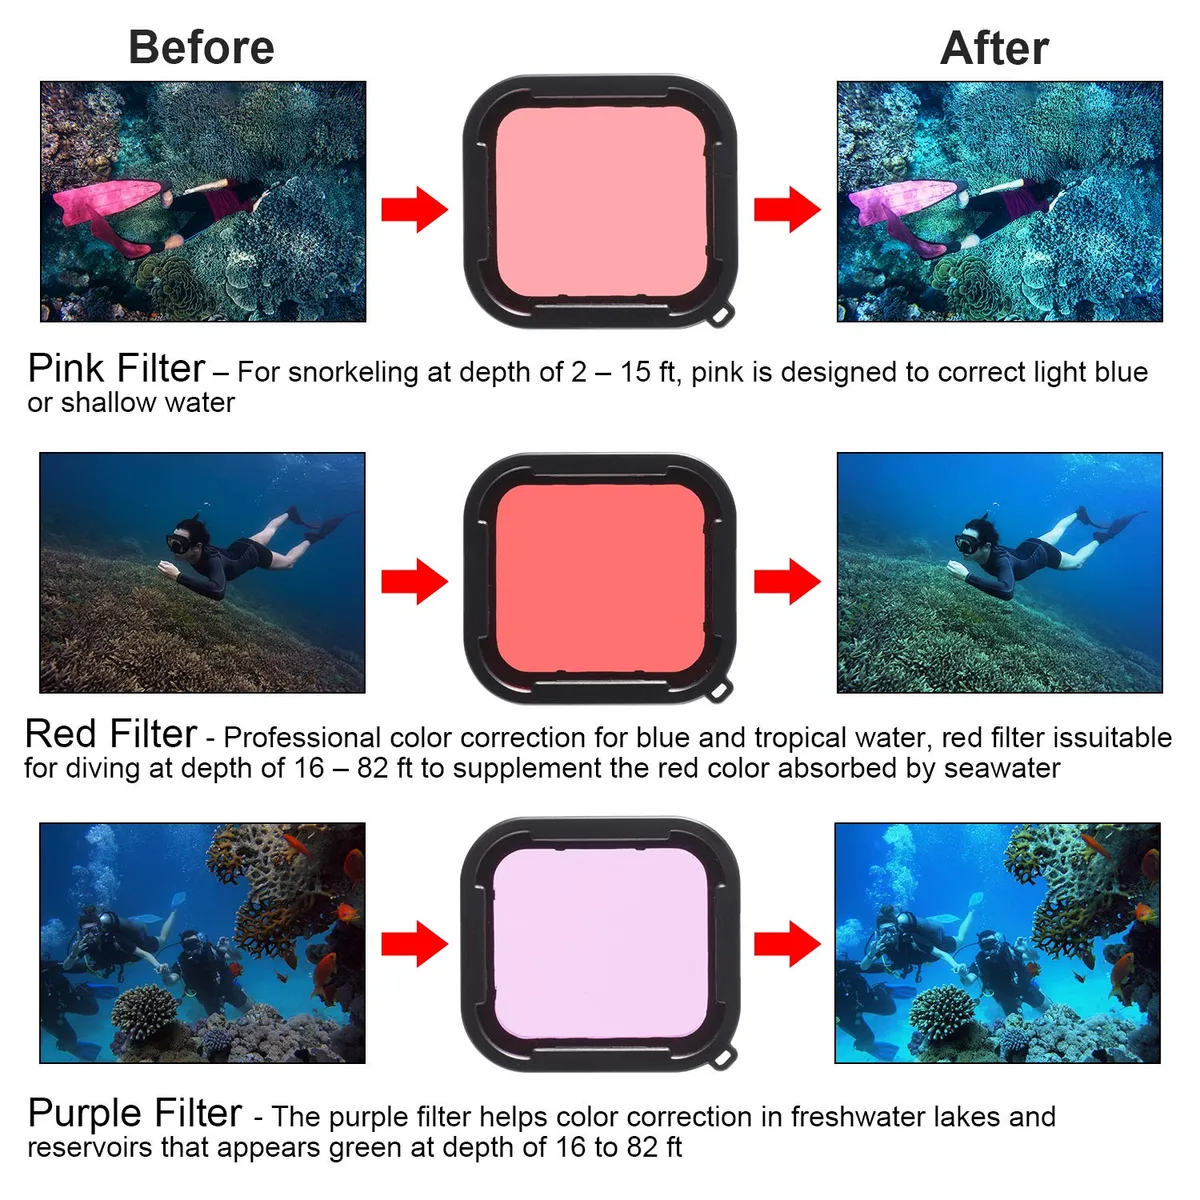
Image source: Web (Bing) / storage.googleapis.com (Web image (fair-use with source credit))
Water absorbs different colors at different rates. Red goes first, then orange, then yellow. By 10 meters, you're shooting in a blue-green world.
Your camera's auto white balance tries to compensate, but it usually just makes everything look flat and green.
You have two options. Use a custom white balance taken at depth, or use a red filter. Both work, but they work differently.
Custom white balance is the most accurate method. You take a photo of a white or gray card at the same depth you're shooting. The camera uses that as a reference and adjusts the color temperature accordingly.
This works well if you're staying at one depth. If you move up or down, you need to recalibrate.
Red filter is simpler. It's a physical filter that screws onto your lens or housing port. It blocks some blue light and lets more red light through, compensating for the red that water absorbs.
Red filters work best between 3 and 10 meters. Above 3 meters, they make the image look too warm. Below 10 meters, they're not strong enough to fully correct color loss.
The best approach depends on your setup. If you're shooting with strobes, skip the red filter. The strobe provides full-spectrum light that includes reds.
Set your white balance to "flash" or "custom" and you're good.
If you're shooting ambient light only, use a red filter at 3 to 10 meters. At 0 to 3 meters, shoot without a filter and use a custom white balance or the "cloudy" preset which adds warmth. Below 10 meters with ambient light only, add a strobe or video light if you want color.
Common Blunders That Wreck Your Exposure
Forgetting to check O-rings before every dive. A housing leak is the fastest way to destroy a camera. Inspect the O-ring groove for hair, sand, or nicks. Lubricate with the specified silicone grease.
Close the housing and pressurize it with a vacuum pump if you have one.
Shooting JPEG instead of RAW. JPEG files discard exposure data that RAW preserves. You lose the ability to recover shadows or adjust white balance after the dive. Switch to RAW format in your camera menu before you hit the water.
Relying on the LCD screen for exposure judgment. The screen looks bright on the surface and dim at depth. What looks perfectly exposed at 15 meters is often overexposed on a monitor. Use the histogram exclusively.
Using the same aperture for every shot. A wide-angle reef scene needs f/8 for depth of field. A close-up macro shot needs f/16 or f/22 to keep the entire subject sharp. Defaulting to f/8 for macro leaves you with soft images.
Firing the strobe before it's fully recycled. After a full-power strobe fires, it needs 0.5 to 3 seconds to recharge. Shooting faster than that gives you a dark, partial-power flash. Wait for the ready light.
Not accounting for dome port refraction. A dome port changes the effective focal length of your lens. At close focus distances, exposure and depth of field behave differently than on land. Test your dome port and lens combination before your trip.
Pumping your buoyancy compensator while framing a shot. Every time you exhale, you drop. Every time you inhale, you rise. If you adjust exposure while also adjusting buoyancy, both suffer.
Hover stationary first. Then adjust settings. Then shoot.
Pro Tips to Lock in Consistent Exposure
Set your exposure before you hit the water. Start at ISO 100, shutter speed 1/125, aperture f/8, and white balance set to "flash" or "daylight" depending on your light source. Make minor adjustments underwater instead of starting from scratch.
Use a dive light for focusing. In low light, your camera's autofocus struggles. A bright dive light aimed at your subject gives the autofocus system enough contrast to lock on. It also helps you compose your shot.
Shoot in short bursts. Hold the shutter down for two or three frames in quick succession. One of them will have the sharpest focus and best moment. Long bursts drain battery and fill your memory card.
Clean the lens port between dives. Salt spray, sunscreen, and fingerprints degrade image quality. Rinse the port with fresh water and dry it with a microfiber cloth before each dive. A clean port is the cheapest lens upgrade you can make.
Practice buoyancy control without the camera. If you can't hover stationary without thinking about it, your underwater photos will suffer. Every breath moves you. Practice in a pool until neutral buoyancy is automatic.
Then bring the camera.
Review your first shot critically. After your first image, look at the histogram. If the graph is bunched on the left, open up the aperture or raise ISO. If it's bunched on the right, close down the aperture or increase shutter speed.
Your first shot of the dive is your calibration shot.
Keep a dive log of exposure settings. Note the depth, conditions, and settings that worked. After a few dives, you'll have a personal reference table. For example: "3 meters, sunny, no strobe: f/8, 1/125, ISO 100. 12 meters, overcast, with strobe: f/8, 1/100, ISO 400." That kind of data is gold.
Frequently Asked Questions
What is the best ISO setting for underwater photography?
Start at ISO 100 or 200 in clear, shallow water. Go up to ISO 400 or 800 in deeper or darker conditions. Above ISO 1600, noise becomes noticeable on most cameras.
Keep ISO as low as your shutter speed and aperture allow.
Do I need a red filter for underwater photography?
Only if you're shooting ambient light between 3 and 10 meters. Above 3 meters, skip it. Below 10 meters with ambient light only, add a strobe instead.
If you use strobes, don't use a red filter because the flash already provides full-spectrum light.
How do I avoid backscatter in underwater photos?
Position your strobes at a 45-degree angle above and to the side of the subject. Angle them slightly away from the lens. Use a diffuser to soften the light.
Stay at least 30 to 50 centimeters from the subject if possible. Backscatter happens when light hits particles between you and the subject.
How do I read the histogram underwater?
The left side shows shadows, the right side shows highlights. You want the graph slightly right of center without touching the right edge. If spikes hit the right edge, you've lost highlight detail.
If spikes hit the left edge, you've lost shadow detail, but that's often acceptable in deep water.
Can I use auto mode for underwater photography?
Auto mode works poorly underwater because the camera can't compensate for color loss and light absorption. Use aperture priority with exposure compensation dialed in for shallow water, or manual mode for consistent results at any depth.
What is the best shutter speed for moving fish?
For slow-moving fish like angelfish or parrotfish, 1/125 second is enough. For fast swimmers like tuna, jacks, or sharks, use 1/200 or 1/250 second. Bump your ISO up as needed to keep the shutter speed fast enough.

Similar Posts
































