How to Shoot 4K Underwater Video
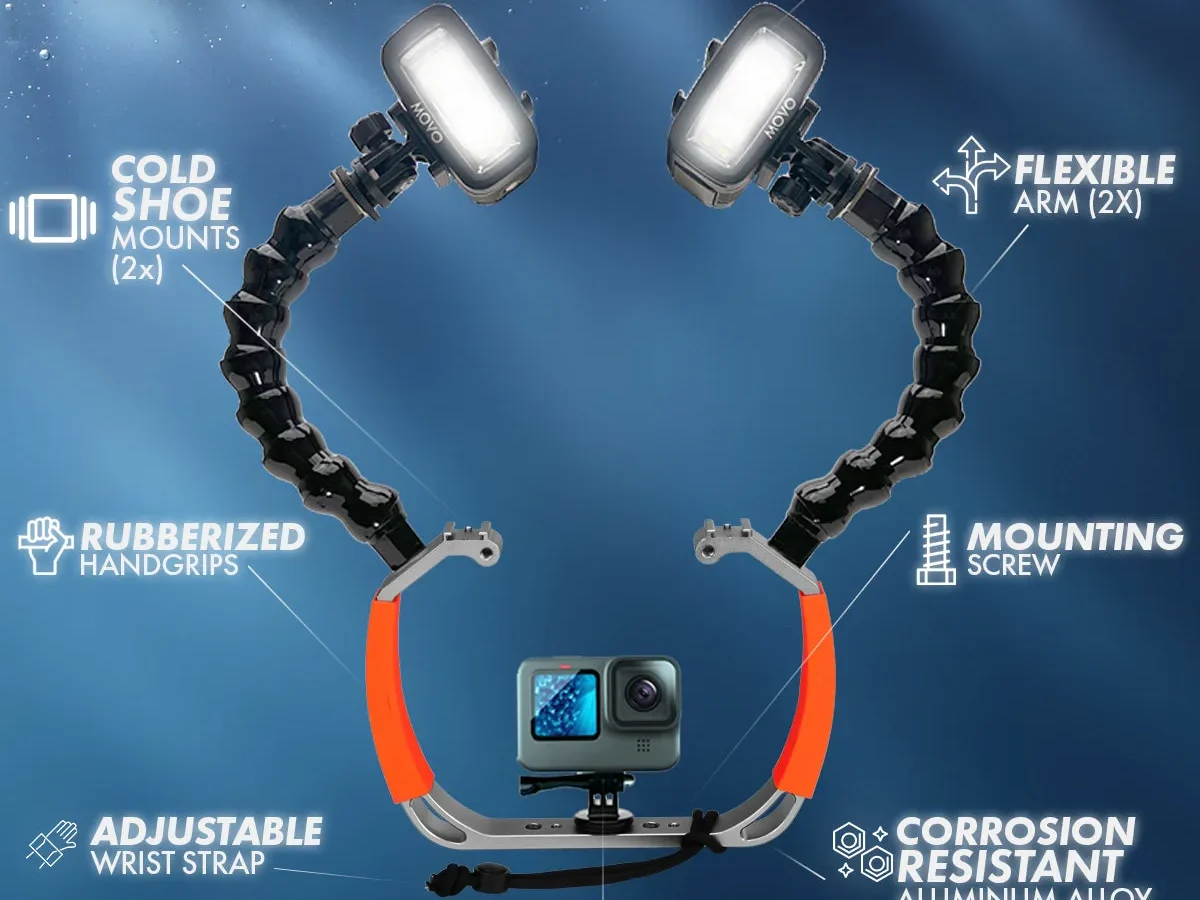
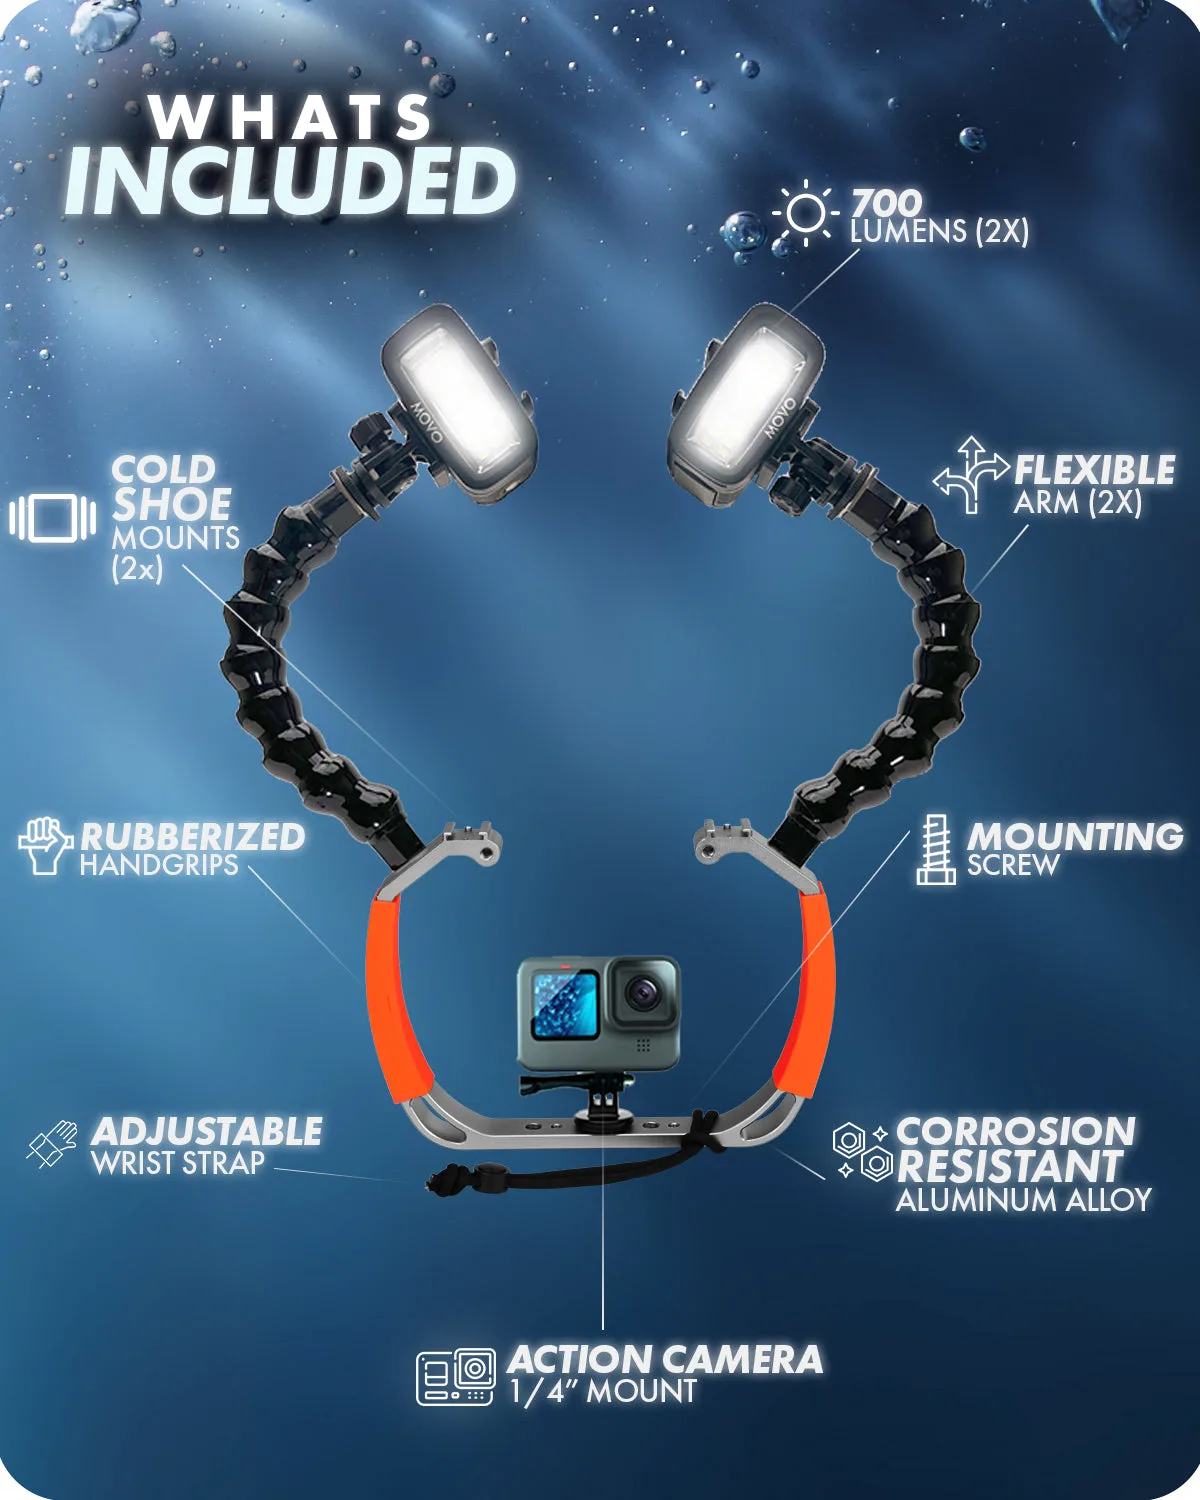
Image source: Web (Bing) / movophoto.com (Web image (fair-use with source credit))
If you’ve ever dropped your camera below the surface and pulled up footage that looks like a green‑blue soup, you’re not alone. Learning how to shoot 4K underwater video often comes down to one thing. Color.
Water strips away light color by color, starting with red, within just a few feet of depth.
Research from NOAA confirms that red light is absorbed at roughly 4.6 meters (15 feet) in clear water. Only blue and green wavelengths remain at depth. That’s why footage shot without corrective measures looks monochromatic and flat.
The good news is that you can fix this with three straightforward tools.
Quick Answer
Set a custom white balance using a white or grey reference card. Match your shutter speed to twice your frame rate. Use a red or magenta filter in shallow clear water.
Add video lights below 10 meters. Keep your ISO as low as possible. Test one variable at a time.
Why Your 4K Underwater Video Looks Like a Green‑Blue Mess
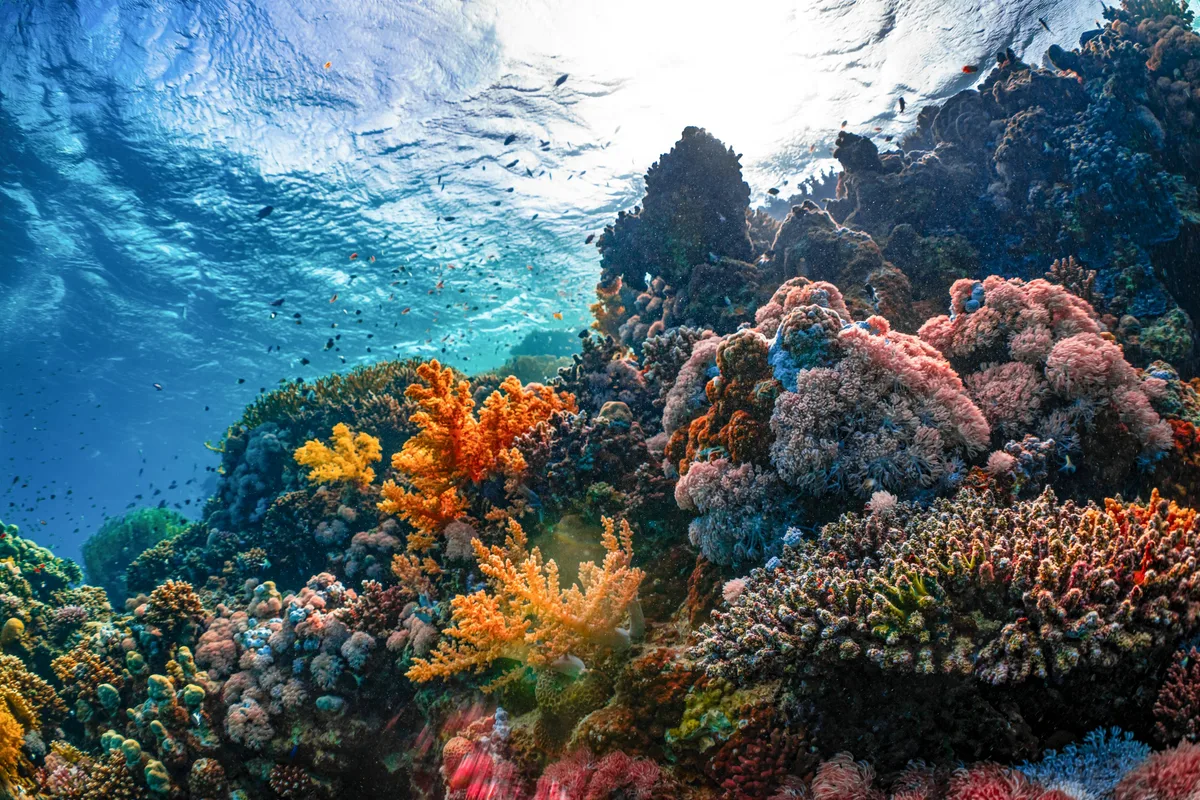
Image source: Web (Bing) / unsplash.com (Web image (fair-use with source credit))
The problem isn’t your camera. It’s physics. Water absorbs different wavelengths of light at different rates.
Red light gets absorbed first, usually within 3 to 5 meters of depth. Orange and yellow follow soon after. By the time you reach 10 meters, only blue and green light remain in any significant amount.
Your camera’s sensor sees what’s actually there. A narrow band of cool tones. Your eyes adjust automatically when you’re underwater, so the shift feels natural to you.
The camera doesn’t compensate. It records exactly what the water lets through, which is mostly blue and green.
Auto white balance often makes things worse. The camera tries to neutralize the dominant blue cast, pushing the image toward green or adding a muddy brown tint. The result is footage that looks nothing like what you remember seeing.
The fix is to add the missing red light back into the image. You can do that optically, electronically, or by adding your own light source. Each method has a specific time and place where it works best.
The Three Fixes: Color Filter, Custom White Balance, or Video Lights
You have three ways to restore color underwater. Each solves the same problem but works under different conditions. Choosing the right one depends on depth, water clarity, and whether you’re shooting in natural light or using artificial light.
| Fix | How It Works | Best For | Pros | Cons |
|---|---|---|---|---|
| Color filter (red or magenta) | Glass or plastic filter mounts over the lens to add red wavelengths | Shallow clear water, 3–10 meters | Simple, no power needed, works with natural light | Won’t work below 15 meters, can overcorrect in green water |
| Custom white balance | Manual kelvin setting or grey‑card reference in the camera menu | Variable depth, mixed light, or when you have a reference card | Accurate color in changing conditions, no gear to buy | Takes time to set up, doesn’t add light, needs good natural light |
| Video lights | LED lights that output full‑spectrum illumination | 10+ meters, night dives, caves, or low‑visibility water | Restores all colors, adds contrast, works at any depth | Adds weight, cost, and battery management, can cause backscatter |
If you’re shooting in shallow tropical water between 3 and 8 meters, a red filter is the simplest fix. For deeper dives or green‑water lakes, custom white balance often gives better results. Once you drop below 15 meters, video lights aren’t optional.
They’re necessary.
Your 4K Settings Cheat Sheet for Every Depth and Light Condition
Getting the settings right matters more than the camera model. The principles are the same whether you’re using an action cam, a mirrorless body, or a compact camera. Start with the 180‑degree shutter rule.
Set your shutter speed to double your frame rate. For 30 fps, that’s 1/60th of a second. For 24 fps, it’s 1/50th.
| Condition | Depth | Frame Rate | Shutter | Aperture | ISO | White Balance |
|---|---|---|---|---|---|---|
| Shallow, sunny | 0–5 m | 30 fps | 1/60s | f/5.6–f/8 | 100–200 | Custom kelvin 4800–5000K |
| Shallow, cloudy | 0–5 m | 30 fps | 1/60s | f/4–f/5.6 | 200–400 | Custom kelvin 5200–5500K |
| Mid‑depth, clear | 5–12 m | 24 fps | 1/50s | f/4–f/5.6 | 400–800 | Red filter + custom WB |
| Deep, artificial light | 12–20 m | 24 fps | 1/50s | f/2.8–f/4 | 800–1600 | Manual kelvin 5500K for lights |
| Night dive | Any | 30 fps | 1/60s | f/2.8 | 1600–3200 | Manual kelvin 6000K |
| Macro with lights | 0–5 m | 30 fps | 1/60s | f/8–f/11 | 200–400 | Custom WB on grey card |
Use the highest bitrate your camera supports. For H.264, that’s usually 60 to 100 Mbps. For H.265, you can go a bit lower with the same quality.
Stick to 4K UHD (3840×2160) unless you need the wider DCI 4K for cinema projects. Shoot in a flat or log profile if your camera offers one. It gives you far more flexibility in post‑production.
The Decision Tree: How to Pick Your Setup Before You Splash
Your setup should change based on where you’re diving and what you’re shooting. Here’s a simple decision tree to run through before you get in the water.
Start with depth.
- If you’re staying above 5 meters, skip the lights. Use a red filter or custom white balance.
- If you’re going below 10 meters, bring video lights. Filters alone won’t work.
Check the water clarity.
- Clear blue water? Use a red filter.
- Murky green water? Use a magenta filter or skip the filter and set a custom white balance.
- Low visibility with lots of particles? Use lights positioned at a 45‑degree angle to reduce backscatter.
What are you filming?
- Wide reefs or large animals? Use a wide lens with a dome port and a single light on a tray.
- Macro subjects like nudibranchs? Use a flat port, two lights, and a higher f‑stop for depth of field.
- Wrecks or caves? Use dual lights, a wider beam angle, and a higher ISO to compensate for the dark.
Check your gear.
- Inspect every O‑ring on your housing before closing it. One grain of sand can cause a leak.
- Test your camera settings while the housing is still dry. It’s hard to change white balance once you’re underwater. The same principle applies to setting up a remote camera on land.
- Verify your SD card is fast enough. A V30 card is the minimum for 4K. V60 or V90 is better for high‑bitrate log footage.
If you’re new to underwater video, start in shallow clear water with a single light and a custom white balance. That combination gives you the most room for error and the best chance of getting usable footage on your first dive.
Four Mistakes That Ruin 4K Underwater Video (and How to Fix Them)
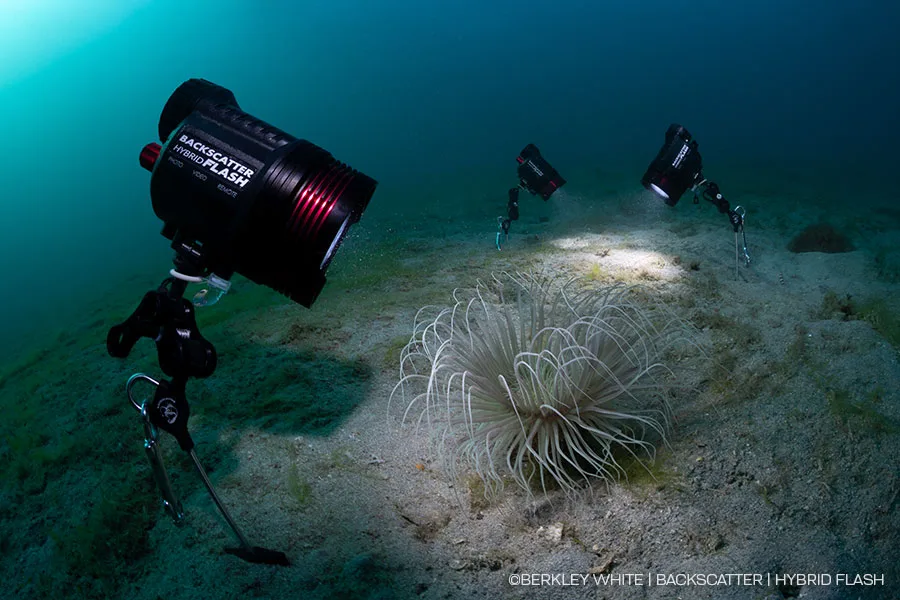
Image source: Web (Bing) / backscatter.com (Web image (fair-use with source credit))
1. Backscatter from badly positioned lights.
Particles in the water reflect light straight back into the lens. This creates a shimmering snowstorm effect that ruins the image. The fix is to move your lights away from the camera axis.
Position them at a 45‑degree angle pointing slightly outward, not straight at your subject.
2. Relying on auto white balance.
Auto white balance constantly shifts as you change depth or angle. One clip might look blue, the next orange. Set a manual kelvin value or use a grey card at your shooting depth, then lock it.
If you move significantly deeper, reset it.
3. Shutter speed too slow for fast subjects.
Fish move quickly. If your shutter speed dips below 1/60th of a second, you’ll get motion blur. Stick to the 180‑degree rule.
If you need more light, open the aperture or raise the ISO instead of dropping the shutter speed.
4. Autofocus hunting in low contrast.
Underwater scenes lack contrast. The camera’s autofocus system searches back and forth, trying to find an edge. Use manual focus or pre‑focus at a set distance.
For wide shots, set focus to infinity or just past the hyperfocal distance. For macro, use peaking to confirm sharp focus before you hit record.
Quick Reference: Settings for Common Scenarios
| Scenario | Frame Rate | Shutter | Aperture | ISO | White Balance | Light Source |
|---|---|---|---|---|---|---|
| Shallow clear reef, 0–5 m | 30 fps | 1/60s | f/5.6 | 200 | 4800K custom | Red filter |
| Mid‑depth, 5–10 m | 24 fps | 1/50s | f/4 | 400 | 5200K custom | Red filter + single light |
| Deep reef, 10–20 m | 24 fps | 1/50s | f/2.8 | 800 | 5500K manual | Dual video lights |
| Macro, 0–3 m | 30 fps | 1/60s | f/8 | 400 | Custom WB on grey card | Dual lights, 45° angle |
| Night dive, any depth | 30 fps | 1/60s | f/2.8 | 1600 | 6000K manual | Dual video lights |
| Cave or wreck | 24 fps | 1/50s | f/2.8 | 1600 | 6000K manual | Dual lights, wide beam |
These settings are starting points. Adjust as you go. Check your histogram after every clip.
If the graph is bunched to the left, you’re underexposed. Raise the ISO or open the aperture. If it’s pushed to the right, lower the ISO or close the aperture.
Keep your battery and storage management in mind. 4K at 60 Mbps uses about 27 GB per hour. Make sure your SD card is V30 or faster. Charge your camera batteries fully before each dive and carry spares in a dry bag.
Frequently Asked Questions About 4K Underwater Video
What frame rate should I use for 4K underwater video?
Use 30 fps for general use and social media. Use 24 fps for a cinematic look. Use 60 fps if you plan to slow the footage down in editing.
Stick to the 180‑degree shutter rule for each frame rate.
Do I need a red filter for 4K underwater video?
Yes, in shallow clear water between 3 and 10 meters. The filter adds back the red wavelengths that water absorbs. Below 10 meters, a filter won’t help.
You need video lights instead.
How do I avoid backscatter in my underwater video?
Position your lights at a 45‑degree angle away from the camera lens. This keeps the beam from illuminating particles directly in front of the lens. Clean water also helps.
Avoid stirring up the bottom with your fins.
Can I use a GoPro for 4K underwater video?
Yes. GoPro cameras are capable of excellent 4K underwater footage. Use Protune mode to lock your white balance and exposure settings.
Add a red filter for shallow water and a video light for deeper dives.
How deep can I take my camera underwater?
Check the depth rating on your specific housing. Action cam housings are typically rated to 10 meters. Dedicated hard housings for mirrorless or compact cameras often go to 40, 60, or even 100 meters.
Never exceed the rated depth.

Similar Posts
































