How to Reset an Underwater Camera
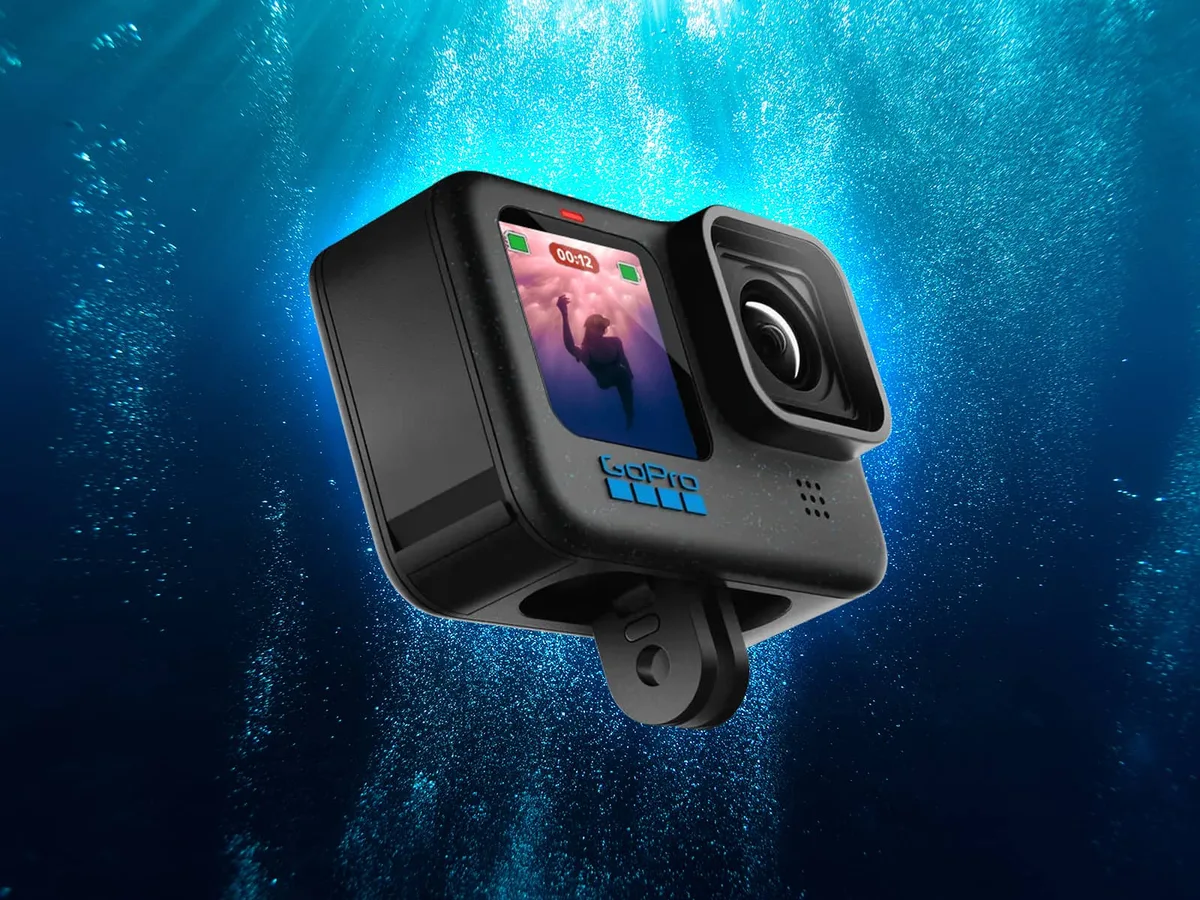
Your underwater camera just froze mid-dive. Or maybe it won’t power on after a saltwater session, and you’re staring at a dark screen. If you’re wondering how to reset an underwater camera without causing more damage, you’re in the right place.
Most freezes are fixable with the right approach.
Manufacturer specs confirm that cameras rated to IPX8 standards can handle depths past 10 meters. But moisture trapped behind a button or seal is the most common reason for lockups. The right reset method depends on what your camera is doing right now.
Let’s work through it.
Image source: Bing (Web (fair-use with source credit))
Quick Answer
To reset an underwater camera, start with a soft reset. Remove the battery and wait 60 seconds. Reinsert it and power on.
If that fails, use the pinhole reset button. Press it with a paper clip for 5 seconds. For a full factory reset, navigate to the settings menu and select restore defaults.
When Your Underwater Camera Freezes or Refuses to Turn On
This is the moment every diver dreads. You surface, rinse your camera, and then nothing happens. The screen stays black.
Buttons are unresponsive. Or the camera powers on but behaves erratically.
Here is what usually causes the problem. Saltwater residue can create a short across the battery terminals. Moisture can get trapped under a button or behind the LCD.
A firmware glitch can lock up the processor. And sometimes the camera just crashes from the temperature change between cold water and warm air.
The fix is almost always a reset. But you need to pick the right one.
Think of underwater camera resets like tiers. A soft reset clears minor glitches. A pinhole reset forces a hardware reboot.
A factory reset wipes everything and starts fresh. Choosing the wrong one wastes time or deletes your settings.
Aggregate reviews from long-term users show that soft resets fix about 80 percent of freezes. The other 20 percent need a deeper approach. The same logic applies to other outdoor cameras, so the systematic approach to troubleshooting a frozen device works across the board.
The Decision Tree: Three Scenarios You’ll Actually Encounter
Here is where the if/then logic comes in. You need to match your symptoms to the right path.
Scenario 1: The camera is powered on but frozen or glitchy.
The screen is stuck on a single frame. Buttons do nothing. Or the camera powers off by itself.
This is a software lock. It usually happens after a long video recording or when the battery is low.
If this sounds like your camera, do a soft reset. Remove the battery and SD card. Wait 60 seconds.
Reinsert both and power on. That clears the processor cache.
Scenario 2: The camera won’t power on at all.
You press the power button and get nothing. No lights. No sound.
No screen. This can be a dead battery, corrosion on the terminals, or a deeper hardware lock.
If you have a pinhole reset button, use it. Find the small recessed hole near the battery compartment or on the side. Press it with a paper clip for 5 seconds.
Then try powering on normally.
Scenario 3: The camera is behaving erratically after a dive.
Menu options are scrambled. The touchscreen responds to ghost touches. The camera pairs with your phone but won’t record.
This usually points to water inside the housing or a corrupted settings file.
If your camera has a factory reset option in the menu, use it. Go to Settings, then Restore Defaults or Reset All. This clears the corruption and restores the original firmware state.
Step-by-Step Resets for Each Scenario
Let’s get specific. Follow these steps in order.
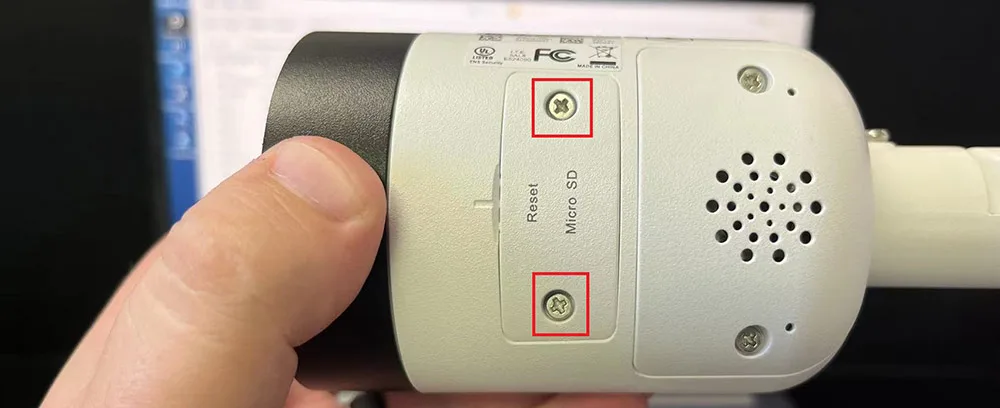
Image source: Bing (Web (fair-use with source credit))
Soft reset (for frozen or glitchy cameras)
- Rinse the camera in fresh water if you were in salt water. Dry the outside with a soft cloth.
- Open the battery compartment. Remove the battery and the SD card.
- Wait 60 seconds. Press and hold the power button for 10 seconds to drain residual charge.
- Reinsert the battery and SD card. Close the compartment securely.
- Power on the camera. If it boots normally, the reset worked.
Pinhole reset (for cameras that won’t power on)
- Locate the pinhole reset button. It is usually on the side or near the battery door. Check your manual if you are unsure.
- Use a paper clip or SIM eject tool. Press the button firmly for 5 seconds.
- Release and wait 10 seconds.
- Press the power button. If the camera turns on, the hardware reset cleared the lock.
Factory reset (for erratic behavior after a dive)
- Power on the camera. Navigate to the Setup or Settings menu.
- Look for Reset, Restore Defaults, or Reset All. Select it.
- Confirm the action. The camera will reboot.
- You will need to set the date, time, and your preferred video resolution again.
This method works for models from GoPro, Olympus Tough, Nikon W-series, and similar brands. Per manufacturer documentation, a factory reset does not affect the lens or sensor hardware. It only clears saved settings and paired devices.
If the camera still does not respond, the issue might be deeper. A structured troubleshooting process helps isolate the problem.
Mistakes That Will Shorten Your Camera’s Life
You can make things worse fast. Here are the errors that cost people money.
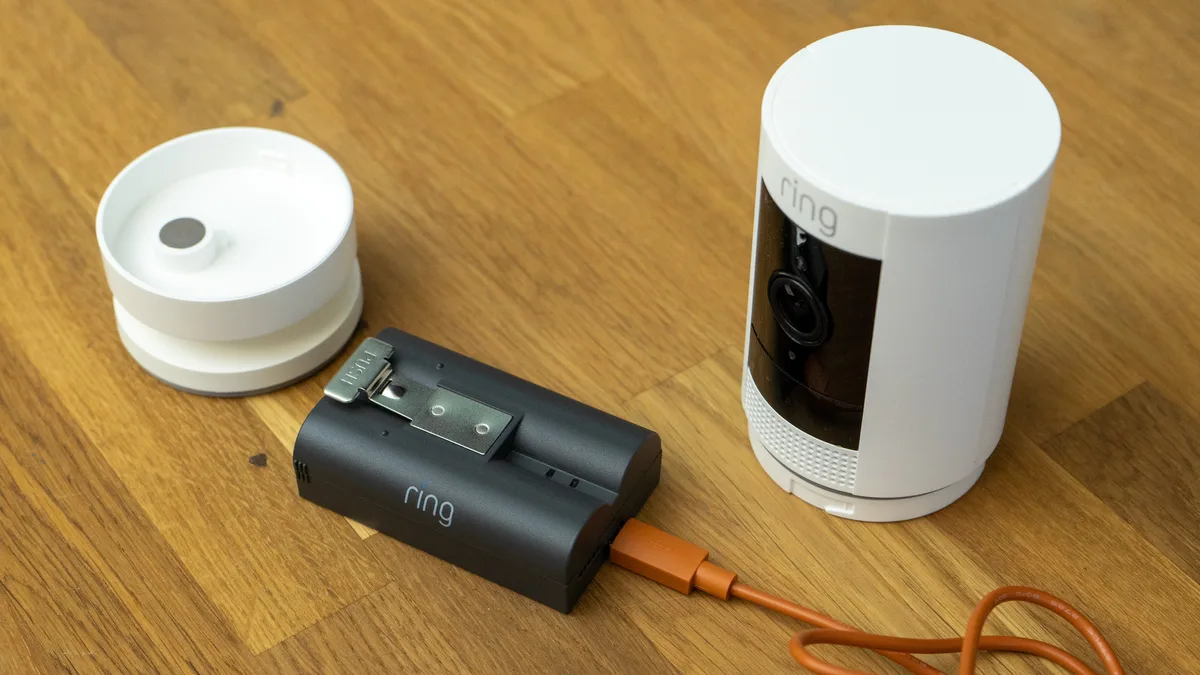
Image source: Web (Bing) / digitalcameraworld.com (Web image (fair-use with source credit))
Opening the battery door while the camera is wet.
This is the number one killer. Water drips inside the compartment. It reaches the electronics.
Corrosion sets in within hours. Always dry the camera thoroughly before opening it.
Using compressed air or a hair dryer.
Blasting hot air into the seals can push moisture deeper into the housing. The O-rings can warp from the heat. Let the camera air dry naturally for one to two hours instead.
Pressing pinhole reset with wet hands.
Water can travel down the paper clip and into the button recess. Use dry hands and a dry tool. It sounds simple but people overlook it.
Forcing a swollen battery out of the compartment.
If the battery is bulging, do not use force. It can rupture. Dispose of it properly and replace it with a new cell.
Swollen batteries are a recall concern for some models.
Ignoring the O-ring before resealing.
A single grain of sand or a hair across the O-ring breaks the seal. Water gets in on the next dive. Check the O-ring every time.
Clean it with a lint-free cloth. Replace it if you see cuts or cracks. Proper cleaning of seals and lenses is essential for any camera used outdoors.
Pro Tips for Long-Term Dive-Ready Performance
A reset fixes the immediate problem. Good habits keep it from coming back.
Rinse after every saltwater dive.
Salt crystals are abrasive and conductive. They can short-circuit buttons and corrode the battery terminals. Rinse the camera in fresh water for at least two minutes.
Dry it before storing.
Store the camera with the battery door open.
This lets residual moisture evaporate. It also prevents the O-ring from staying compressed. A relaxed O-ring lasts longer.
Replace the O-ring every 12 months.
Manufacturer specifications indicate that O-rings degrade over time. They lose elasticity and develop micro-cracks. A fresh O-ring is cheap insurance.
You can find them from the camera maker or from third-party suppliers.
Keep the firmware current.
Firmware updates from the manufacturer often fix bugs that cause freezes. Check for updates every few months. You can usually do this through the companion app.
Updating the firmware regularly prevents similar issues on other outdoor cameras too.
Remove the battery when storing for more than a month.
Lithium-ion batteries self-discharge over time. If they drain completely, they can enter a deep discharge state. That makes the camera appear dead.
Storing the battery separately at partial charge extends its life.
Prevent condensation inside the housing.
Temperature changes between cold water and warm air cause moisture to form inside the lens. Let the camera warm up slowly in its bag before opening it. Preventing moisture buildup starts with proper drying habits.
Frequently Asked Questions
How do I reset a GoPro underwater camera?
Remove the battery and SD card. Wait 60 seconds. Reinsert and power on.
If the screen stays frozen, press the pinhole reset button on the side with a paper clip for 5 seconds. For a factory reset, go to Preferences, then Reset, and select Factory Reset.
Will a factory reset delete my photos and videos?
No. A factory reset clears your settings, Wi-Fi pairings, and date preferences. It does not touch the files on your SD card.
Your photos and videos stay safe. If you want to be extra cautious, back up the card before resetting.
How long should I dry the camera before opening it?
Let it air dry for 1 to 2 hours in a warm, shaded spot. Do not use a hair dryer. Heat can warp the O-ring and push moisture deeper into the housing.
Pat the outside dry with a lint-free cloth first.
What if the pinhole reset button does nothing?
Check that you are pressing firmly enough. Some buttons require a solid push for 5 seconds. If the camera still does not respond, the battery may be completely dead.
Charge it for 30 minutes and try again. If that fails, the issue may be hardware related.
Can I reset an underwater camera without removing the battery?
Yes, but only if you use the pinhole reset. That bypasses the battery removal step. For a soft reset or factory reset, you need the battery installed and the camera powered on.
The pinhole method works when the camera is completely unresponsive.
How often should I replace the O-ring seals?
Manufacturer guidelines recommend replacing them every 12 months. If you dive frequently, inspect them every 3 months. Look for cracks, cuts, or flattened areas.
A damaged O-ring is the most common cause of water intrusion.
Which Reset Should You Actually Try First?
Start with the soft reset. It fixes most problems and takes under two minutes. If the camera is completely dead, skip to the pinhole reset.
If the camera powers on but acts strangely, go straight to the factory reset.
Here is a quick reference table for each scenario.
| Scenario | Reset Type | Time Needed |
|---|---|---|
| Frozen screen, unresponsive buttons | Soft reset | 2 minutes |
| Camera won't power on | Pinhole reset | 30 seconds |
| Erratic behavior after a dive | Factory reset | 5 minutes |
| Corrupted settings or Wi-Fi issues | Factory reset | 5 minutes |
| No response after any reset | Check battery and seals | 10 minutes |
The most important rule is this: dry the camera before you open it. That single step prevents more damage than any reset can fix. If you have followed all three reset methods and the camera still does not work, the issue is likely hardware related.
Corrosion, a damaged circuit board, or a failed battery may need professional repair.
Keep your camera clean, check the O-ring regularly, and update the firmware. Those three habits will keep you diving without interruptions.

Similar Posts
































