How to Prevent Underwater Camera Condensation

Nothing ruins an underwater shot faster than condensation fogging up your lens. If you're wondering how to prevent underwater camera condensation, you're not alone. It's the most common frustration among underwater photographers, from beginners to pros.
The good news is that the science behind it is simple, and so is the fix.
Condensation happens when warm, humid air inside your housing hits a cold lens port. According to manufacturer specifications from brands like Ikelite and Nauticam, the key is controlling two things: temperature and humidity. Get both right, and your images stay crystal clear dive after dive.
Quick Answer
Underwater camera condensation happens when warm air inside the housing meets a cold lens. To prevent it, cool your housing before sealing. Add silica gel desiccant inside.
Let the assembly acclimate before the dive. Keep your O-rings clean and dry.
Image source: Web (Bing) / markus-hagner-photography.com (Web image (fair-use with source credit))
Why Your Underwater Camera Fogs Up (And Why It's Not a Leak)
The fog you see on your lens port isn't seawater. It's condensation. Think of a cold drink on a warm day.
The glass sweats, right? Same thing happens inside your camera housing.
Warm, moist air gets trapped inside when you seal the housing. The housing itself might be warm from sitting in the sun or your car. Then you hit the water.
The lens port cools down fast. The air inside can't hold as much moisture at lower temperatures. So that moisture turns into tiny water droplets on the glass.
That's fog.
The scary part? Many divers panic and think they have a leak. They surface, open the housing, and let everything dry out.
That's unnecessary. Condensation is completely normal. It's physics, not a failure.
The dew point is the temperature at which air becomes saturated and releases moisture. If your housing interior air is at 80°F with 70% humidity, the dew point is around 70°F. Your lens port hits that temperature within minutes of entering the water.
Fog forms instantly.
Your housing is not a perfect vacuum. Even with a fresh O-ring, there's air inside. That air contains moisture.
The moisture comes from the air around you, from your camera body, and even from your hands. Battery compartments release moisture as they warm up. Lens elements outgas tiny amounts of trapped humidity.
It all adds up.
The most important thing to remember is this: fogging does not mean flooding. Your gear is safe. The seal is fine.
You just need to manage the air inside the housing. The same principles apply to trapped moisture inside a sealed housing for any camera, whether underwater or on land.
The Two Variables That Control Condensation: Temp and Humidity
You have two dials you can turn. Temperature and humidity. If you control both, you control fog.
Temperature is the easier one. The goal is to make the housing interior as close to water temperature as possible before the dive. This reduces the temperature drop.
Less drop means less condensation.
How do you do that? You can put the sealed housing in the water a few minutes before the dive. Or you can keep it in the shade.
Or you can run the air conditioning in your hotel room. Every bit helps.
Humidity is the other variable. You want the air inside the housing to be as dry as possible. This is where desiccant comes in.
Silica gel absorbs moisture from the air. It pulls the relative humidity down. When RH is low, the dew point drops.
Even if the lens port gets cold, there's no fog.
The target is below 30% relative humidity inside the housing. At that level, condensation is very unlikely. You can buy reusable silica gel packs with color indicators.
Blue when dry, pink when saturated. They're cheap and they work.
The relationship between temperature and humidity is not linear. A small change in temperature can cause a big change in condensation risk. That's why a 10°F difference between air and water is often enough to fog up your lens.
In tropical diving, the air might be 85°F and the water 80°F. That's only a 5°F difference, but with high humidity, it's still a problem.
Cold water diving is worse. Imagine 75°F air and 50°F water. That's a 25°F drop.
You'll get fog within seconds if you don't prepare. So your strategy depends on the conditions. Preparing gear for harsh conditions follows the same logic.
The Decision Tree: How to Choose Your Anti-Fog Strategy Based on Your Gear and Dive
This is where we get practical. Your strategy depends on three things: your camera type, your dive conditions, and your timeline.
If You're Using a Compact Camera or Action Cam in a Small Housing
Small housings have less internal volume. That means less air to dry. A single silica gel pack can handle it.
Place it near the lens port. Close the housing. Let it sit for 10 minutes.
You're ready.
Compact cameras and action cams also generate less heat. Less outgassing from batteries. Less internal moisture.
The risk is lower.
If You're Shooting a Mirrorless or DSLR in a Large Housing
Large housings have more air volume. They need more desiccant. Use multiple packs.
Place them around the housing, not just near the port. Battery compartments on mirrorless cameras get warm. The heat pushes moisture into the housing air.
You need enough desiccant to absorb it.
A good rule is 5 to 10 grams of silica gel per liter of housing volume. A typical mirrorless housing is about 2 to 3 liters. So 15 to 30 grams of desiccant.
That's about two to four standard packs.
If You're Diving in Cold Water (Below 70°F / 21°C)
Cold water is the biggest challenge. The temperature drop is severe. You need both temperature acclimation and strong desiccant.
Cool the housing before sealing. Put it in front of a fan or in an air conditioned room. Then seal it with desiccant inside.
Let it sit for 15 to 30 minutes before the dive. This gives the desiccant time to pull moisture down.
If You Have Limited Time Before the Dive
Sometimes you're on a boat and you have five minutes. No time to acclimate. In that case, use more desiccant.
Double the normal amount. Also, use an anti-fog insert on the lens port. These inserts are coated with a chemical that prevents water droplets from forming.
Checking for proper seal is critical for any camera housing, whether you're diving or shooting in the woods.
The Step-by-Step Pre-Dive Workflow That Eliminates Condensation
This is the workflow that works. Follow it every time.
Start with dry gear. Wipe down the camera body with a microfiber cloth. Remove any moisture from the battery compartment.
Inspect the O-ring. Run your finger along it. Feel for nicks, cracks, or debris. Apply a thin layer of silicone grease. Not too much.
Place desiccant inside the housing. Put one pack near the lens port. Add more packs around the body if needed.
Seal the housing. Double check the O-ring alignment. Close the latches. Do a vacuum test if your housing has a port.
Acclimate. Let the sealed housing sit in the shade for 15 minutes. Or put it in the water a few minutes before the dive.
Enter the water slowly. Descend gradually. This gives the housing time to adjust.
Step 1 is often overlooked. Your camera body absorbs moisture from the air. Wipe it down.
Remove the lens cap. Let it air out for a few minutes. Every bit of moisture you remove before sealing is moisture that can't fog your lens.
Step 5 is the most important. Acclimation time allows the housing interior temperature to stabilize. The desiccant works during this time.
It pulls the humidity down. After 15 minutes, the interior air is much drier.
If you're diving in cold water, extend the acclimation time to 30 minutes. Put the housing in the water at the surface. Let it float for a few minutes.
The slow cooling prevents sudden condensation.
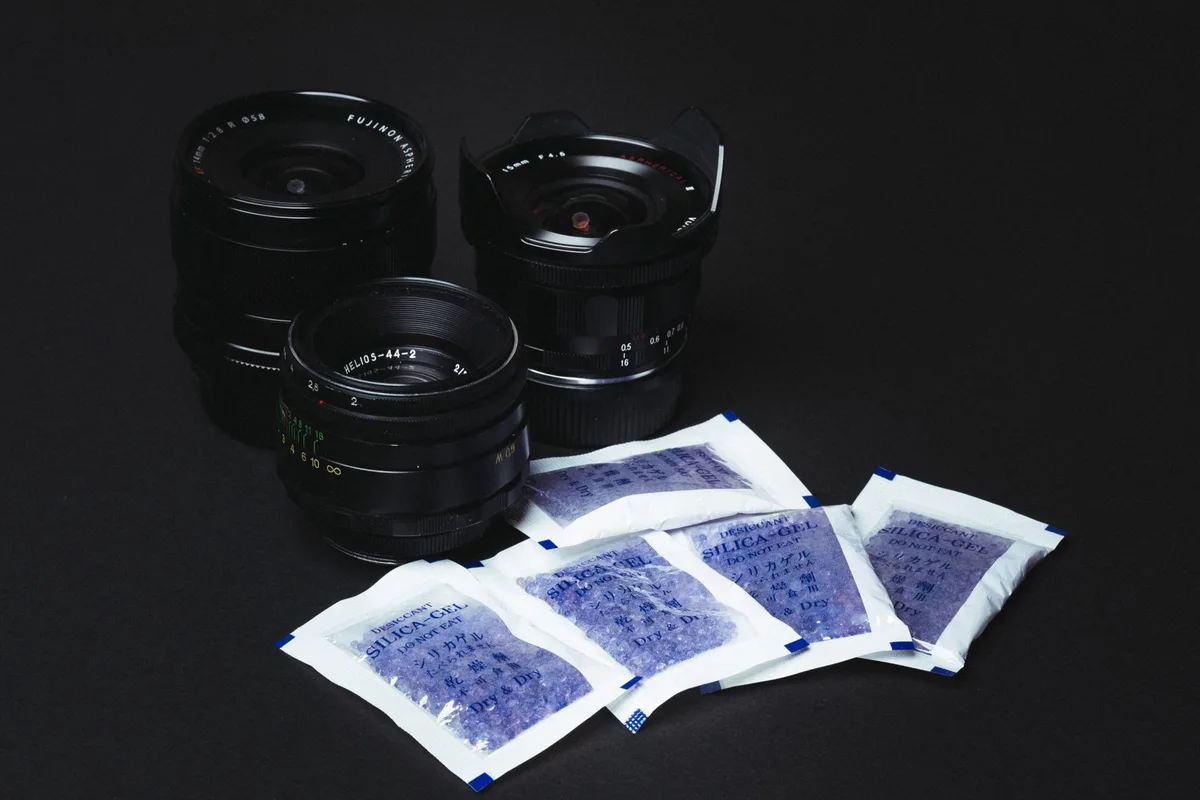
Image source: Web (Bing) / riflesafe.org (Web image (fair-use with source credit))
Keeping your gear clean and dry is a universal rule that applies to every camera you own.
Common Mistakes That Guarantee Fogging (Even for Experienced Divers)
Even experienced divers make these mistakes. Here's what to avoid.
Sealing the housing in a humid environment. If you're on a boat in the tropics, the air is thick with moisture. Sealing the housing there traps that moisture inside. Instead, seal it in an air conditioned cabin.
Or use a dry bag with desiccant inside.
Using old or saturated desiccant. Silica gel absorbs moisture until it's full. Once it's saturated, it stops working. Regenerate it by baking it at 250°F for two hours.
Or replace it.
Over-lubricating the O-ring. Too much grease attracts dirt. Dirt breaks the seal. A thin, even layer is all you need.
Rushing the acclimation. Five minutes is not enough. Fifteen minutes is the minimum. Thirty minutes is better for cold water.
Opening the housing on the boat. If you open the housing to change settings, you let in humid air. Then you have to start the process over. Plan your settings before sealing.
Ignoring the battery compartment. Camera batteries generate heat. The heat drives moisture out of the battery compartment. That moisture goes into the housing air.
Remove the battery before sealing and let it cool. Or use a fresh battery that's been at room temperature.
Using too much desiccant. This seems counterintuitive. But too many silica gel packs can create a dust problem. Torn packs release silica dust.
That dust can get on your lens. Use the right amount. Five to ten grams per liter is enough.
Not testing the seal. A vacuum test is the best way to confirm the housing is sealed. If your housing has a vacuum port, use it. If not, do a visual check of the O-ring.
Then test the housing in shallow water before the dive. Keeping optics clear is essential for any camera, underwater or not.
Long-Term Maintenance: Keeping Your Desiccant and O-Rings in Top Shape
Your anti-fog routine is only as good as your maintenance. If your desiccant is saturated or your O-ring is cracked, all that pre-dive prep won't save you.
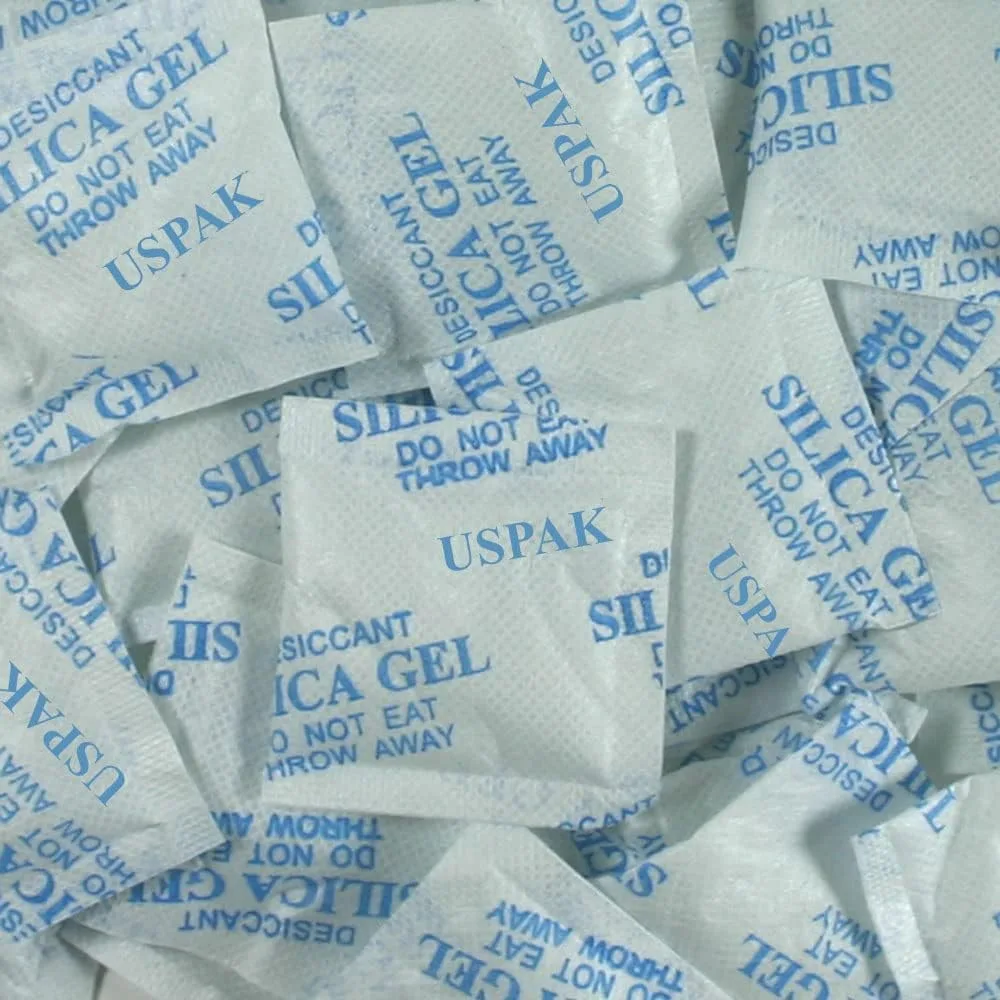
Image source: Web (Bing) / amazon.com (Web image (fair-use with source credit))
Desiccant care. Indicating silica gel turns from blue to pink when full. When it's pink, it's done soaking up moisture. Bake it in the oven at 250°F for two hours to regenerate.
Let it cool completely before sealing it in an airtight container. Don't microwave it. The gel heats unevenly and can burn the indicator.
O-ring upkeep. Inspect the O-ring before every single dive. Run your finger across the surface. Feel for nicks, tears, or hairline cracks.
Wash it with fresh water and dry it completely. Apply a thin layer of silicone grease. A heavy coat attracts sand and grit, and grit breaks the seal.
Storage rules. Never store your camera in a sealed housing. Moisture gets trapped inside. Instead, leave the housing slightly open.
Give it air circulation. Keep it in a cool place away from direct sun. Over time, UV light degrades the acrylic port and the O-rings.
Annual check-up. Consider a full service every 12 months. Manufacturers replace all O-rings and run a pressure test on the housing body. This catches invisible wear before it becomes a flood.
For official dive-safety guidance, Divers Alert Network recommends regular inspection of all sealing surfaces.
Frequently Asked Questions About Underwater Camera Condensation
Can I use rice instead of silica gel?
No. Rice doesn't absorb much moisture quickly. It also sheds dust, which can get on your lens or into your O-ring.
Silica gel is cheap, reusable, and made for the job. A few grams of indicating silica gel work far better than a handful of rice.
How much desiccant do I need?
Use 5 to 10 grams of silica gel per liter of housing volume. A compact housing needs just one small pack. A mirrorless housing may need three or four.
When in doubt, use the higher number. Excess desiccant never caused fog.
My housing fogs up even with desiccant inside. Why?
Most likely, the desiccant is saturated or you sealed the housing in humid air. Check the color indicator. If it's pink, bake it.
Also, seal your housing indoors or inside a dry bag. Opening the housing on a tropical boat invites moisture back in.
Can I open the housing underwater to clear the fog?
No. Opening any housing underwater is never safe. It floods instantly.
If you see fog, surface first. Then open the housing, wipe the port, dry any moisture, and re-seal with fresh desiccant. Don't risk thousands of dollars of gear to chase a few droplets.
Surface and fix it properly.

Similar Posts
































