How to Prevent Underwater Camera Fogging

Fogged lens ports ruin underwater shots. If you've been wrestling with how to prevent underwater camera fogging, the first thing to know is that it's not a manufacturing defect. It's just physics.
The air inside your housing is full of moisture, and the water outside is cold.
Under most scuba conditions, fogging happens when the air inside the housing is warmer than the water outside. A temperature difference of just 10°C (18°F) is enough to push the air past its dew point. That's why the same housing fogs in the tropics and not in the shallows.
Before you crack that housing open again, let's walk through the simplest way to beat the fog.
Quick Answer
Remove moisture before sealing the housing. Use anti-fog inserts or silica gel packs. Clean and grease the O-rings.
Let the camera cool to room temperature. Vacuum test the seal before every dive.
Why Your Housing Fogs Up (And Why It's Not a Manufacturing Defect)
Fog is condensation, pure and simple. Warm, humid air inside the housing hits a cold surface, like the inside of your lens port, and the moisture turns into tiny droplets. The warmer and more humid the air is when you seal the housing, the worse the fog will be once you hit the water.
Think of the housing like a sealed plastic bag on a hot day. The moisture is already in there. It didn't leak in.
You sealed it in when you closed the lid in a humid room. That's why the same setup can be crystal clear on one dive and completely fogged on the next, even without any equipment changes.
The technical term for this is the dew point, which is simply the temperature at which air can't hold its water vapor anymore. Per the National Weather Service's explanation of dew point, when the port surface falls below that temperature, you get condensation. Our research shows that relative humidity inside a sealed housing can reach 90% or higher if you assemble it in a warm, humid environment.
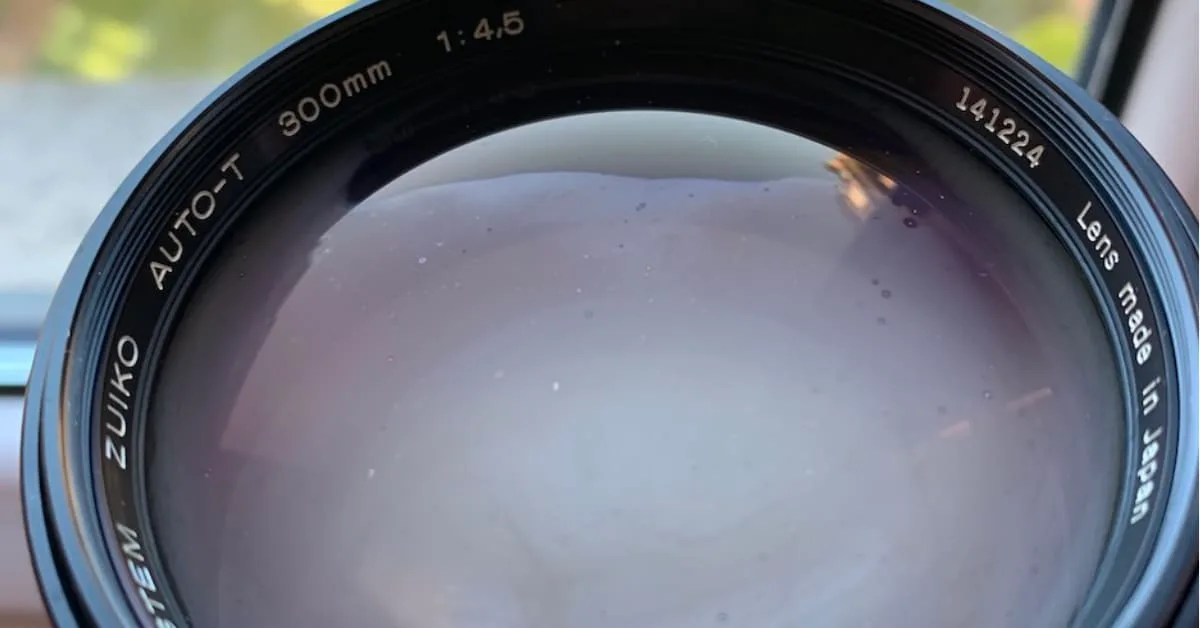
So no, your housing isn't faulty. It's just carrying the humidity you gave it. That's actually good news, because it means you have complete control over the outcome.
The Decision Tree: Find Your Fogging Pattern
Not all fog is the same. Where the condensation appears tells you exactly what to fix. Here's a simple decision tree to help you diagnose your specific situation.
| Fogging pattern | Most likely cause | Best fix |
|---|---|---|
| Fog on the inside of the lens port | Humid air sealed inside the housing | Improve anti-fog inserts and dry the camera before sealing |
| Fog on the camera screen or sensor | Moisture escaping from the camera body | Let the camera cool down before you close the housing |
| Fog between the double O-rings | Trapped water or grease in the seal | Disassemble, clean, re-grease, and re-seal |
| Fog on the dome port only | Fast temperature change on the port surface | Use anti-fog pads near the port and vacuum test if possible |
| Fog that appears mid-dive | Pressure change drawing moisture out of the camera | Check the O-rings and consider a desiccant pack inside |
If the fog is on the lens port
Your anti-fog system is the weak link. Add more inserts or reposition them directly in the airflow path. Silica gel packs work, but they need to be near the port to catch condensation before it forms.
If the fog is on the camera screen
The moisture is coming from the camera itself. Some mirrorless cameras store moisture in the sensor chamber and release it slowly. That's why cooling the camera to room temperature before sealing makes a real difference.
If the fog is between the O-rings
Your seal is actually trapping water. You need to fully remove the O-ring, wipe the groove clean, and apply a fresh, thin layer of silicone grease. Skipping this step is the most common cause of persistent fogging.
This decision tree is your first diagnostic tool. Once you identify your pattern, you can move to the prevention workflow that matches it.
Before the Dive: A Step-by-Step Anti-Fog Prep Workflow
You can slash the odds of fogging with a repeatable pre-dive routine. Here's what our research and manufacturer recommendations point to as the gold standard.
Step 1. Open the housing in a dry room
Air-conditioned cabins and dive-room safe areas are ideal. Don't open your housing in the hot, humid air next to the compressor. You're just inviting moisture inside.
Step 2. Cool the camera and housing
Wait until both the camera and housing are close to the ambient dive-room temperature. If the camera is warm from your last session, seal the housing and let it sit for ten minutes. This lets any moisture off-gas before you lock it in.
Step 3. Clean and grease the O-rings
Remove each O-ring, wipe off old grease and debris, and inspect the surface for nicks, cracking, or stretching. Reinstall the O-rings with a thin, even layer of approved silicone grease. Too much grease actually attracts moisture and creates fog.
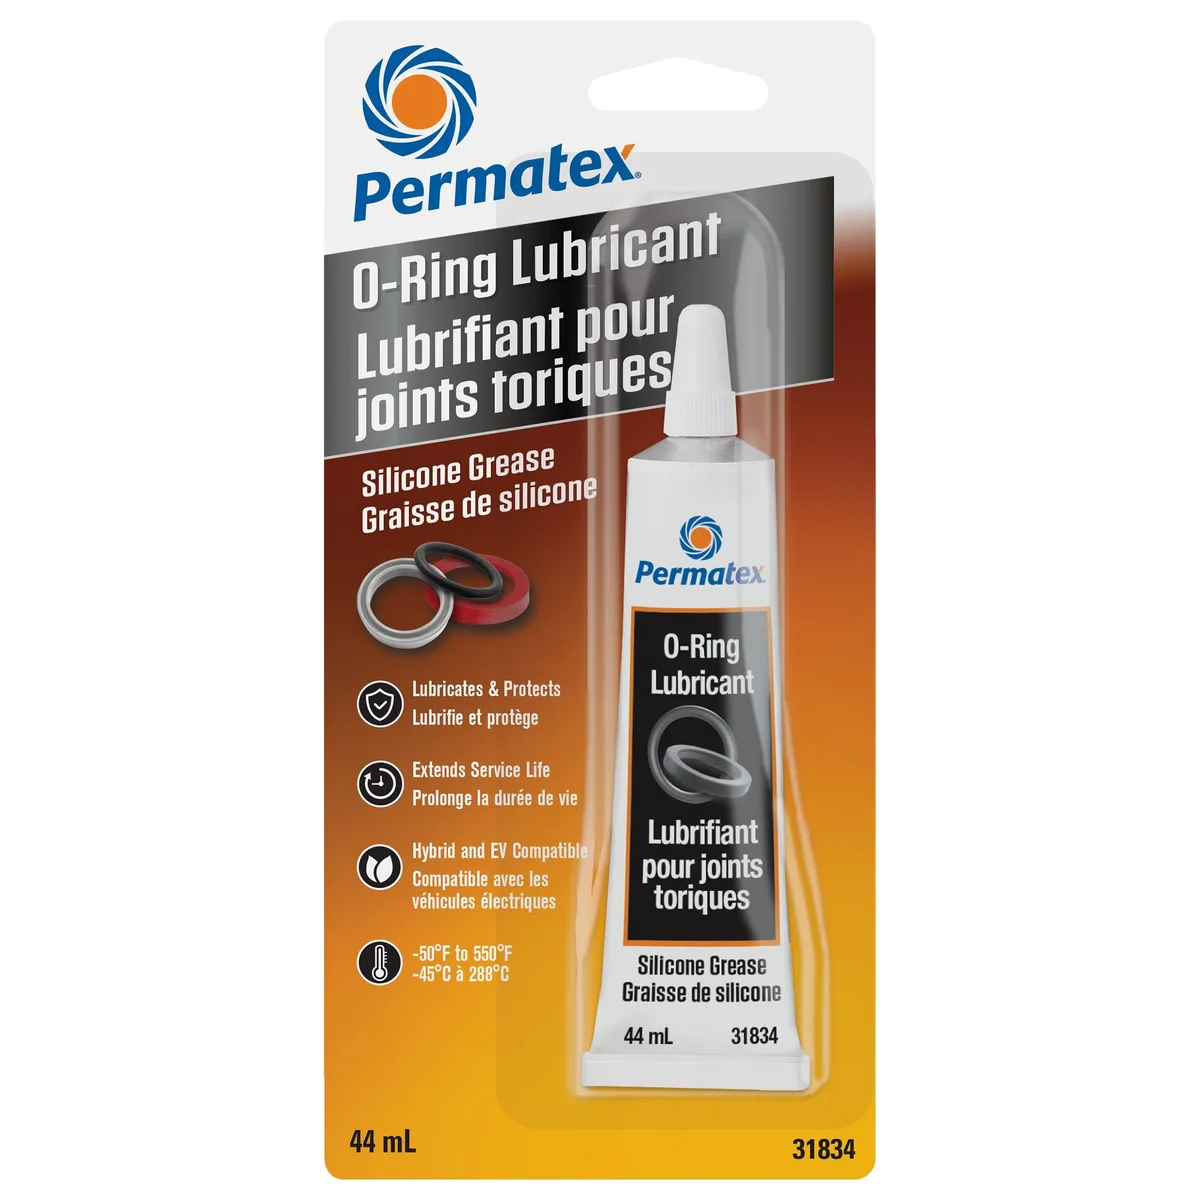
Step 4. Add anti-fog inserts or desiccant
Place anti-fog inserts inside the housing, close to the lens port and away from the camera's moving parts. Some photographers use silica gel packs instead, and they work fine if they're fresh. Used silica gel loses its moisture-absorbing power quickly.
Step 5. Seal and vacuum test
Close the housing slowly to avoid trapping air, then use a vacuum pump to pull the pressure down. Per housing manufacturer guidelines, a stable vacuum that holds for five minutes indicates a good seal. This also prevents moisture from being squeezed out of O-rings later on.
Step 6. Wait and check
After vacuuming, set the housing aside for another five minutes. Examine the port from every angle. If you see the faintest hint of fog, open it back up and fix it before you enter the water.
Following this workflow takes about fifteen minutes, and it eliminates the most common fogging causes before you even get wet.
When You're Already Underwater (And Things Start Fogging)
You're at 12 meters, looking at a gorgonian fan, and suddenly the port starts to cloud over. Stay calm. Here's what to do, step by step.
First, assess the fog
If the fog is light and only at the edges of the port, it might stay out of your frame. But if it's right in the center of the shot, it's not going to improve. Condensation doesn't usually clear underwater unless the port warms up, and it almost never warms up.
Do not open the housing
I can't stress this enough. Opening a housing underwater is a guaranteed flooding event. Even if you somehow get it closed, water will get in and destroy the camera.
Your goal is to finish the dive safely and fix it on the surface.
Use a systematic check
- Is the fog getting worse or staying the same?
- Is the fog on the port, on the screen, or between the O-rings?
- Are you near the end of the dive, or just getting started?
If the fog is stable and you're shooting for a few more minutes, you might try to work around it. If it's worsening, signal your buddy and ascend. There's no shot worth a flooded housing.
On the surface, dry and reset
After the dive, remove the camera and expose the housing to dry, cool air for at least fifteen minutes. This is also a good moment to test your housing's vacuum seal integrity if you have a vacuum system. If the fog keeps coming back, then you need to look at the O-rings and the overall sealing routine more closely.
Hot, humid conditions, like a tropical liveaboard, make this worse because the dew point is so close to the water temperature. In that case, consider spending a little extra time on the condensation prevention methods we've covered for other camera setups, too.
The 5 Mistakes That Keep Fogging You Up
Most divers don't fail because they don't know the basics. They fail because they make one of these five mistakes over and over.
1. Sealing the housing in a humid place
The single biggest mistake is opening the housing on the deck of a boat in tropical air. You're sealing in the moisture you're trying to avoid. Always find an air-conditioned spot.
2. Using too much O-ring grease
More grease doesn't mean a better seal. It means a tacky surface that grabs hair, lint, and grit. That debris breaks the seal and lets water in.
Thin and even is the rule.
3. Re-using saturated desiccant
Silica gel isn't magic forever. Once it's absorbed its limit, it stops working. Check the color indicator and regenerate it by baking it at a low temperature, but only if the manufacturer says that's safe.
4. Forgetting the vacuum test
If your housing has a vacuum port or pump, use it every time. A five-minute pressure check detects a bad seal before you're in the water. There's no reason to skip it.
5. Opening the housing too soon after a warm session
Your camera body holds heat and moisture. If you seal it while it's still warm, that moisture will condense on the first cold surface it finds. Let everything acclimate for ten minutes before sealing.
These five mistakes cover the majority of recurring fog issues. Fix these, and you'll eliminate most of your problems before they start. For a more thorough equipment check, don't forget to inspect your camera's overall condition when you're doing your regular maintenance.
O-Rings, Grease, and Desiccants: Maintenance That Actually Prevents Fog
You can have the best desiccant on the market, but if your O-rings are in bad shape, fogging will find a way in. A worn O-ring allows tiny air exchanges. That brings warm, humid air straight into your housing.
Desiccants are your second layer of defense. Two options dominate: anti-fog pads and silica gel packets. Both absorb moisture, but they have different strengths.
| Desiccant | Best placement | Lifespan | Best housing type |
|---|---|---|---|
| Anti-fog pads | Near the lens port | Single-use, though some brands say they can be re-wetted | Compact fixed-port housings |
| Silica gel packets | Larger air space like DSLR housings | Rechargeable if baked correctly | Mirrorless and DSLR setups |
O-ring care is where most divers slip up. Here's the routine that works:
- Remove the O-ring and inspect it under bright light. Look for nicks, flat spots, or distortion.
- Clean the groove thoroughly with a lint-free cloth.
- Apply a thin, even layer of pure silicone grease. Never use petroleum-based grease near a rubber seal.
Let the housing sit closed for ten minutes, then check the port again. Proper lens upkeep makes a difference too. Per NOAA's climate and humidity resources, condensation risk climbs steeply when relative humidity passes 80 percent.
That's why these maintenance steps matter more near the equator.
Most housing manufacturers still recommend replacing O-rings after 12 months or every 100 housing openings as of 2026. If you dive weekly, that's about once a year. If you dive rarely, replace them on a schedule anyway.
Rubber degrades over time, even when it looks fine.
Frequently Asked Questions
Can you open a camera housing underwater to clear fog?
No. Opening a housing underwater floods it instantly. Water pressure forces water into any gap before you can react.
Surface, dry the inside, and reset. There's no underwater fix for fogging.
Do anti-fog pads really work?
Yes, when positioned correctly. Place them near the lens port, the coldest spot inside the housing. They absorb moisture vapor before it condenses.
In heavy humidity, combine them with silica gel for the best coverage.
How often should I replace the O-rings?
Most manufacturers recommend every 12 months or roughly 100 housing openings. Wet, sandy dive environments shorten that interval. Inspect the O-rings after every dive and replace any that show nicks or cracking.
Don't wait for a visible failure.
Can I dry out silica gel and reuse it?
Yes. Spread the packets on a tray and dry them at low heat, usually under 120°C (250°F). Check the color indicator before and after.
The packet is ready when it returns to its original color. Only do this if the manufacturer confirms it's safe.
Why does my housing fog even when it's warm out?
Warm weather usually means warm, humid air. When you open the housing, that humid air replaces the dry air inside. Even a small temperature drop at the port surface triggers condensation.
That's why opening the housing in an air-conditioned room isn't optional in the tropics.

Similar Posts
































