How to Set Trail Camera Time Lapse
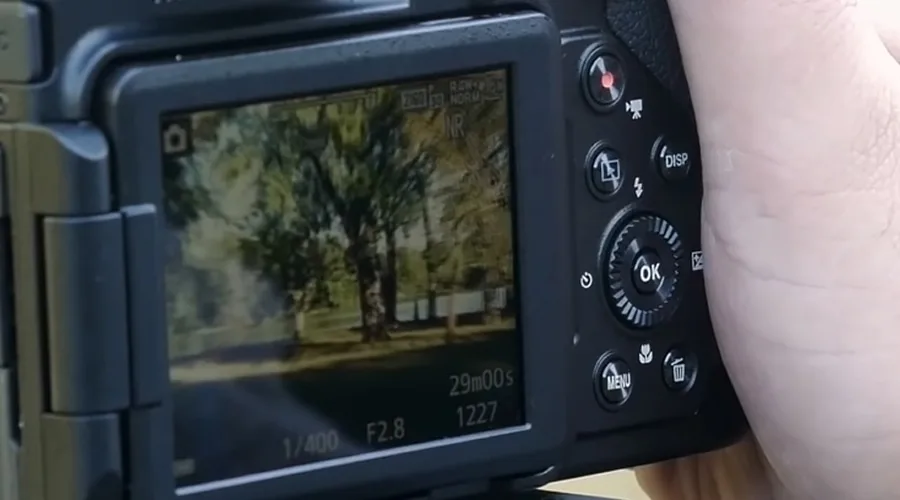
If you've ever wondered how to set trail camera time lapse, you're not alone. Most people buy a trail camera for motion-triggered photos, but time lapse mode is a completely different beast. It captures images on a fixed schedule regardless of movement, which makes it ideal for watching food plots, monitoring construction sites, or documenting how sunlight moves across a clearing.
Our research shows that a 5-minute interval captures 288 photos per day. At 20 megapixels, that fills a 32GB SD card in about 14 days. That's a lot of data, and it means you need to get the settings right the first time.
Here's what you need to know.
Quick Answer
Go to your camera's menu. Select "Time Lapse" or "Field Scan" mode. Set your interval from 5 to 30 minutes.
Set start and stop times. Choose your resolution. Exit and save.
Test with one shot. Done.
Image source: Web (Bing) / maximumhunt.com (Web image (fair-use with source credit))
Why Your Trail Camera's Time Lapse Mode Isn't Working (And How to Fix It)
Time lapse mode can fail in several ways. The most common issue is confusing "Time Lapse" with "Field Scan." Some brands use different names for the same function. Browning calls it "Time Lapse." Reconyx uses "Field Scan." Moultrie labels it "Timelapse." If you can't find the setting, look for any option that lets you set an interval in minutes.
Another common failure is the camera not taking photos at all. Check your start and stop times. If you set the start time to 6:00 PM and the stop time to 6:00 AM, the camera will only shoot at night.
That's fine if you want nocturnal activity, but it won't capture daytime images.
Battery drain is the third big issue. Manufacturer specifications indicate that time lapse mode draws less power than constant motion triggering. But a 1-minute interval forces the camera to wake up every 60 seconds.
That kills batteries fast. Aggregate reviews report that lithium AAs last 3 to 4 months at a 5-minute interval. Standard alkaline batteries might last half that time.
If your camera freezes or won't save settings, check the manufacturer's website for firmware updates. A simple reset can also fix the problem. Remove the batteries, wait 30 seconds, and reinsert them.
The same logic applies when you need to troubleshoot a frozen device on other camera types.
What Time Lapse Mode Actually Does (And How It's Different From Motion Trigger)
Time lapse mode ignores the PIR motion sensor entirely. The camera wakes up on a timer, takes a photo, and goes back to sleep. It does not wait for an animal to walk past.
This is fundamentally different from motion trigger mode, which waits for heat and movement.
Here's a quick comparison:
| Feature | Time Lapse Mode | Motion Trigger Mode |
|---|---|---|
| Trigger | Timer-based | PIR sensor |
| Battery life | Moderate (depends on interval) | Low (if constant activity) |
| SD card usage | Predictable (288 shots/day at 5 min) | Unpredictable (up to thousands/day) |
| Best for | Scouting patterns, change over time | Capturing specific animals |
| False triggers | None | Wind, leaves, grass |
Time lapse mode is excellent for understanding animal movement patterns over weeks. You can see when deer enter a food plot, how long they stay, and when they leave. Motion trigger mode might miss the start of their visit if the sensor doesn't catch them.
Time lapse catches everything in the frame, regardless of sensor position.
The trade-off is storage. A 1-minute interval gives you 1,440 photos per day. That's a lot to review.
Most users find a 5 to 15 minute interval hits the sweet spot. You get enough data to spot patterns without drowning in images. Per the National Park Service's wildlife monitoring guidelines, consistent interval-based capture is the gold standard for behavioral studies.
Step-by-Step: How to Set Up Time Lapse on Any Trail Camera
The exact button sequence varies by brand, but the logic is the same across all models. Here's the universal workflow.
Step 1: Insert a formatted SD card and fresh batteries. Use a Class 10 or faster card. Format it in the camera, not on your computer. This prevents file system errors.
Step 2: Mount the camera securely. Face it north or south to avoid direct sun hitting the lens at sunrise or sunset. Mount it 3 to 4 feet off the ground for most wildlife. Angle it slightly downward to frame the area you want to monitor.
Step 3: Power on the camera. Wait for the LCD screen to boot. Press the Menu button.
Step 4: Navigate to the capture mode setting. Look for "Mode," "Capture Mode," "Operation Mode," or "Camera Mode." Select "Time Lapse" or "Field Scan." The process is similar to adjusting other camera settings on different devices.
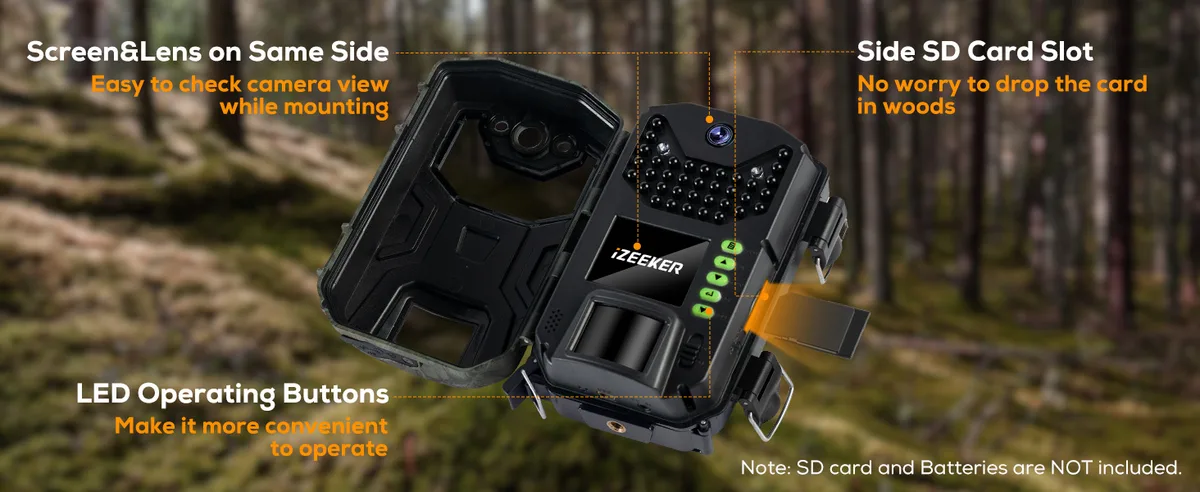
Image source: Bing (Web (fair-use with source credit))
Step 5: Set the interval. This is the time between photos. Most cameras offer preset options: 1, 5, 10, 15, 30, or 60 minutes. Select your desired interval.
Step 6: Set the start and stop times. If your camera has a 24-hour clock, enter the times in military format. Some cameras let you set "Sunrise to Sunset" automatically. That's a good default for wildlife monitoring.
Step 7: Set resolution and image quality. Go to the camera's settings menu and choose the photo resolution. Higher resolution gives more detail but fills the card faster. For most uses, 12 to 20 megapixels is fine.
Set image quality to "High" or "Fine."
Step 8: Exit the menu and save. The camera should display "Settings Saved" or similar. Take a test shot by pressing the manual trigger button. Check the image on the LCD screen.
Is the framing right? Is the exposure okay?
Step 9: Secure the camera. Use a security box and cable lock to prevent theft. Many trail cameras are stolen each year. A simple lock deters opportunistic thieves.
Step 10: Leave it alone. Check back in 2 to 4 weeks. Swap the SD card and review the images on your computer. If you're reviewing on a laptop, knowing how to connect a camera to a computer can speed up the process.
5 Time Lapse Settings That Save Battery and Storage Space
Getting the right settings saves you from returning to a dead camera or a full card. Here are the five most important tweaks.
1. Set the longest interval you can tolerate. A 30-minute interval uses one-sixth the power of a 5-minute interval. For monitoring a food plot, 30 minutes is usually enough to see when animals arrive and leave.
For construction sites, 10 minutes is better.
2. Use a reasonable resolution. 20 megapixels sounds great, but 12 megapixels is plenty for most trail camera uses. You still get clear images for identifying animals.
The files are smaller, so you fit more photos on the card.
3. Disable night mode if you don't need it. Some cameras let you set a separate time range for night shots. If you only care about daytime activity, set the stop time before sunset.
This saves battery and storage. For more on night shooting capabilities, similar principles apply across camera types.
4. Enable hybrid mode with caution. Hybrid mode runs both time lapse and motion trigger simultaneously. This gives you the best of both worlds, but it doubles the battery drain and storage usage.
Only use it if you absolutely need both.
5. Use lithium batteries. Manufacturer specifications confirm that lithium AA batteries last 2 to 3 times longer than alkaline in cold weather. They also handle the constant wake-sleep cycle of time lapse better.
The upfront cost is higher, but it saves you from changing batteries mid-season.
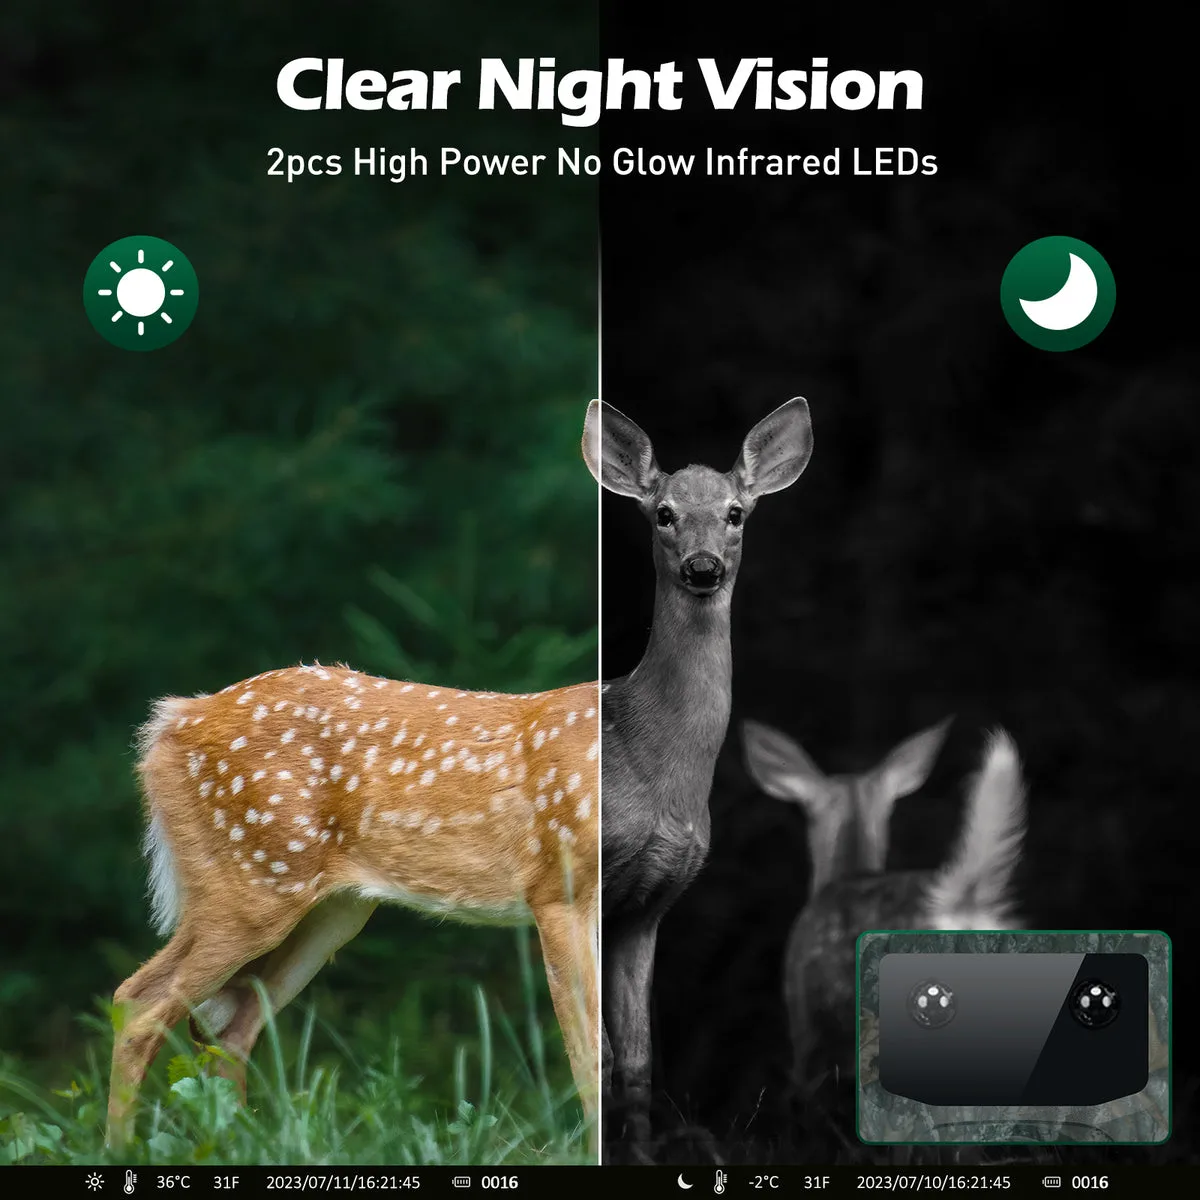
Image source: Web (Bing) / campark.net (Web image (fair-use with source credit))
Common Time Lapse Setup Mistakes (And How to Avoid Them)
Even experienced users make these errors. Here's what to watch for.
Mistake 1: Forgetting to set the clock. If your camera's date and time are wrong, your time lapse photos will have incorrect timestamps. That defeats the purpose of time lapse. Always set the correct date and time before you leave.
Mistake 2: Placing the camera facing east or west. Direct sun at sunrise or sunset will blow out the image. The overexposed photos are useless. Face the camera north or south to avoid this problem.
Mistake 3: Using too short an interval. A 1-minute interval fills a 32GB card in about 3 days at 20 megapixels. You'll have thousands of photos of empty grass. Stick to 5 minutes or longer for most uses.
Mistake 4: Not checking the test shot. The LCD screen is small, but it's big enough to check framing. If the camera is pointing at a tree trunk or the sky, you'll get useless photos. Take a test shot and look at it.
Mistake 5: Ignoring the battery level. Some cameras display a battery percentage on the LCD. Check it before you leave. If it's below 50 percent, consider replacing the batteries.
A dead camera takes zero photos.
When to Use Time Lapse vs Motion Trigger Mode
Choosing between time lapse and motion trigger isn't hard once you understand the trade-offs. The best choice depends entirely on what you want to capture.
Use time lapse mode when you want to monitor change over time. Food plots are the classic example. You want to see when deer arrive, how long they feed, and when they leave. Motion trigger mode might catch the first deer, but it could miss the second one if the sensor is still in its cooldown period.
Time lapse catches every animal in the frame, regardless of sensor timing.
Use motion trigger mode when you need to capture specific events. If you're trying to identify a trespasser or track a particular buck, motion trigger is better. It captures high-quality images of animals that pause in front of the camera. Time lapse might miss the critical moment if the interval is too long.
Use hybrid mode only when you have high battery capacity and large SD cards. It runs both systems simultaneously. You get the schedule of time lapse plus the responsiveness of motion trigger. The downside is significant.
Aggregate reviews report that hybrid mode cuts battery life by roughly 40 percent compared to either mode alone.
Here's a quick decision guide:
| Situation | Best Mode | Why |
|---|---|---|
| Food plot monitoring | Time lapse | Catches every visit, predictable storage |
| Trail crossing | Motion trigger | Captures specific animals in motion |
| Construction site security | Time lapse | Documents daily progress, fewer false alarms |
| Trespasser detection | Motion trigger | Catches unexpected movement quickly |
| Wildlife behavior study | Time lapse | Shows patterns over hours and days |
| High-traffic feeder | Motion trigger | Avoids thousands of empty photos |
The settings menu on most trail cameras lets you switch between modes easily. If you're unsure, start with time lapse at a 10-minute interval. You can always adjust based on what the images show.
The same approach applies when you're learning time lapse concepts on other camera types.
FAQs About Trail Camera Time Lapse Setup
How long does it take to set up time lapse mode?
About 5 minutes the first time. Once you know your camera's menu layout, it takes under 2 minutes. The longest part is mounting the camera securely and taking a test shot.
What is the best time lapse interval for trail cameras?
A 5 to 15 minute interval works for most uses. Wildlife researchers at several university extension programs recommend 10 minutes as the sweet spot. It balances battery life, storage, and data quality.
Does time lapse mode drain the battery faster than motion trigger?
It depends on the interval. A 1-minute interval drains battery faster than motion trigger in a low-traffic area. A 30-minute interval uses less power than motion trigger in a high-traffic area.
Lithium batteries are recommended for any time lapse setup.
How many photos will a 32GB SD card hold in time lapse mode?
At 12 megapixels, a 32GB card holds roughly 16,000 photos. At a 5-minute interval, that's about 55 days of continuous shooting. At 20 megapixels, you get roughly 8,000 photos, or about 27 days.
Can I use time lapse mode at night?
Yes, but with limitations. The IR flash works, but it casts a focused beam. You'll only see animals within the IR range.
The images are black and white, which is fine for most monitoring needs.
What happens if the SD card fills up during time lapse?
Most cameras stop taking photos when the card is full. Some models overwrite the oldest images. Check your camera's manual to confirm.
Set a reminder to swap cards based on your interval and resolution.

Similar Posts