How to Transfer Trail Camera Photos
You're standing in the middle of a field, SD card in hand, wondering if you grabbed the right reader. Or maybe you're at home, phone in hand, trying to pair a camera that just won't cooperate. Figuring out how to transfer trail camera photos shouldn't be the hardest part of running cameras, but it often is.
The method that works for one model won't work for another, and that's where most people get stuck.
Manufacturer specifications confirm that as of 2026, trail cameras use four distinct transfer methods: manual SD card, Bluetooth, WiFi, and cellular. Each one requires different tools, different steps, and different expectations. Pick the wrong workflow and you'll waste time or miss photos entirely.
The trick is knowing which method your camera actually supports before you start.
Image source: Web (Bing) / pexels.com (Web image (fair-use with source credit))
Problem: The Right Way Depends on Your Camera
There is no single correct way to transfer trail camera photos. Your camera type decides everything.
If you have a basic no-screen model, you're pulling the SD card every time. No shortcuts. No app.
Just a card reader and a phone or laptop.
If you have a Bluetooth-enabled camera, you can grab a few photos without walking to the camera. But you'll be waiting. Bluetooth transfers are slow, and you cannot download video files through the app on most models.
If you have a WiFi camera, you get a faster connection and full-resolution downloads. The catch is that you need to be within range, usually about 80 feet. That works for a backyard setup but not for a camera deep in the woods.
If you have a cellular camera, photos get pushed to the cloud automatically. You never touch the card. But you pay for that convenience with a monthly data plan.
The confusion comes when someone tries to use a Bluetooth workflow on a camera that only supports manual transfer, or vice versa. The first step is always identifying what you're working with.
Quick Answer: How to Pick Your Transfer Method
Check your camera model first. Manual card transfer works for all cameras. Bluetooth is slow but cable-free.
WiFi is faster with close range. Cellular is automatic with a monthly fee. Match the method to your camera, not the other way around.
Which Camera Are You Working With?
Before you do anything else, look at your camera. The user manual is the fastest way to confirm what transfer options are available. If you don't have the manual handy, here is how to tell by looking at the camera itself.
No-screen basic models. These are the simplest and most common. They have no display, no WiFi antenna, no Bluetooth logo. You set them up with a physical switch or dial.
The only way to get photos is to remove the SD card.
Bluetooth cameras. Look for a Bluetooth symbol on the body or in the app store listing. These cameras pair with your phone for low-resolution previews. The range is limited to about 100 feet in open conditions.
Trees and brush cut that down significantly.
WiFi cameras. These have a small antenna or a WiFi icon on the housing. They create their own local network that you connect to with your phone. The range is better than Bluetooth, but you still need to be relatively close.
WiFi cameras let you download full-resolution images and sometimes short video clips.
Cellular cameras. These have a SIM card slot and often a cellular antenna. They send photos to a cloud server through a cellular network. You can view them from anywhere with an internet connection.
The trade-off is the ongoing cost of a data plan.
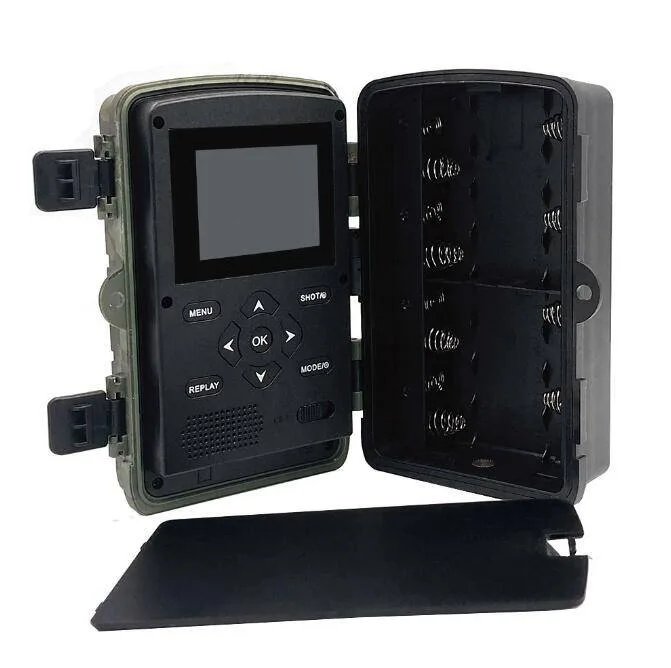
Image source: Bing (Web (fair-use with source credit))
If you have a camera that supports multiple methods, like WiFi and SD card, you get to choose based on the situation. Most users prefer wireless transfer for quick checks and manual card pulls for bulk downloads. If you are shopping for a reliable model, the right hardware makes the whole process easier from the start.
How to Transfer Photos from Each Camera Type
Each transfer method has a specific workflow. Follow the one that matches your camera.
Manual SD card transfer. This is the universal fallback. Power off the camera first. Pull the card.
Insert it into a card reader that matches your phone or computer. USB-C readers work with modern Android phones and newer laptops. Lightning readers work with older iPhones.
Micro-USB readers are still common for older devices. Open the file explorer or photos app. You will see a DCIM folder or similar structure.
Copy the files to your device. After you confirm the transfer worked, reinsert the card into the camera. Format the card inside the camera, not on your computer.
This prevents compatibility issues.
Bluetooth transfer. Open the camera's app on your phone. Follow the pairing instructions. You may need to press a button on the camera to make it discoverable.
Once paired, the app shows a list of available photos. Select the ones you want to download. The transfer speed is slow, about 2 to 5 seconds per photo.
Do not expect to download video files through Bluetooth. Most cameras block video transfers over Bluetooth due to file size limits. Use this method for quick previews only.
WiFi transfer. Turn on the camera's WiFi mode. Go to your phone's WiFi settings and connect to the camera's network. The network name is usually the camera model or a similar identifier.
Open the app. You should see the camera's photo library. Select the images you want.
Full-resolution downloads take about 1 to 2 seconds per photo. Video files download faster than Bluetooth but still slower than a card reader. Stay within range during the transfer.
If the connection drops, you may have to start over.
Cellular transfer. Set up the camera with a compatible SIM card and data plan. The camera sends photos to the cloud automatically. Open the app on your phone.
Log into your account. The photos appear in the app's gallery. You can download them to your phone, share them, or leave them in the cloud.
Some plans limit the number of photos per month. Check your plan's data cap before you rely on this method for heavy scouting.
Mistakes to Avoid When Pulling Photos
A few common mistakes cost people their photos or their time. Here is what to watch out for.
Pulling the card without powering off the camera. This is the fastest way to corrupt an SD card. The camera may be writing a photo to the card when you yank it out. Always turn the camera off first.
Wait a few seconds. Then remove the card.
Formatting the card on your computer. Computers use different file systems than trail cameras. Formatting a card on a PC can make it unreadable in the camera. Always format the card inside the camera.
The camera writes the correct file structure for its own system.
Using a cheap card reader. Slow or failing readers cause data corruption. A quality reader costs $10 to $15 and saves you hours of frustration. Look for one that supports UHS-I or faster speeds.
Per SD Association standards, a Class 10 card paired with a compatible reader gives you the best transfer speed.
Forgetting to delete synced photos. If you use a wireless transfer method, the photos stay on the card unless you delete them. Next time you pull the card, you may download duplicates. Some cameras have an option to mark photos as synced and delete them automatically.
Enable that feature if it is available.
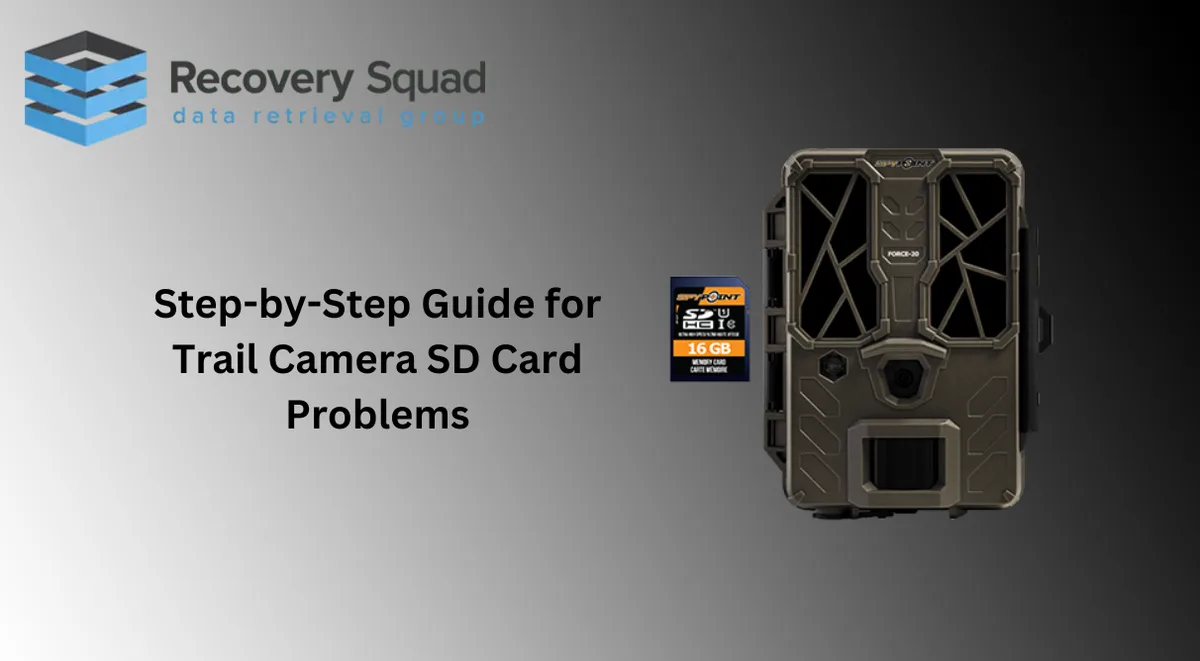
Image source: Web (Bing) / recoverysquad.com.au (Web image (fair-use with source credit))
Leaving dead batteries in the camera. A camera with dead batteries can still corrupt the card if the power dies mid-write. Swap batteries on a regular schedule. If you are storing the camera for a long period, remove the batteries entirely.
If you need to recover files from a corrupted card, the recovery process is similar to what you would use for other camera types.
Comparison: Which Transfer Method Is Best for You?
No single method wins for everyone. The right choice depends on where you run cameras, how often you check them, and what you are willing to spend.
| Method | Speed | Cost | Range | Best For |
|---|---|---|---|---|
| Manual SD card | Fastest | Free (need reader) | No limit | Bulk downloads, video files |
| Bluetooth | Slow | Free | 30 to 100 ft | Quick previews, single photos |
| WiFi | Fast | Free | 50 to 80 ft | Full-resolution downloads near home |
| Cellular | Automatic | $5 to $30 per month | Anywhere with signal | Remote cameras, frequent checks |
Manual SD card is best for speed. If you want every photo and video in high resolution without waiting, nothing beats pulling the card. You pay with your time hiking to the camera.
Bluetooth is best for quick checks. It works when you are already near the camera and just want to see if anything walked through. The quality is low, but the convenience is real.
WiFi is best for home or property edge setups. If your camera is within range of your house or a cabin, WiFi gives you fast downloads without paying monthly fees. The range limits where you can place the camera.
Cellular is best for remote or hard-to-reach locations. You never have to walk to the camera. The trade-off is the monthly cost and potential data caps.
Frequently Asked Questions
Can I transfer photos without an SD card reader?
Yes, if your camera supports WiFi or Bluetooth. You can transfer photos directly to your phone through the camera's app. If your camera only supports manual transfer, you need a card reader or a USB cable.
How do I know if my camera supports Bluetooth?
Check the product specifications in the user manual or look for a Bluetooth symbol on the camera body. Most modern cameras list supported transfer methods on the box or in the app store listing. The model number is usually printed on the bottom.
Why won't my camera connect to the app?
The most common cause is a range issue. Move closer to the camera. If that does not work, restart both the camera and your phone.
Make sure Bluetooth or WiFi is enabled on your phone. Some cameras require you to press a sync button first.
Do I need to format my SD card after every transfer?
No. You only need to format the card if you are getting errors or if the camera is not recognizing it. For regular use, simply delete the synced photos through the camera's menu.
Format the card in the camera every few months to keep the file system clean.
Can I transfer videos the same way as photos?
It depends on the method. Manual SD card transfer works for videos of any size. WiFi transfers support videos but take longer than photos.
Bluetooth transfers rarely support video files. Cellular cameras may compress or skip videos depending on the data plan.
How many photos can I store on one SD card?
A 32GB card holds roughly 5,000 to 8,000 photos at 20 megapixels. A 64GB card doubles that. Video files take more space.
A 32GB card holds about 3 to 5 hours of 1080p footage. Check your camera's manual for exact file sizes.
Final Decision Guide
Here is a simple way to decide your workflow.
If you are walking to the camera anyway, pull the SD card. It is the fastest, most reliable method. Keep a card reader on your keychain or in your pack.
If you are checking from a truck or ATV, use Bluetooth or WiFi. You stay in the vehicle and get what you need. For Bluetooth, expect slow speeds and low resolution.
For WiFi, expect better quality but a shorter range.
If the camera is miles from home, go cellular. The monthly cost is worth avoiding the hike. Choose a plan that matches your photo volume.
Most plans offer 100 to 1,000 photos per month for $10 to $15.
If you run multiple cameras, use a combination. Pull cards for the close cameras. Use cellular for the distant ones.
Organize your photos by date and camera location. This keeps your library clean and saves you time when you are reviewing.
The best method is the one you actually use. A complicated workflow that you skip is worse than a simple one that gets done every time. Start with the manual card pull.
Add wireless features as your needs grow.

Similar Posts