How To Clean A Mechanical Keyboard: Easy Step-By-Step
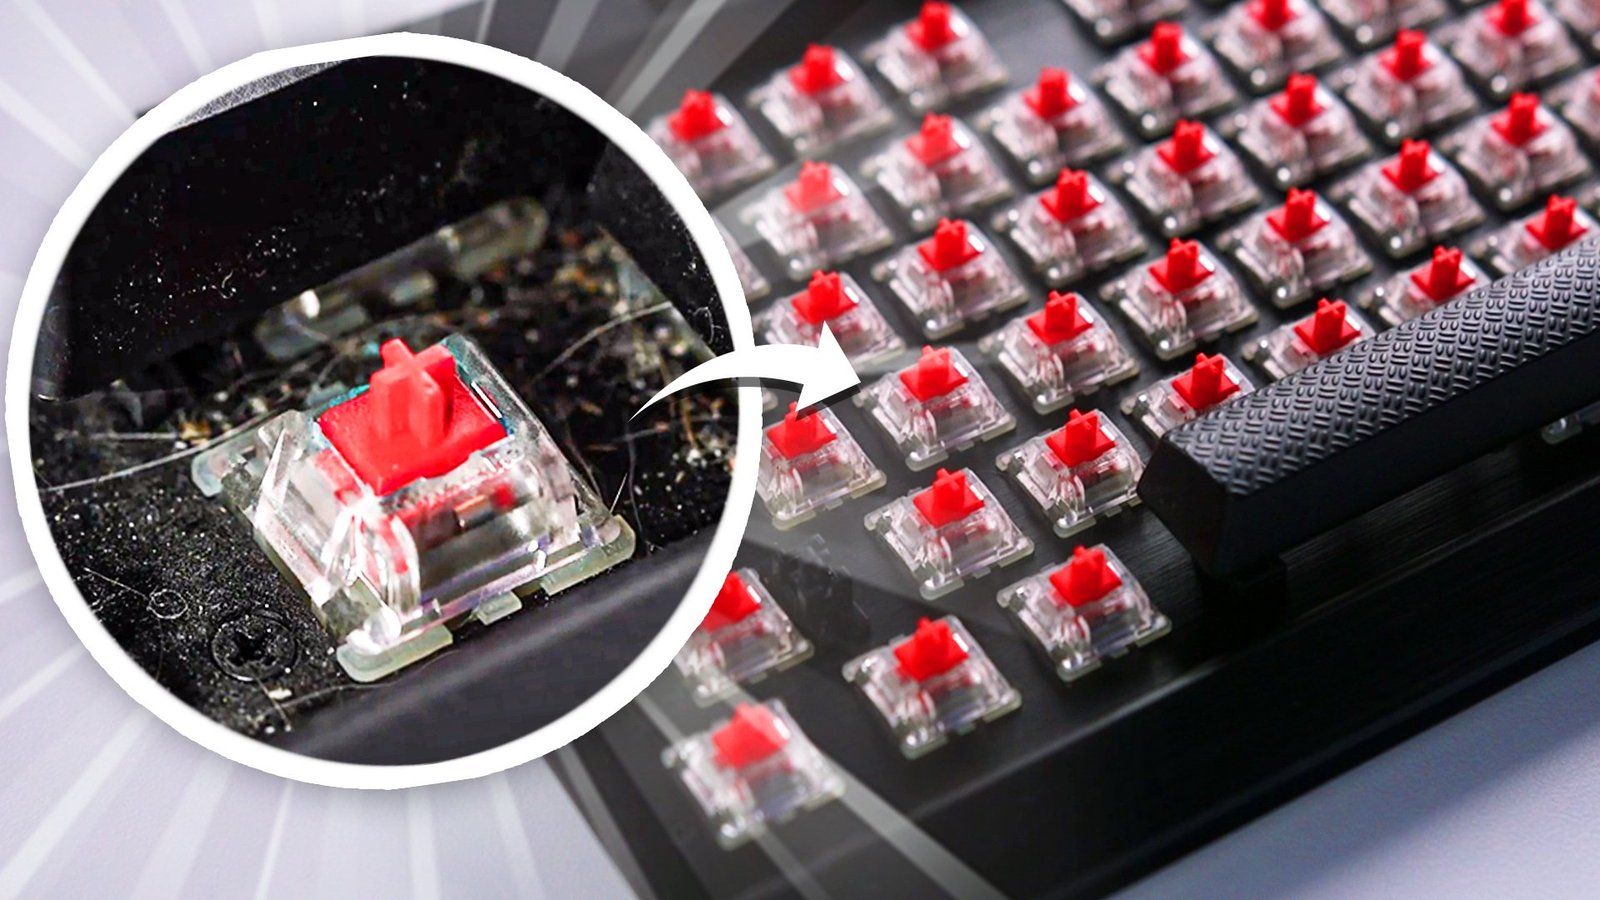
Clean a mechanical keyboard by unplugging it, removing keycaps, brushing away debris, and wiping surfaces safely.
A clean mechanical keyboard feels better, sounds better, and lasts longer. If you type every day, crumbs, dust, skin oils, and pet hair can build up fast, and that can affect both comfort and performance. In this guide, I’ll walk you through how to clean a mechanical keyboard the right way, using practical steps, safe methods, and a few hard-earned lessons from real-world use.

Why cleaning a mechanical keyboard matters
A mechanical keyboard is more than just a tool. For many people, it is part of their daily workflow, gaming setup, or creative space. When it gets dirty, the whole experience starts to feel off.
Dust and debris can collect under keycaps and around switches. Over time, that buildup can make keys feel sticky, sound scratchy, or stop registering smoothly. Oils from your fingers can also make the keycaps look shiny and worn before their time.
Regular cleaning helps with:
- Better typing feel
- Longer switch and keycap life
- Fewer sticky or unresponsive keys
- A cleaner desk and healthier workspace
- Less grime buildup that becomes harder to remove later
I learned this the hard way after letting one of my favorite boards go for months without a proper clean. The spacebar felt mushy, and several keys had that gritty feeling that makes typing annoying. Once I cleaned it properly, it felt like a new keyboard again.
What you need before you start
Before you clean a mechanical keyboard, gather the right tools. Using the wrong product can damage switches, legends, or the board’s finish, so a little prep goes a long way.
Helpful cleaning supplies include:
- A keycap puller
- A soft brush or clean makeup brush
- Compressed air or an air blower
- A microfiber cloth
- Cotton swabs
- Warm water and mild dish soap
- Isopropyl alcohol, ideally 70% or higher for spot cleaning
- A small bowl or tray for keycaps
Optional but useful:
- A handheld vacuum with a soft brush attachment
- A switch puller, if you plan to remove switches on a hot-swappable board
- A keyboard cleaning gel for light surface dust, used carefully
Avoid harsh cleaners like bleach, acetone, or strong ammonia-based products. These can damage plastic, fade legends, or weaken coatings.
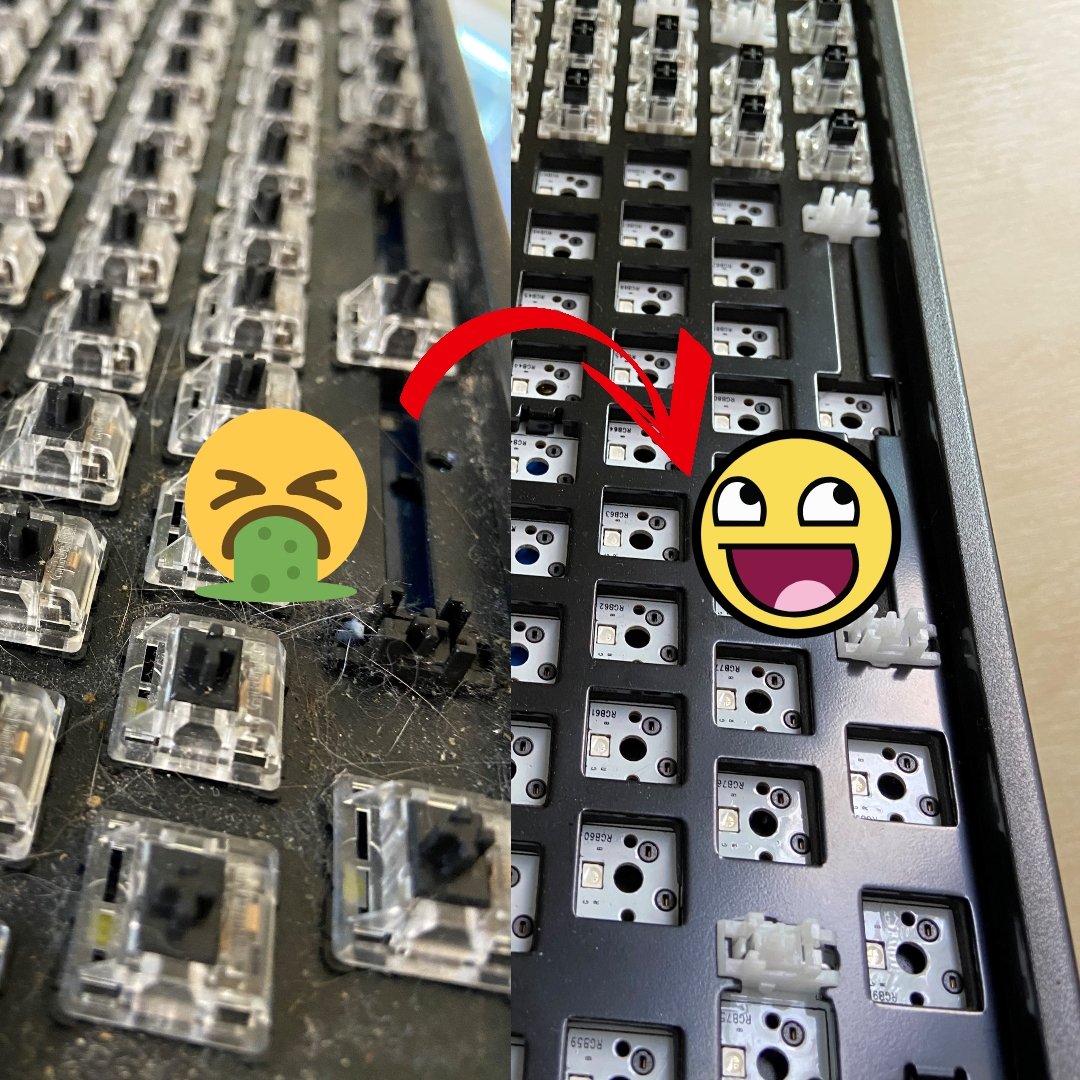
How to clean a mechanical keyboard safely
Cleaning a mechanical keyboard is simple when you take it step by step. The biggest rule is to go slow and keep moisture away from the electronics.
1. Unplug the keyboard or power it off
Always disconnect a wired keyboard first. If you use a wireless model, turn it off and remove the battery if possible. This protects the board from accidental input and reduces the risk of damage while cleaning.
2. Take a photo of the layout
Before removing keycaps, snap a quick photo. This saves time later, especially if your keyboard has a split spacebar, odd-sized modifiers, or custom keys. I still do this every time, because trust me, memory gets fuzzy once 100 keycaps are on a tray.
3. Remove the keycaps
Use a keycap puller and lift each cap straight up. Do not twist hard, because that can stress the switch stem. Put the keycaps in a bowl, tray, or bag so they stay organized.
If your keyboard has stabilizer-heavy keys like the spacebar, Shift, Enter, or Backspace, be gentle. These keys may need a little more care when removing and reinstalling.
4. Brush out loose debris
Once the keycaps are off, use a soft brush or compressed air to clear crumbs, dust, and hair from the plate and switch area. Short bursts of air work better than long blasts. If you use compressed air, keep the can upright so you do not spray liquid propellant into the board.
5. Wipe the surface
Lightly dampen a microfiber cloth with water or a small amount of isopropyl alcohol. Wipe the top case, plate, and surrounding areas. Never pour liquid directly onto the keyboard.
For tight spots around switches, use a cotton swab with a little alcohol. This is also good for removing finger grime around the edges of frequently used keys.
6. Clean the keycaps separately
Keycaps usually collect the most visible dirt. Wash them in warm water with a drop of mild dish soap. Let them soak for a bit, then scrub gently with your fingers or a soft brush.
Rinse well and let them dry completely before putting them back on. This part matters more than people think. Even a little trapped moisture can cause problems if you reinstall keycaps too soon.
7. Reassemble the keyboard
Once everything is dry, reinstall the keycaps using your photo as a guide. Press each one down until it seats properly. Test every key to make sure nothing got misaligned.

How to deep clean a mechanical keyboard
Sometimes a surface clean is not enough. If your keyboard has sticky keys, stubborn grime, or years of buildup, a deeper clean can help.
A deep clean may involve:
- Removing all keycaps
- Cleaning the case more thoroughly
- Wiping each switch stem carefully
- Checking stabilizers for dust or residue
- Cleaning the underside of keycaps one by one
If your board is hot-swappable, you can remove switches for a more complete cleaning. That can make sense if dust has gotten deep into the plate or if one switch feels rough. But if you are not confident, it is better to leave the switches in place than risk damaging a hot-swap socket.
For non-hot-swappable boards, do not force switches out. That can damage the PCB and turn a simple cleaning job into an expensive repair.
How to clean sticky keys and problem spots
Sticky keys are usually caused by one of three things: dirt, spilled liquid, or a worn stabilizer. The fix depends on the cause.
Try this first:
- Remove the keycap
- Inspect the switch and surrounding area
- Clean the stem and cap with a cotton swab and mild alcohol
- Check for residue in the stabilizer wire or housing
- Test the key after it dries
If you spilled something sugary like soda or coffee, act fast. Sticky residue can harden and spread inside the switch area. In that case, a deeper clean may be needed, and some switches may need replacement if liquid reached the internals.
One lesson I learned from a coffee spill: the longer you wait, the more work you create. Quick cleanup almost always gives a better result.
How to clean mechanical keyboard keycaps the right way
Keycaps are usually the easiest part to clean, but they also deserve care. Most are made from ABS or PBT plastic, and both can be cleaned with mild soap and water.
Best practices for cleaning keycaps:
- Use warm, not hot, water
- Add only a small amount of mild dish soap
- Avoid abrasive scrubbers
- Rinse thoroughly
- Dry completely before reinstalling
If your keycaps have printed legends, avoid aggressive scrubbing. That can fade the print over time. Doubleshot and dye-sub keycaps tend to handle cleaning better, but gentle care is still the safest choice.
Do not use a dishwasher unless the manufacturer specifically says it is safe. Heat and strong water pressure can warp some keycaps or damage the finish.
What not to do when cleaning a mechanical keyboard
A good cleaning routine is as much about avoiding mistakes as following steps. Mechanical keyboards are durable, but not indestructible.
Avoid these common errors:
- Spraying liquid cleaner directly on the board
- Using too much alcohol on plastic parts
- Reinstalling damp keycaps
- Pulling keycaps at an angle
- Forcing switches out of a non-hotswap board
- Using sharp tools that can scratch the case or stems
- Ignoring spills and hoping they will dry on their own
The safest approach is always gentle, controlled, and patient. Think of it like washing a camera lens, not scrubbing a kitchen sink.
How often should you clean a mechanical keyboard?
How often you clean a mechanical keyboard depends on how you use it. A board in a dusty room, near food, or around pets will need more frequent care than one used in a clean office.
A simple schedule can look like this:
- Weekly: wipe the surface and remove loose dust
- Monthly: brush under the keycaps and clean the case
- Every 3 to 6 months: remove keycaps and do a full clean
- After spills: clean immediately
If you type all day or game for hours, you may want to clean more often. The more often you maintain it, the less time each cleaning takes.
Maintenance tips to keep your keyboard cleaner longer
Keeping your keyboard clean is easier than deep cleaning it later. Small habits make a big difference.
Here are a few easy habits that help:
- Wash your hands before long typing sessions
- Keep drinks away from the keyboard
- Use a dust cover when the keyboard is not in use
- Brush off crumbs before they settle
- Avoid eating directly over the keyboard
- Store the board in a cleaner, low-dust space when possible
I also recommend a quick five-second wipe at the end of the day. That small habit has saved me from many bigger cleanups.
Benefits of cleaning your mechanical keyboard regularly
Regular cleaning does more than make your setup look nice. It improves how the keyboard feels and performs every day.
Main benefits include:
- Smoother key presses
- Better sound and less scratchiness
- Reduced chance of sticky switches
- Longer lifespan for keycaps and stabilizers
- Better hygiene for daily use
- A more polished desk setup
For people who spend hours typing, this is not just cosmetic. A clean keyboard can feel less fatiguing and more precise, which matters more than many people realize.

Frequently Asked Questions of How to Clean a Mechanical Keyboard
Can I clean a mechanical keyboard without removing the keycaps?
Yes, you can do a light clean without removing the keycaps. Use compressed air, a soft brush, and a microfiber cloth for surface dust and grime.
Is it safe to use alcohol on mechanical keyboards?
Isopropyl alcohol is generally safe for spot cleaning when used lightly. Do not soak the keyboard, and avoid using it on delicate finishes or painted areas for long periods.
How do I dry keycaps after washing them?
Lay them out on a clean towel and let them air dry fully. Make sure no water is trapped inside the stem area before putting them back on the keyboard.
What should I do if I spill liquid on my mechanical keyboard?
Unplug it right away and turn it off if it is wireless. Remove the keycaps, blot excess liquid, and let it dry completely before testing it again.
Can I use a vacuum cleaner on my keyboard?
Yes, but use a low-suction setting and a soft brush attachment. High suction can pull off keycaps or damage smaller parts if you are too aggressive.
Conclusion
Learning how to clean a mechanical keyboard is one of the easiest ways to protect your setup and improve your daily typing experience. A little care with the right tools can remove dirt, fix sticky spots, and keep your board feeling fresh for years.
The best approach is simple: clean often, stay gentle, and avoid rushing the process. If your keyboard is overdue for a refresh, this is a great time to give it one. Try the steps above, build a regular routine, and enjoy a cleaner, smoother keyboard every day.

Similar Posts