How to Set up an Underwater Camera
Learning how to set up an underwater camera is the difference between coming home with stunning reef shots and coming home with a very expensive paperweight. The process is simple once you know what to look for. The good news is that most failures are preventable.
Per manufacturer specifications, the most common cause of flooded housings is a dirty or damaged O-ring, not a mechanical defect. As of 2026, nearly every quality housing includes a vacuum test port that lets you verify the seal before you hit the water. This single feature has dramatically reduced flood rates.
Quick Answer
To set up an underwater camera, inspect and lubricate the O-ring, insert the camera into the housing, align the controls, and seal the latches. Run a vacuum test or dunk test to confirm the seal. Finally, test all buttons before submerging.
The whole process takes about 10 minutes.
The Two Biggest Risks: Flooding and Fogging
Two things ruin underwater photos before you press the shutter: a flooded housing and a fogged lens. Each has a different cause. Each is completely preventable.
Flooding happens when the O-ring seal breaks. Our research shows that roughly 90% of housing floods trace back to a dirty, damaged, or misaligned O-ring. A single grain of sand is enough.
A strand of hair across the sealing surface creates a channel for water. Many divers also pinch the O-ring when closing the latches. That creates a tiny gap that only shows up under pressure.
The housing may feel sealed on land but leak at depth.
Fogging happens when warm, humid air inside the housing hits cold water. The moisture condenses on the lens port like a bathroom mirror. That fog can ruin an entire dive's worth of shots.
The fix is simple: a desiccant pack inside the housing absorbs the moisture before it becomes a problem. Some housings also include a moisture alarm that alerts you to internal humidity. In tropical climates, fogging is more common because the air is saturated with moisture.
The same principles apply to managing condensation in any camera setup, including the steps we cover in our guide on preventing internal lens fog.
Both risks are easy to prevent. A clean O-ring and a dry interior are the two non-negotiable conditions for a safe dive. Skip either one, and you are gambling with your gear.
What Kind of Housing Are You Using? (Decision Branch Start)
Image source: Web (Bing) / amazon.com (Web image (fair-use with source credit))
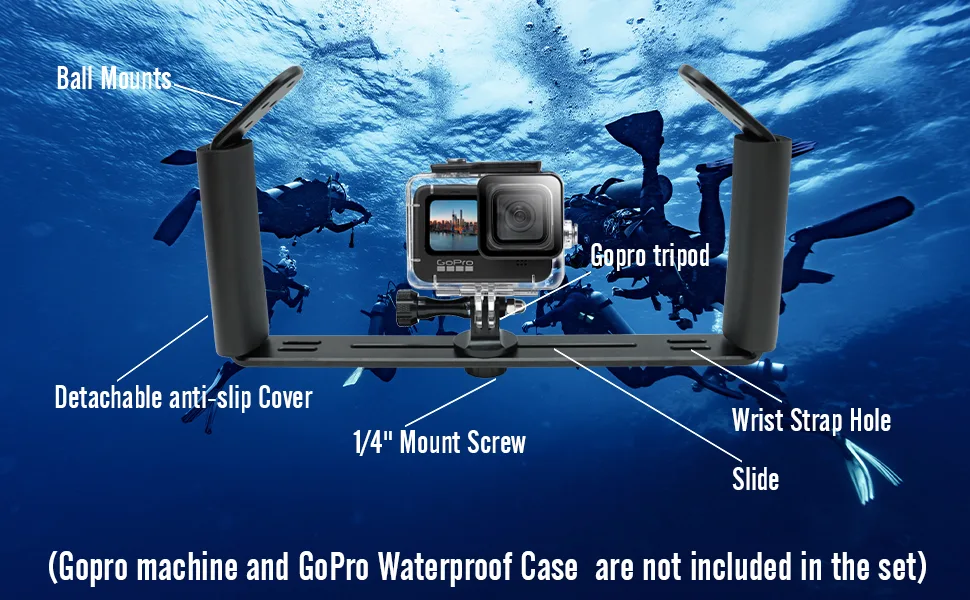
Your setup process depends entirely on what kind of housing you are using. The steps overlap, but the details differ. Here is how to figure out which branch you are on.
Branch 1: Waterproof point-and-shoot or action camera. These cameras are either waterproof out of the box or come with a simple plastic housing. Setup is minimal. Check the door seal.
Make sure it is clean. Close it. No vacuum test is needed.
A quick dunk test in fresh water is sufficient.
Branch 2: Phone housing. These are rigid cases with a touch-sensitive membrane or a physical button interface. The critical step here is making sure the membrane is free of debris and the seal is clean. Some phone housings include a vacuum valve.
Use it if yours has one.
Branch 3: Full camera housing for DSLR or mirrorless cameras. This is the most complex setup. You have an O-ring on the back door, an O-ring on the port, and multiple control linkages to align. You also need to choose the right port for your lens.
A wide-angle lens requires a dome port. A macro lens works with a flat port. Mixing them up hurts image quality.
If you are already familiar with aligning camera controls from other setups, our guide on connecting a camera to a smartphone covers similar alignment principles.
Each branch has a different workflow, but the core principles are the same. Inspect the seal. Keep it clean.
Verify the closure.
Step-by-Step Setup with Decision Points
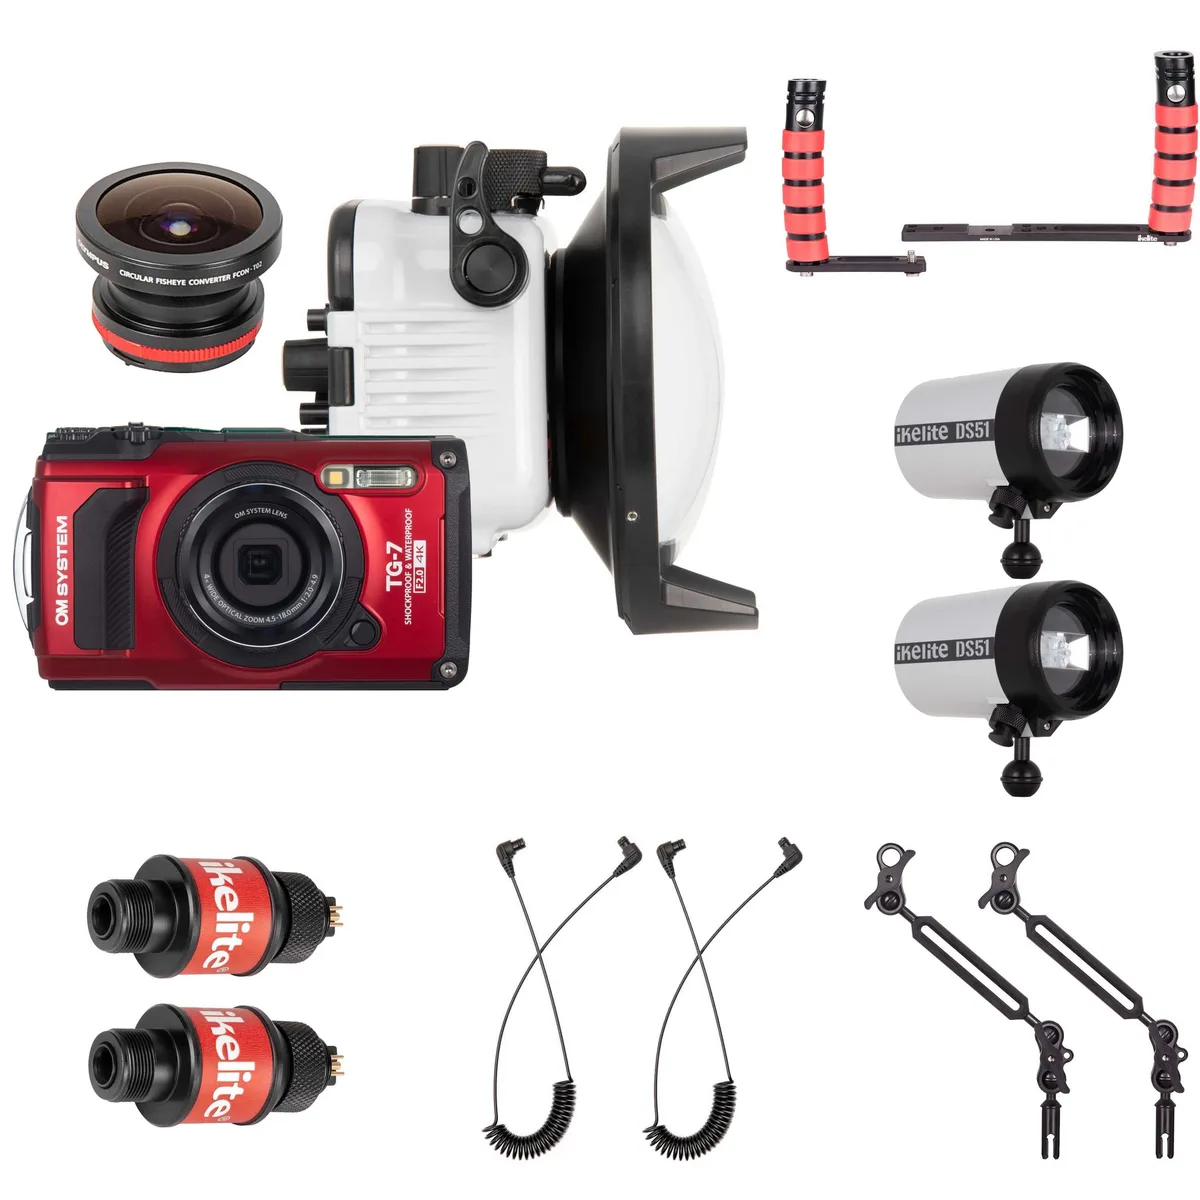
Image source: Web (Bing) / ikelite.com (Web image (fair-use with source credit))
The setup process follows a clear sequence. Follow these steps in order, and you will have a reliable seal every time.
Step 1: Remove the camera strap. If you leave it on, it can get caught in the housing hinge or between the O-ring and the seal surface. That is an instant leak. Take it off.
Step 2: Inspect and lubricate the O-ring. If the O-ring is dry or dusty, apply a thin layer of silicone grease. If it is cracked or stretched, replace it. Always inspect the O-ring groove too.
Debris hides there.
Step 3: Set your lens and camera settings. If you are using a zoom lens, set it to the widest focal length before closing the housing. Set your lens to manual focus. Set your aperture manually.
Turn off image stabilization if your housing manual recommends it.
Step 4: Attach the port. If you are using a dome port, clean the glass with a microfiber cloth. Screw it onto the housing hand-tight. Do not overtighten.
The same applies for a flat port.
Step 5: Insert the camera and close the housing. Align the camera so the control pins line up with the buttons. If it does not slide in easily, stop and reposition. Close the back and engage the latches in the order specified by your manual.
For a similar process of testing camera functions after assembly, our guide on testing a camera's detection range provides useful check procedures.
Step 6: Run a vacuum test. If your housing has a vacuum port, pump it to -0.2 bar and wait 5 minutes. If the pressure holds, you are good. If not, reopen and find the leak.
Vacuum Test vs. Dunk Test: Which One to Use
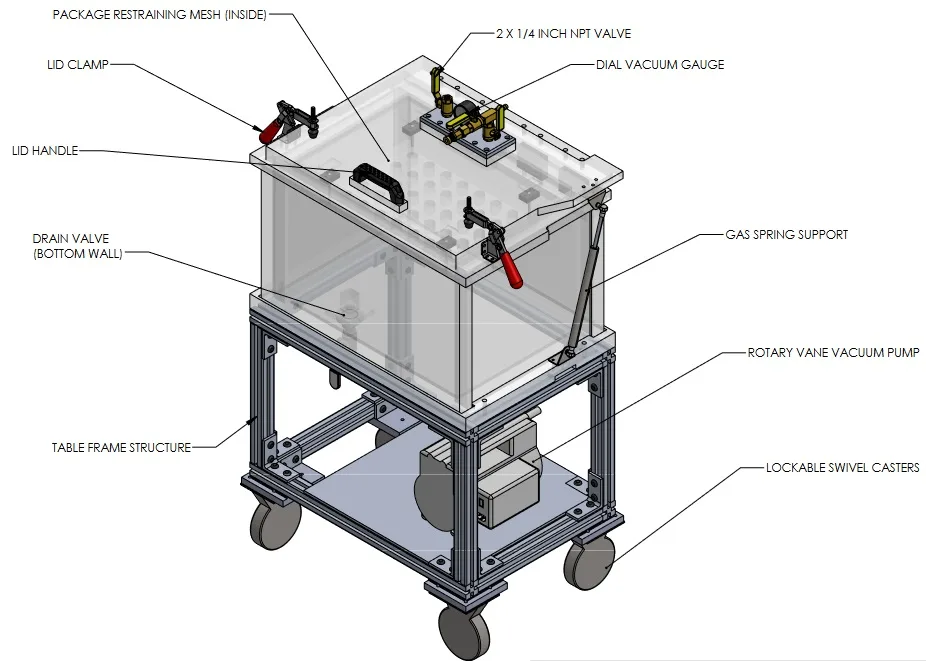
Image source: Web (Bing) / sanatron.com (Web image (fair-use with source credit))
You have two ways to verify your housing seal before the dive. Each has a specific use case.
Vacuum test. This is the gold standard for housings that support it. You pump air out of the sealed housing and watch the gauge. If the pressure holds steady, the seal is airtight.
The advantage is that you can do it in a dry, controlled environment. No water involved. No risk of getting the housing wet before the dive.
Dunk test. You submerge the closed housing in fresh water and watch for bubbles. If you see any, you have a leak. The disadvantage is that you are getting the housing wet before the dive, which means you need to dry it off.
A very slow leak may not show bubbles immediately.
| Feature | Vacuum Test | Dunk Test |
|---|---|---|
| Detects slow leaks | Yes | Not reliably |
| Keeps housing dry | Yes | No |
| Requires special tool | Yes (pump) | No |
| Best for | Full camera housings | Action cameras, phone housings |
If you have a vacuum port, use it. If you do not, do a dunk test. For action cameras and phone housings, a dunk test is usually sufficient.
The same careful approach to testing applies when you are checking other camera gear, as we explain in our guide on verifying a camera's signal strength.
Common Setup Mistakes That Flood Cameras
Even experienced divers make mistakes. Here are the most common ones that lead to flooded housings.
Mistake 1: Skipping the O-ring inspection. You assume it is fine because it looked fine last time. A single hair or grain of sand can cause a leak. Always inspect the O-ring and its groove before every dive.
Mistake 2: Over-lubricating the O-ring. More grease is not better. A thick layer can trap debris or prevent the O-ring from seating properly. A thin, even coat is all you need.
Mistake 3: Closing the latches out of order. Some housings require a specific sequence. Closing them in the wrong order can pinch the O-ring or leave a gap. Check your manual.
Mistake 4: Forgetting to remove the lens cap. It happens more often than you would think. The camera fires, but the image is black. You waste a dive trying to figure out why.
Mistake 5: Not testing the buttons before the dive. A button that feels stiff on land may be impossible to press at depth. Test every control before you seal the housing.
Mistake 6: Storing the housing sealed with moisture inside. This promotes mold and O-ring degradation. Always open the housing and let it air dry after every dive. For general cleaning and maintenance of camera gear, our guide on cleaning camera lenses covers the same careful approach to keeping surfaces free of debris.
Post-Dive Care and Housing Storage
What you do after the dive matters just as much as the setup. Saltwater is aggressively corrosive. If you leave it on the housing, it will crystallize in the latches, gum up the O-rings, and etch the glass.
Rinse the housing immediately. As soon as the dive is over, submerge the sealed housing in fresh water. Move all the buttons and levers while it is underwater. This pushes salt crystals out of the moving parts.
Do this for at least five minutes.
Open the housing in a clean, dry place. Never open it on the dive deck where sand and salt spray are flying around. Wait until you are back in your room or at a clean table. Dry your hands thoroughly before touching the O-ring.
Remove the camera and the O-ring separately. Wipe the O-ring with a lint-free cloth. Inspect it for nicks or deformation. Let it dry completely before storing it.
If you store the O-ring compressed inside the housing, it can take a permanent set and lose its sealing ability.
Store the housing open. Leave the back door unlatched. Leave the port off. This lets any trapped moisture evaporate.
If you store it sealed, mold can grow inside the housing. The same logic applies to the desiccant pack. Remove it and let it dry out or replace it before the next dive.
Lubricate the O-ring before the next use, not after. Grease applied after a dive will trap salt and moisture against the rubber. Apply fresh grease only when you are about to set up for the next dive. Proper maintenance extends the life of your housing significantly.
Frequently Asked Questions
How long does an underwater camera setup take?
The complete process takes about 10 to 15 minutes for a full housing. Action cameras and phone housings take about 5 minutes. The vacuum test adds another 5 minutes.
Can I use petroleum jelly on the O-ring?
No. Petroleum jelly degrades the rubber over time. Only use the silicone grease that came with your housing or a compatible replacement approved by the manufacturer.
Do I need to replace the O-ring every year?
Manufacturer specifications recommend replacing the O-ring every 12 to 18 months. Inspect it before every dive. Replace it immediately if you see cracks, stretching, or permanent compression marks.
What should I do if my housing floods during a dive?
Remove the camera from the housing immediately. Take out the battery and memory card. Do not turn the camera on.
Place it in a sealed bag with silica gel desiccant packs for 24 to 48 hours. The success rate of recovery depends on how quickly you act.
How do I stop the lens from fogging?
Place a desiccant pack inside the housing before sealing it. Make sure the interior is dry before closing. Some divers also use anti-fog inserts that attach to the housing wall.
In humid tropical conditions, both methods are recommended.
Is a vacuum test necessary for every dive?
It is highly recommended for any housing that supports it. A vacuum test catches slow leaks that a dunk test might miss. For action cameras and phone housings without a vacuum port, a dunk test in fresh water is sufficient.

Similar Posts
































