How to Shoot RAW on DSLR Camera
So you want to know how to shoot RAW on DSLR camera. You're probably tired of JPEGs that fall apart the second you try to fix a shadow or adjust white balance. Here's the short version.
A 14-bit RAW file captures 16,384 levels of brightness per channel. An 8-bit JPEG captures just 256. That extra data is the difference between a photo you can save and a photo you have to delete.
Let's walk through what that means for your shooting and editing workflow.
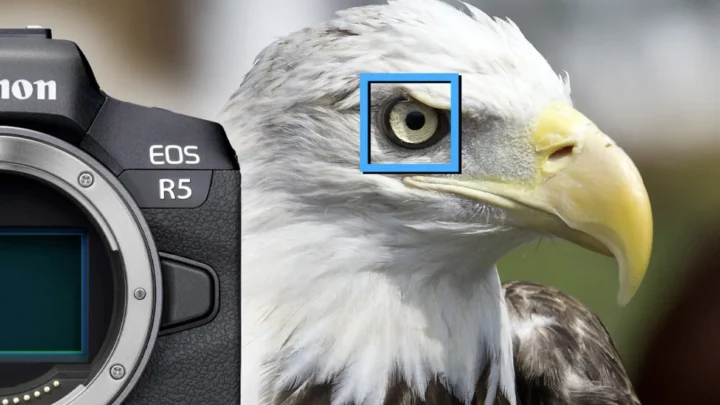
Image source: Web (Bing) / digitalcameraworld.com (Web image (fair-use with source credit))
Quick Answer
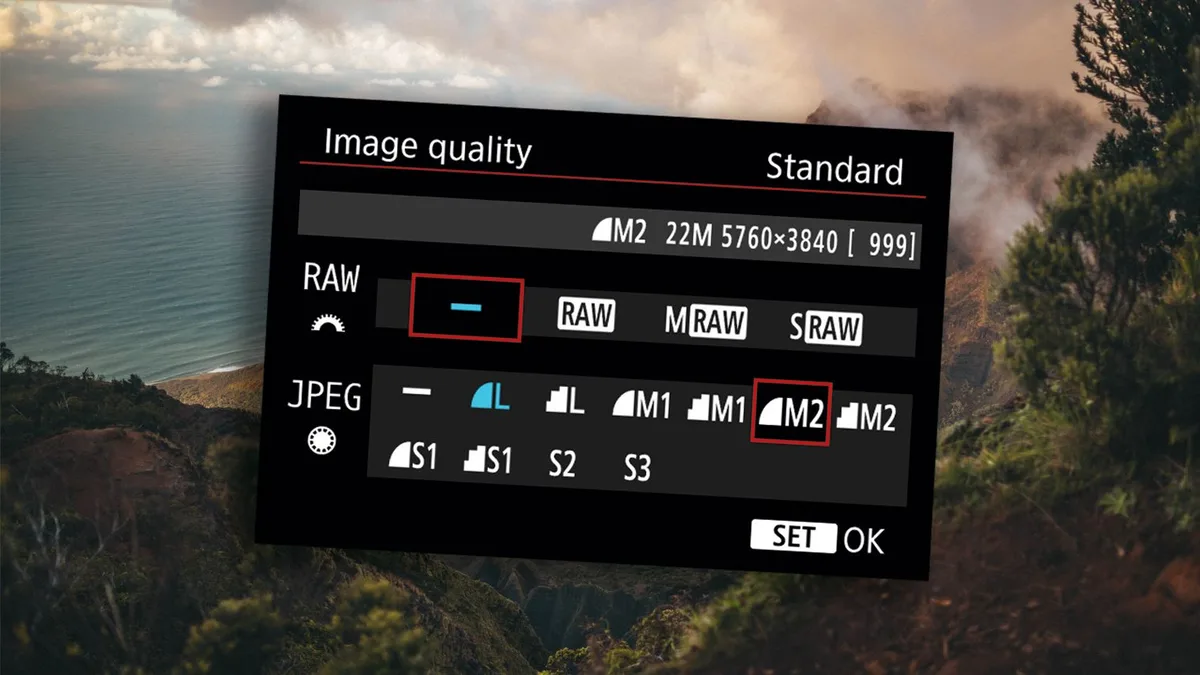
Set your camera to RAW in the shooting menu. Navigate to Image Quality. Select RAW or RAW+L.
Use a fast memory card for reliable writing. Import files to a RAW converter like Lightroom or Capture One. Edit exposure, white balance, and color.
Export as JPEG or TIFF for sharing.
Why Shoot RAW? (The One Big Reason to Switch)
The single biggest reason is recovery. When you shoot JPEG, the camera sets white balance, sharpening, and contrast permanently. You cannot undo a blown highlight or a blue tint.
RAW gives you the raw sensor data.
You can push exposure up to three stops. You can fix white balance after the fact. You can pull detail out of shadows that would be solid black in JPEG.
Aggregate reviews from thousands of photographers confirm this is the core advantage.
If you shoot landscapes, that extra dynamic range saves sunrise shots where the sky is clipped. If you shoot portraits, adjusting skin tones becomes a one-click fix. The trade-off is file size.
But for anyone who wants their images to look their best, RAW is the standard. This is why many photographers choose a capable landscape camera body for their work.
How to Enable RAW on Your DSLR (Step-by-Step Menu Paths by Brand)
The exact path varies by brand. The logic is the same on every DSLR. Find the Image Quality setting inside the Shooting Menu.
Here are the common paths for the major brands as of 2026:
| Brand | Menu Path |
|---|---|
| Canon | Menu → Shooting Menu (red camera icon) → Image Quality → Select RAW |
| Nikon | Menu → Photo Shooting Menu → Image Quality → RAW (NEF) |
| Sony | Menu → Camera Settings 1 → Image Quality → RAW or RAW & JPEG |
| Pentax | Menu → Shooting Menu 1 → Quality → RAW (PEF or DNG) |
| Fujifilm | Menu → Image Quality Setting → Image Quality → RAW (RAF) |
Some models have a dedicated Q button or Quick Menu. You can often change Image Quality without diving into the main menu. Practice before you head out for a shoot.
The worst time to figure this out is sunrise in the middle of a field.
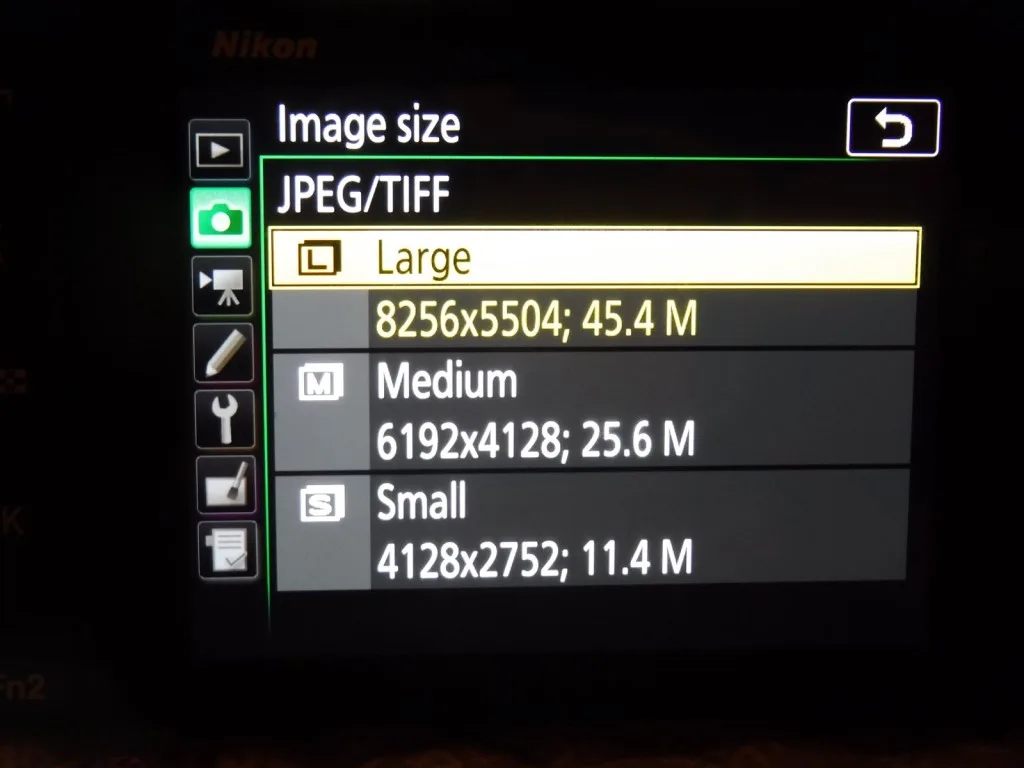
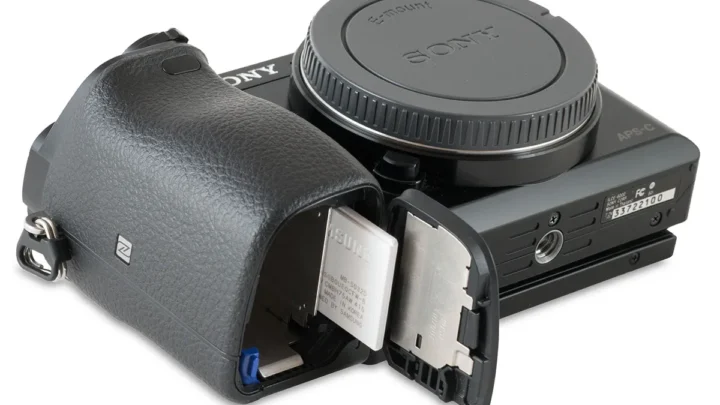
Image source: Web (Bing) / cameraears.com (Web image (fair-use with source credit))
RAW vs JPEG: The Trade-Offs You Need to Know (File Size, Burst Speed, and Bit Depth)
RAW is not always the right choice. Here is a direct comparison so you can decide when to use each.
| Feature | RAW | JPEG |
|---|---|---|
| Bit depth | 12-bit or 14-bit (4096–16,384 levels) | 8-bit (256 levels) |
| File size (24MP example) | 25–50 MB | 5–10 MB |
| White balance | Adjustable after capture | Fixed at capture |
| Dynamic range | Maximum (12–15 stops) | Compressed (8–10 stops) |
| Editing flexibility | Full, non-destructive | Very limited |
| Burst speed / buffer | Slower, fills buffer faster | Faster, deeper buffer |
If you shoot fast action like sports or wildlife, JPEG gives you a longer burst window. The buffer fills faster with RAW because the camera writes more data per shot. That is why many shooters pick up a body with a deeper buffer for those scenarios.
For everything else, RAW is the standard.
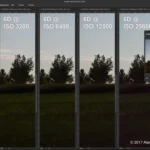
If you shoot in low light, the extra flexibility of RAW helps you recover shadow detail. Some photographers pair this with pro-level low-light gear to get the best results.
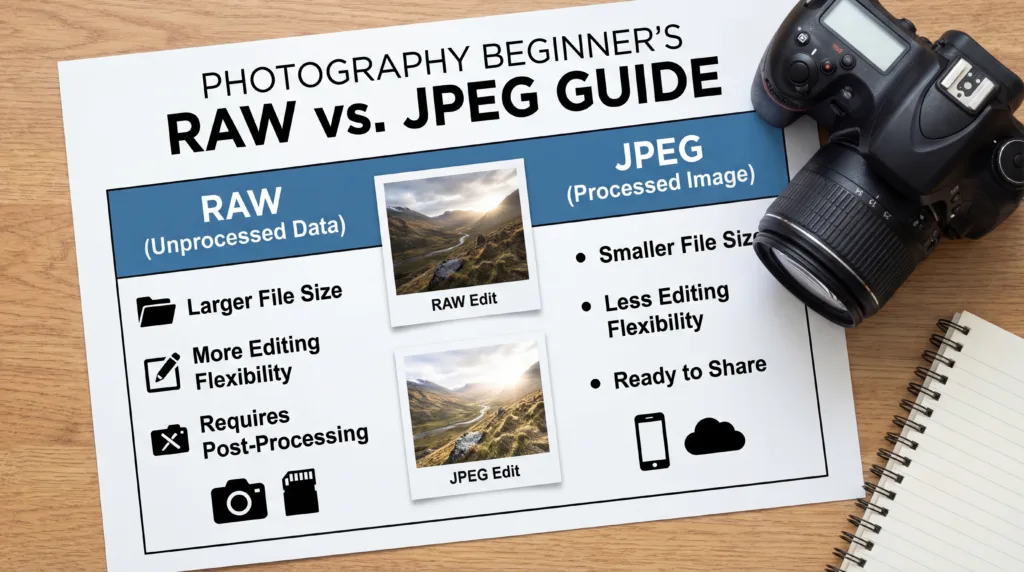
Image source: Bing (Web (fair-use with source credit))
Your Post-Shoot RAW Workflow (Import, Edit, Export Without the Headache)
You cannot open a RAW file on your phone and expect it to work. You need a RAW converter. Here is the process that works for most people.
Step 1: Import with a card reader. Skip the slow USB 2.0 cable. Use a UHS-II card reader for fast transfers. Copy the entire card folder to a project folder on your hard drive.
Per SD Association standards, a UHS-II card delivers read speeds up to 312 MB/s, which cuts transfer time significantly.
Step 2: Open in a RAW converter. Adobe Lightroom, Capture One, Darktable, and RawTherapee all handle RAW files natively. Your camera likely came with free software too (Canon DPP, Nikon NX Studio). Use it.
Step 3: Adjust exposure, white balance, and tone. Start with the white balance dropper. Then adjust exposure and contrast. Use the highlight and shadow sliders to recover clipped areas.
Apply lens corrections if your software supports them.
Step 4: Export as JPEG or TIFF. For web sharing, export as sRGB JPEG at 2048 pixels wide. For print, export as Adobe RGB or ProPhoto RGB TIFF at full resolution. The original RAW file stays untouched.
Step 5: Back everything up. RAW files are your digital negatives. Lose them and you lose the ability to re-edit later. Use a second hard drive or cloud storage.
Frequently Asked Questions About Shooting RAW
Does shooting RAW affect my burst speed?
Yes. RAW files are larger, so the camera buffer fills up faster. You might get 10, 15 frames in RAW where you would get 30+ in JPEG.
Use a body designed for fast continuous shooting if you need deep buffers.
Can I shoot RAW and JPEG at the same time?
Yes. Most DSLRs have a RAW+L or RAW+JPEG option. The camera saves both files.
Use the JPEG for quick sharing and the RAW for editing. It uses more storage but gives you the best of both worlds.
What software do I need to open RAW files?
You need a dedicated RAW converter. Adobe Lightroom, Capture One, Darktable, and RawTherapee are all solid choices. Your camera brand's free software works too.
You cannot open RAW files in most basic photo viewers.
How much storage do I need for RAW?
Plan for 25, 50 MB per shot on a 24-megapixel camera. A 64 GB card holds roughly 1,500, 2,000 RAW files. For a weekend shoot, bring two 64 GB cards.
For a wedding, bring at least four.
Is RAW always better than JPEG?
No. If you shoot fast action and need the deepest buffer, JPEG wins. If you share photos immediately and do not plan to edit, JPEG is fine.
But if you want full control over your final image, RAW is the way to get it.

Similar Posts