How to Change ISO on DSLR Camera
You know where the ISO button is, but you’re still ending up with noisy shots or blurry ones. That’s the gap most tutorials miss. Learning how to change ISO on a DSLR camera isn’t just about which button to press.
It’s about making the right trade-off between light, sharpness, and image quality every time you lift the camera.
Manufacturer specifications indicate that the base ISO setting on most DSLRs is 100 or 200. That’s where the sensor delivers its cleanest, most detailed image. But the moment the light drops, you’ve got a decision to make.
Let’s start with why the simple answer fails you.
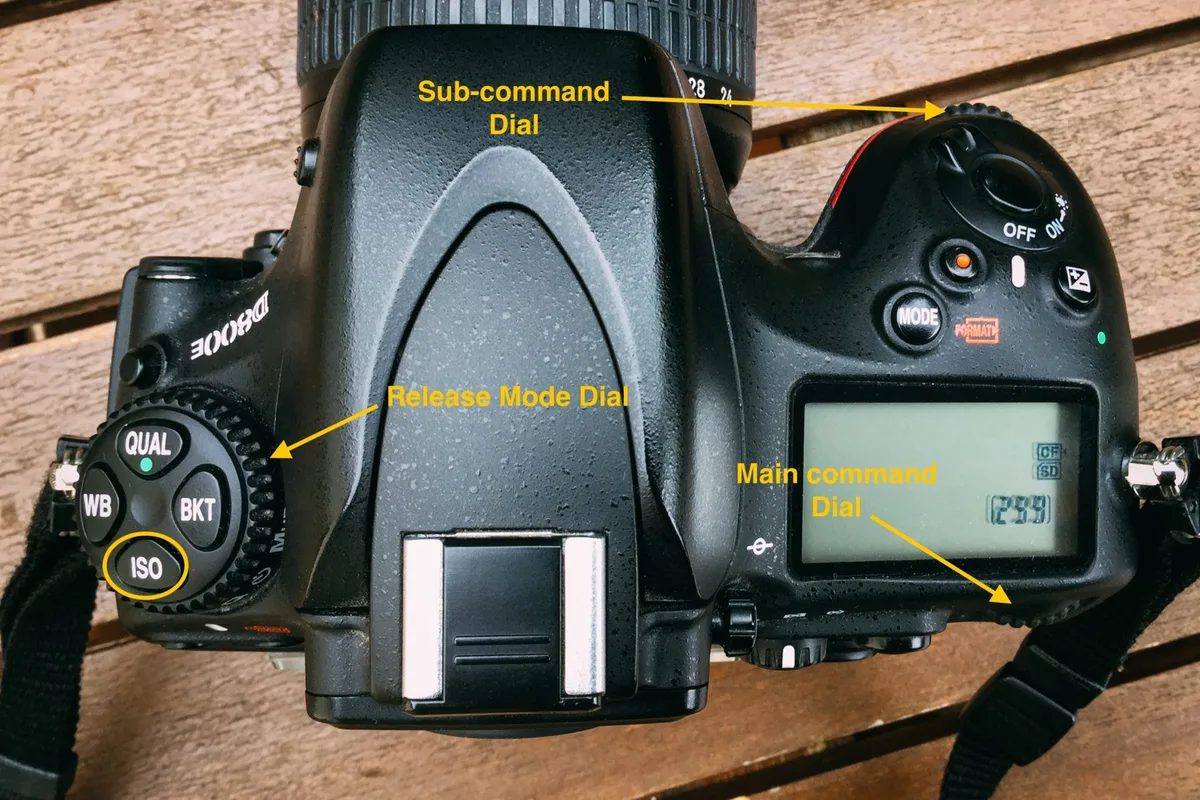
Image source: Web (Bing) / davidsamperio.com (Web image (fair-use with source credit))
Quick Answer
To change ISO on a DSLR, locate the ISO button near the shutter. Hold it and rotate the main dial. Watch the number in the viewfinder.
Lower numbers (100 to 400) give clean images. Higher numbers (800 to 6400) help in dim light but add noise. Adjust it for every lighting change.
Why “Just Press the ISO Button” Isn’t the Answer
The mechanical step is simple. The real skill is knowing when to raise it. ISO sits inside the exposure triangle alongside shutter speed and aperture.
Raise ISO too early and you invite noise into clean light. Leave it too low and you risk motion blur or camera shake.
In our research, the biggest difference between new and experienced shooters isn’t the button location. It’s understanding the conditions that force the decision. A camera that’s perfect for bright outdoor scenes struggles in a dimly lit room.
The same logic applies to a dedicated option for low-light work. The button doesn’t change. The situation does.
Your Three Decision Levers: Light, Motion, and Stability
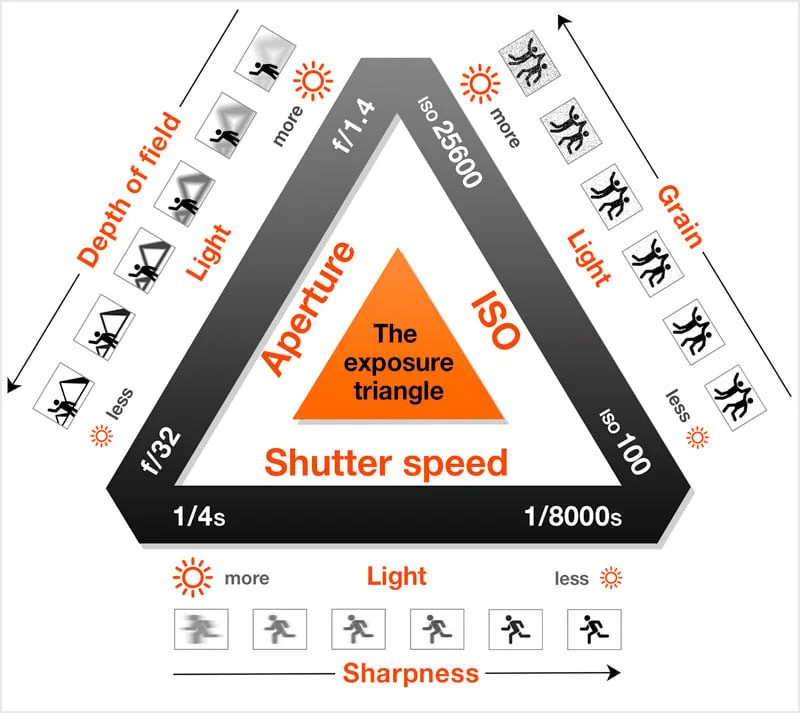
Image source: Web (Bing) / lightroommasters.com (Web image (fair-use with source credit))
Three factors dictate your ISO choice. They work together. You can’t adjust one without considering the other two.
1. Available Light
Bright sunlight calls for ISO 100 or 200. Overcast skies push you to 400. Indoors without a flash, you’re often at 800 or 1600.
The less light, the higher your ISO needs to climb.
2. Subject Motion
A still subject lets you use a slower shutter speed and keep ISO low. A child running or a bird in flight demands a fast shutter speed. That shutter speed needs light.
If your aperture is already wide open, ISO must rise.
3. Camera Stability
A tripod removes camera shake. With one, you can drop your shutter speed to 1/30th or even 1/15th second and keep ISO low. Handheld, you need a shutter speed around 1/60th or faster.
That often forces a higher ISO. This is especially important for landscape work where image quality is critical.
Follow This Decision Tree to Pick the Right ISO Every Time
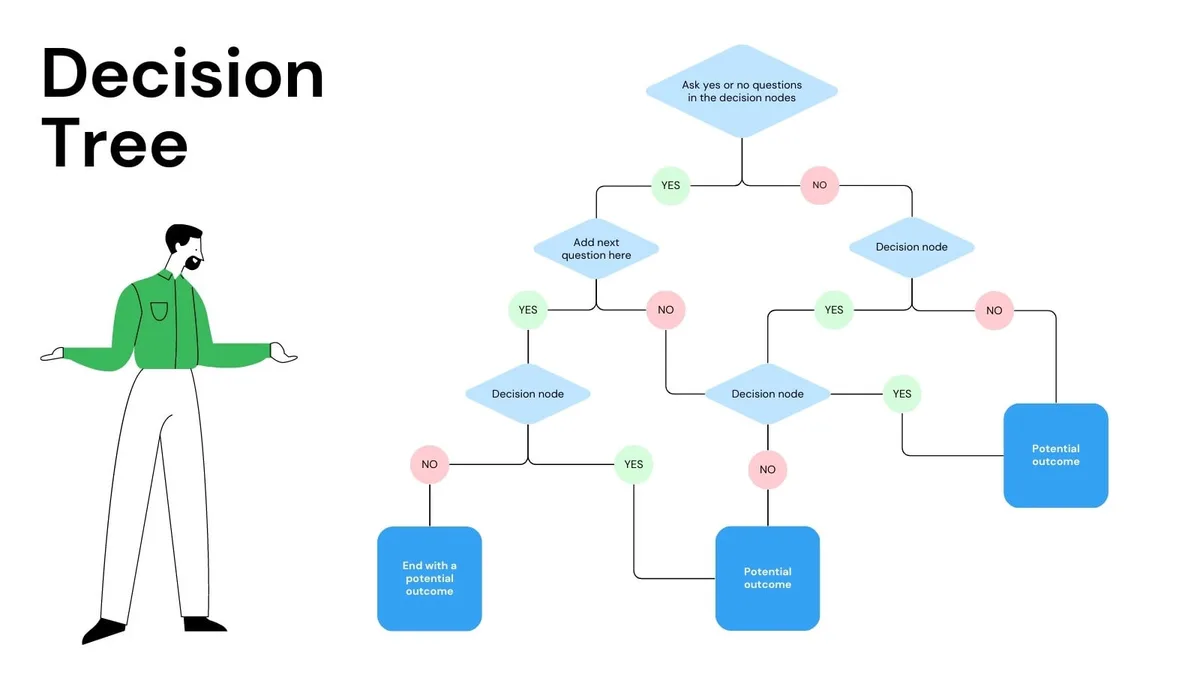
Image source: Web (Bing) / utpaqp.edu.pe (Web image (fair-use with source credit))
Think of this as a flowchart for your next shot. Answer each question and follow the path.
Is your subject moving?
- Yes → Can you open your aperture wider? If yes, do that first. If no, raise ISO to 800 or 1600.
- No → Move to the next question.
Are you shooting handheld or on a tripod?
- Handheld → Set a minimum shutter speed of 1/60th. If the light is too low, raise ISO.
- Tripod → Keep ISO at 100 or 200. Use a longer shutter speed instead.
Is the light consistent or changing?
- Consistent → Set ISO manually once and leave it.
- Changing → Use Auto ISO with a cap at 3200 and a minimum shutter speed of 1/125th.
This approach keeps you from guessing. It applies to almost any camera, whether you’re using a full-frame body built for low-light work or a crop-sensor model for street photography. The logic is the same.
The numbers shift slightly, but the decision tree holds.
The Three Mistakes That Get Beginners Every Time
Even experienced shooters slip up. Here are the most common errors and how to avoid them.
1. Ignoring the Histogram
A noisy image often looks fine on the rear screen. Check the histogram. If the graph is pushed hard left, your image is underexposed.
Raising ISO in post will make noise worse. Fix it in camera.
2. Auto ISO Without Limits
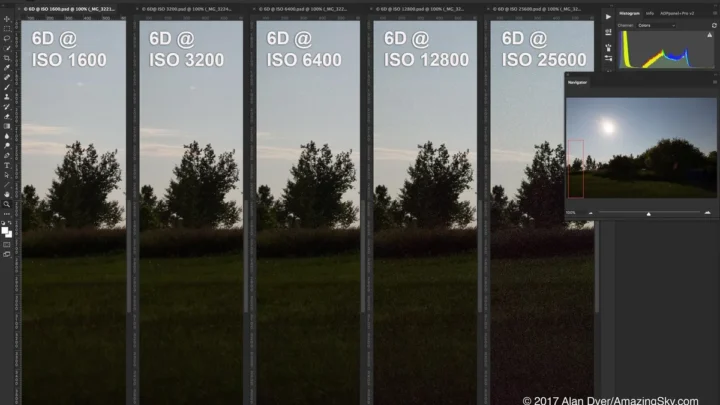
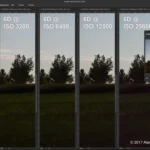
Auto ISO is a great tool, but only if you set a maximum value. Without a cap, your camera may push to 6400 or even 12800 in dim light. That delivers an image that looks like sand.
Set a ceiling at 3200 for most scenarios.
3. Cranking ISO Before Using a Wider Aperture
If your lens opens to f/1.8, use it. Many beginners jump to ISO 1600 with a kit lens at f/5.6. Open the aperture first.
ISO is the last lever, not the first. This is especially important for nighttime shooting where every stop of light matters.
Frequently Asked Questions
How high should I set my ISO before the image is ruined?
There’s no universal number. For a crop-sensor DSLR, noise becomes visible around 1600. For a full-frame body, 3200 is often acceptable.
Test your own camera. Take the same shot at every ISO and see where you personally find the noise distracting.
What’s the difference between ISO on a DSLR and a phone?
Phone cameras use tiny sensors that produce noise at much lower ISO values. A DSLR sensor is physically larger. It handles higher ISOs much better.
That’s why a DSLR at ISO 1600 can still look clean while a phone at the same sensitivity looks grainy.
Does Auto ISO work well for beginners?
Yes, with one condition. Set a maximum ISO limit in your camera’s menu. Most DSLRs let you cap Auto ISO at 3200 or 6400.
That prevents the camera from going too high in very dark scenes. It’s a safe way to learn without ruining shots.
Should I use the same ISO settings for video?
No. Video is more sensitive to noise because the sensor works differently. A good rule is to keep ISO at least one stop lower for video than you’d use for stills.
Test your camera’s video mode at different ISOs before an important shoot.
What is base ISO and why does it matter?
Base ISO is the lowest native sensitivity your sensor offers, usually 100 or 200. It produces the cleanest image with the most dynamic range. Whenever light allows, shoot at base ISO.
That’s the standard for landscape work and any scene where you want maximum detail.

Similar Posts