How to Use DSLR Camera for Portraits
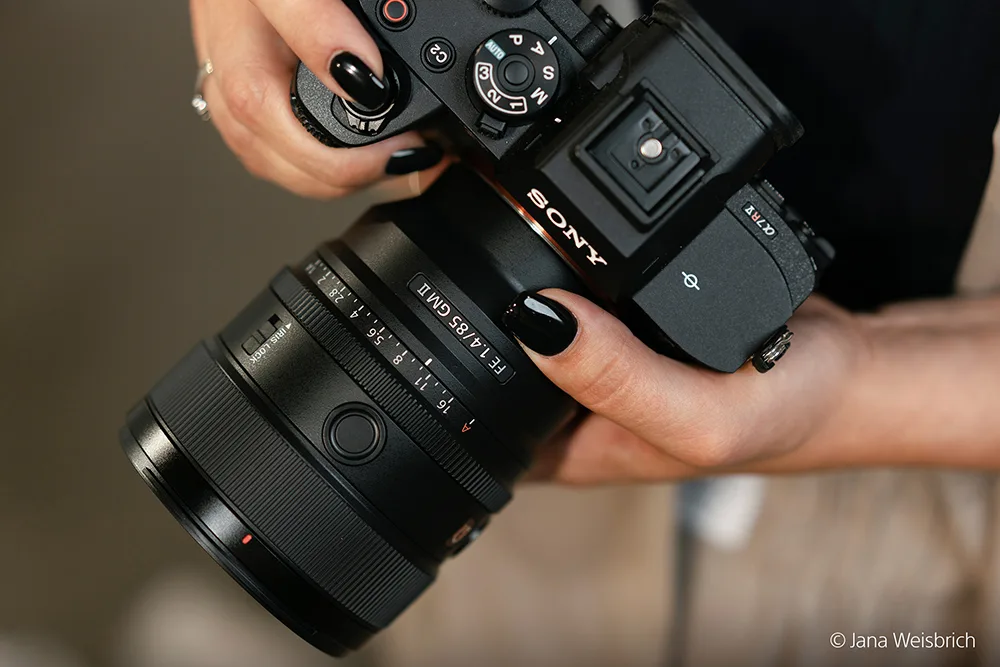
Getting a good portrait with a DSLR is not about having the most expensive gear. It is about knowing which settings to use and why. If you've ever asked how to use DSLR camera for portraits and ended up with soft focus or a boring background, this guide covers the essentials.
Manufacturer specifications show that a 50mm lens is the most common focal length recommended for head-and-shoulders work. As of 2026, entry-level DSLRs paired with a fast prime lens produce images that rival setups costing much more. Let's walk through what matters.
Image source: Bing (Web (fair-use with source credit))
Why Aperture and Lens Choice Matter More Than Anything
The biggest difference between a snapshot and a portrait is background separation. That soft, creamy look that makes the subject stand out is called bokeh. It comes from two things: aperture and focal length.
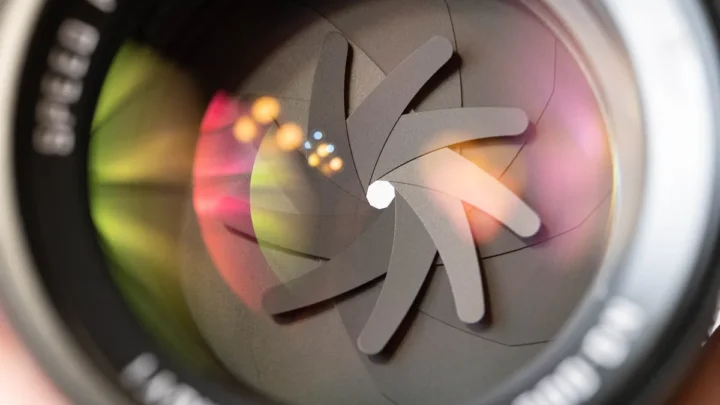
Short answer: set your aperture as wide as you can. An f/1.8 or f/2.8 lens lets in more light and creates a shallow depth of field. The eyes stay sharp, but the background melts away.
A kit lens at f/5.6 cannot produce that look. It is physically limited.
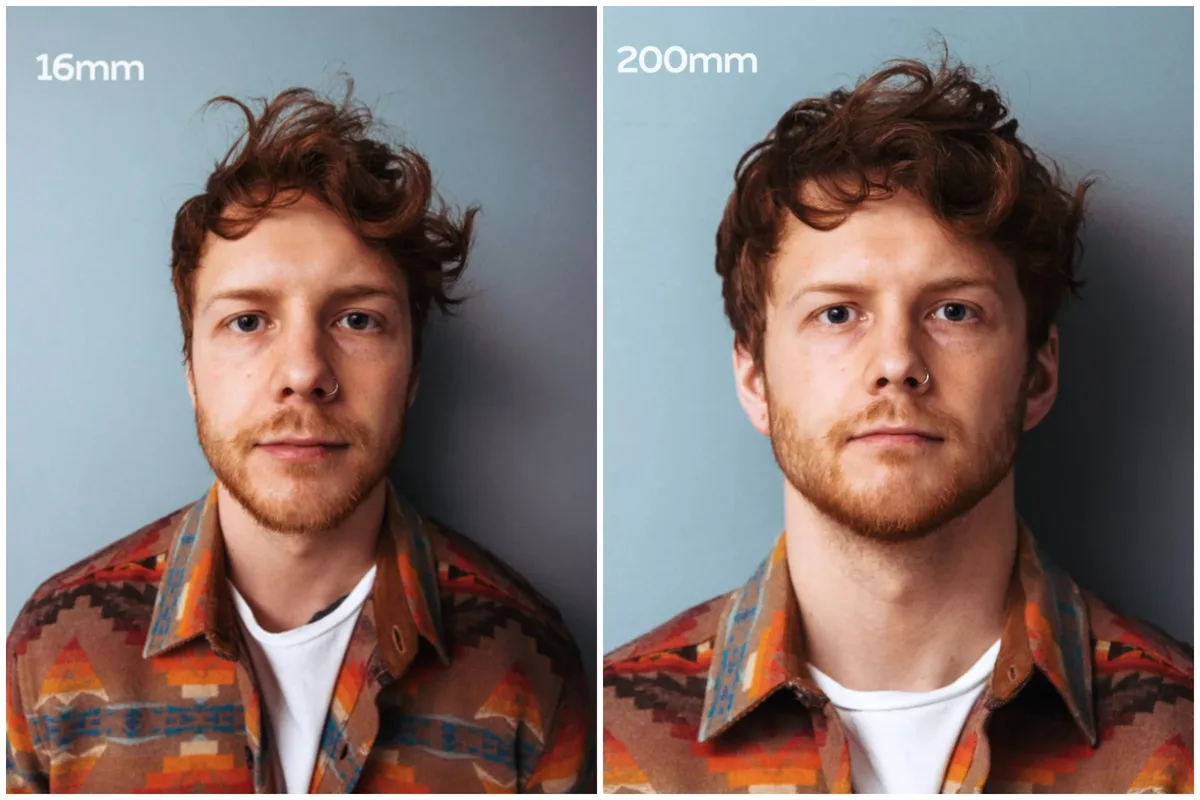
Image source: Web (Bing) / animalia-life.club (Web image (fair-use with source credit))
How Focal Length Changes the Look of a Face
Focal length changes how facial features appear. A 24mm lens makes noses look bigger and ears smaller. A 135mm lens compresses the face, making features look more natural and flattering.
Stick between 50mm and 85mm on a full-frame camera. On an APS-C crop sensor, a 35mm lens gives roughly the same field of view. That range keeps proportions natural and lets you stand far enough away to avoid making the subject feel crowded.
What That Aperture Number Actually Means for Background Blur
The lower the f-number, the more blur. f/1.4 gives extreme separation. f/4 gives some separation but keeps more of the background recognizable. For a single subject, f/1.8 or f/2.2 works beautifully. For two people standing close together, use f/2.8 or f/4 to keep both faces sharp.
Step-by-Step: Your Portrait Camera Setup
Here is a straightforward workflow that works in most situations. Start with Aperture Priority mode if you are nervous about full manual. It is a safe middle ground.
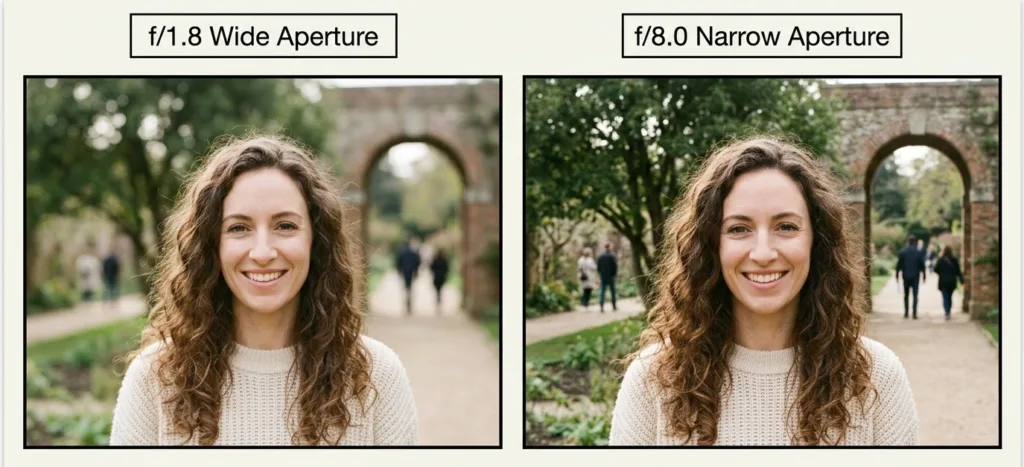
Image source: Bing (Web (fair-use with source credit))
The Ideal Settings for a Single Subject
Set aperture to f/1.8 or f/2.2. Choose a shutter speed of at least 1/125 second to avoid blur from hand shake. Keep ISO as low as possible, ideally 100 to 400.
If the image is too dark, raise ISO before slowing the shutter below 1/125. Use spot metering on the subject's face. Focus on the nearest eye using single-point autofocus.
Adjusting for Groups, Candid Shots, and Low Light
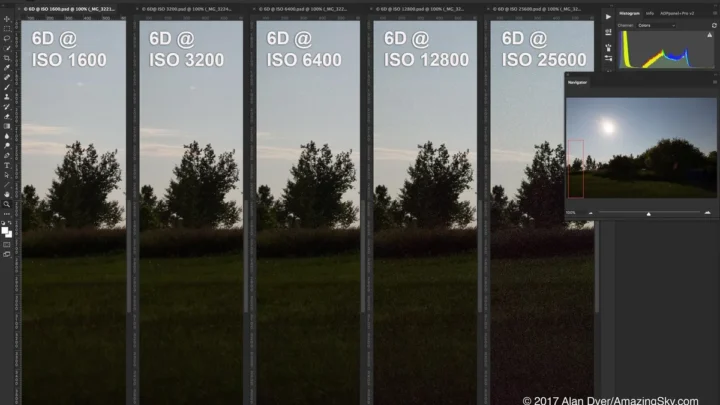
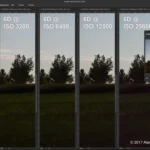
For two people, close the aperture to f/2.8 or f/4. For three or more, f/4 to f/5.6 keeps everyone sharp. In low light, raise ISO to 1600 or 3200 before opening the aperture wider.
For candid portraits, use continuous autofocus and a shutter speed of 1/250 second or faster. For a blurry background, prioritize a wide aperture over a fast shutter.
How to Nail Focus and Composition Every Time
Sharp eyes make or break a portrait. The viewer's eye goes straight to the eyes. If they are soft, the whole image feels off.
Where to Put the Autofocus Point
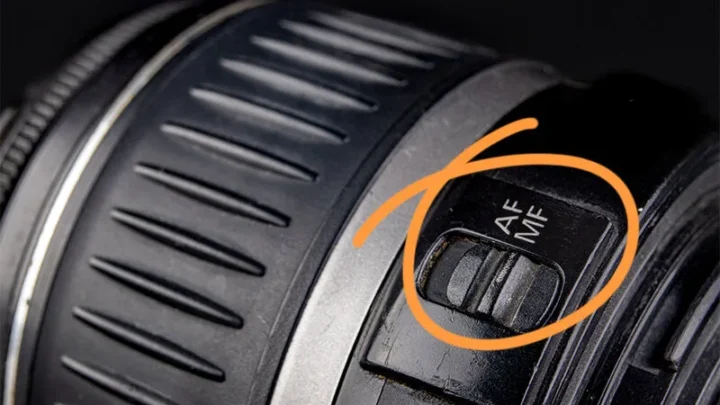
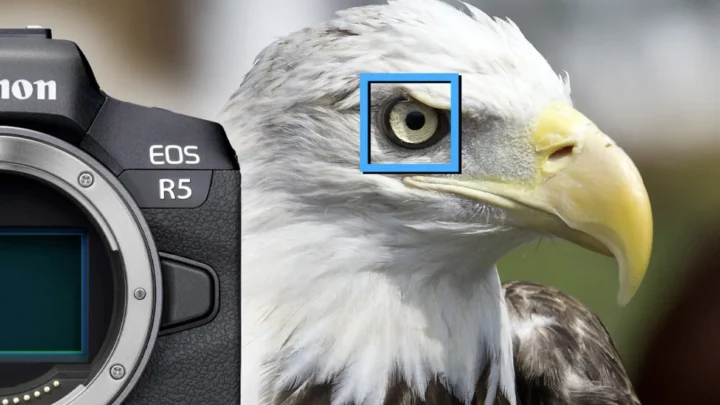
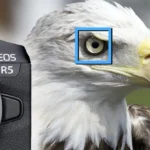
Use single-point AF and place the point directly on the subject's nearest eye. Do not use multi-point or automatic zone AF. The camera does not know which eye matters.
Lock focus by half-pressing the shutter, then recompose if needed. For off-center subjects, move the focus point instead of focusing and recomposing. That avoids focus shift.
Positioning Your Subject for the Best Background Separation
The closer the subject is to the camera and the farther they are from the background, the more blur you get. Even with a kit lens, putting someone 10 feet from a wall while you stand 6 feet away creates noticeable separation. Aim for at least 6 feet between the subject and the background.
Common Portrait Mistakes and How to Fix Them
Most portrait problems come from three things: light, focus, and background. Avoiding these common traps improves your results immediately.
Harsh Shadows and Blown-Out Skin
Direct sunlight creates harsh shadows under the eyes and nose. It also blows out highlights on the forehead and cheeks. Move the subject into open shade, like the shadow of a building or a large tree.
Overcast days are ideal for portraits because the cloud cover acts as a natural diffuser. Indoors, position the subject near a large window with indirect light.
Distracting Backgrounds and Missed Focus
A busy background pulls attention away from the face. Look for plain walls, foliage without bright patches, or solid colors. Missed focus happens when you rely on automatic AF.
Always use single-point AF and check the eyes on the LCD after each shot. Zoom in to confirm sharpness. It is better to reshoot on the spot than to fix it later.
Frequently Asked Questions
What is the best lens for portrait photography on a DSLR?
A 50mm f/1.8 is the most affordable and versatile option. It works on full-frame and APS-C cameras. For tighter headshots, an 85mm f/1.8 gives more compression and blur.
What aperture should I use for a single person portrait?
f/1.8 to f/2.2 is ideal for one subject. It creates strong background separation while keeping the face sharp. For two people, stop down to f/2.8 or f/4.
How do I get a blurry background with a kit lens?
Maximize the distance between the subject and the background. Stand as close to the subject as your lens allows. Use the widest aperture your kit lens offers, typically f/3.5 at the shortest focal length.
Should I focus on the eyes or the nose?
Always focus on the nearest eye. The nose is farther from the camera, so focusing there leaves the eyes soft. Use single-point AF placed directly on the eye.
What ISO should I use for portraits?
Set ISO to 100 or 200 in good light. Raise it to 400 or 800 in shade. For indoor portraits without flash, 1600 to 3200 is acceptable on modern DSLRs.
Higher ISO adds grain but is better than a blurry shot.
What is the best composition for a portrait?
The rule of thirds works well. Place the subject's eyes on the upper third line. Leave more space in the direction the subject is looking.
For headshots, crop just below the shoulders.

Similar Posts