How to Use Mirrorless Camera for Wildlife
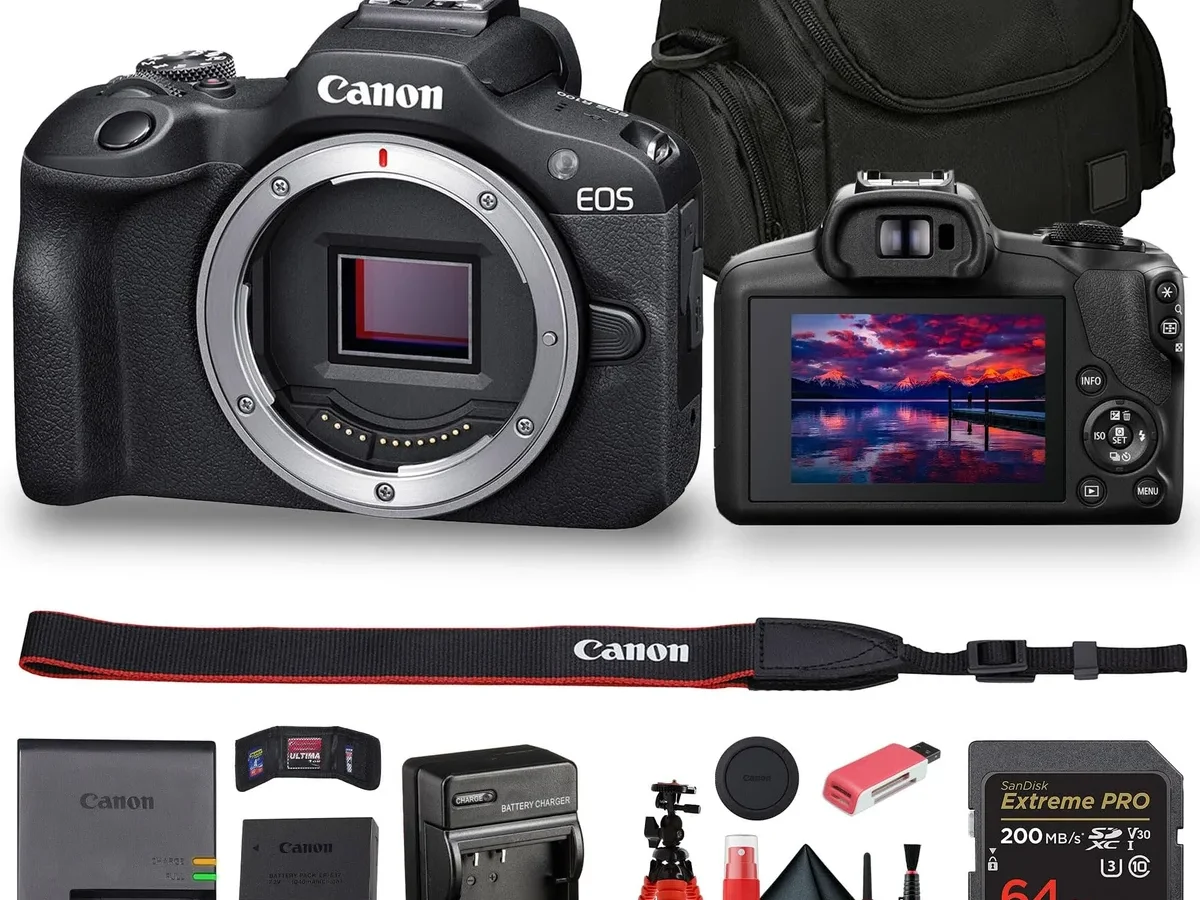
If you've just picked up a mirrorless camera and want to learn how to use mirrorless camera for wildlife photography, you're not alone. The switch from DSLR is exciting, but it comes with a real learning curve. Autofocus behaves differently.
The viewfinder is electronic. And the settings that worked before may not translate perfectly.
Manufacturer specifications indicate that modern mirrorless cameras with animal eye AF can lock focus on a moving subject in under 0.05 seconds. That's faster than most DSLR systems. But that speed only helps if you configure the camera correctly.
Let's get into what actually works in the field.
Quick Answer
Set your camera to AF-C continuous autofocus. Enable animal or bird eye AF. Use shutter priority at 1/1000s or faster.
Shoot in burst mode at 10 frames per second or higher. Keep ISO high enough for a fast shutter. Practice tracking moving subjects every day.
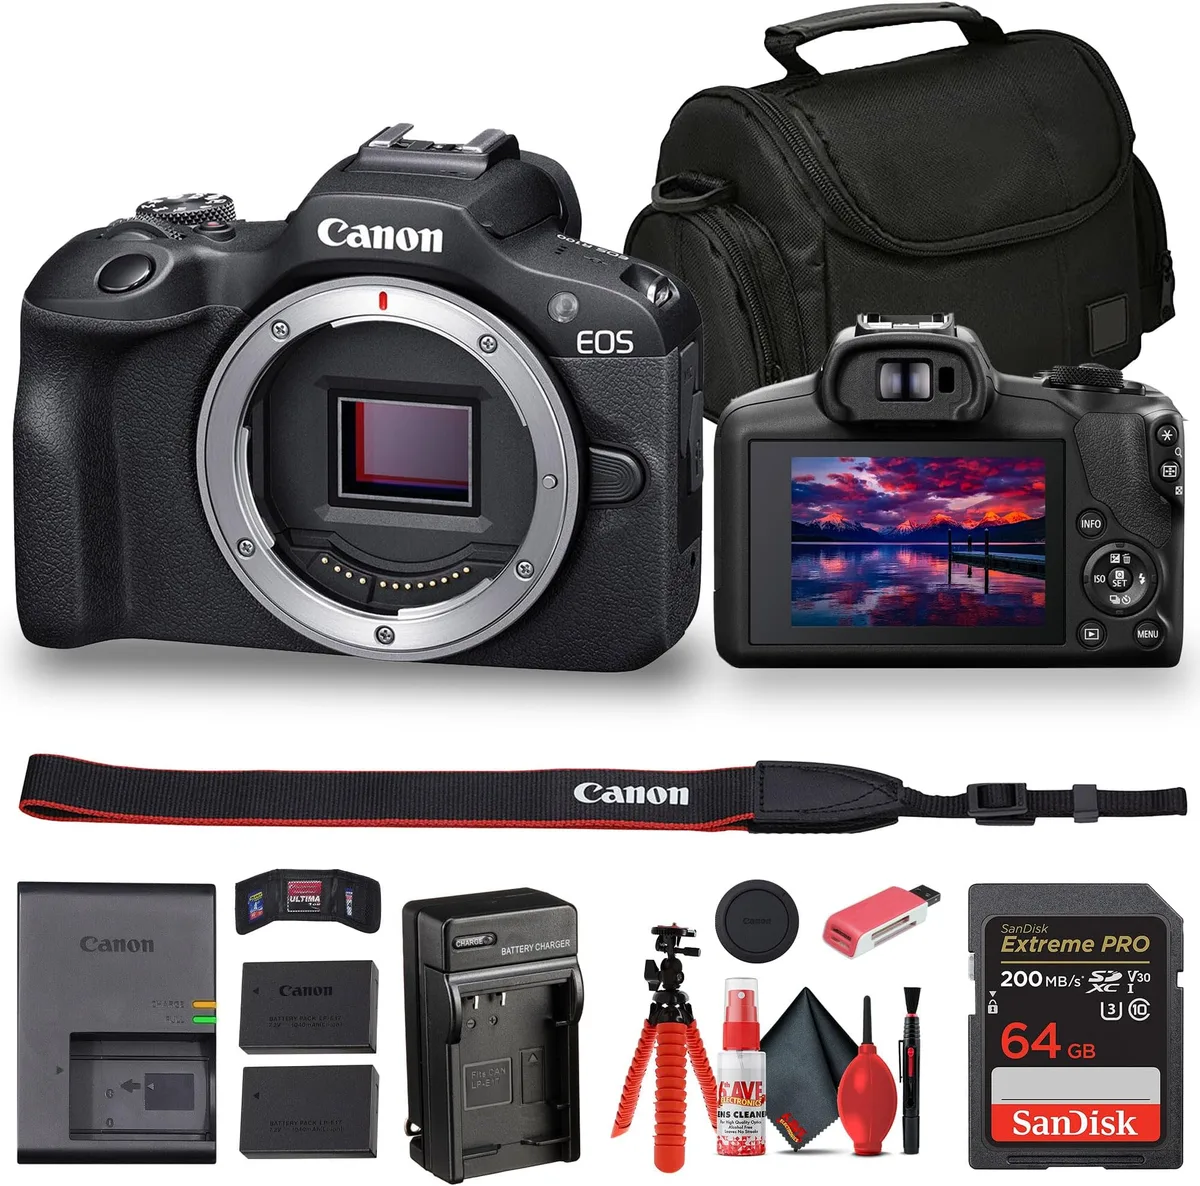
Image source: Web (Bing) / amazon.com (Web image (fair-use with source credit))
Why Mirrorless Cameras Shine for Wildlife (and What You Still Need to Know)
Mirrorless cameras have changed wildlife photography. The biggest advantage is the electronic viewfinder. You see the exact exposure before you press the shutter.
No more chimping and adjusting. The silent electronic shutter also means you won't spook a skittish deer or a perched owl.
Animal eye AF is another game changer. As of 2026, modern systems from Sony, Canon, and Nikon track the eye of a bird or mammal in real time. They don't lose focus when the animal turns its head.
This is the single most useful feature for wildlife shooters switching from DSLR.
But there are trade-offs. Battery life is shorter. You might get 300 to 600 shots per charge, compared to 800 to 1200 on a DSLR.
Carry at least two spares. The EVF can also lag in very cold weather, though newer models handle it better. And the burst buffer fills fast if you shoot RAW.
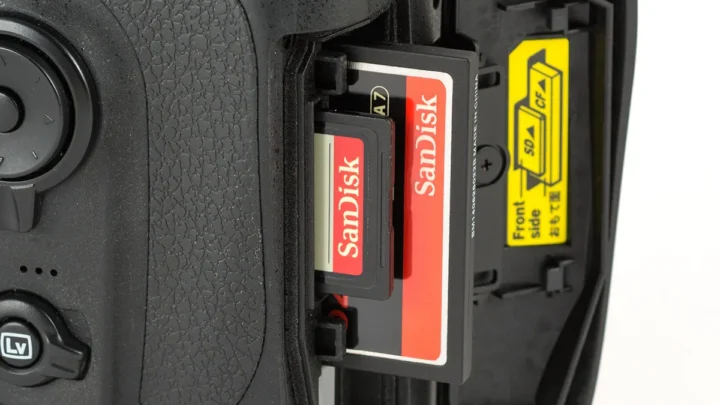
A fast memory card matters.
If you're curious about managing power in the field, our guide on improving battery life has practical tips that apply to mirrorless too.
Setting Up Autofocus: Animal Eye AF, Tracking, and Back-Button Focus
Start with the right autofocus mode. Set your camera to AF-C, which stands for continuous autofocus. This tells the camera to keep tracking the subject as it moves.
Never use AF-S for wildlife. It locks focus once and stays there.
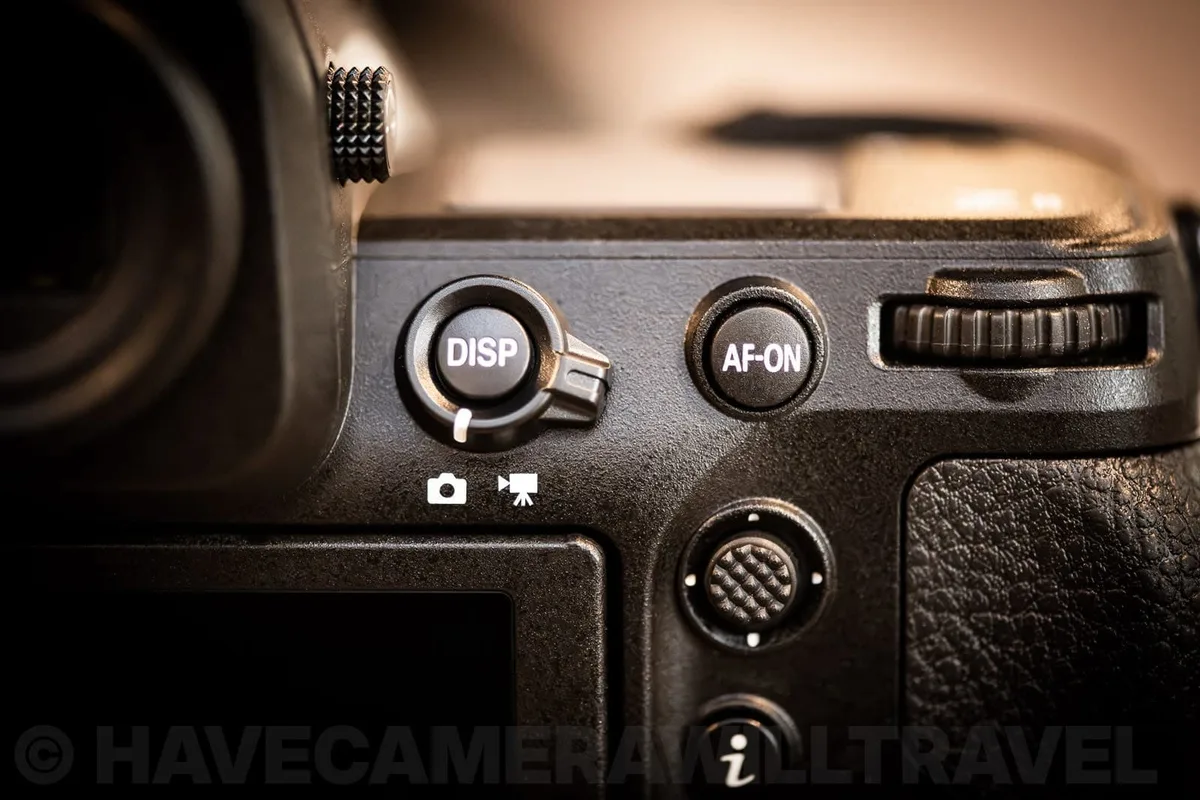
Image source: Bing (Web (fair-use with source credit))
Enable animal eye AF or bird eye AF if your camera has it. This feature detects the eye of the subject and locks focus there. It works even when the animal is partially hidden in grass or behind branches.
For birds in flight, the camera tracks the body first and then finds the eye as it gets closer.
Back-button focus is worth learning. Assign autofocus to a button on the back instead of the shutter button. This lets you focus and recompose without the camera refocusing when you press the shutter.
It takes a day to get used to. After that, you won't go back.
For the AF area mode, use a wide zone or tracking mode. Avoid single-point AF for moving subjects. The camera needs room to find and follow the target.
These principles apply whether you're photographing bison in Yellowstone or songbirds at your local park. You can find more on configuring your AF points in our focus point setup guide.
Shutter Speed, Burst Mode, and the Silent Shutter Advantage
Shutter speed is your priority for wildlife. A stationary bird needs at least 1/500s. A walking mammal needs 1/1000s.
A bird in flight needs 1/2000s or faster. Going slower risks motion blur, even with image stabilization.
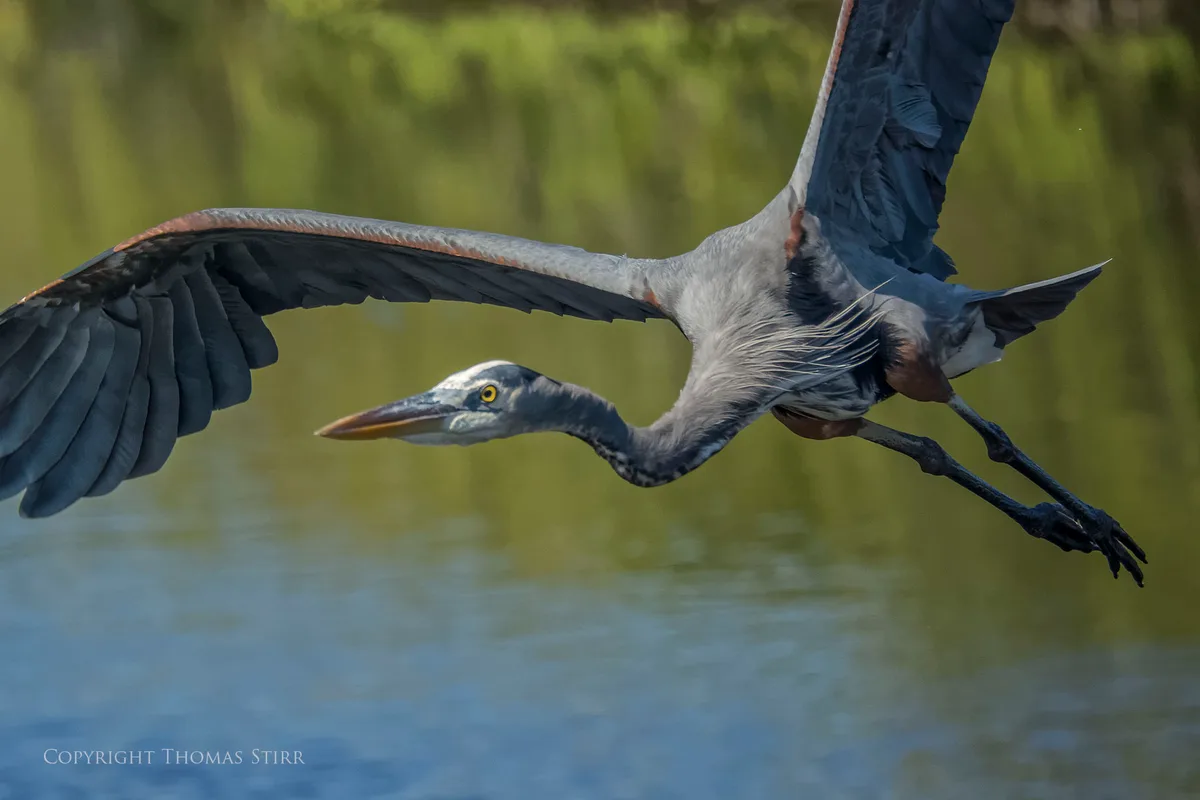
Image source: Bing (Web (fair-use with source credit))
Burst mode lets you capture the perfect moment. Set your camera to its highest continuous drive speed. Most mirrorless cameras shoot 10 to 30 frames per second.
That gives you multiple chances to get the wing position or the head angle right.
The silent electronic shutter is a huge advantage. It makes no noise at all. Animals that bolt at the sound of a DSLR mirror slap stay calm.
You can shoot a whole sequence without the subject knowing you're there. Just watch for rolling shutter distortion on fast-moving wings or propeller blades.
Use a fast memory card to keep the buffer from choking. A card with 250 MB/s write speed or higher lets you shoot longer bursts without pause. If you're new to using shutter priority mode, our guide on shutter priority explains the settings in more detail.
Exposure in Tricky Light: Aperture, ISO, Metering, and the Live Histogram
Wildlife rarely poses in perfect light. Dawn and dusk give the best colors but the worst light levels. You need to adjust your exposure quickly.
Start with aperture. Shoot wide open with your lens at its maximum aperture, like f/5.6 or f/6.3. This lets in the most light and blurs the background.
Your subject stays sharp, and the messy forest behind it turns soft.
ISO is your friend. Don't be afraid to push it to 3200 or 6400 on a modern full-frame camera. A noisy sharp photo is better than a blurry clean one.
APS-C cameras can handle 1600 to 3200 well. Micro Four Thirds tops out around 1600.
Use the live histogram in your EVF. It shows you if the highlights are blown or the shadows are crushed. Adjust exposure compensation on the fly.
Spot metering works well for backlit subjects like a bird against a bright sky. The EVF preview means you see the result before you shoot. For a deeper look at dialing in the right exposure, check out our manual mode guide.
Choosing the Right Lens and Support Gear for Your Style and Budget
Your lens matters more than your camera body. A 100-400mm zoom is the standard starting point for wildlife. It gives you reach without breaking your back.
For small birds or distant subjects, a 150-600mm or a 200-600mm adds more reach.
Prime lenses like a 400mm f/2.8 or 600mm f/4 offer the sharpest results. They also cost more and weigh more. Most hobbyists get better results from a zoom lens they carry everywhere than a prime they leave at home.
Support gear matters for long sessions. A monopod with a gimbal head lets you track moving subjects without fatigue. A tripod works for stationary subjects at dawn or dusk.
Handheld shooting is fine for active tracking, but your arms get tired after an hour.
Teleconverters are a budget-friendly way to add reach. A 1.4x converter turns a 100-400mm into a 140-560mm. You lose one stop of light.
A 2x converter costs two stops and more image quality. Stick with the 1.4x if you can. For wildlife photography with other camera types, our DSLR wildlife guide covers similar techniques that still apply here.
Common Mistakes That Ruin Wildlife Photos (and How to Fix Them)
Even with the right gear, small errors cost you sharp images. The most common mistake is using too slow a shutter speed. If your subject blurs, the camera is not the problem.
Push the shutter faster and raise the ISO to compensate.
Another frequent error is relying on the wrong autofocus mode. Using AF-S for moving subjects guarantees missed shots. Switch to AF-C and enable animal eye AF.
Our troubleshooting guide covers more fixes for common camera issues.
Bad composition also hurts wildlife photos. Placing the animal dead center every time gets boring. Use the rule of thirds.
Leave space in the direction the animal is looking or moving.
Forgetting to check your background is another issue. A branch across the bird's head or a bright patch of sky ruins the shot. Scan the frame before you press the shutter.
Move your position if needed.
Finally, not carrying enough battery power or memory cards is a classic mistake. Out in the field, a dead camera is useless. Pack two spare batteries and at least two high-speed memory cards.
Review our guide on preventing overheating if you shoot video or long bursts in hot weather.
Field Workflow: From Setup to Memory Card Management
A good workflow starts before you leave home. Charge all batteries. Format your memory cards in the camera.
Pack a lens cloth and a blower for dust. Check the weather and plan your light direction.
When you arrive at your spot, set up your camera before you see an animal. Dial in your shutter speed, aperture, and ISO. Enable AF-C and animal eye AF.
Set your burst mode to high. Adjust the EVF diopter to your eye. You should be ready to shoot in seconds, not minutes.
While shooting, review images periodically. Zoom in to check focus sharpness. Delete obvious misses to free up card space.
But do not delete in the middle of action. Wait for a lull.
At the end of the day, transfer your images to a computer or external drive. Format the cards in the camera, not on the computer. This prevents file system errors.
Our guide on backing up photos explains the full process.
Clean your lens and camera body after each outing. Remove the lens and blow out dust from the sensor. Store the gear in a dry place with silica gel packs.
For long-term storage, see our safe storage guide.
Frequently Asked Questions About Mirrorless Wildlife Photography
Why does my mirrorless camera miss focus on birds in flight?
The most common cause is using the wrong AF area mode. Switch to a wide zone or tracking mode instead of single point. Enable bird eye AF if your camera has it.
Make sure your firmware is up to date, as manufacturers improve AF algorithms regularly.
How many frames per second do I need for wildlife?
Ten frames per second is the practical minimum for action shots. Twenty to thirty FPS gives you more keepers, especially for birds taking off or mammals running. The key is having a fast enough memory card to handle the buffer.
Should I use electronic shutter or mechanical shutter for wildlife?
Use electronic shutter for silent shooting. It does not spook animals. But watch for rolling shutter distortion on fast-moving wings or propellers.
Mechanical shutter avoids that issue but makes noise. Test both and choose based on the situation.
What is the best focal length for wildlife photography?
A 100-400mm zoom is the most versatile starting point. For small birds or distant subjects, a 150-600mm or 200-600mm gives more reach. Prime lenses like 400mm f/2.8 or 600mm f/4 offer the sharpest results but cost more and weigh more.
How do I keep my mirrorless camera battery from dying in the cold?
Keep spare batteries in an inside pocket close to your body. Rotate them so one is always warm. Turn off the camera when not actively shooting.
Disable Wi-Fi and Bluetooth. A battery grip doubles your capacity and adds warmth.
Final Verdict: How to Get the Most Out of Your Gear
Mastering mirrorless wildlife photography comes down to practice and preparation. The camera body matters less than the lens and your technique. Focus on learning the autofocus system thoroughly.
It is the biggest advantage of mirrorless over DSLR.
Spend time in the field. Shoot every chance you get. Review your images honestly and adjust your settings.
Learn animal behavior. That knowledge is more valuable than any piece of gear.
Photographers who master back-button focus and animal eye AF consistently report higher keeper rates. Combine that with the silent shutter and fast burst speeds, and you have a system that outperforms DSLRs in most wildlife scenarios.
The principles covered here apply to any mirrorless system. Whether you shoot Sony, Canon, Nikon, or OM System, the workflow is the same. The National Park Service offers excellent guidelines on ethical wildlife photography.
Follow those rules. Respect the animals. The best images come from patience and good fieldcraft, not from the most expensive gear.

Similar Posts