TP-Link Tapo C120 Troubleshooting
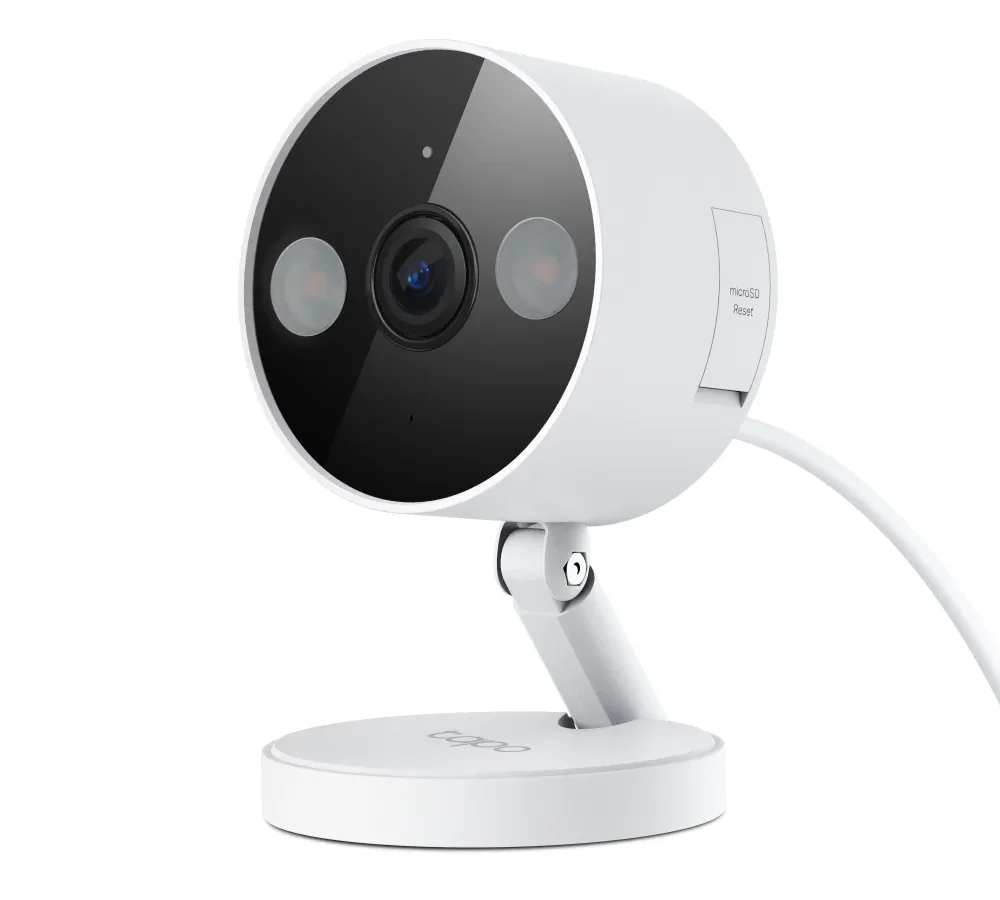
If your TP-Link Tapo C120 troubleshooting has become a daily chore, you are not alone. This outdoor security camera is reliable most of the time. But when something goes wrong, it tends to be confusing.
The good news is that nearly every issue follows a predictable pattern that you can fix yourself in a few minutes.
Manufacturer specifications indicate the C120 uses a 2.4 GHz Wi-Fi connection and an IP66 weather-resistant housing. That means most connection problems are simple network issues, not hardware failures. Let us walk through the most common symptoms and their fixes step by step.
Quick Answer
Most Tapo C120 issues trace back to the LED status. Match the light to the fix. Blinking red means no connection.
Solid green means it is working. If the LED is off, check power. These three clues solve 80 percent of problems.
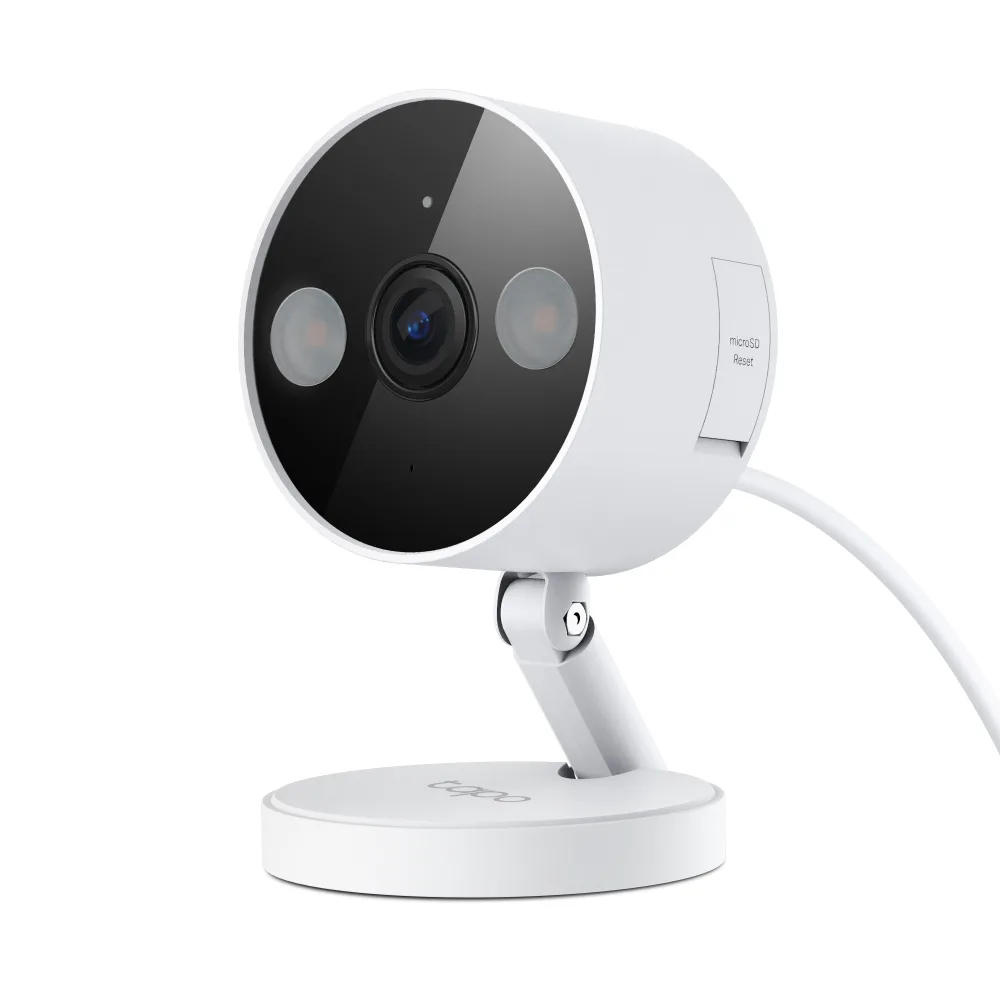
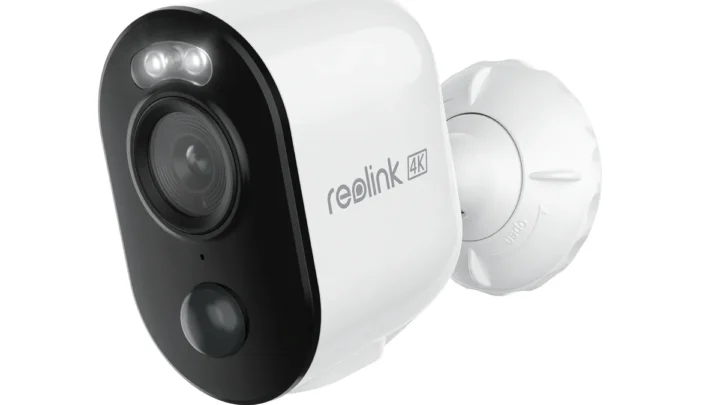
Image source: Web (Bing) / tp-link.com (Web image (fair-use with source credit))
Quick Guide: What the Tapo C120's LED Colors Really Mean
The status light on your camera is your best diagnostic tool. Learn to read it, and you will skip half the guesswork. Here is what each color and blink pattern tells you.
| LED Status | What It Means | What to Do |
|---|---|---|
| Solid green | Normal operation | Nothing |
| Slow blinking green | Starting up or updating firmware | Wait 2 to 3 minutes |
| Fast blinking green | Ready to pair with the app | Open the Tapo app to finish setup |
| Solid red | Hardware or power issue | Check the power cable and adapter |
| Slow blinking red | Connecting to Wi-Fi but struggling | Move the camera closer to the router |
| Fast blinking red | Factory reset complete | Re-add the camera in the app |
| LED off | No power or dead adapter | Try a different micro-USB cable and wall plug |
A solid red light often makes people think the camera is broken. Usually it just means the power adapter is loose or underpowered. The C120 needs a 5V/1A adapter.
A weaker phone charger can trigger that solid red light even if the cable appears fine.
A slow blinking red light means the camera cannot reach your Wi-Fi. Aggregate reviews report that users with routers on the other side of a brick wall or metal garage door see this pattern most often.
Camera Won't Connect or Keeps Going Offline? Walk Through the Fixes

Image source: Web (Bing) / blinkinglab.com (Web image (fair-use with source credit))
If the camera is blinking red slowly: It cannot reach your Wi-Fi network. Move the camera within 15 to 20 feet of the router during setup. Once it connects, you can move it back to its final location.
But only if the signal stays strong. The C120 only works on 2.4 GHz networks, not 5 GHz. Check your router settings to make sure both bands are separated and the 2.4 GHz one has a distinct name.
Similar app connectivity issues can happen with other smart cameras and usually trace back to band confusion.
If the camera shows solid green but the app says offline: Your Wi-Fi is fine, but the camera lost its link to the Tapo cloud or your local network. Force-close the Tapo app and reopen it. If that does not work, unplug the camera for 30 seconds and plug it back in.
This simple reboot resolves most offline errors without any reconfiguration.
If the QR code will not scan during setup: The camera lens might have a protective film or fingerprints. Wipe the lens with a soft cloth. Hold your phone 6 to 8 inches away.
Avoid direct overhead lights that create glare. If the QR code on the camera base is scratched, use the manual setup option in the app instead.
These connection issues can feel like hardware failures. But the same troubleshooting logic applies to wireless devices in general. Check the network first, then the power, then the device itself.
Video, Night Vision, or Audio Acting Up? Here is How to Diagnose
If night vision will not switch on: The camera uses an IR cut filter to toggle between day and night mode. Sometimes that filter gets stuck. Go into the Tapo app, open Device Settings, and toggle Night Vision Mode from Auto to On.
If it works in forced On mode but not Auto, there might be ambient light hitting the sensor. Make sure no porch light or streetlamp shines directly at the camera lens. Lens or sensor obstructions cause similar issues on other cameras.
If the video feed is blurry or pixelated: The live stream at 2K resolution needs a solid Wi-Fi signal. Aggregate reviews show that streams often degrade when the signal strength drops below two bars. You can lower the video quality in the app settings to smooth out the feed.
Or move your router or install a Wi-Fi extender to boost coverage.
If two-way audio is one-way or silent: The camera's built-in microphone is tiny and sits near the bottom of the housing. Check that the small hole is not blocked by dirt or spider webs. Also open the app and confirm that microphone permissions are enabled for the Tapo app in your phone's system settings.
If the person on the other end cannot hear you, tap the mute icon in the live-view screen to make sure it is not toggled on by mistake.
If video stops recording intermittently: This is often a memory card issue, not a camera issue. We cover that in the storage section below.
Motion Detection Alerts Driving You Nuts? Tame the False Alerts
The C120 uses a PIR motion sensor. It detects heat changes from moving objects. That works great for people and animals.
But it also triggers on cars, swaying tree branches, and rapid temperature shifts from sunlight. Recording and notification issues often come down to how you configure these settings.
Step one, lower the sensitivity. Open the Tapo app, go to the camera's settings, and find Motion Detection. Slide the sensitivity bar down to Medium or Low. This cuts out most environmental triggers.
Step two, use Activity Zones. This is the most effective feature for stopping false alerts. Draw a rectangle in the app that covers only the area you want monitored. A front door camera should have a zone that covers the door and walkway but excludes the street.
The camera ignores motion outside that zone.
Step three, adjust the detection interval. The default setting triggers an alert for every motion event. Change the interval to 30 or 60 seconds. That way a car driving by only triggers one alert, not ten.
Step four, turn off unnecessary alerts. In the app you can disable push notifications for specific motion types if your region supports it. If you are using a memory card instead of cloud recording, you can also turn off push alerts entirely and only review clips later.
Storage Problems? MicroSD Card Not Detected or Recording Issues
If the app says "No SD card" but you inserted one: The C120 supports microSD cards up to 256 GB. But they must be formatted as FAT32. Cards that come pre-formatted as exFAT or NTFS will not be recognized.
Insert the card into your computer. Back up any files. Then format it to FAT32 using a free utility like Rufus or the built-in Windows disk management tool.
After formatting, reinsert the card and format it again inside the Tapo app for best results. Memory card compatibility can trip up any camera, and checking the format type is always the first step.
If the card is detected but no recordings save: Check the recording schedule in the app. Continuous recording requires the card to be set to "Record All the Time." If you are using event-based recording, make sure motion detection is enabled and sensitivity is high enough to catch movement. A common oversight is setting the schedule to "Off" during certain hours by accident.
If recordings are corrupted or will not play: Pull the card and plug it into a computer. If the card shows errors, it may be failing. The C120 writes video continuously in a loop.
This can wear out low-end cards within a year. Stick with high-endurance cards rated for dash cameras or surveillance use. They handle constant rewriting much better than standard cards.
Formatting a card correctly from the start prevents most of these headaches.
If the camera will not format the card in the app: The card might be locked. Check the side of the adapter for a tiny plastic switch. If it is slid to "Lock," the camera cannot write to it.
Also some older 32 GB cards are formatted as FAT32 by default but have compatibility quirks with newer cameras. A quick format on a PC usually clears that up.
The Last Resort: Factory Reset and Re-Setup
If nothing else has worked, a factory reset usually clears even stubborn problems. This wipes all settings, saved Wi-Fi networks, and activity zones. You start from scratch like a brand new camera.
When to do it: Only after you have tried the LED-based fixes, the app reboot, and the power cycle. A reset should be the last step, not the first. If the camera is still on the same network and you just want to reconnect, try a soft reboot first by unplugging the power for 30 seconds.
How to factory reset the Tapo C120:
- Locate the reset pinhole on the bottom of the camera.
- Insert a paperclip or SIM eject tool and press firmly.
- Hold for about 5 seconds until the LED flashes red rapidly.
- Release. The camera will restart automatically.
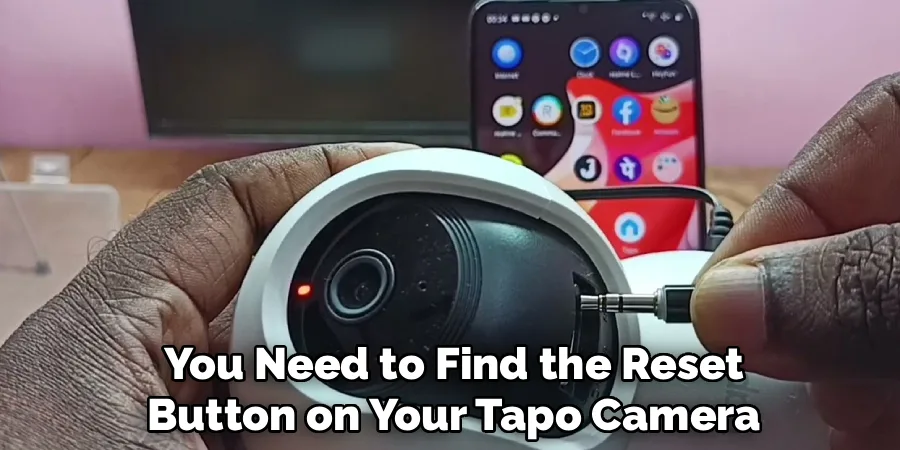
Image source: Bing (Web (fair-use with source credit))
The fast blinking red light confirms the reset worked. The camera then enters pairing mode, shown by a slow blinking green light. If you see a solid red light instead, the reset did not register.
Try again and hold the button a bit longer.
After resetting, open the Tapo app. Tap the plus icon to add a new device. The app will guide you through scanning the QR code on the camera base.
Make sure your phone is on the same 2.4 GHz network during this process.
One common mistake is resetting the camera but not forgetting it in the app first. This can cause the app to show two copies of the same camera. To avoid that, go to Device Settings, scroll to the bottom, and tap "Remove Device" before starting the reset.
If the camera still will not connect after a full reset, try a different USB power adapter. The official TP-Link support site recommends using the supplied 5V/1A adapter. Third-party adapters may provide unstable power that keeps the camera in a boot loop.
Firmware-related glitches can also cause persistent connection failures after a reset.
Still Stuck? Frequently Asked Questions
Why is my Tapo C120 blinking red slowly?
A slow blinking red light means the camera cannot connect to your Wi-Fi network. Check that your router is broadcasting a 2.4 GHz signal and that the password is correct. Move the camera closer to the router during setup.
If the light persists after moving it, reboot your router and try again.
How do I factory reset the Tapo C120?
Press and hold the reset button on the bottom of the camera for about 5 seconds. The LED will flash red rapidly, then green slowly. This clears all saved settings.
After the reset, you need to re-add the camera in the Tapo app using the QR code on the base.
Tapo C120 not recording to the microSD card?
The card must be formatted as FAT32. Cards over 32 GB often come formatted as exFAT, which the C120 does not support. Format the card in a computer or use the app's format option.
Also check that the card is not locked and that recording is enabled in the app's schedule settings.
Why does my Tapo C120 keep going offline?
This usually points to a weak Wi-Fi signal or an unstable power source. Try moving the camera closer to the router or using a Wi-Fi extender. If the camera is far from the router, consider lowering the video quality in the app to reduce bandwidth needs.
The process of troubleshooting wireless disconnects follows the same logic as other smart devices.
How do I update the firmware on the Tapo C120?
Open the Tapo app and go to Device Settings. Tap Firmware Update. If an update is available, tap Update.
The camera will restart during the update and the LED will blink green slowly. Do not unplug the camera during this process. A failed update can leave the camera in a non-functional state.
Updating device firmware is always safest when the device has a stable power source and strong Wi-Fi signal.

Similar Posts