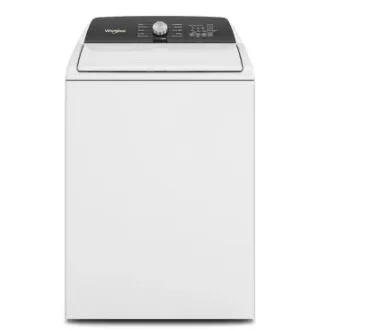
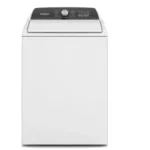
Kenmore Washer Troubleshooting
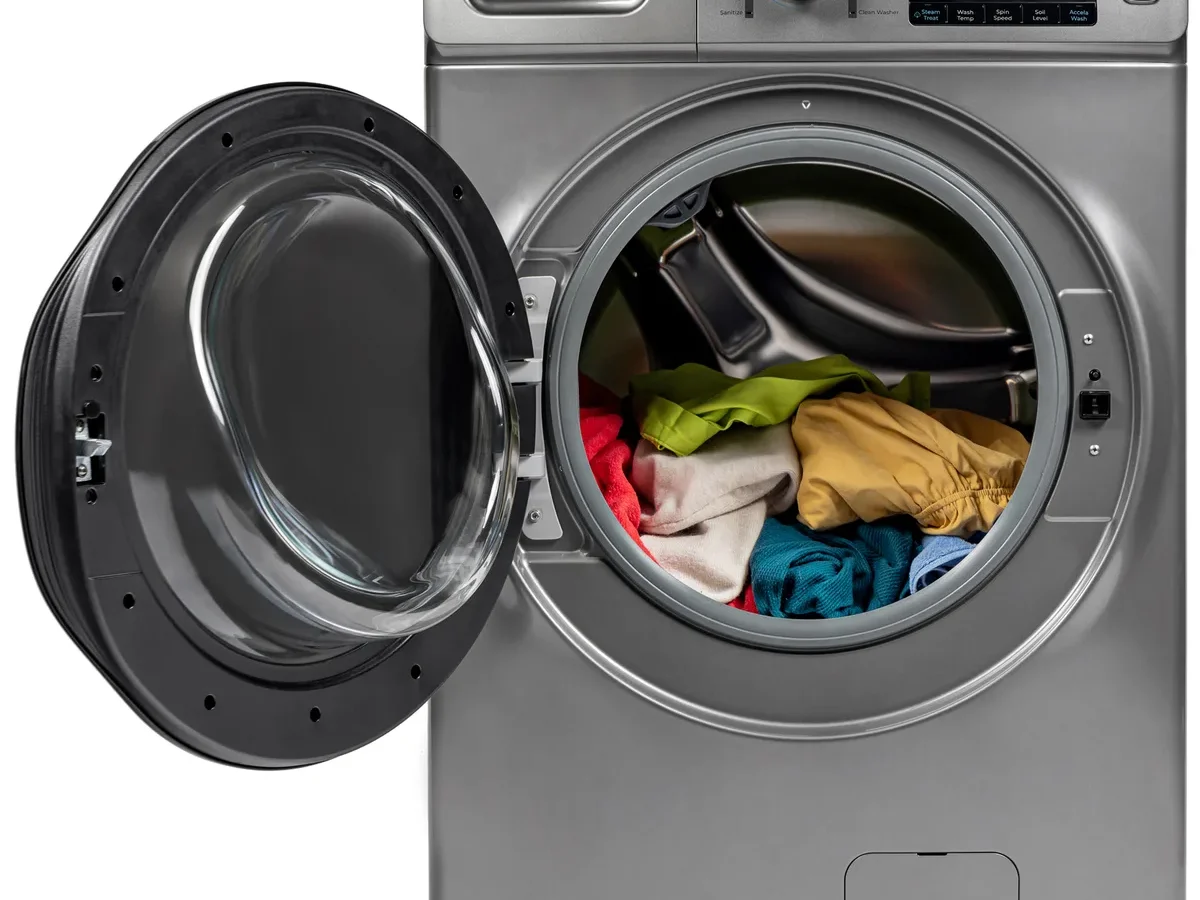
Your Kenmore washer just stopped mid-cycle, and you're staring at a tub full of soapy water wondering what went wrong. Frustrating, right? It always happens on laundry day.
The good news? Most Kenmore washer troubleshooting comes down to a handful of common issues you can fix yourself in under an hour.
Roughly 80% of Kenmore service calls involve power delivery problems, drainage issues, or the lid lock mechanism. Many of these failures trace back to simple clogs or worn components, not major mechanical breakdowns. With a few basic tools and a systematic approach, you can skip the repair bill entirely.
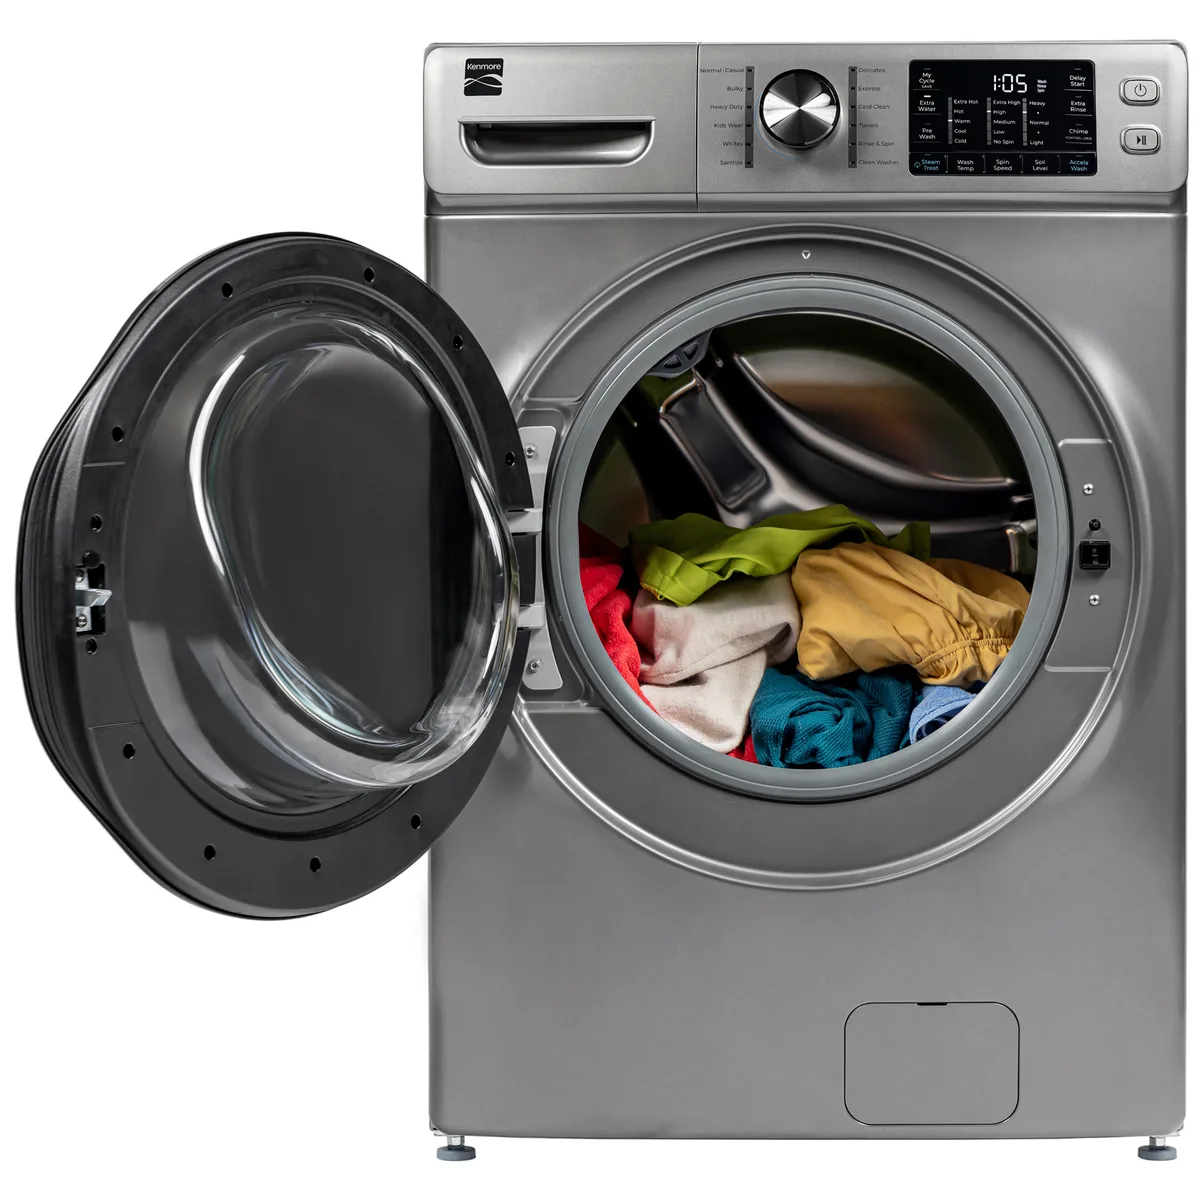
Image source: Bing (Web (fair-use with source credit))
Quick Answer
Kenmore washer troubleshooting follows a simple symptom-to-cause path. Identify the exact behavior: won't start, won't drain, won't spin, or leaking. Then check the most common culprits in order, from simplest to most complex.
A clogged drain pump filter or a faulty lid switch causes most issues.
Always unplug the washer before inspecting any internal component. Check the power cord, outlet, and circuit breaker first. Consult your owner's manual for error code definitions.
If the fix requires replacing a major part, weigh the cost against the washer's age.
Before You Start: Safety and Basic Prep
Before you touch anything, let's talk safety. A washing machine plugs into a 120-volt outlet and holds water, so you're dealing with two hazards: electricity and potential flooding. Unplugging the machine is step one, not an optional suggestion.
Also, the machine is heavy and awkward to tilt. If you need to access the drain pump or hoses on a front-load model, you'll likely be working on the floor. Grab a towel, a small bucket, and a flashlight before you start.
It saves you from making multiple trips mid-repair.
Here's what you'll need for most troubleshooting sessions:
| Tool | Purpose |
|---|---|
| Flathead screwdriver | Remove access panels and clamps |
| Phillips screwdriver | Remove screws on kick plates |
| Pliers | Loosen hose clamps and pull debris |
| Bucket or shallow pan | Catch water when opening the drain pump |
| Multimeter | Test lid switch, door lock, and thermal fuse |
| Towels | Soak up spills and protect the floor |
One more thing: check your warranty before you crack open the machine. If your Kenmore is less than a year old, DIY repairs could void the coverage. If it's older, you're in the clear.
Find the model number on the sticker near the door or behind the kick plate. You'll need it to look up the right manual.
Washer Won't Start: Power, Lock, and Control Issues
A washer that won't start is the most common complaint. The machine sits there, silent, and you press every button hoping something responds. Let's work through this logically, from simple fixes to more involved ones.
First, check the obvious. Is the machine plugged in? Is the outlet live? If your washer shares a circuit with other appliances, a tripped breaker is a real possibility.
Reset the breaker and try again. Also, check whether the power cord is damaged or loose at the back.
Next, examine the door or lid switch. This is the culprit more often than you'd think. On top-load Kenmore washers, the lid switch is a small plastic tab near the opening. If it's broken, the machine thinks the lid is open.
You'll hear the motor hum but nothing spins. On front-load models, it's the door lock assembly. If you don't hear the distinctive "click" of the lock engaging when you press start, that's your issue.
Test the thermal fuse. This small, white component sits near the blower wheel or motor. When it blows, the washer won't start at all. It's a $5 part.
Use a multimeter set to continuity mode. If you get no reading, the fuse is blown.
Finally, check the control board. Look for visible damage like burned spots or bulging capacitors. If the board looks fine, the issue might be a stuck start button. Spray electrical contact cleaner into the switch and press it several times to clear oxidation.
This works more often than you'd expect.
Washer Won't Drain or Spin: Pump, Hose, and Lid Switch Path
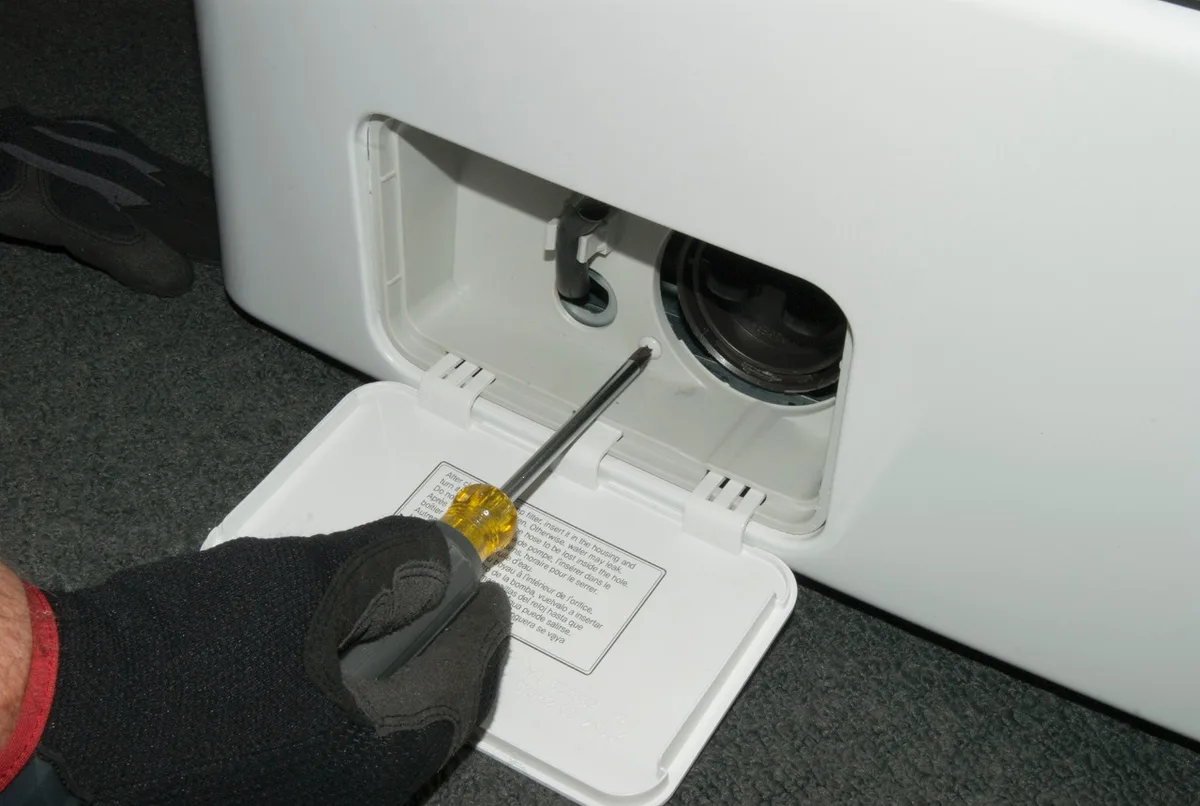
Image source: Bing (Web (fair-use with source credit))
When your washer fills with water but never drains, the cycle stalls. You're stuck with a tub of dirty water and a pile of wet clothes. This is the second most common failure point.
In most cases, it's a clog.
Start with the drain pump filter. On front-load Kenmore models, this sits behind a small access panel at the bottom front corner. Open the panel, place your bucket underneath, and slowly twist the filter cap counterclockwise. Water will spill out, so go slow.
Look for coins, hairpins, buttons, lint, or other trapped debris. Clean the filter thoroughly, rinse it under the tap, and screw it back in.
If the filter is clean, check the drain hose. Disconnect it from the back of the washer and check for kinks or clogs. A common issue is a sagging hose that dips down and allows water to pool, which prevents proper draining. The hose should form a smooth arc from the washer to the standpipe or sink.
Also, check the standpipe itself. If it's clogged, the water has nowhere to go.
The drain pump itself could be the problem. If the pump is humming but not moving water, it might be seized. You can test it with a multimeter for continuity. If the pump is jammed, you'll usually find the cause when you inspect the impeller.
A broken or loose drive belt on some models can also stop the pump from spinning.
Don't forget the lid switch. On top-load models, the washer won't spin unless the lid switch confirms the lid is closed. If the switch is faulty, the washer will fill and drain but never enter the spin cycle. Test it with a multimeter.
If there's no continuity when the lid is pressed, replace it.
Washer Leaking: Finding the Source
Water on the floor is never a good sign, but it gives you a clue. Where the water collects tells you which component is failing. Let's chase the leak down.
Check the door seal on front-load models. This big rubber gasket between the door and the drum is a common failure point. Over time, it develops cracks or collects debris that breaks the seal. Coins and small items get trapped in the folds, which damages the gasket.
Inspect it visually, running your hand along the entire circumference. You'll feel a tear or a lump immediately.
Look at the inlet hoses. These are the hot and cold water hoses connected to the back of the washer. A loose connection can allow a slow drip that turns into a puddle. Tighten the connections with pliers, but don't overdo it.
Also, inspect the hoses for cracks, bulges, or worn rubber. Washing machine hoses have a lifespan of about 5 years. If yours are old, replace them with steel-braided versions for peace of mind.
Check the drain hose where it connects to the pump. This is a common leak point, especially if the clamp has loosened or the hose has shifted. You'll see water pooling near the back bottom of the machine. Pull the hose off, clean the connection point, and reattach it with a fresh clamp.
Finally, if the leak is under the tub itself, you might have a tub seal failure or a cracked tub. This is a serious repair. The labor alone often costs more than a new washer, especially on older machines.
If you've ruled out the door seal, inlet hoses, and pump connections, and the leak persists, get a second opinion from a repair technician before you invest in expensive parts.
Kenmore Error Codes Decoded

Image source: Bing (Web (fair-use with source credit))
Modern Kenmore washers communicate through error codes. These are flashing lights or digital displays that tell you exactly what's wrong, provided you know what they mean. Here's a breakdown of the most common codes you'll encounter:
| Code | Meaning | Likely Fix |
|---|---|---|
| F01 | Control board communication error | Reset the washer, or replace the control board |
| F02 | Drain pump failure or clog | Clean the drain pump filter, test the pump motor |
| F03 | Temperature sensor error | Unplug for 5 minutes, check wiring connections |
| F04 | Water inlet valve failure | Check water supply, test the inlet valve solenoid |
| F05 | Water level sensor error | Unplug and reset, check the pressure hose |
| F07 | Motor control failure | Check drive belt, test the motor windings |
| F08 | Heater failure (on steam models) | Test the heating element with a multimeter |
| F09 | Drain pump sensor error | Inspect the pump and its wiring harness |
| dE | Door error | Close the door firmly, check the door lock assembly |
Before you buy any parts, try the universal fix: unplug the washer for five minutes. This resets the control board and clears transient error codes. It's surprising how many error codes vanish with a simple power cycle.
If the code persists, look up your specific model's manual online or on the manufacturer's website. The exact definition can vary slightly between model lines, and the manual will give you the precise diagnostic sequence for your unit.
If you're seeing F01 or F07 codes, that typically points to an electronics failure rather than a simple clog. These aren't beginner repairs. A burned control board or a failed motor winding requires specific diagnostic equipment and experience to replace safely.
At that point, a professional assessment is worth the cost.
When to Call a Pro vs. DIY
| Situation | DIY or Pro? | Why |
|---|---|---|
| Clogged drain pump filter | DIY | 15-minute job, no special tools |
| Faulty lid switch | DIY | $20 part, basic screwdriver work |
| Leaking door seal | DIY | Part is affordable, install is manageable |
| Burned control board | Pro | Requires soldering and reprogramming |
| Cracked tub | Pro | Labor-intensive, often not worth fixing |
| Motor failure | Pro | Needs specialized testing equipment |
Here's a simple rule: if the part costs over $150 and the washer is more than 7 years old, a new machine might be the smarter financial move. A repair technician will charge $75 to $150 just to diagnose the problem, plus parts and labor. When you stack that against the cost of a replacement, the math gets real clear, real fast.
Final Thoughts
Kenmore washers are workhorses, but they're not invincible. The good news is that most issues are straightforward to diagnose and fix. Start with the basics: power, water supply, and the drain pump filter.
Work your way through the likely culprits in order. Keep your multimeter handy, and always unplug before you dig in.
If you hit a wall or see a code you can't clear, don't panic. A professional assessment is a reasonable next step, and now you'll have a solid understanding of what's likely wrong before you pay for a service call. That alone saves you money and gives you peace of mind.
Your washer is probably trying to tell you something. Listen to it, fix the small stuff, and you'll keep it running for years to come.

Similar Posts