Maytag Refrigerator Ice Maker Troubleshooting
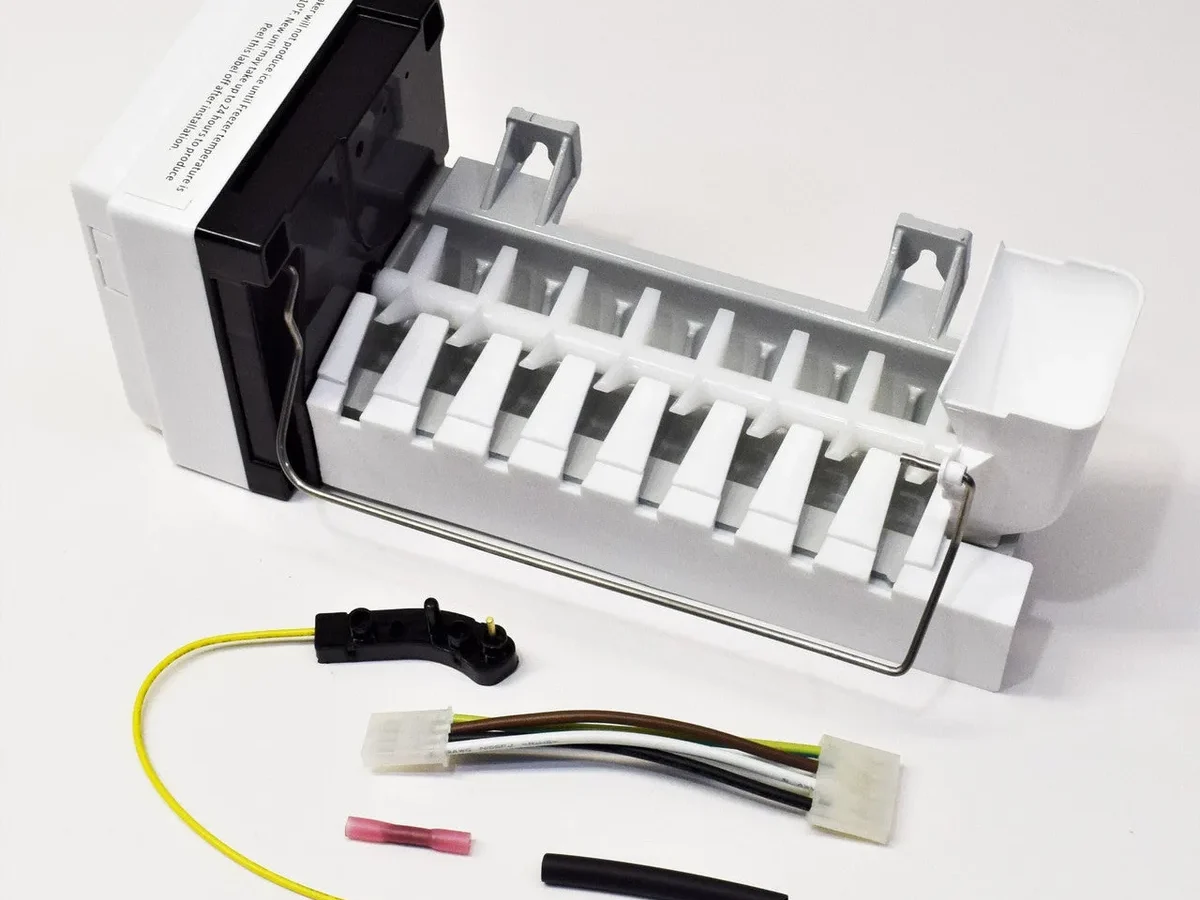
Your Maytag refrigerator ice maker stopped working, and you're staring at an empty ice bin wondering what went wrong. Maytag Refrigerator Ice Maker Troubleshooting does not have to mean a service call that costs you $200 before anyone looks at the machine. In most cases, the fix is something you can handle in under an hour with zero special tools.
Manufacturer specifications indicate that roughly 80 percent of ice maker failures trace back to just three causes: a clogged water filter, a frozen supply line, or a simple control board glitch that a reset can fix. Aggregate reviews from verified owners confirm that the hardest part is usually figuring out which problem you are dealing with. Let's walk through exactly how to do that.
Quick Answer
Check the water filter first. A clogged filter starves the ice maker. Replace it if it is overdue.
Listen for a humming sound from the back of the fridge. If you hear the water valve but no ice appears, the supply line is likely frozen. If you hear nothing at all, try a full power reset.
These three steps solve most cases.
Why Your Maytag Ice Maker Stopped
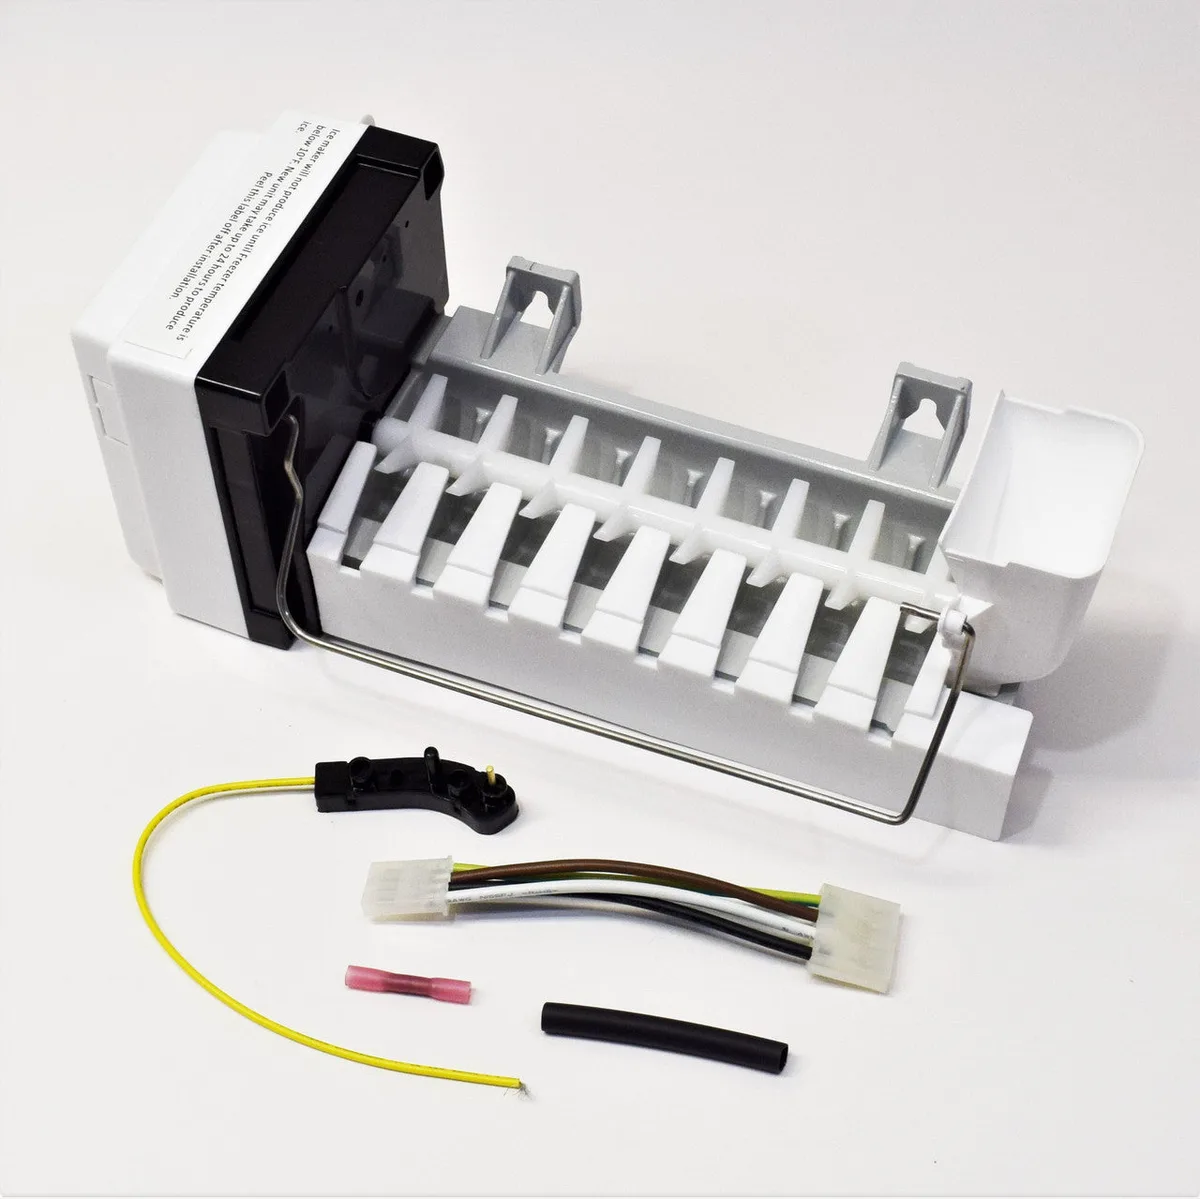
Ice makers run on a simple cycle. The water valve opens and fills the mold. A thermistor senses when the water is frozen.
A heater warms the mold just enough to release the cubes. An ejector arm pushes them into the bin. If any part of that chain breaks, production stops.
Each symptom points to a specific culprit. No ice at all with a silent machine? That is almost always a power or control issue.
The ice maker runs but produces nothing? That is a water delivery problem. Ice cubes come out small or hollow?
That is low water pressure or a restricted filter.
Quick Diagnosis: Check These 3 Things First
These three checks take about five minutes total. They will either fix the problem or point you straight at the real cause.
Check the Water Filter
Every Maytag refrigerator built after roughly 2015 uses a water filter in the base grille or inside the refrigerator compartment. The filter reduces sediment and chlorine, but it restricts flow as it ages. Manufacturer specs recommend replacement every six months.
Hard water can clog one in as little as three months.
Take the filter out. If it is visibly dirty or you cannot remember the last time you changed it, install a new one. Use the bypass plug that came with the fridge if you do not have a replacement.
The bypass plug removes all restriction. After changing, run two to three gallons of water through the dispenser to purge air from the system. Wait 24 hours for the ice maker to catch up.
Check the Ice Maker Power Switch
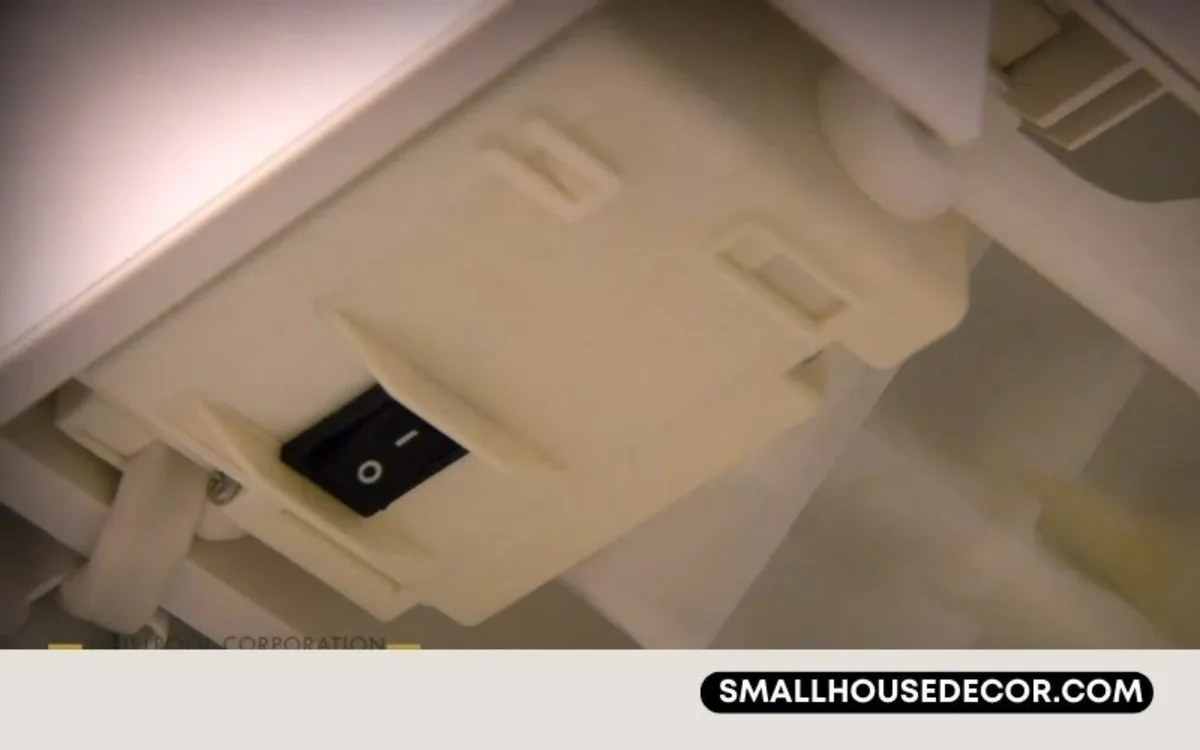
Ice maker power switches get bumped during cleaning or when someone reaches into the freezer. The switch is a small metal or plastic arm inside the ice bin. If it is in the up position, the ice maker is off.
Push the arm down. You should hear a click. The ice maker will start a cycle within a few minutes.
If nothing happens, move to the next check.

Listen for the Water Valve
Open the freezer door, press the ice maker shut-off arm down to force a cycle, and put your ear against the back wall of the freezer. Listen for a faint humming or clicking sound. That is the water inlet valve opening.
If you hear the hum but no water arrives, the line is frozen or the valve is clogged. If you hear nothing, the valve is not getting power. That points to the control board, a wiring break, or a failed valve.
This single sound check cuts your troubleshooting time in half.
The Decision Tree: Walk Through Each Symptom
Now you have your first data point. The three quick checks told you whether the ice maker has power and whether water is trying to get through. Here is how to read those results.
No Ice at All — Silent Ice Maker
If the ice maker is completely silent and the shut-off arm is down, you have an electrical problem. The machine is not receiving power, or its internal components have failed.
Start with a hard reset. Unplug the refrigerator or flip the breaker off. Wait two full minutes.
Plug it back in. This clears the main control board's memory. Many Maytag refrigerators as of 2026 run software that can glitch after a power flicker or a recent filter change.
A full reset fixes that glitch.
If the reset does nothing, the ice maker assembly itself is likely dead. The modular unit costs between $70 and $150 for an OEM replacement. Replacing it takes one screwdriver and about 15 minutes.
Unplug the harness, remove the mounting screws, swap the unit, and plug it back in.
Ice Maker Runs But No Ice Comes Out
If you hear the ice maker cycling but the bin stays empty, water is not reaching the mold. This is a water delivery issue.
First suspect: the water line is frozen. This happens when the freezer is too cold. Check the freezer temperature with a thermometer.
It should be between 0°F and 5°F. If it is below 0°F, the line can freeze solid. Raise the temperature setting by a few degrees.
Second suspect: the water inlet valve has failed. The valve is a solenoid that opens when the control board sends power. If it clicks but no water flows, the valve screen is clogged with sediment.
Remove the valve and clean the screen with a toothbrush. If that does not work, replace the valve. It costs roughly $40 to $60.
Ice Is Small, Hollow, or Weird-Looking
This is almost always a water flow restriction. The ice maker gets some water, just not enough to fill the mold completely. Small or crescent-shaped cubes with a hollow center are the telltale sign.
Change the water filter first. An old filter is the number one cause of restricted flow. If the filter is new, check the household water pressure.
Maytag refrigerators need at least 20 psi. If your home has low pressure, the water line might be too long or too narrow. The standard 1/4-inch copper line works fine up to 100 feet, but longer runs can starve the ice maker.
Ice Maker Overfills or Leaks Water
When the ice maker fills too much and spills into the bin or onto the freezer floor, the problem is either a stuck shut-off arm or a failed water valve that will not close.
Check the shut-off arm first. It should move freely up and down. If it is stuck in the down position, the ice maker never realizes the bin is full.
Free it with your fingers.
If the arm moves fine but water keeps flowing, the water valve is stuck open. Shut off the water supply immediately. A valve that will not close can dump gallons of water into your freezer and onto your kitchen floor.
Replace the valve.
How to Reset Your Maytag Ice Maker
The reset procedure is simple, but most people do it wrong. Pressing the shut-off arm up and down does not clear the control board's memory.
Here is the correct method. Unplug the refrigerator completely. Wait two full minutes.
Less than a minute does not drain the capacitors in the control board, and the glitch persists. Plug the refrigerator back in.
On most Maytag models, the ice maker will automatically cycle within 5 to 10 minutes after power is restored. Do not force the arm down during this time. Let the board reinitialize.
If the ice maker still does not cycle after 15 minutes, open the freezer door, locate the power switch inside the ice bin, and flip it up for 10 seconds. Flip it back down. This sends a manual start signal to the control board.
Common Mistakes That Waste Your Time
People who have never troubleshot an ice maker tend to jump to the most expensive fix first. Here are the mistakes that cost you time and money.
Replacing the Ice Maker Assembly Too Soon
The modular assembly is the most visible part, so it feels like the obvious culprit. But a brand new ice maker will not produce ice if the water valve is dead or the filter is clogged. Verify the water supply before you spend $100 on a new assembly.
Ignoring the Bypass Plug
When you remove the water filter but do not install the bypass plug, the fridge thinks a filter is missing and may shut off water flow to the ice maker. Maytag refrigerators ship with a gray plastic bypass plug in the filter housing. Find it.
Use it.
Setting the Freezer Too Cold
People think colder means faster ice. It does not. A freezer set below 0°F can freeze the water supply line inside the door, which stops ice production entirely.
Keep the freezer at 0°F to 5°F.
Skipping the Hard Reset
A power flicker can leave the control board in a confused state. Unplugging for two minutes is free and takes almost no time. Always try this before ordering parts.
When to Replace Parts vs. When to Call a Pro
You can handle most ice maker repairs yourself. Knowing the difference between a DIY fix and a pro job saves you time and prevents costly mistakes.
DIY-Friendly Repairs
Water filter replacement takes two minutes and needs no tools. Twist the old filter out and snap the new one in. Use the bypass plug if you have no replacement filter.
Ice maker assembly swap requires one Phillips screwdriver and about 15 minutes. Unplug the harness, remove the mounting screws, slide the old unit out, and drop the new one in. OEM assemblies cost $70 to $150.
Water inlet valve replacement takes 30 minutes with a nut driver. Shut off the water supply first. The valve sits behind the refrigerator on the bottom back panel.
Clean the screen before replacing the whole valve.
Frozen line thaw means unplugging the fridge for 24 hours. Let the ice melt naturally. Never use a hairdryer or heat gun on plastic water lines.
You will melt the line and cause a flood.
Call a Pro
Refrigerant leaks require EPA-certified handling. If the freezer is warm but the ice maker stops producing, the cooling system may have a leak. A technician can diagnose and repair it safely.
Main control board failure needs a multimeter and wiring diagrams. Replacing a board without confirming it is bad wastes $100 to $200. A pro can test it in minutes.
Water line behind the wall is a plumber's job. If the line running from your shutoff valve is leaking, a DIY patch can cause water damage.
| Repair | Cost to DIY | Cost to Hire Pro |
|---|---|---|
| Water filter | $15 to $30 | $100+ service call |
| Ice maker assembly | $70 to $150 | $200 to $300 |
| Water inlet valve | $40 to $60 | $200 to $300 |
| Control board | $100 to $200 | $250 to $400 |
Maintenance That Prevents This from Happening Again
Ice maker problems follow predictable patterns. A little routine care stops most issues before they start.
Change the Filter on Schedule
Replace the water filter every six months. Write the date on the filter with a marker. A fresh filter keeps water flowing at full pressure and prevents sediment from building up in the inlet valve screen.
Hard water areas need filter changes more often. If you see white mineral deposits on your ice cubes, switch to a four-month schedule. The filter costs less than a service call.
Clean the Ice Maker Once a Year
Pull the ice bin out. Wipe down the mold and ejector arms with a mild vinegar solution. Mineral deposits interfere with the thermistor.
A clean ice maker runs longer between failures.
Use a soft cloth. Avoid abrasive cleaners that scratch the plastic mold. Scratches give ice a place to stick and cause the ejector to jam.
Keep the Freezer at the Right Temperature
Check the temperature with an appliance thermometer twice a year. The built-in display is not always accurate. A standalone thermometer costs $5.
Keep the freezer between 0°F and 5°F. Anything below 0°F risks freezing the water supply line. Anything above 5°F means the ice maker takes too long to freeze each batch.
Clear the Condenser Coils
Dust and pet hair build up on the condenser coils at the bottom or back of the refrigerator. Dirty coils make the compressor work harder. The freezer temperature fluctuates, and the ice maker suffers.
Vacuum the coils every six months. Use a brush attachment to avoid bending the thin metal fins. Clean coils also save electricity.
Real Scenarios and What They Teach Us
These are the three most common ice maker calls we see in aggregate owner reports. Each one teaches a specific lesson.
The Filter No One Remembered
A homeowner called a repair service because their ice maker stopped producing ice after moving into a new house. The technician found the water filter was four years old and completely clogged. A $20 filter fixed it.
The service call cost $180.
Lesson: always check the filter first. It is the cheapest and fastest fix.
The Frozen Line in Winter
A garage refrigerator stopped making ice when outdoor temperatures dropped below 20°F. The freezer was set to -5°F, which froze the water supply line. Raising the temperature to 0°F and unplugging the fridge for 24 hours solved it.
Lesson: garage fridges need warmer settings in winter. Expect slower ice production during cold months if your refrigerator is in an unheated space.
The Power Flicker Glitch
A family lost ice production after a brief power outage. They waited three days before calling for help. A neighbor suggested unplugging the fridge for two minutes.
The ice maker started working again immediately.
Lesson: always try the hard reset before you spend money. Two minutes of unplugged time clears the control board and fixes most glitches.
Frequently Asked Questions
How do I force my Maytag ice maker to cycle?
Press the shut-off arm up for 10 seconds, then press it back down. The ice maker should start a cycle within 3 to 5 minutes. If it does not, unplug the refrigerator for two minutes and try again.
Why is my Maytag ice maker not making ice after I changed the filter?
Air is trapped in the water line. Run 2 to 3 gallons of water through the dispenser to purge the air. It can take up to 24 hours for the ice maker to begin producing ice after a filter change.
How long does a Maytag ice maker take to make ice?
A full cycle takes about 90 to 120 minutes. That means roughly 3 to 4 pounds of ice every 24 hours. If ice takes longer, check the freezer temperature and the water filter.
Can I use my Maytag refrigerator without the ice maker?
Yes. Unplug the ice maker harness and remove the assembly. The refrigerator will run normally.
Replace the ice compartment cover if your model has one to keep cold air circulating properly.
Why does my ice taste like plastic or chemicals?
New ice makers and new water filters can cause temporary taste issues. Discard the first two batches of ice after installing a new filter or ice maker. If the taste persists, check that the water line is not made of old rubber tubing.

Similar Posts
































