Oxo Coffee Maker Troubleshooting
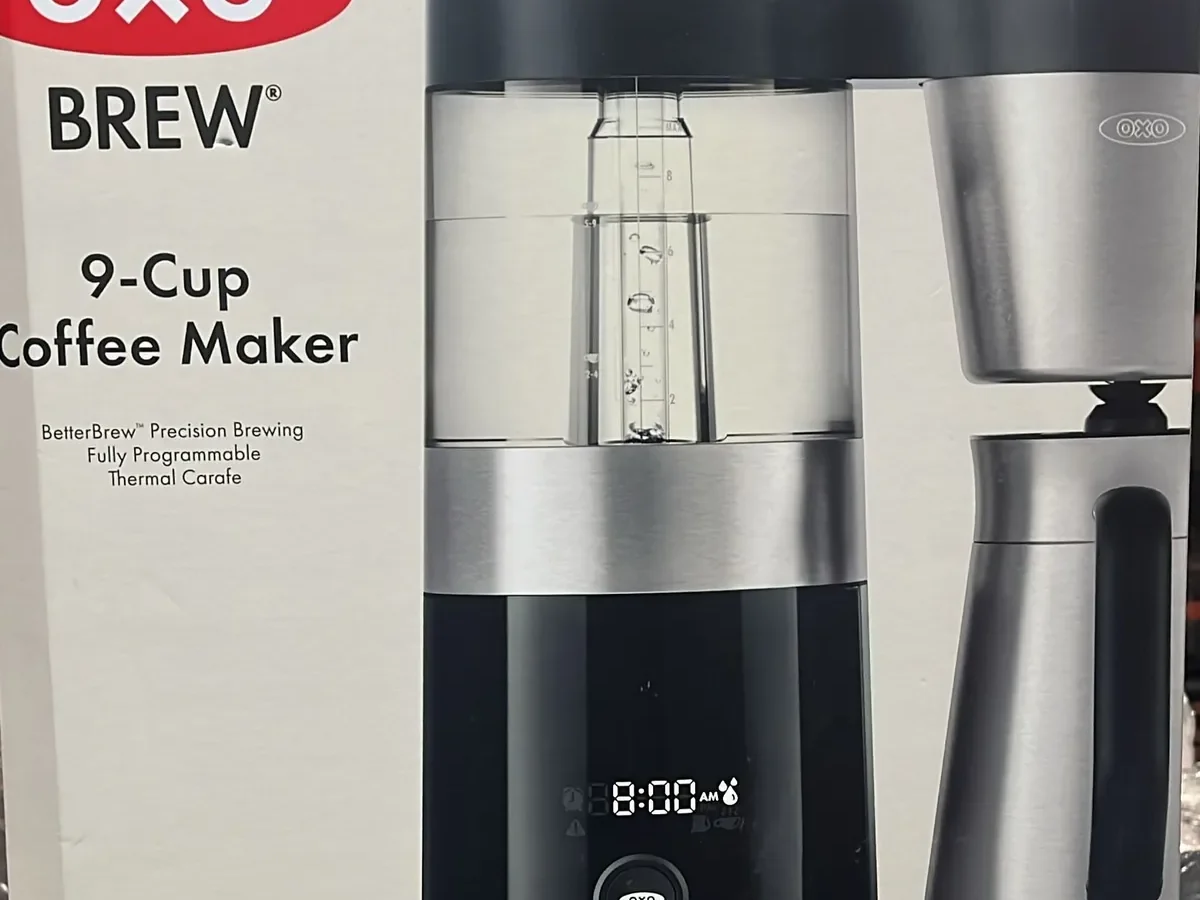
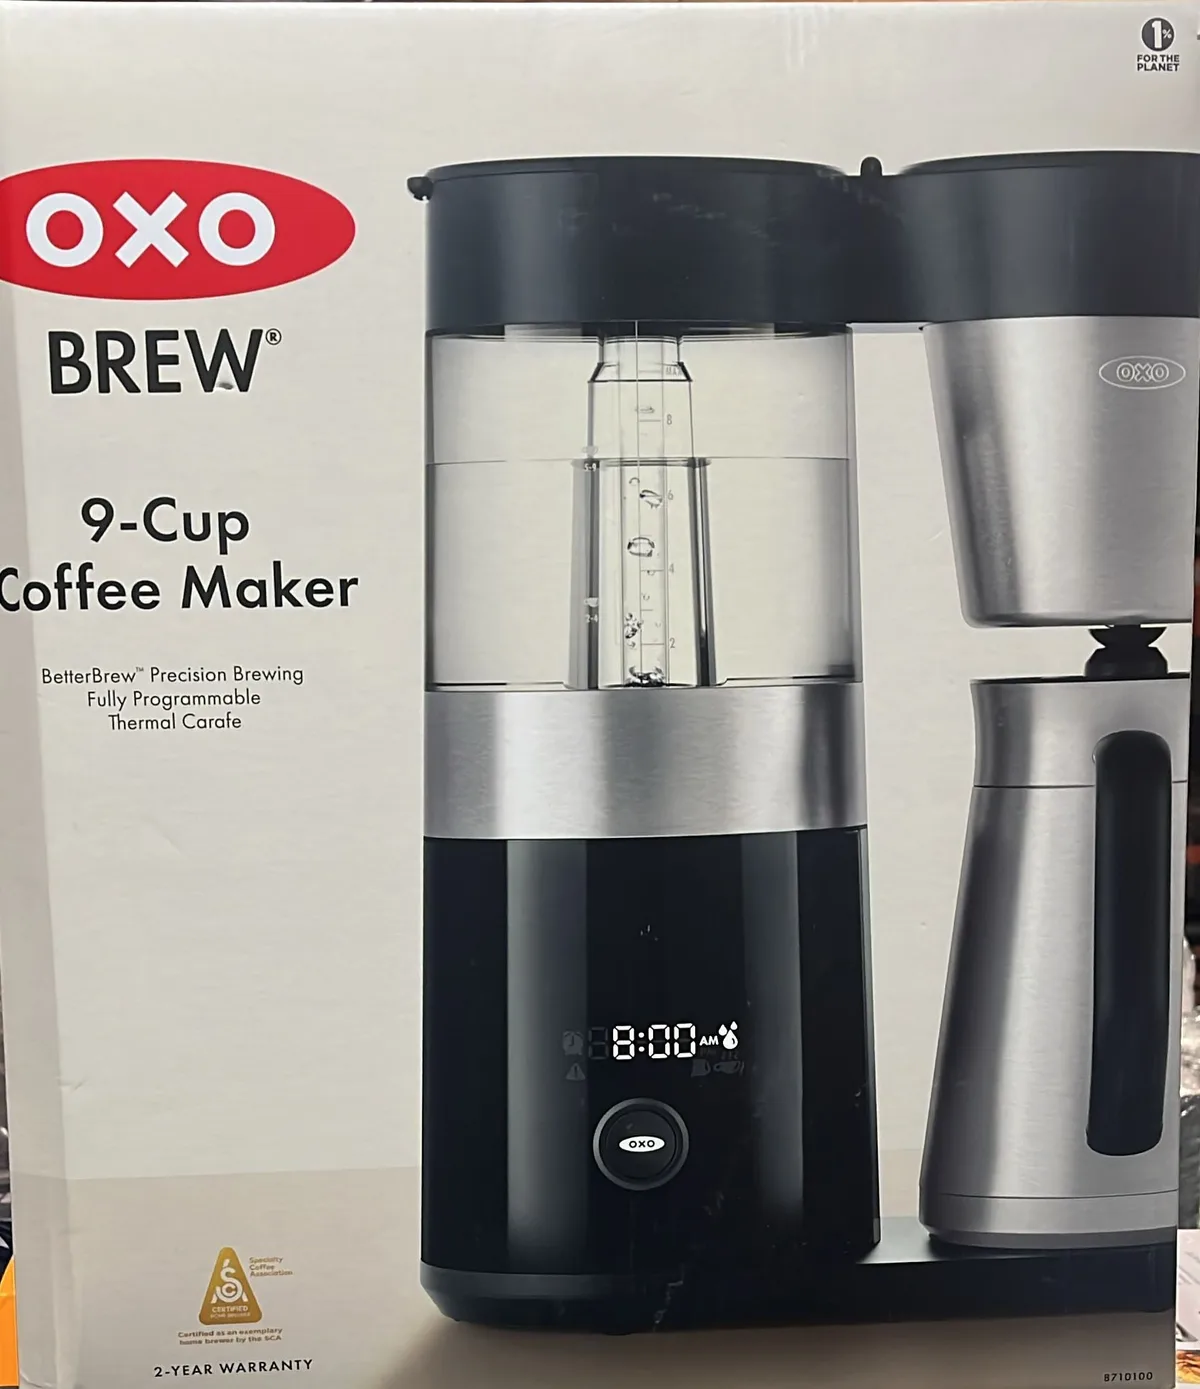
Image source: Bing (Web (fair-use with source credit))
Your Oxo coffee maker is acting up, and you're staring at a cold carafe wondering what went wrong. Oxo Coffee Maker Troubleshooting doesn't have to be a guessing game. Most problems trace back to a handful of causes you can fix in under fifteen minutes.
Oxo engineers designed these brewers to maintain a consistent water temperature between 197 and 200°F for proper extraction. They rely on simple mechanical and electrical components. That means when something goes wrong, it's rarely a dead machine.
It's usually a stuck valve, a blocked filter, or a sensor that got confused. Let's walk through the symptoms one by one so you know exactly what to check first.
Quick Answer
Match your symptom to the right fix. Won't brew? Check power, water tank sensor, and charcoal filter.
Coffee stays in basket? Look at the brew pause valve and basket alignment. Leaking water?
Inspect the reservoir, carafe seal, and drain valve. Weak or burnt taste? Descale the machine and replace the water filter.
Error lights? Unplug for sixty seconds, then try a cleaning cycle.
Start Here: Which Symptom Matches Your Problem?
Before you start taking things apart, take thirty seconds to identify what's actually happening. The fix changes completely depending on the symptom. Skipping this step leads to wasted time and unnecessary frustration.
| Symptom | Most Likely Cause | Jump To |
|---|---|---|
| Machine won't start or brew | Power, water level sensor, or clogged filter | Next section |
| Brews but water stays in basket | Brew pause valve stuck or basket misaligned | Section 3 |
| Coffee overflows basket | Same valve issue or overfilled grounds | Section 3 |
| Water leaks from bottom | Reservoir crack, carafe seal, or drain valve | Section 4 |
| Weak, slow, or burnt coffee | Scale buildup, old water filter, incorrect grind | Section 5 |
| Flashing or solid error light | Electronics glitch or empty tank | Section 6 |
If you're not sure, start with the "won't brew" checks. Those are the most common and the easiest to rule out.
If the Machine Won't Brew at All – Power, Water, and Parts to Check
Your Oxo is plugged in. The button lights up. Nothing comes out.
Let's trace the path from power to pour.
Is the machine actually getting power?
Check the outlet first. Plug in a phone charger or lamp. If the outlet is dead, reset the breaker.
If the control panel doesn't light up at all, the internal fuse may have blown. That's less common but happens on older units. Contact Oxo support for fuse replacement guidance.
Is the water tank seated correctly?
The water level sensor is a small tab inside the reservoir cavity. If the tank isn't pushed all the way back, that sensor won't trigger the machine to start brewing. Remove the tank.
Clean the sensor area with a damp cloth. Reseat it firmly until you hear it click into place.
Is the charcoal filter blocking flow?
This is the number one hidden cause of "no brew." The charcoal water filter sits inside a plastic holder in the tank. If it's installed upside down or if it's more than 60 days old and clogged, it will restrict water flow to almost nothing. Remove the filter holder.
Take out the filter. Try a brew cycle without it. If water flows freely, the filter was the problem.
Replace it with a fresh one.
What about the water outlet tube?
A mineral deposit or debris can lodge in the small tube that carries water from the tank to the heating element. Run a descaling cycle to flush it out. If that doesn't work, a paperclip gently inserted into the tube opening at the top of the machine can dislodge small clogs.
Be careful not to scratch the plastic.
If It Brews but Coffee Stays in the Basket or Overflows – Basket and Valve Checks
You hear the machine working. Water is moving. But your carafe is empty and the brew basket is swimming in coffee or overflowing onto the counter.
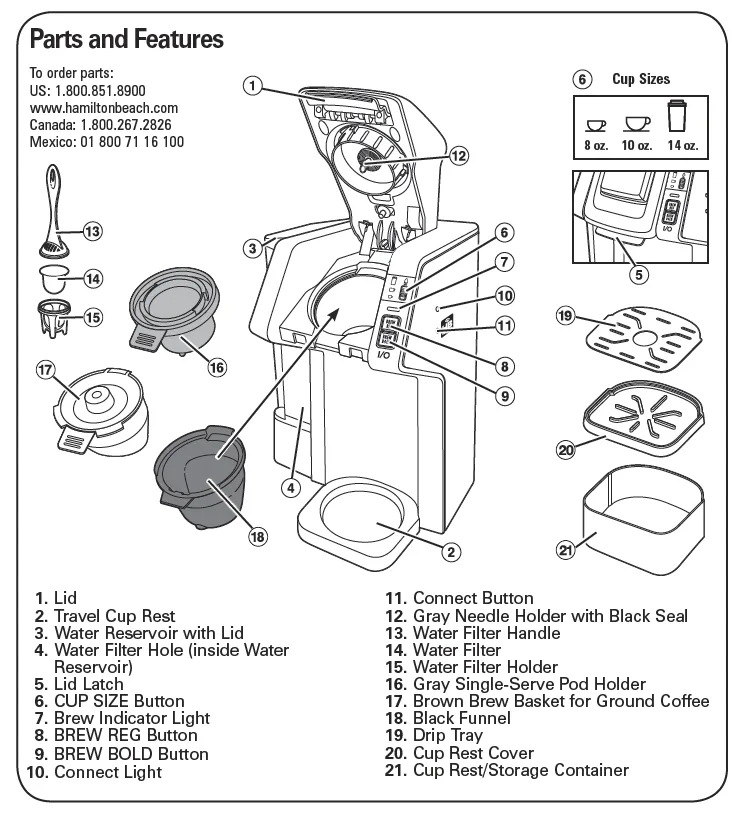
Image source: Bing (Web (fair-use with source credit))
The brew pause valve is the prime suspect
Most Oxo models have a small flap valve at the bottom of the brew basket. The carafe lid holds it open during brewing. When you remove the carafe mid-brew, that valve closes to stop dripping.
If that flap gets sticky from coffee oils or mineral scale, it can stay closed even with the carafe in place. Water and coffee then back up in the basket.
Fix: Lift the brew basket out. Gently push the flap open and closed a few times with your finger to loosen it. Run hot water through the basket to flush out residue.
If the flap is warped or broken, you need a replacement brew basket from Oxo.
Is the basket fully seated?
The brew basket must slide all the way into its slot. If it's even a quarter-inch out, the valve won't align with the carafe lid. The brew cycle will fail.
Push the basket in until you feel it stop. Look from the side to make sure it's flush.
Are you using the right amount of coffee?
Overfilling the basket with grounds can cause overflow even with a working valve. Oxo recommends a maximum of 60 grams of coffee for a full 9-cup brew. That's about 12 tablespoons.
If you're using a finer grind, reduce that slightly. Fine coffee expands more when wet.
If Water Is Leaking – Reservoir, Carafe, and Seal Troubleshooting
Leaks are messy but they usually come from one of three places. Figuring out which one saves you from buying a new machine.
Leak from the bottom of the machine
Flip the machine over while it's unplugged. Look for water stains or drips. Most bottom leaks trace to one of two sources.
- The drain valve under the water tank. This small rubber valve can get stuck open by scale or debris. Run a few descaling cycles with vinegar solution to break it free.
- A cracked water reservoir. If the tank itself is split, water will seep out. Dry the tank and fill it outside the machine to check for hairline cracks. If you find one, you need a replacement tank from Oxo.
Leak around the carafe area
If water pools around the base where the carafe sits, the issue is usually the carafe itself or the seal on the brew basket. Thermal carafes have a vacuum seal that can fail over time. Fill the carafe with hot water.
Dry the outside. Let it sit for an hour. If moisture appears, the carafe is compromised.
The carafe lid gasket
The gasket on the inside of the carafe lid creates the seal that opens the brew pause valve. If it's worn or missing, water will spray or drip instead of flowing cleanly into the carafe. Wipe the gasket clean.
Check for tears. Replace it if damaged.
If Coffee Is Weak, Slow, or Tastes Burnt – Scale, Filter, and Temperature Issues
Your brew takes forever. The coffee that comes out tastes thin and sour, or worse, burnt. These symptoms often overlap.
They point to the same few root causes.
Hard water scale is the biggest enemy
Mineral scale builds up inside the heating element and water lines over time. As of 2026, nearly 85% of US households have hard water to some degree. Scale insulates the heating element.
It makes the heater work harder and hotter in some spots while blocking flow in others. That produces burnt-tasting coffee from overheated water and a slow trickle from blocked tubes.
Descaling procedure, every 3-6 months:
- Mix a 50/50 solution of white vinegar and water. Some Oxo models also accept citric acid descaling solution.
- Fill the water reservoir to the max line with the solution.
- Start a brew cycle without coffee. Let it run until about half the solution passes through, then turn the machine off.
- Let it sit for 30 minutes to break up scale.
- Finish the cycle. Run two full cycles with clean water to rinse.
The charcoal water filter needs replacement
An old water filter doesn't just affect taste. It can restrict flow and make the machine think the tank is empty. Replace it every 60 to 90 days.
If you can't remember when you last changed it, replace it now.
Grind size matters more than you think
Oxo brewers are designed for a medium grind similar to table salt. Too fine (espresso grind) and water can't pass through the basket fast enough. That leads to slow brewing and over-extraction that tastes bitter.
Too coarse and water rushes through, producing weak, sour coffee. Adjust your grinder or buy pre-ground coffee labeled for drip brewers.
Error Lights and Flashing Indicators – What the Codes Mean
Your Oxo coffee maker uses its control panel lights to communicate problems. Knowing what each signal means saves you from unnecessary part swapping.
Solid red light on the brew button
This usually means the water tank is empty or not seated correctly. Check the water level first. If the tank is full, remove and reseat it firmly.
The sensor tab needs to make contact. If the light stays on, clean the sensor area with a dry cloth.
Flashing red light during brew cycle
The machine detected an issue mid-brew. Most often it's a thermal safety shutoff triggered by scale buildup on the heating element. The heater got too hot because mineral deposits trapped the heat.
Unplug the unit for sixty seconds to reset it. Then run a full descaling cycle before using it again.
Solid or flashing green light on the program button
This is a timer setting indicator, not an error. Solid green means the timer is set. Flashing green means the clock needs to be set.
Refer to your manual for the exact button sequence to program the time.
No lights at all – machine is dead
If the panel is completely dark and the outlet works, the internal fuse may have blown. This is not a user-serviceable part on most Oxo models. Contact Oxo customer support at 1-855-696-3772 for warranty or repair options.
Do not attempt to open the base yourself unless you are experienced with small appliance repair.
Rapid blinking of all lights
This is a less common fault. It typically indicates a sensor failure or a control board glitch. Unplug the machine for five minutes to fully drain residual power.
Plug it back in and test with a water-only cycle. If the blinking returns, the unit likely needs professional service.
Maintenance That Keeps Problems Away – Descaling, Cleaning, and Filter Schedules
The best fix is the one you never need. Following a regular maintenance routine prevents 80 percent of the common issues we covered above.
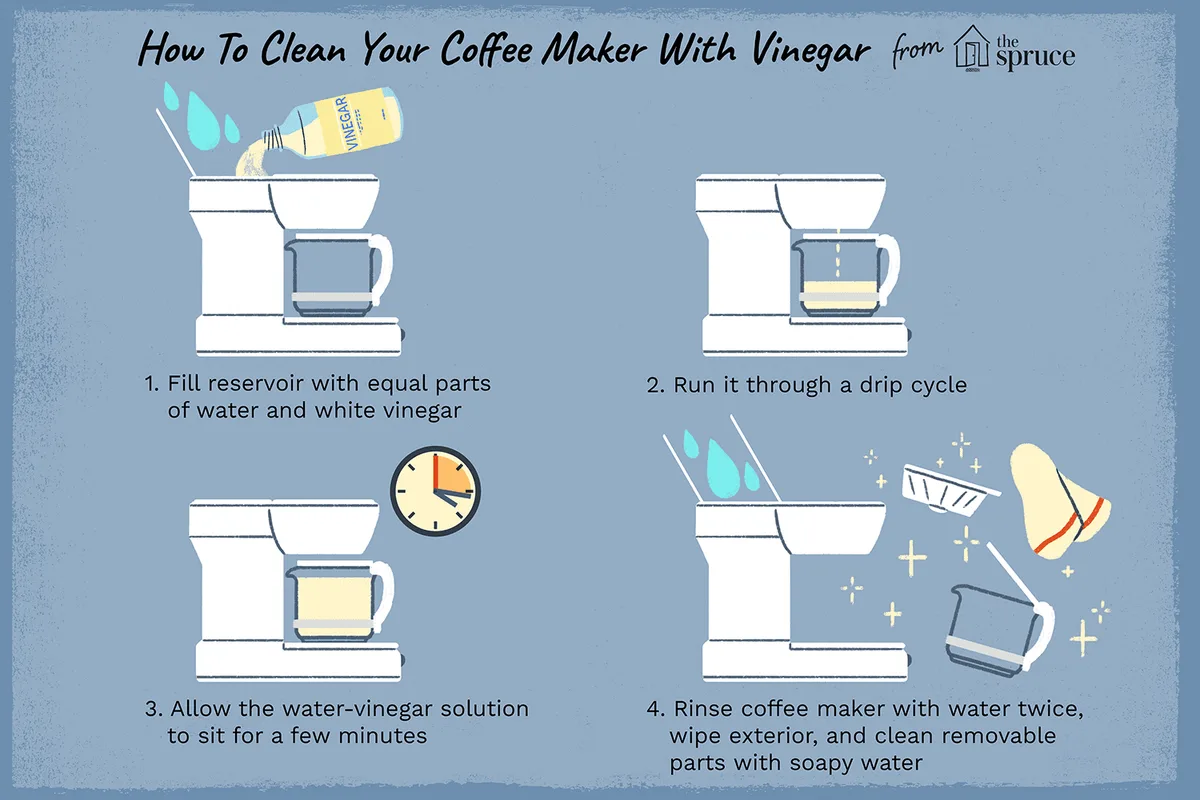
Image source: Bing (Web (fair-use with source credit))
Descaling every three months
Hard water mineral scale is the top cause of slow brewing, burnt taste, and error lights. Oxo recommends descaling every three months under normal use. If you live in a hard water region, increase that to every two months.
Quick descaling steps:
- Fill the reservoir with equal parts white vinegar and water.
- Start a brew cycle without coffee. Let half the solution pass through.
- Turn the machine off and let it sit for 30 minutes.
- Finish the cycle. Run two full cycles with fresh water.
Cleaning the brew basket and carafe weekly
Coffee oils build up fast. That sticky film can gum up the brew pause valve and affect taste. Hand wash the brew basket, carafe, and filter basket with mild soap and warm water after every few uses.
Avoid abrasive scrubbers. The thermal carafe is not dishwasher safe. Hand wash only.
Changing the charcoal filter on schedule
Replace the water filter every 60 to 90 days. Set a calendar reminder. An old filter restricts water flow, which mimics a "weak brew" or "won't brew" problem.
It also stops filtering chlorine and off-flavors. Your coffee quality drops even if the machine runs fine.
Cleaning the spray head
The Rainmaker showerhead on top of the brew basket can get clogged with mineral deposits. Once a month, inspect the small holes. If you see white scale, use a paperclip to gently clear each hole.
Wipe the surface with a vinegar-dampened cloth.
When DIY Doesn't Fix It – Parts Replacement and Warranty Help
Sometimes a machine truly needs a part. Knowing which parts are replaceable and which mean the end of the road will save you time and money.
Common replaceable parts
| Part | Estimated Cost | How to Replace |
|---|---|---|
| Charcoal water filter | $6-10 | Pull out old holder, insert new filter |
| Brew basket assembly | $15-25 | Remove old basket, slide in new one |
| Thermal carafe | $35-50 | Order from Oxo, swap directly |
| Water reservoir tank | $20-30 | Unscrew base on some models, pry off on others |
| Carafe lid gasket | $8-12 | Stretch onto lid frame |
Parts you cannot easily replace
The heating element and control board are sealed inside the base. Replacing them usually costs more than a new machine. If your Oxo is outside the two-year warranty and needs a new heating element, it's more economical to buy a replacement brewer.
How to check warranty status
Oxo provides a two-year limited warranty on most coffee makers. You need proof of purchase. Save the receipt or order confirmation email.
Contact Oxo customer support directly. They often send replacement parts free of charge for covered issues like a cracked carafe or faulty brew basket.
When to cut your losses
If the machine is over three years old and has a failed heating element or leaking internal seals, consider replacing it. A new Oxo Brew 9 Cup costs around $150. Spending $60 on parts and an hour of labor for a machine on its last legs rarely makes sense.
Frequently Asked Questions
Why does my Oxo coffee maker stop brewing mid-cycle?
The most common cause is a thermal safety shutoff triggered by mineral scale. The heating element gets too hot because scale acts as an insulator. Run a descaling cycle immediately.
If the problem persists, check that the water tank is full and the charcoal filter isn't clogged.
How do I reset my Oxo coffee maker?
Unplug the machine from the wall outlet for at least sixty seconds. This clears the internal control board memory. Plug it back in and try a water-only brew cycle.
For most error conditions, this simple reset resolves the issue.
Can I use distilled water in my Oxo coffee maker?
No. Distilled water lacks the minerals that the water level sensor needs to detect the tank. Use filtered tap water or bottled spring water.
If your tap water is very hard, a simple pitcher filter works well before filling the reservoir.
Why is my Oxo coffee maker leaking from the bottom?
Bottom leaks usually come from the drain valve under the water tank or a cracked reservoir. Check the tank first by filling it outside the machine. If the tank is intact, run a descaling cycle to free up a stuck drain valve seal.
How often should I descale my Oxo coffee maker?
Every three months for normal use. Every two months if you have hard water or use the machine more than once daily. Skip descaling and you will eventually see slow brewing, error lights, and a burnt taste in your coffee.
What do the flashing lights on my Oxo mean?
A flashing red light during brew indicates an overheating protection event. A solid red light on the brew button means the water tank is empty or not seated. Rapid blinking of all lights usually signals a sensor or control board fault.
Refer to the error lights section above for detailed fixes.

Similar Posts