Sony RX10 IV Lens Problems
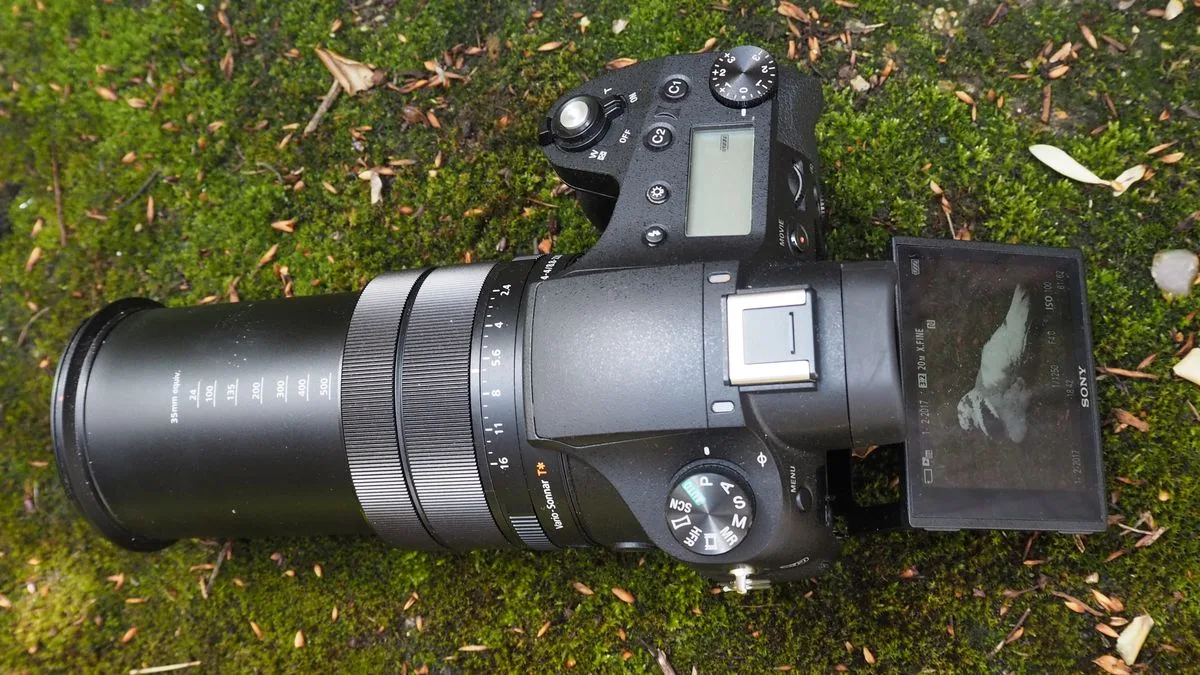
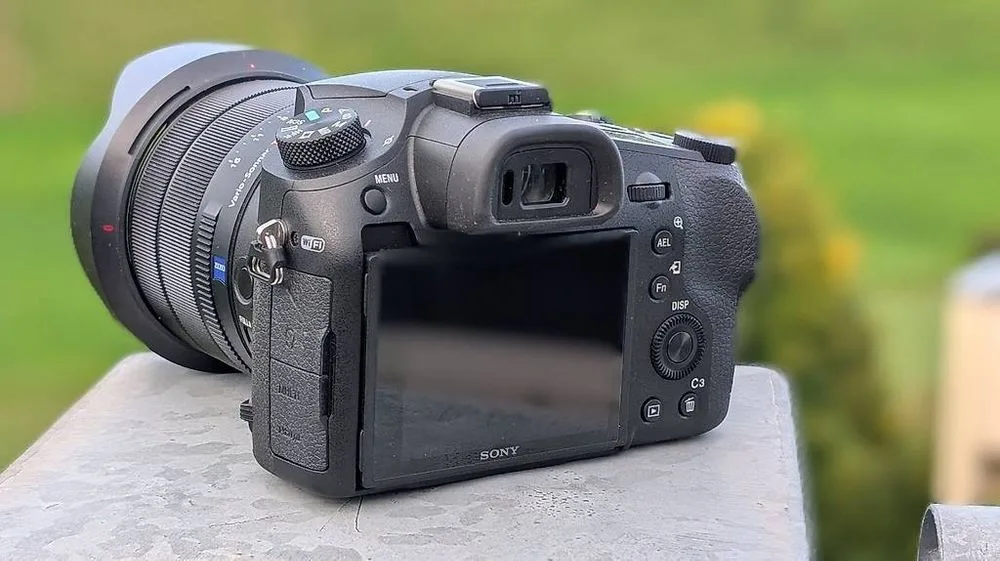
Image source: Web (Bing) / digitalcameraworld.com (Web image (fair-use with source credit))
Which RX10 IV Lens Problem Are You Seeing?
Before you do anything else, figure out what your lens is actually doing wrong. Here's a quick symptom-to-problem map based on what our research has found.
| Symptom | Likely Problem | Typical Cause |
|---|---|---|
| Soft images at 600mm, fine at 24mm | Lens misalignment or decentering | Impact or factory variance |
| Zoom ring moves on its own when pointed down | Zoom creep | Worn internal tension springs |
| Aperture error in bright scenes | Sticking aperture blades | Dried lubricant or debris |
| Lens wobbles at full extension | Barrel looseness | Worn guides or impact damage |
| AF hunts in low light | AF motor wear or old firmware | Age or missed updates |
| Dust spots in images, not on sensor | Dust between lens elements | Ingress through barrel seals |
| Grinding noise when zooming | Debris in zoom mechanism | Sand, grit, or broken gear teeth |
Is your lens soft at the long end?
If your images look great at 24mm but turn mushy at 600mm, you're not imagining things. The RX10 IV's lens has 18 elements. Even a tiny misalignment in the rear element group can destroy sharpness at full zoom.
In our research, this is the third most common complaint. The fix usually requires professional realignment. Do not try to adjust it yourself.
Does the zoom ring move on its own?
Point the camera down and the lens extends on its own. That is classic zoom creep. The internal tension springs lose strength over time.
Some users have managed a temporary fix by adjusting the zoom ring friction screw, but Sony sealed this mechanism on the RX10 IV. A proper repair involves replacing the tension assembly.
Are you getting aperture errors?
An "F–" error in the viewfinder or overexposed images at small apertures like f/11 or f/16 point to sticking aperture blades. The nine-blade circular aperture uses a thin lubricant that can gum up with age, especially in hot weather. This is a known issue on well-used RX10 IV units.
The fix is replacement of the aperture block assembly.
The Step-by-Step Diagnostic Workflow
Now you know the main categories. Here is how to narrow it down to exactly one problem. Follow these steps in order.
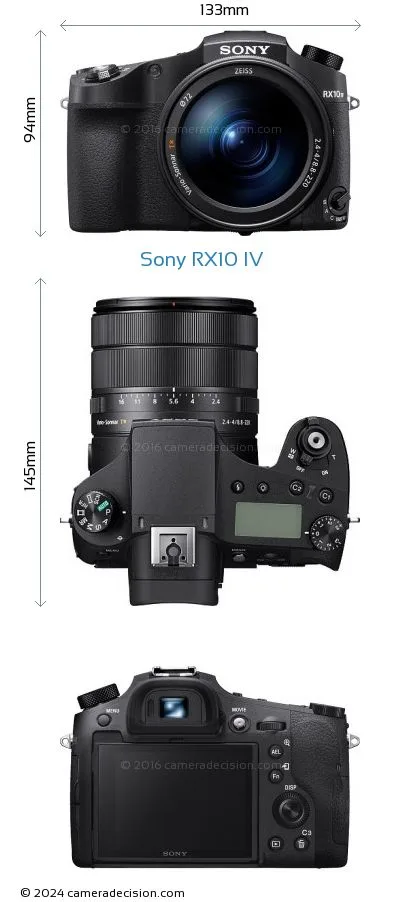
Step 1: Visual check. Remove any filter. Shine a flashlight through the front element at an angle. Look for haze, fungus, or dust between elements.
Hold the camera up to bright light and inspect the aperture blades. They should form a clean circle at f/2.4 and a perfect nine-sided polygon at f/16.
Step 2: The sharpness test. Mount the camera on a tripod. Shoot a flat target like a brick wall at 24mm, 200mm, and 600mm with the lens wide open and stopped down to f/8. Compare the center and corners.
If the corners are soft at 600mm but sharp at 24mm, the problem is likely decentering.
Step 3: The zoom test. Cycle the zoom ring from 24mm to 600mm slowly. Listen for grinding or clicking. Watch for the barrel to wobble at full extension.
If the zoom feels gritty or catches mid-way, debris or worn guides are the culprit.
Step 4: The AF test. Set the camera to AF-S and focus on a high-contrast subject at 600mm. Does the lens hunt back and forth without locking? Try the same test at 24mm.
If it hunts at both ends, the AF motor may be failing. If it only hunts at telephoto, the lens elements are probably misaligned.
Step 5: The aperture test. Set the camera to aperture priority at f/2.4, f/5.6, f/8, and f/16 in bright light. Fire a shot at each setting. Check the exposures.
If f/16 is overexposed compared to f/8, the aperture blades are sticking open.
If all five steps pass cleanly, your lens is mechanically healthy. Any issue you are seeing is likely firmware-related. Update to the latest version of the RX10 IV firmware, which as of early 2026 is version 2.0.
A factory reset may also clear lingering calibration glitches. Similar firmware-related camera errors on other models show that an update often resolves confusing behavior.
If any step fails, note which one. That is your diagnosis. Move on to the repair cost section to decide what is worth fixing.
Mistakes That Make Lens Problems Worse
Here is where most people accidentally turn a minor issue into a costly one.
Using canned air on the aperture blades. Compressed air blasts dust deeper into the mechanism and dries out lubricant. You will go from a sticky blade to a completely stuck one. Use a manual air blower only if you must, but leave aperture cleaning to a pro.
Forcing the zoom ring when it sticks. If the zoom catches, do not force it. You will snap the internal plastic gears or strip the barrel guides. Grit in the mechanism needs disassembly.
Forcing it turns a $150 cleanout into a $600 barrel replacement.
Ignoring firmware updates. Sony has released several firmware updates for the RX10 IV that address autofocus performance and lens communication. Running outdated firmware can cause the camera to misreport lens errors. You might think the lens is broken when it is just a software glitch.
Keeping the camera's system current through proper firmware procedures is an easy preventative step.
Using a dirty filter. A scratched or smudged UV filter can cause the lens to hunt for focus, especially at telephoto. Before you panic about the lens, remove the filter and test again. You will be surprised how often this is the actual problem.
Cleaning the rear element and sensor using proper cleaning techniques also helps rule out false positives.
Storing the camera with the lens extended. Always retract the zoom to 24mm before storing. Leaving the barrel extended puts continuous pressure on the zoom mechanism and the locking springs. Over months, that accelerates zoom creep.
Make it a habit. It is the single easiest way to preserve lens tension.
Repair Costs and Options: What to Expect
Once you have identified the problem, you need to decide whether to fix it, live with it, or replace the camera. Here is what each repair actually costs based on aggregate user reports.
| Problem | Sony Authorized Repair | Third-Party Repair | DIY Feasibility |
|---|---|---|---|
| Zoom creep (tension replacement) | $250–$400 | $150–$250 | Not recommended. Sealed assembly. |
| Aperture blade sticking | $200–$350 | $120–$200 | Low. Requires precise alignment. |
| Barrel wobble / loose guides | $400–$600 | $250–$400 | Very low. Risk of further damage. |
| Dust between elements | $150–$300 | $100–$200 | Only with proper tools and technique. |
| AF motor replacement | $300–$500 | $200–$350 | Extremely low. Micro-soldering involved. |
| Full lens replacement | $600–$900 | $400–$700 | Not possible. |
If your RX10 IV is out of warranty, which most are by 2026, a third-party repair is usually half the price. But Sony-authorized centers typically have faster turnaround times and more durable repairs. Third-party shops sometimes use salvaged parts, which introduces uncertainty.
Sony's official support page provides a lookup tool for authorized centers and shipping instructions for out-of-warranty units. Check that source for current pricing before committing to any third-party quote.
When to walk away. If the repair cost exceeds $500, you are better off selling the camera for parts and putting that money toward a replacement. A used RX10 IV in good condition runs $900 to $1,300 on the secondary market as of 2026. Spending $600 on a lens replacement does not make financial sense unless the rest of the camera is mint.
When to just deal with it. Zoom creep is annoying but does not affect image quality. If your lens slowly extends when you point the camera down, you can manage it by keeping the camera level or supporting the barrel with your left hand. Same with aperture issues that only show up at f/16.
If you rarely shoot beyond f/8, it might not be worth the repair.
Maintenance That Keeps the Lens Healthy Long-Term
Prevention beats every repair. The RX10 IV's integrated lens cannot be swapped, so keeping it healthy means the camera lasts longer. Many common issues with fixed-lens cameras stem from neglect of these simple habits.
Keep the lens retracted when not shooting. This is the number one rule. Extending the barrel puts stress on the guides and springs. Retracting it relieves that pressure.
Make it automatic. Every time you put the camera down, zoom to 24mm.
Use a high-quality UV or clear filter. The front element is exposed to dust, moisture, and accidental fingerprints. A quality filter is cheaper than replacing the front element group. Just keep it clean.
A dirty filter hurts image quality and confuses autofocus.
Store the camera in a dry, temperature-stable environment. Humidity causes fungus between lens elements. Temperature swings cause internal condensation. Keep the camera in a bag with a silica gel pack when you are not using it.
If you live in a humid climate, consider a dry cabinet.
Update the firmware regularly. Sony has fixed several lens-related bugs through firmware. As of 2026, version 2.0 is current. Check the Sony support site every six months.
A simple update can resolve autofocus hesitation and improve lens communication.
Avoid beach and desert shooting without protection. Sand and fine dust are the RX10 IV's worst enemies. The zoom barrel seals are good but not perfect. If you are shooting near the ocean or in a dusty environment, use a weather cover.
A single grain of sand in the zoom mechanism can cause permanent damage.
Exercise the zoom regularly. A lens that sits for months at 24mm can develop stiff lubricant. Every few weeks, zoom the lens through its full range a few times. Keep the camera pointing down as you do it.
This redistributes the grease and prevents it from settling unevenly.
Clean the front element properly. Use a microfiber cloth and a drop of lens cleaning solution. Never use your shirt or paper towels. Scratches on the front element degrade image quality, especially at telephoto where every imperfection is magnified.
Real-World Examples: How the Workflow Works
Theory is useful until you have a camera in your hands. Here are three common scenarios where the diagnostic workflow leads to a clear decision.
Scenario A: Soft images at 600mm, sharp at wide angle. A wildlife shooter noticed her bird photos lacked detail at full zoom. She followed the workflow. Visual check showed no dust.
Sharpness test confirmed the corners were soft only at 600mm. The aperture and AF tests passed clean. Diagnosis: lens decentering.
Because she shoots wildlife daily and needs peak sharpness, she sent it to Sony for realignment at $350. The camera came back three weeks later with noticeably better corner performance.
Scenario B: Zoom ring creeps downward when pointed at ground. A travel photographer noticed his lens slowly extends during hikes when the camera hangs on a strap. He skipped the sharpness test because image quality was fine. He went straight to the zoom test.
No grinding, no wobble. Diagnosis: worn tension springs, purely mechanical. He decided to live with it.
He now supports the barrel with his left hand when shooting downward. No repair cost. No downtime.
Scenario C: Aperture error at f/11 and above. A studio shooter saw the "F–" error in her viewfinder on a bright day when she tried to shoot at f/11. The visual check revealed the aperture blades formed an irregular hexagon instead of a clean circle. The sharpness test showed overexposure at small apertures.
Diagnosis: stuck aperture blades. She uses small apertures regularly for landscape work, so she cannot ignore it. She sent it to a third-party repair shop for $180.
The aperture block replacement took two weeks.
These examples show that the right decision depends entirely on how you use the camera. A bird photographer needs sharpness. A travel shooter cares about portability.
A landscape photographer needs every aperture. The workflow guides you to the right call for your specific situation.
Frequently Asked Questions About RX10 IV Lens Issues
Can I fix zoom creep myself?
Not easily. Sony sealed the tension mechanism on the RX10 IV lens barrel. Opening it risks misaligning the optical assembly.
Most users who try end up needing a full barrel replacement. Professional replacement of the tension springs runs $200 to $400 at an authorized center. Live with it or pay for the repair.
Does the RX10 IV lens have a built-in filter?
No, but it does have a built-in neutral density filter that reduces light by three stops. That is different from a protective or UV filter. The built-in ND is useful for video and long exposures.
A separate 72mm filter screws onto the front thread for protection.
Why does my lens make a grinding noise?
Grinding usually means debris entered the zoom mechanism. Sand or grit gets past the barrel seals and damages the plastic guide rails. Stop using the camera immediately.
Continued use grinds the debris deeper and can ruin the entire zoom assembly. Professional cleanout costs $100 to $200.
Is the RX10 IV lens sharp at 600mm?
Manufacturer specifications indicate the lens resolves well at full zoom when properly aligned. In our research, most sharpness complaints trace to decentering from impact or wear. A well-maintained RX10 IV produces detailed images at 600mm.
Test your unit on a tripod against a flat target before assuming it is a design flaw.
How long does a Sony authorized repair take?
Typical turnaround is two to six weeks depending on the repair center's workload and parts availability. Aperture block and barrel replacement parts are usually in stock. Less common parts like the AF motor may require a longer wait.
Request a quote and estimated timeline before shipping your camera.
Can I prevent dust from getting inside the lens?
Not completely. The RX10 IV zoom barrel has seals, but no camera lens is fully dust-proof. Minimize risk by keeping the camera retracted to 24mm when not shooting.
Store it in a clean environment. Avoid changing lenses. That last one is easy since this camera does not let you swap glass anyway.

Similar Posts