Trail Camera Not Taking Pictures Troubleshooting
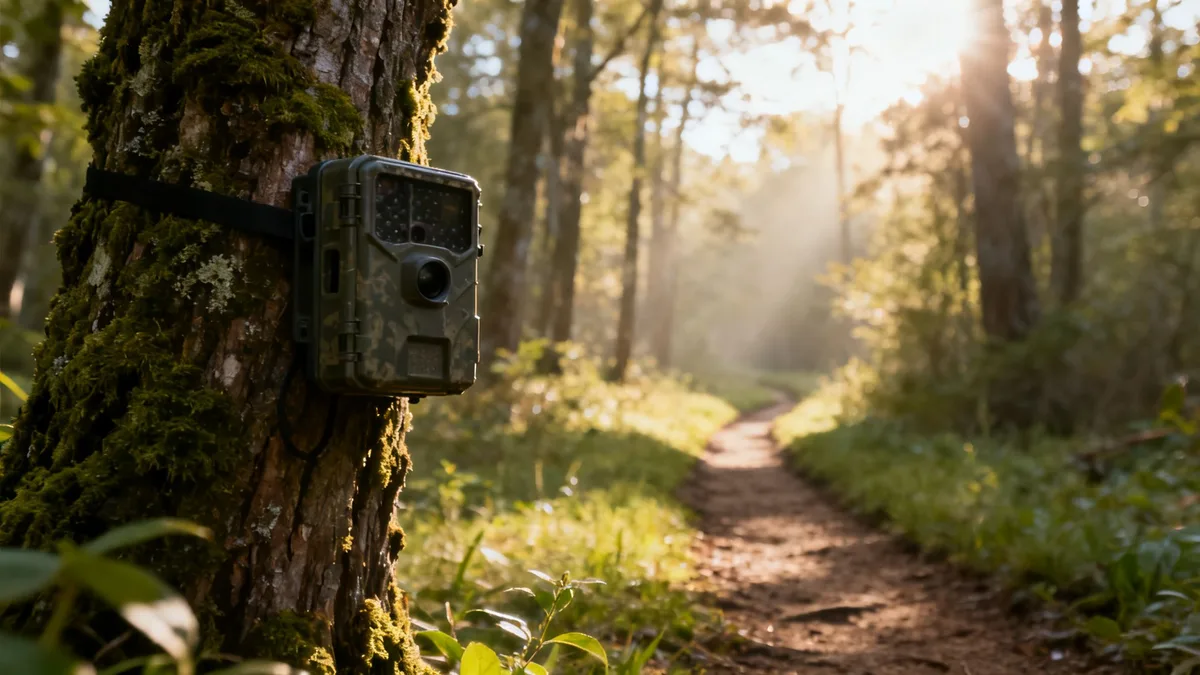
You mounted your trail camera in the perfect spot. The batteries are fresh. You walk back after a week and find zero pictures on the card.
That frustration is exactly why this trail camera not taking pictures troubleshooting guide starts with the most common causes first.
Per SD Association specifications, memory cards larger than 32GB use the exFAT file system. Many trail cameras only read FAT32 or FAT16. Using the wrong format is one of the biggest reasons a camera appears to work but never saves an image.
Most problems fall into a handful of categories you can check in under ten minutes. Let's read the symptoms first.
Image source: Bing (Web (fair-use with source credit))
Quick Answer
Nine out of ten trail camera failures come from batteries, SD cards, or settings. Start with a fresh set of lithium batteries and a 32GB Class 10 SD card formatted inside the camera. Set sensitivity to medium and delay to 30 seconds.
Do a walk test from 10 feet away. If the camera triggers, your problem is solved. If not, work through each section below in order.
Symptom Spotting: What Exactly Is Your Camera Doing (or Not Doing)?
Before swapping parts, figure out your symptom. Different problems need different fixes. Here are the four most common failure modes.
Symptom one: The camera won't power on. No lights. No LCD. No clicking.
That points at dead batteries, reversed polarity, or corroded contacts. Internal moisture damage is also possible.
Symptom two: The camera powers on but won't take pictures. You see the menu. You scroll through settings. But nothing happens when you walk in front of it.
This usually means a PIR sensor issue, a setting problem, or an SD card the camera can't write to.
Symptom three: The camera takes pictures but images are black or blank. It's triggering. It's clicking. But every photo is a black frame.
That's often a night-vision IR LED failure or a fogged lens.
Symptom four: The camera takes pictures of nothing. Lots of empty frames showing grass blowing in the wind. That's a sensitivity problem or placement issue. The sensor is catching too much.
Write down which symptom matches your situation. That narrows your troubleshooting by about 80 percent.
Batteries and SD Cards: The Usual Suspects
Batteries and SD cards cause more than half the failures. Start here every single time.
Batteries deserve more attention than most people give them. Alkaline batteries lose voltage fast in cold weather. Below freezing, they can drop below the camera's minimum operating voltage even when they still show a charge. Lithium batteries handle cold much better.
They hold steady voltage down to minus 20 or 30 degrees Fahrenheit. Most manufacturer specifications recommend lithium for year-round use in any climate that sees frost.
Check polarity and corrosion. Reversing one battery is incredibly common. Corrosion on contact springs causes intermittent power loss. Clean contacts with a pencil eraser or rubbing alcohol on a cotton swab.
Don't use sandpaper. That strips the plating and makes corrosion worse.
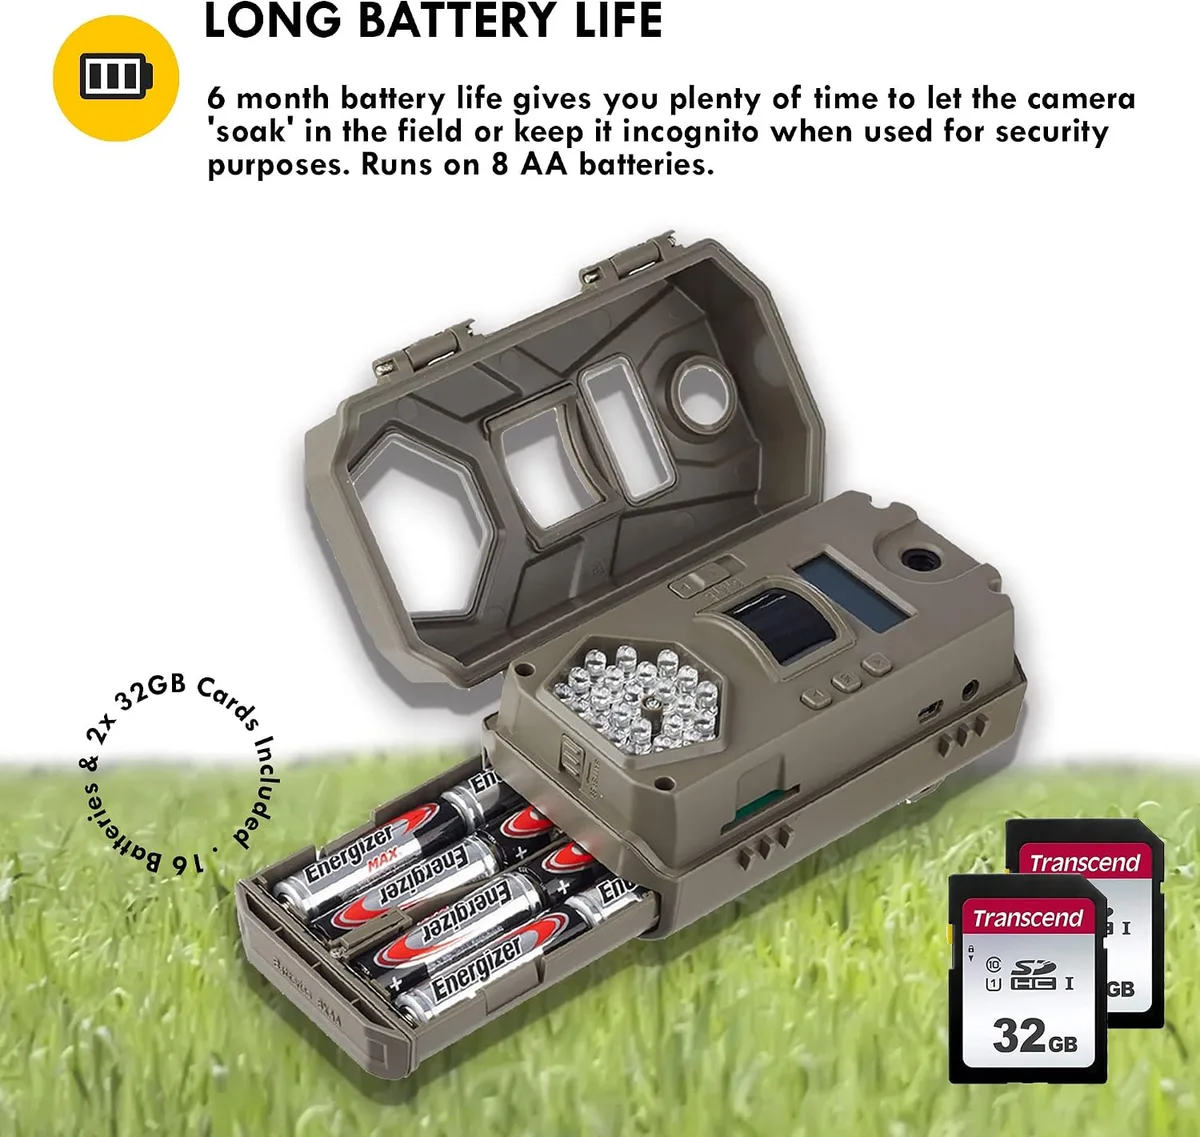
Image source: Web (Bing) / manuals.plus (Web image (fair-use with source credit))
Now look at the SD card. Trail cameras are picky about format, speed class, and capacity. A card that works perfectly in a laptop might be completely invisible to a trail cam.
- Format first. Always format the card inside the trail camera, not on a computer. The camera writes its own directory structure. If you format on a PC using NTFS or exFAT, the camera may not recognize it. Per the SD Association, cards over 32GB default to exFAT, which many cameras can't read.
- Check speed class. Most trail cameras need at least a Class 10 card. Slower cards cause the camera to freeze mid-write or skip shots.
- Capacity matters. Older cameras top out at 32GB. Many newer ones support 256GB or more. But bigger isn't always better. A 32GB card stores thousands of 5-megapixel photos.
- Replace old cards. SD cards wear out. They have a finite number of write cycles. If your card is more than two or three years old, swap it for a new one.
If the camera powers on but won't take pictures, try a different card. Use a new 32GB Class 10 card formatted inside the camera. If that fixes it, you've found the problem.
For more on avoiding storage issues, check the proper formatting steps for memory cards.
Sensor, Settings, and Trigger: When the Brain Isn't Working
The PIR sensor tells your camera to wake up and take a picture. If that sensor isn't seeing movement, or if the settings conflict, you get nothing.
Start with sensitivity settings. Most cameras have low, medium, and high options. High catches more movement but also catches swaying grass and temperature shifts. Low misses smaller animals or fast movers.
Medium is a good starting point.
Check the delay or recovery time. This is how long the camera waits after one picture before it can take another. If the delay is set to five minutes, the camera won't trigger during that window. A 30-second or 60-second delay works for most scouting.
Look at the timer mode. Some cameras let you set a specific time window. If you accidentally set the timer to only operate from 8 AM to 5 PM, it won't take nighttime pictures.
Multishot and burst settings. Burst mode fills the card faster and extends recovery time. While writing five images, the camera can't trigger again. Single-shot mode with a short recovery time often captures more total events than burst mode with a long delay.
Time-lapse mode versus motion trigger. Make sure you haven't switched into time-lapse mode. Time-lapse ignores the PIR sensor entirely. If you want motion-triggered shots, stay in normal detection mode.
Reset to factory defaults when in doubt. This clears any conflicting settings. After a reset, set mode to motion trigger, sensitivity to medium, and delay to 30 seconds. Do a walk test.
For cameras that freeze or act erratically, running through a full reset procedure can clear hidden glitches.
Placement and Environment: What's Blocking Your Camera?
A perfectly working camera fails if you put it in the wrong spot. The environment matters more than most people assume.
Vegetation in the detection zone is the number one placement mistake. A single branch swaying in the wind creates enough heat movement to trigger the PIR sensor constantly. That fills your card with blank images and drains batteries in days. Clear all grass, weeds, and small branches within 10 to 15 feet in front of the camera.
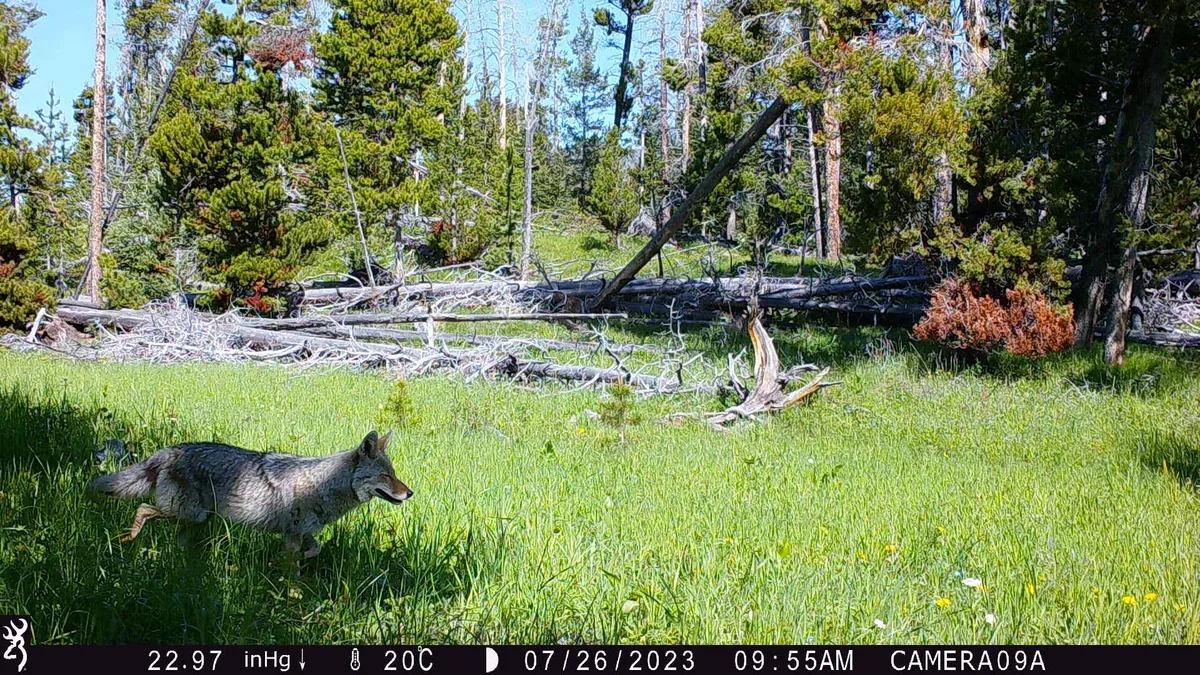
Image source: Web (Bing) / greateryellowstone.org (Web image (fair-use with source credit))
Direct sunlight on the sensor causes false triggers. The PIR sensor detects changes in infrared heat. When the sun moves across the sky and hits the sensor window directly, that temperature differential triggers the camera. Aim your camera north or south.
Avoid pointing it east or west where the rising or setting sun hits the lens and sensor.
Temperature differential limitations. The PIR sensor needs a temperature difference between the animal and the background. On a hot summer day, an animal's body temperature may match the ambient temperature. That makes detection harder.
In warm conditions, position the camera closer to the trail or bait site.
Mounting height and angle affect the detection zone. Most cameras have a detection cone that spreads outward. Mounting too high points the zone over animals' heads. Mounting too low causes false triggers from ground heat.
Three to four feet off the ground works for most deer and predator setups. Angle the camera slightly downward.
Lens fogging and condensation. If you're getting hazy or white images, moisture inside the housing is the culprit. Temperature swings cause condensation inside the lens bubble. Let the camera acclimate outside before powering it on.
If it goes from a warm truck to a cold mount, moisture forms immediately. For persistent issues, check the lens fogging troubleshooting guide.
The Step-by-Step Decision Workflow (From Symptom to Fix)
Follow this if-then workflow. Match the branch to your symptom.
Start here: Does the camera power on?
No → Check batteries first. Test voltage with a multimeter. Each AA cell should read at least 1.2 volts under load. Clean contacts. Try fresh lithium batteries. If it still won't power on, check for internal moisture damage or a blown fuse. Some cameras have a sticky power button. Toggle it several times to free it up.
Yes → Move to the next question.
Does the camera take test photos when you press the manual shutter button (if your model has one)?
No → This suggests a problem with the main circuit board or shutter mechanism. Try a factory reset. Update the firmware from the manufacturer's official site. If that doesn't work, the camera likely needs repair or replacement. Review the general troubleshooting steps for more advanced checks.
Yes → The imaging system works. The problem is in the trigger or detection system. Move to the next question.
Walk test: Walk in front of the camera from 10 to 20 feet away. Does it trigger?
No → Check sensitivity setting. Set it to high for the test. Verify you're inside the detection zone. The PIR sensor has a narrower field than the lens. Check your manual for the detection angle. If it still won't trigger, the PIR sensor may be faulty.
Yes → Good. The trigger system works. Move to the next question.
Are the images saved to the card?
No → SD card issue. Format a fresh card in the camera. Try a smaller capacity card. Check that the card isn't locked (tiny switch on the side). If the camera writes to the new card but not the old one, the old card is corrupted or incompatible.
Yes → Are the images clear and properly exposed?
If images are black, dark, or washed out:
- The IR LEDs may be dead. Look at the front of the camera at night. If you don't see a faint red glow (for low-glow models), the IR emitters have failed. This usually requires camera replacement.
- The lens might be fogged. Let the camera dry in a warm place for 24 hours and try again.
- Check that the camera is set to night mode or auto mode, not day-only mode.
If images are blank but the background looks normal:
- The trigger delay is too slow. The animal has already passed by the time the camera fires. Increase sensitivity. Move the camera closer to the trail. A shorter distance means less time for the animal to leave the frame.
This workflow covers about 90 percent of field issues. Run through it in order. Don't skip steps.
Keep a log of what you changed so you know what worked if the problem returns. For firmware-related issues, consult the firmware update troubleshooting guide.
Pro Tips for Long-Term Reliability
Once your camera is working, a few habits keep it running all season.
Change batteries on a schedule. Don't wait for the camera to die. Lithium batteries last six to twelve months in most conditions. Alkaline batteries last one to three months.
Mark your calendar. Swap them out before a critical scouting period.
Format the SD card every time you check it. Don't just delete photos. Formatting clears the file table and prevents corruption from building up. Do this inside the camera, not on a computer.
Carry spare SD cards in the field. A corrupted card can end a trip. Keep two or three formatted cards in a waterproof case. Swap them out when you check the camera.
Use a silicone case or housing for wet climates. Moisture is the slow killer of trail cameras. A basic protective cover keeps rain off the seals and prevents condensation inside.
Check firmware once a year. Manufacturers release updates that fix bugs and improve detection performance. Check the official website for your model. Follow the update instructions exactly.
A bad firmware flash can brick the camera.
Mount cameras out of direct sun. UV light degrades plastic housings and sensor windows over time. A shaded north-facing mount protects the camera and reduces false triggers from sun movement.
Use a security box or cable lock if theft is a concern. Losing a camera to theft is frustrating. A steel security box with a Python cable lock deters most casual thieves.
Frequently Asked Questions
Why is my trail camera taking pictures of nothing?
The sensitivity is set too high, or vegetation is moving in front of the sensor. Lower the sensitivity setting and clear all grass and branches within 10 to 15 feet of the camera. If the problem continues, the camera may be facing direct sunlight.
How do I know if my SD card is compatible with my trail camera?
Check your camera manual for the maximum supported capacity and required speed class. Most cameras need Class 10 or faster. Format the card inside the camera before first use.
Cards over 32GB may not work with older models.
Can cold weather stop my trail camera from working?
Yes. Alkaline batteries lose voltage below freezing. Switch to lithium batteries rated for temperatures down to minus 20 or 30 degrees Fahrenheit.
The LCD screen may also respond slowly in extreme cold, but the camera itself should still function.
How often should I change the batteries in my trail camera?
Lithium batteries last six to twelve months in normal conditions. Alkaline batteries last one to three months. Check voltage with a multimeter if you're unsure.
Change them when readings drop below 1.2 volts per cell under load.
What does it mean if my trail camera is clicking but taking no pictures?
The camera is detecting something and trying to fire, but the SD card may be full, corrupted, or incompatible. Try a freshly formatted Class 10 card. If that doesn't fix it, the trigger delay may be set too long, or the camera's internal memory buffer may be full.
Why are my trail camera pictures blurry at night?
Slow shutter speed in low light causes motion blur. Animals walking through the frame appear as smears. Use a camera with faster trigger speed and adequate IR illumination.
Mount the camera closer to the trail to reduce the distance the animal travels across the frame.

Similar Posts