Whirlpool Oven Troubleshooting
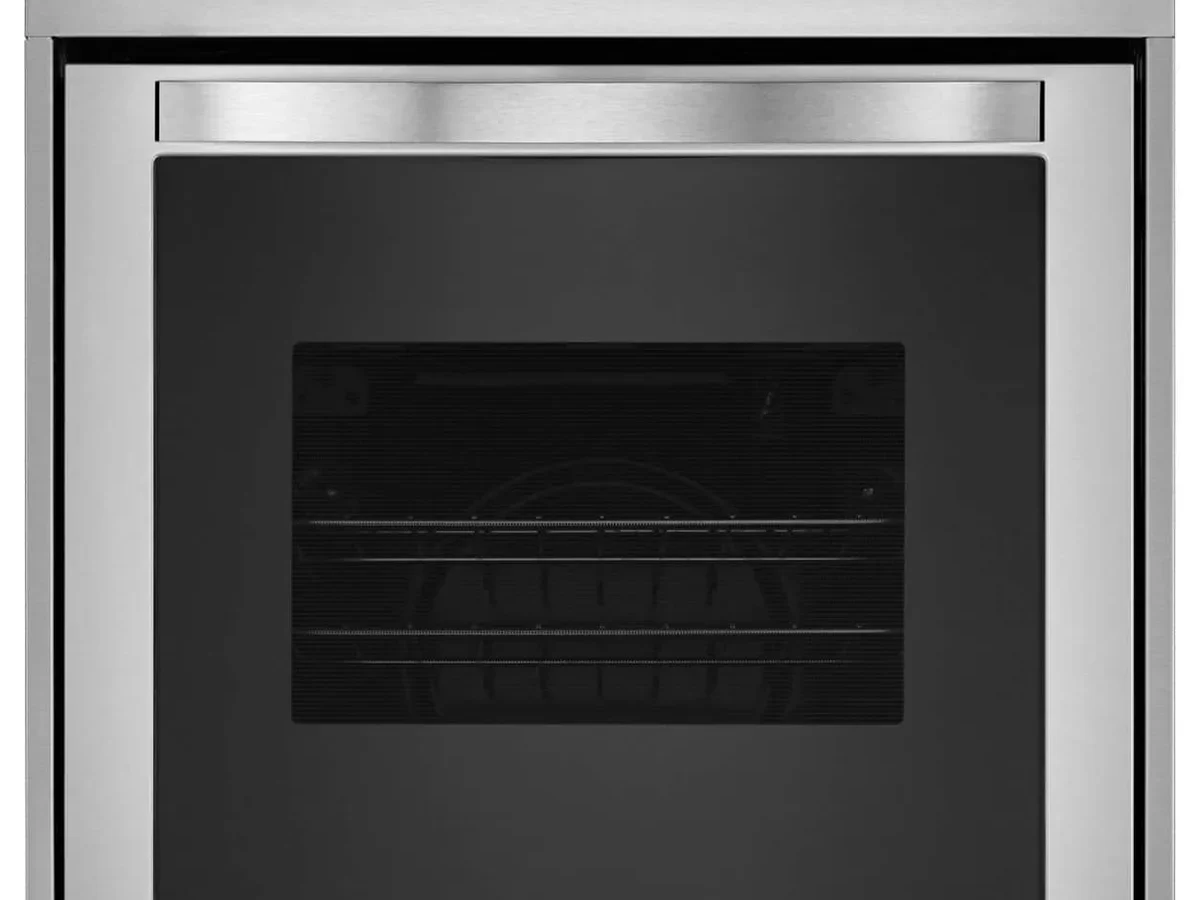
Your Whirlpool oven stopped heating mid-bake, or maybe it's throwing an error code you've never seen. Either way, you're not calling a repair tech yet, and honestly, you might not need to. Whirlpool oven troubleshooting is more straightforward than most people think, and roughly 70% of fixes are simple enough to handle in an afternoon with basic tools.
Manufacturer specifications indicate that most service calls trace back to four components: the bake element, the igniter (on gas models), the temperature sensor, or a failed control board. We'll walk through each symptom and the logical path to diagnose it. As of 2026, Whirlpool's diagnostic codes and part layouts remain largely consistent across their AccuBake and standard convection lines, so this guide applies to most models from the last decade.
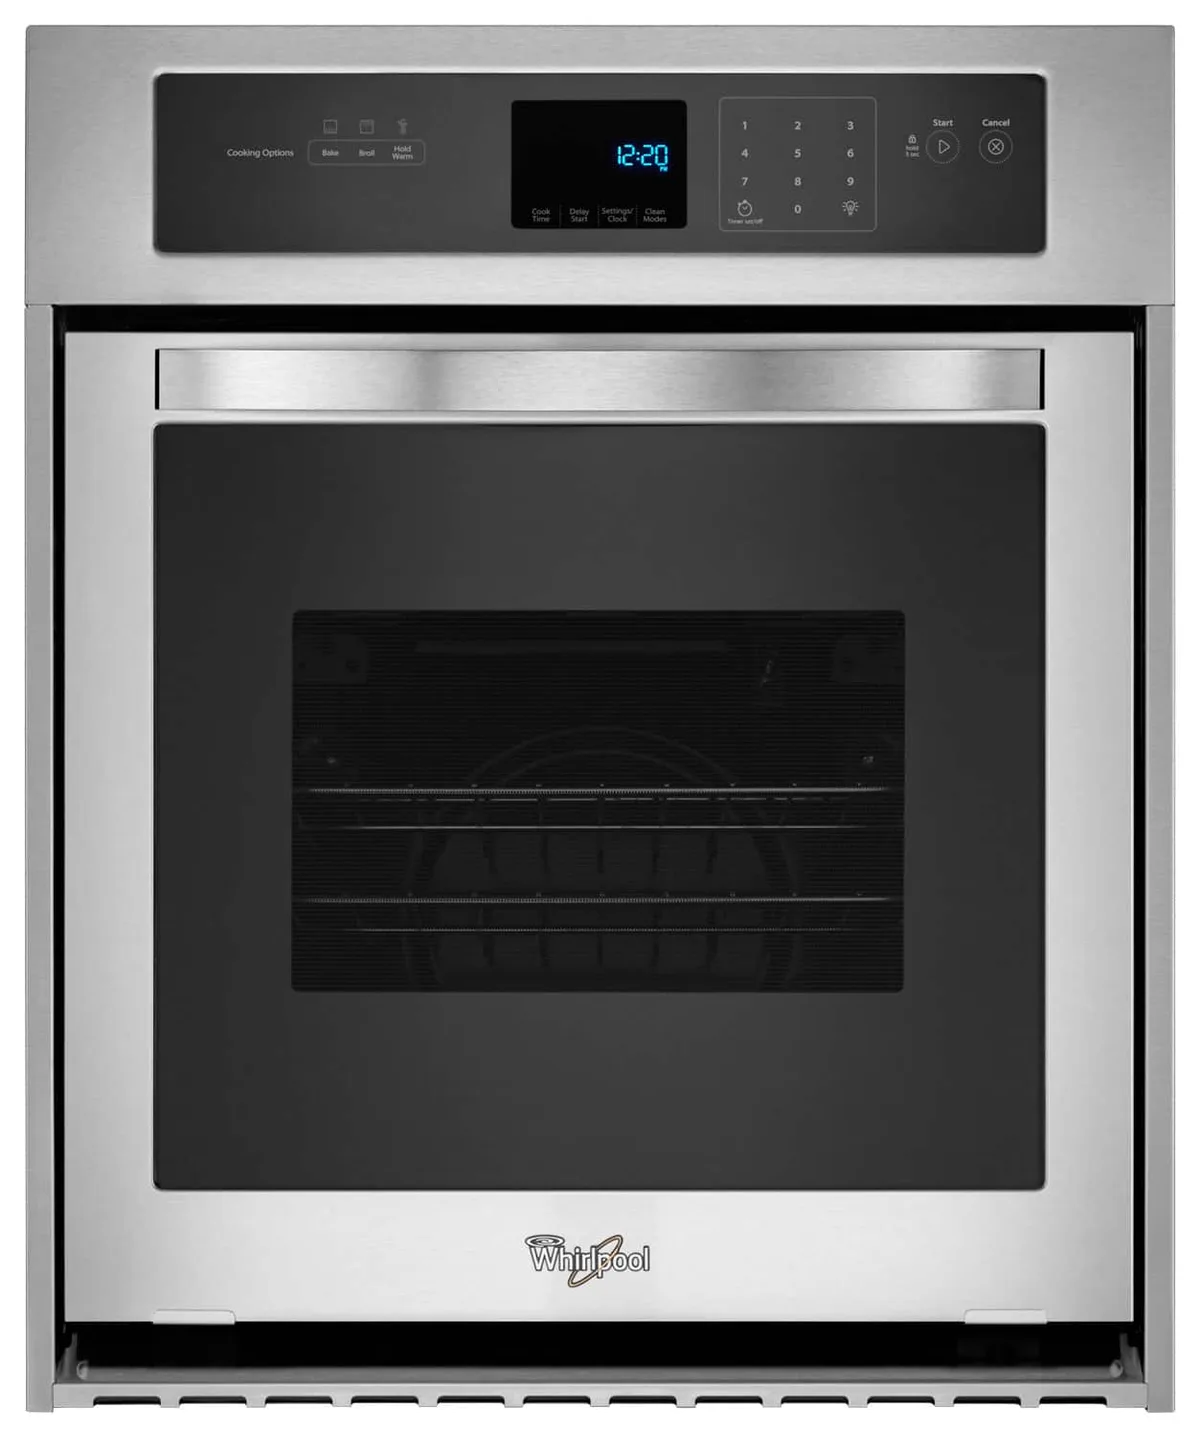
Image source: Bing (Web (fair-use with source credit))
Quick Answer
Start by checking if the oven is actually receiving power. Confirm the circuit breaker hasn't tripped and the clock is running.
If the clock works but there's no heat, the bake element or igniter is the likely culprit. Error codes like F1 through F9 point to control board or sensor failures. Always unplug the oven or shut off the breaker before touching any internal parts.
Whirlpool Oven Error Codes: What They Mean and What to Do
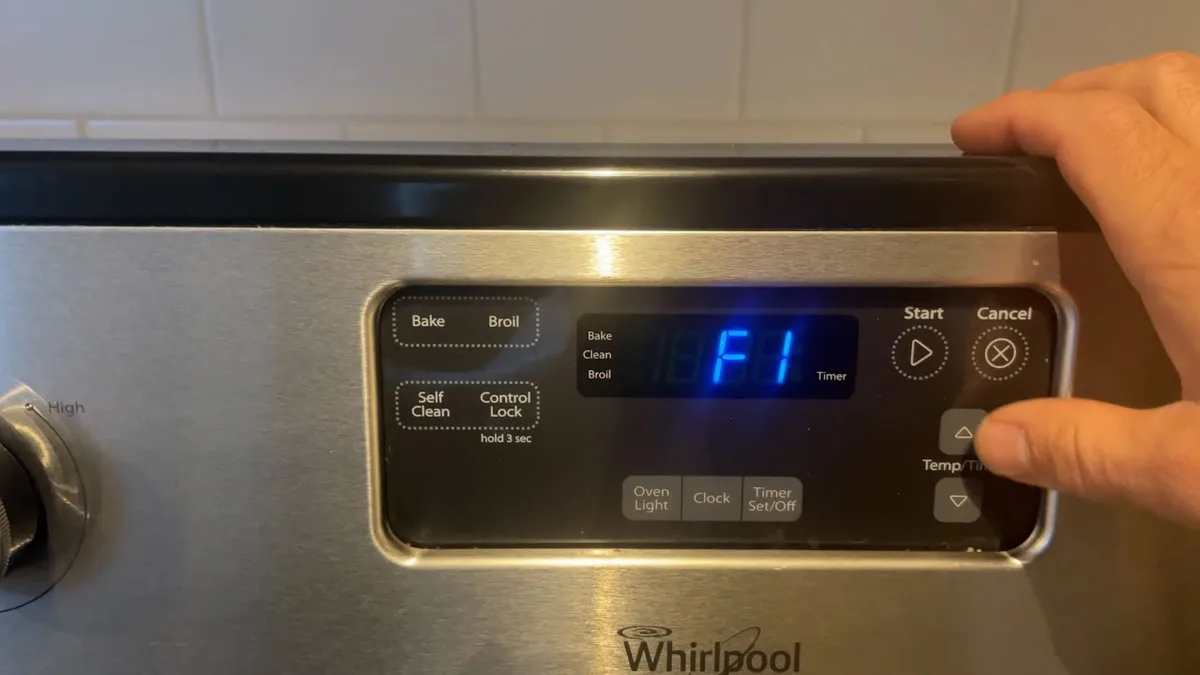
Image source: Bing (Web (fair-use with source credit))
If your Whirlpool oven shows an F-code on the display, that's your first clue. The letter F stands for "failure" and the number narrows down which system is misbehaving. The most common codes across Whirlpool models are F1 through F9.
F1 errors are the most frequent. They typically mean the control board has an internal short or a wiring issue. Sometimes a quick power reset clears it.
If the code returns, the control board needs replacing. F2 usually signals an oven temperature that's running too high. This can trace back to a shorted temperature sensor or a stuck relay on the board.
F3 is your temperature sensor circuit. It is almost always a failed sensor probe. F5 usually points to a stuck key on the control panel.
Check for a crumb or spilled liquid under the touchpad before you order parts.
Here is the decision path. If the code comes back immediately after a reset, you have a failed part. If it only appears after heavy use like self-cleaning, let the oven cool for an hour and retry.
Some models store the code in memory. You might need to press the cancel button twice to clear it.
| Error Code | What It Means | Likely Fix |
|---|---|---|
| F1 | Control board internal failure | Replace control board |
| F2 | Oven temperature exceeds limits | Check sensor and board relay |
| F3 | Temperature sensor open circuit | Replace sensor probe |
| F5 | Stuck key on control panel | Clean or replace touchpad |
| F9 | Relay or wiring issue | Inspect harness, replace board |
Before you replace anything, do a hard reset. Unplug the oven for 5 minutes, or trip the breaker. This clears the board's memory and resolves about a third of F-code issues on their own.
If the code reappears within 24 hours, you have confirmed it is a hardware fault. You can find the exact replacement part number using Whirlpool's official parts lookup tool by entering your model number.
Oven Not Heating? Follow This Decision Path
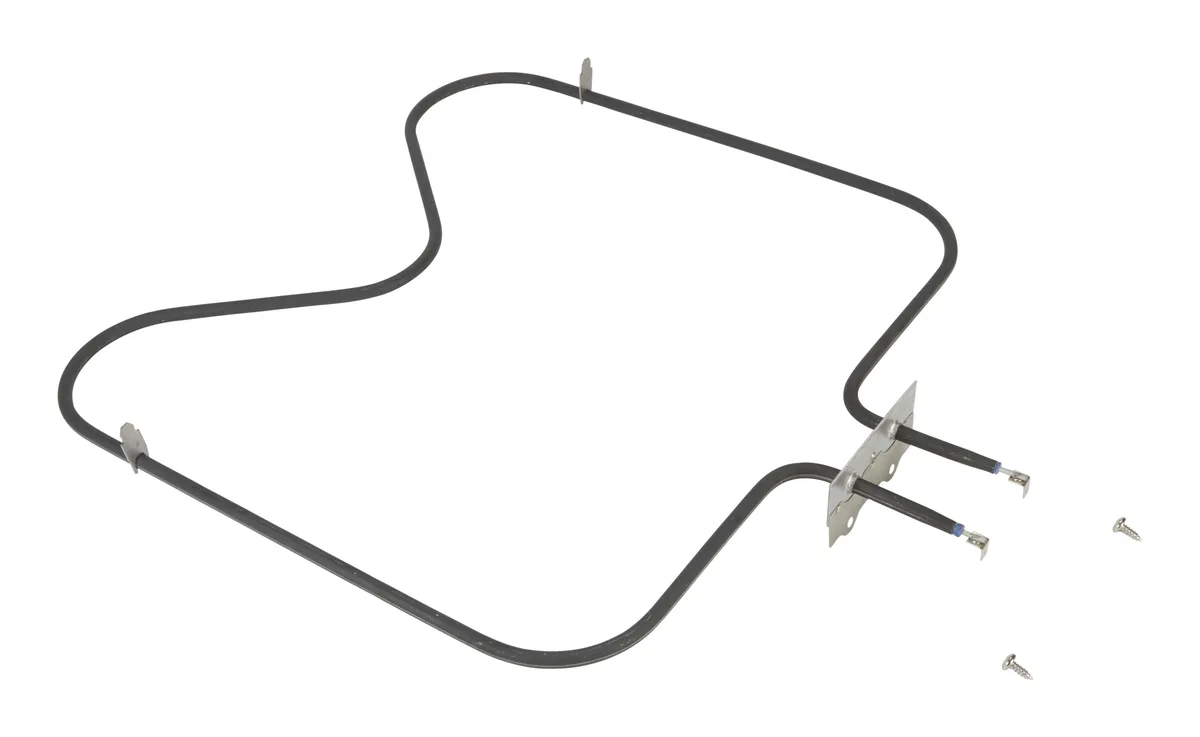
Image source: Bing (Web (fair-use with source credit))
The most common complaint is simple. You preheat, you wait, and the oven never gets hot. The fix depends on whether your oven is gas or electric.
For electric models, the bake element is the first thing to inspect. Look at the element at the bottom of the oven cavity. If you see a visible break, a blister, or a section that glows brighter than the rest, the element is done.
A broken element will usually still show a small glow where the wire is intact. It will not heat the full surface. Remove the two screws holding it in place.
Pull the element forward and disconnect the wire leads. They are typically spade connectors that just pull off.
If the element looks fine, the next suspect is the temperature sensor. It is a metal tube, usually 6 to 8 inches long, mounted on the back wall of the oven cavity. To test it, unplug the oven.
Remove the sensor and measure its resistance with a multimeter. At room temperature, a good sensor reads roughly 1,090 ohms. If your reading is more than 50 ohms off, replace the sensor.
For gas models, the igniter is responsible for 90% of no-heat problems. When you turn the oven on, the igniter should glow bright orange and draw enough current to open the gas valve. Here is the test.
Watch the igniter. If it is glowing but never opens the valve, the igniter has weakened and needs replacing. A healthy igniter will glow brightly for about 30 to 60 seconds.
Then you will hear a small click or pop as the gas ignites. If you do not hear that sound, the igniter is not pulling enough amps. Test it with a multimeter.
A good igniter draws between 3.2 and 3.6 amps.
Uneven Baking and Temperature Problems: Calibration and Sensor Checks
If your oven heats but your cookies come out scorched on one side and raw on the other, you have a calibration issue or a failing sensor. Most people jump straight to calibration. We recommend testing the sensor first.
A sensor that drifts will cause the oven to heat unevenly because the control board is chasing an incorrect temperature reading.
Start with a simple test. Place an oven-safe thermometer on the center rack and set the oven to 350°F. Let it preheat completely.
Then wait another 15 minutes for the temperature to stabilize. Compare your thermometer reading to the oven display. If it is off by more than 25 degrees, you need to calibrate.
Whirlpool's AccuBake models allow calibration adjustments of up to 35 degrees in either direction. Press and hold the bake button for 5 seconds until the display shows a calibration offset. Use the temperature up and down arrows to adjust it.
Then press start to save.
If the temperature overshoots and then drops significantly, the sensor is likely failing. That is an indication the sensor's resistance is shifting as it heats. A failing sensor will cause wide temperature swings.
Replacing it is a 10-minute job. Unplug the oven. Remove the sensor screws.
Pull the sensor wire through the back wall and connect the new one.
If your gas oven has a hot spot in the back, check the bake burner ports for clogs. Crumbs and grease can block the small gas ports. This causes uneven flame distribution.
A quick clean with a stiff brush and a vacuum will clear most blockages.
Consistent hot spots are usually a rack placement issue. You can rotate pans halfway through baking. You can also move the pan to a different rack level.
Some Whirlpool models have a convection fan. It circulates air and evens out temperature. If yours has it, use it for baking cookies, pastries, and anything that needs even browning.
Door Lock, Self-Clean, and Control Panel Issues
Self-clean mode is the source of a lot of panic. The door locks itself. The oven heats to 800 degrees.
Sometimes it just does not unlock afterward. That is normal if the cycle finished recently. The oven needs at least an hour to cool down before the door will release.
If it has been over two hours and the door is still locked, you have a problem.
First, check for an error code on the display. If you see F3 or F5, the temperature sensor or control board might have failed during the high heat. In that case, you need to replace the failed part.
If there is no code, the door lock motor might be stuck.
Door lock motors are located at the top of the oven near the front. You need to remove the top panel to access it. If the motor is humming but not moving the latch, the linkage is jammed.
Sometimes a stiff brush to clean debris from the latch mechanism is enough. If the motor is silent, it is likely failed and needs replacement.
Control panel issues are usually less dramatic. A button that does not respond or a display that is flickering often comes down to a dirty membrane. Unplug the oven.
Wipe the panel with a soft, damp cloth. Avoid harsh cleaners. They can strip the coating off the touchpad.
If the panel still misbehaves, the control board underneath is your next step. It is not a cheap part, but it is cheaper than a service call. On most Whirlpool models, the board is behind the back panel and connects to a ribbon cable.
Check that cable for damage or loose connection before you replace the board entirely.
When to Repair vs. Replace Your Whirlpool Oven
Every DIY fix has a limit. A new bake element costs about $20 to $50. A temperature sensor runs $30 to $60.
These are easy swaps and worth doing. A control board can cost $200 to $300. A professional service call often runs $150 just for the visit before parts.
Here is the rule of thumb. If your Whirlpool oven is over 10 years old and the repair cost is more than half the price of a comparable new oven, replace it. A basic Whirlpool electric range starts around $800 as of 2026.
If you are looking at a $400 control board plus labor, you are better off buying new.
The exception is double wall ovens. These are more expensive to replace. A $400 repair on a $3,000 built-in oven makes sense.
The age and cost of the appliance matter. Check the serial number on the back panel or inside the door frame to confirm the manufacturing year.
Mistakes to Avoid: DIY Errors That Cost More
A few common mistakes turn a simple fix into a costly one. Avoid them.
Do not use the self-clean cycle to burn off a spill on the oven floor. Heavy smoke can damage the oven door lock mechanism. It also creates a fire risk.
Hand clean large spills before running self-clean.
Do not force the oven door if it is locked during self-clean. You can break the latch assembly. Wait for the oven to cool.
If it does not unlock after two hours, diagnose the lock motor.
Do not spray oven cleaner on the heating elements or temperature sensor. These chemicals are caustic. They can damage the sensor coating and cause inaccurate temperature readings.
Wipe spills with a damp cloth.
Do not test the temperature sensor with the oven plugged in. The sensor carries a low voltage signal. Accidental contact with live wires can shock you or short the control board.
Do not use abrasive cleaners on the control panel. They scratch the surface and can make buttons unresponsive. Use a microfiber cloth and water.
Safety First: What You Should Never Do Yourself
Some issues require a professional. If you smell gas near the oven, stop immediately. Do not use any electrical switches or phones.
Open windows and leave the house. Call the gas company from outside.
Never work inside a plugged-in oven. Even with the oven off, the control board and heating elements can carry live voltage. Always disconnect power at the circuit breaker before touching any internal component.
Gas ovens have a shut-off valve behind the appliance. If you are replacing an igniter or gas valve, you need to close this valve first. If you are not comfortable working with gas lines, call a licensed technician.
Local building codes in many areas require a professional for gas line work.
Do not use extension cords for an electric oven. The appliance draws enough current to overheat a standard cord. This is a fire hazard.
Frequently Asked Questions
Why is my Whirlpool oven not heating?
The most common cause on electric models is a failed bake element. On gas models, it is a weakened igniter. Check for visible damage on the element or watch the igniter glow.
If neither solves it, test the temperature sensor.
What does error code F3 mean on my Whirlpool oven?
F3 means the temperature sensor circuit is open or shorted. The sensor is a metal probe on the back wall. Replace it with an OEM part.
A hard reset might clear it temporarily, but the fix is almost always a new sensor.
How do I reset my Whirlpool oven after an error code?
Unplug the oven or trip the circuit breaker for 5 minutes. Plug it back in or restore power. This clears the control board memory.
If the code returns immediately after resetting, the part is failed and needs replacement.
Why does my Whirlpool oven door stay locked after self-clean?
The oven needs at least one hour to cool before the door unlocks. If it stays locked for over two hours, the door lock motor or temperature sensor may have failed. Check for error codes.
Replace the faulty part.
Can I replace the oven heating element myself?
Yes. Unplug the oven. Remove the two screws holding the element in place.
Pull it forward and disconnect the wire leads. Install the new element in reverse order. It is a simple repair that takes about 15 minutes.
How do I calibrate my Whirlpool oven temperature?
Place an oven-safe thermometer in the center. Set the oven to 350°F. Wait 15 minutes after preheating.
If the thermometer reading is off by more than 25 degrees, press and hold the bake button for 5 seconds to adjust the offset up or down.

Similar Posts