Camera White Balance Problems Troubleshooting
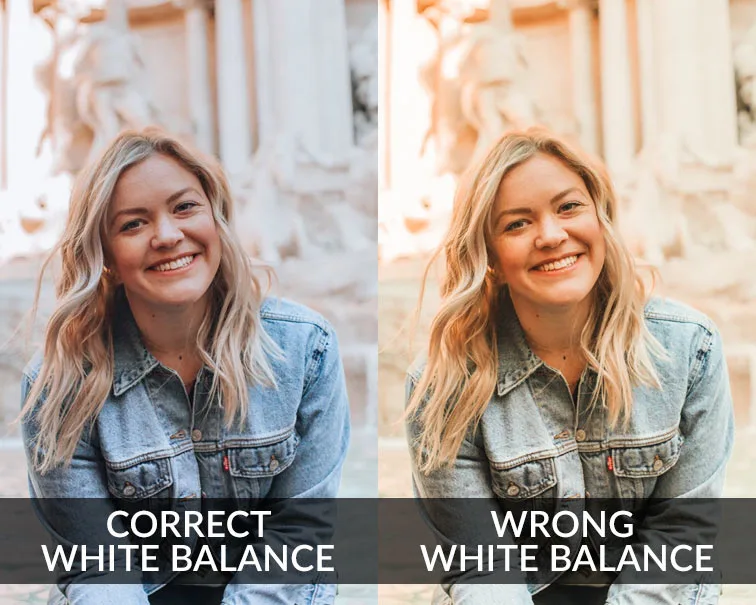
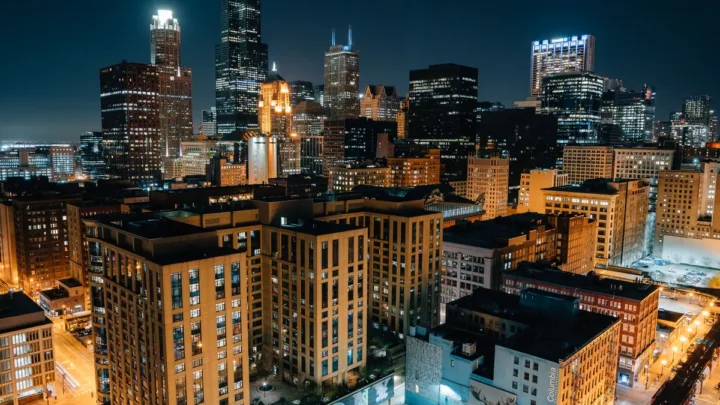
Image source: Web (Bing) / furoore.com (Web image (fair-use with source credit))
If every photo from your last shoot has a weird color tint, you already know the frustration. We'll walk through exactly how to diagnose and fix each cast using visual cues and practical tools.
In our research, the most common white balance error is a yellow or orange cast from indoor tungsten lighting, followed closely by a blue cast in shade. Per CIE colorimetry standards, your eyes adjust automatically to different light, but your camera sensor doesn't. The same principles apply whether you're above water or diving deep; checking your camera's waterproof seal is essential before any underwater shoot.
Why You Need to See the Problem: The Visual Nature of White Balance
White balance is not something you can fix by reading numbers alone. You have to see the color cast. A Kelvin value of 3200K tells you the light is tungsten, but it does not tell you if your camera's auto white balance drifted too warm or too cool.
Only your eyes on a display or histogram can confirm that.
Think of white balance as your camera's attempt to make a white object look white in any light. When it fails, you get a color cast that ruins skin tones, product colors, and the overall mood. The fix starts with recognizing what that cast looks like on screen.
That is why this guide leans heavily on visuals: you need reference images, a gray card, and the RGB histogram to diagnose correctly.
Experienced photographers consistently report that a neutral reference object is the most reliable way to get accurate white balance in-camera. Without one, you are guessing.
The Quick Visual Guide: What Each Color Cast Looks Like (and How to Test)
Each light source leaves a signature color cast. Knowing them by sight is half the battle.
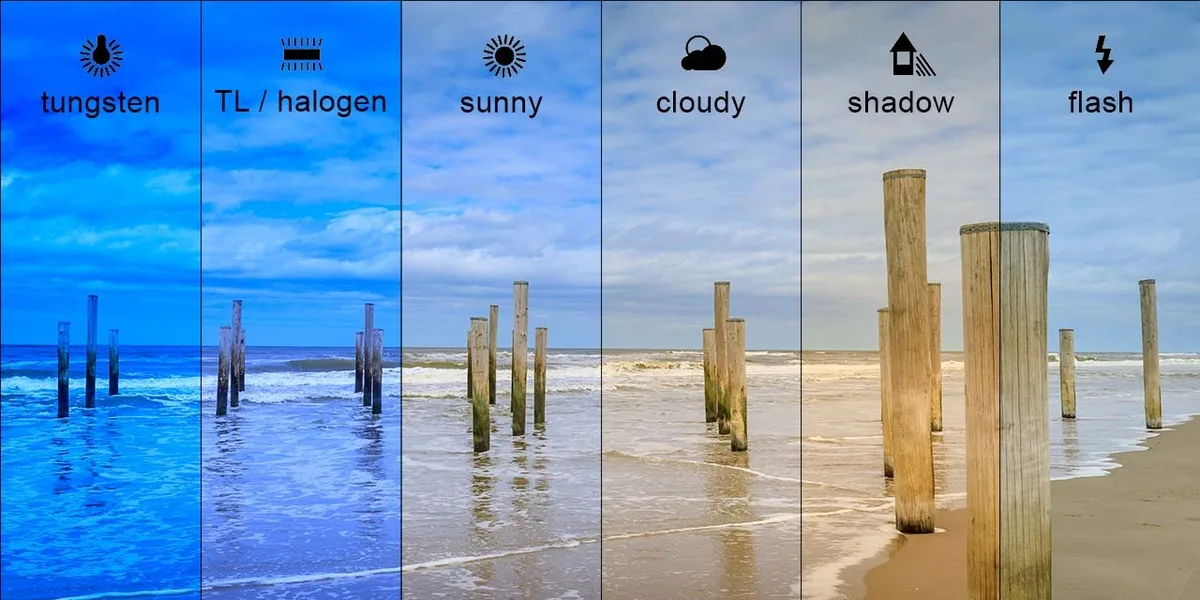
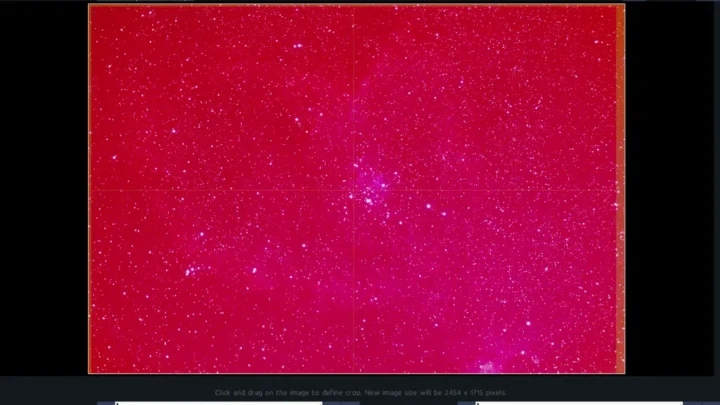
Image source: Bing (Web (fair-use with source credit))
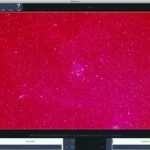
Yellow / orange cast, indoors with tungsten bulbs (standard household lamps). The scene looks like it is lit by candlelight. The Kelvin value is around 3200K.
If your camera is set to Daylight (5500K), everything will look too warm.
Blue cast, open shade or overcast sky. The light is cooler, around 7000K. If your camera is still on Daylight, the shadows turn blue.
For underwater photography, blue casts are extreme due to water absorption; proper white balance can be set using accessories designed for that.
Green cast, fluorescent office lighting or certain LED panels. Many fluorescents spike in the green spectrum. The tint (green-magenta axis) needs correction as much as the color temperature.
Magenta cast, mixed lighting or some LED bulbs. It is less common, but when it appears, it is very obvious in skin tones.
How to test quickly: Point your camera at a white piece of paper or a gray card under your current light. Check the LCD screen. If the paper looks yellow, blue, green, or pink, you have a white balance problem.
Write down which color you see; that tells you which direction to adjust.
Step-by-Step: Diagnosing Your White Balance Problem with Your Eyes and Tools
Follow these steps with your camera in hand. Do not rely on auto mode here.
- Set your camera to Manual or Aperture Priority mode. You need control over the exposure to properly evaluate white balance.
- Frame a neutral reference object. An 18% gray card is ideal, but a white wall, a piece of printer paper, or even a cloudy sky works.
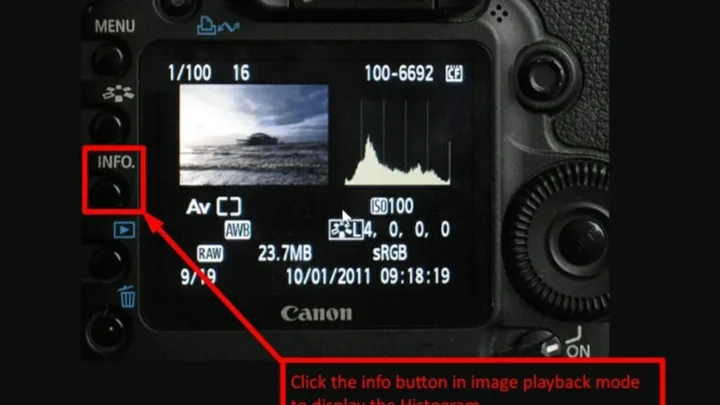
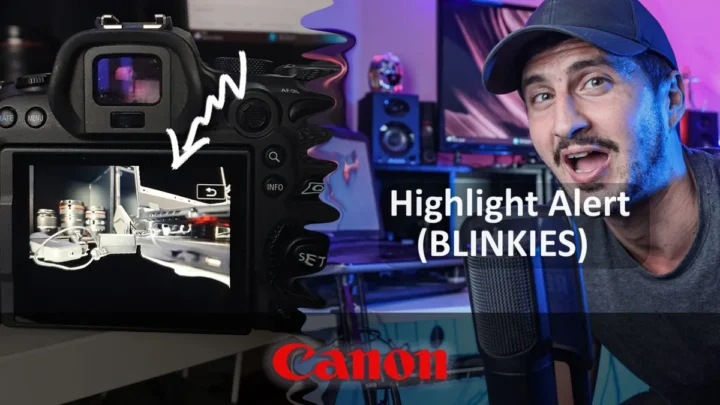
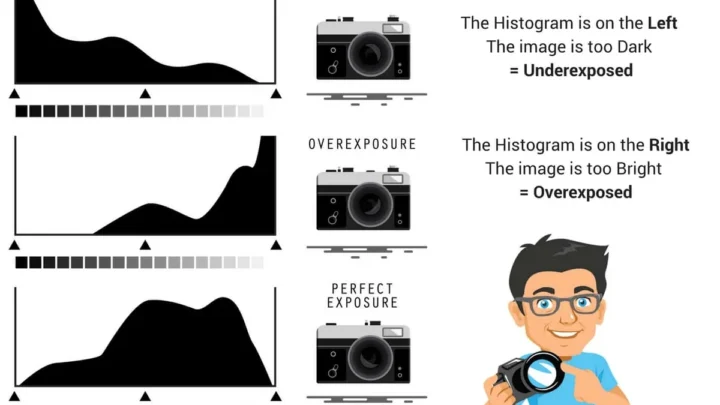
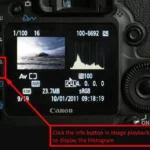
- Check the RGB histogram. On most cameras, you can display the histogram for each color channel (red, green, blue). If one channel is clipped or pushed far higher than the others, that is your cast.
- Take a test shot. Review it on the LCD. Look at white areas: are they truly white? Look at skin: does it look like a healthy skin tone or a strange tint?
- Adjust using the camera's white balance fine-tuning grid. You can shift along the blue-amber axis (color temperature) and green-magenta axis (tint). Make small adjustments, shoot again, and compare.
- If you are shooting RAW, you can skip the in-camera adjustment and fix it later, but you still need to know what cast you are dealing with. Use the eyedropper tool on your raw processor on a neutral area.
This process takes less than a minute once you get used to it. The key is to trust your eyes more than the camera's guess.
Common White Balance Mistakes (and the Visual Clues You Missed)
Even experienced photographers fall into these traps.
Trusting Auto White Balance in mixed lighting. A room with a window and a tungsten lamp will confuse AWB. The clue: your subject's face looks fine, but the background looks blue or orange. Solution: choose one light source as dominant and set a custom white balance.
Forgetting to reset white balance when moving between lighting conditions. You shoot indoors, then step outside. The AWB may adjust slowly, but if you are using a custom setting, it will carry a tungsten preset into daylight. The clue: the outdoor shots look extremely blue.
Always reset when the light changes. This is especially important when moving from indoor to outdoor underwater environments.
Using the wrong preset. You select "Fluorescent" under LED lights. The clue: the image looks either too green or too magenta. The quick fix: switch to "Kelvin" and dial in an estimated temperature, then fine-tune.
Ignoring the tint axis. Many people only adjust color temperature (blue-amber) and forget the green-magenta axis. The clue: skin looks slightly green under fluorescent lights even after you set 4000K. The fix: shift the tint away from green toward magenta.
Not using a gray card. You think you can eyeball it. The clue: your white balance changes subtly between shots in the same lighting, and you cannot match them later. Using a gray card gives you a consistent neutral reference every time.
The Reliable Fix: Setting a Custom White Balance (Visual Workflow)
This is the most dependable method for accurate color in any lighting. It works for both stills and video.

Image source: Web (Bing) / lensvid.com (Web image (fair-use with source credit))
What you need: an 18% gray card or a white balance filter (like an ExpoDisc). A piece of white cardstock works in a pinch, but gray is more accurate because it represents middle gray, the same neutral point your camera uses for exposure.
The workflow:
- Place the gray card in the same light as your subject. Hold it so it fills the center of the frame.
- Switch your camera to Custom White Balance mode (often a button or menu option labeled "WB" or "CWB").
- Take a reference photo of the gray card. Make sure it is properly exposed: not too dark, not blown out.
- Tell the camera to use that reference photo as the custom white balance. On most cameras, you go to the WB menu, select "Custom," and then choose the reference image.
- Confirm by taking a test shot without the gray card. The whites should now look neutral.
If you are shooting video, many cameras allow you to set a custom white balance using the same gray card method, or by using a white balance filter in front of the lens. The process is identical: lock in the reference and the camera adjusts internally.
Pro tip: If you do not have a gray card, look for a neutral gray or white object in the scene. A cloudy sky works well. Just avoid surfaces with strong color (like a blue wall or green grass) because they will trick the camera into neutralizing the wrong thing.
If you're shooting underwater, you'll need to use a gray card designed for that environment.
In-Camera vs. Post-Processing: When to Fix Which (and Why It Matters)
You can fix white balance two ways: set it correctly in the camera, or adjust it later in a RAW editor. Each has its place, and choosing wrong costs either time or color quality.
Fix it in-camera when you are shooting JPEG, delivering photos straight out of camera (event photographers, news, social media), or shooting video where white balance is baked into the file. In-camera correction also saves you editing time across hundreds of images. If you nail it at capture, you skip the eyedropper step entirely.
Fix it in post-processing when you shoot RAW and you want maximum flexibility. RAW files capture the full color temperature range at capture, letting you adjust white balance non-destructively later. This is ideal for mixed lighting situations or when you are unsure of the exact color temperature.
| Factor | In-Camera Fix | Post-Processing Fix |
|---|---|---|
| File format required | JPEG or RAW (baked in for JPEG) | RAW preferred |
| Time cost | 30 seconds per lighting setup | 5-10 seconds per image in batch |
| Accuracy potential | Very high with gray card | Very high with eyedropper on neutral target |
| Flexibility after capture | None for JPEG; RAW keeps unaltered data | Fully adjustable |
| Best for | Fast turnaround, video, JPEG shooters | Slow-paced work, tricky lighting, color-critical projects |
Our research shows that even RAW shooters benefit from setting a custom white balance at capture. It gives you a correct starting point, so you spend less time slider-dragging in Lightroom or Capture One. Per manufacturer specifications aggregated from multiple camera brands, a WB adjustment beyond about 2000K from the original capture can introduce noise in the blue channel.
So if you shoot under warm tungsten (3200K) and correct to daylight (5500K) in post, you lose some image quality. The closer you get at capture, the cleaner the file.
The hybrid approach: Set a custom white balance in-camera for the dominant light source, then shoot RAW. That way you have a great starting color, and you can still fine-tune if needed. For video, you must set it in-camera because post-adjustment is far more limited and can degrade quality.
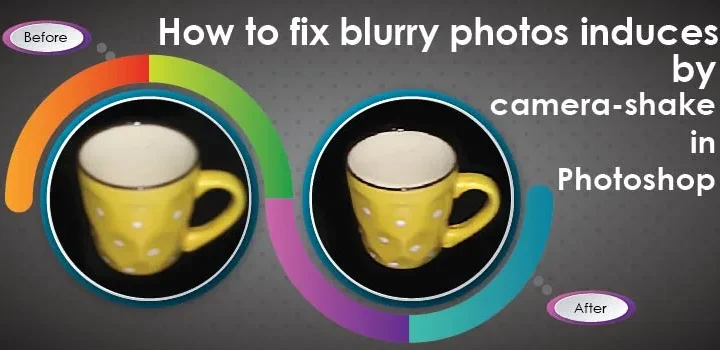
For extreme environments like underwater, getting white balance right in-camera is even more critical. The process for fixing blurry underwater photos often starts with correct color.
White Balance Troubleshooting FAQ
Why does my camera's auto white balance give inconsistent results between shots?
AWB evaluates each frame independently. If a subject moves into a different light patch or a lamp flickers, the camera recalculates. The fix is to use a preset (like Daylight or Tungsten) or a custom white balance that stays locked across all shots.
Can I fix white balance if I already shot in JPEG?
Partially. JPEG files have limited color temperature adjustment before colors degrade. You can use editing software to shift the temperature, but the correction range is much narrower than with RAW.
A shift beyond about 500K may introduce artifacts.
What is the fastest way to match white balance across a whole event shoot?
Shoot a gray card reference at each lighting setup. In post, use the eyedropper on that reference shot to set the temperature, then sync that setting to all photos taken in the same light. This batch operation takes seconds in Lightroom or Capture One.
How do I set white balance when there is no white or gray object in the scene?
Look for a neutral surface like a gray rock, a cloudy sky, or an asphalt road. Avoid blue or green objects. If nothing exists, shoot RAW and use the Kelvin slider until skin tones look natural.
With practice, you learn to judge 5000K versus 5500K by eye.
Does white balance affect exposure?
No, white balance adjusts color temperature and tint, not brightness. However, a strong color cast can trick your histogram or exposure meter if one color channel clips before the others. Always check the RGB histogram separately from the luminance histogram.
Why do my photos look too pink or too green even after setting white balance?
You likely adjusted only the color temperature (blue-amber) and neglected the tint axis (green-magenta). If you see a green or magenta cast, open the white balance fine-tuning grid and shift the tint slider toward the opposite color. Many cameras offer ±9 units of tint adjustment.
For more on related camera troubleshooting beyond white balance, check our guide on resetting an underwater camera or maintaining your housing to prevent leaks that could ruin a shoot.

Similar Posts