How to Program a Trail Camera
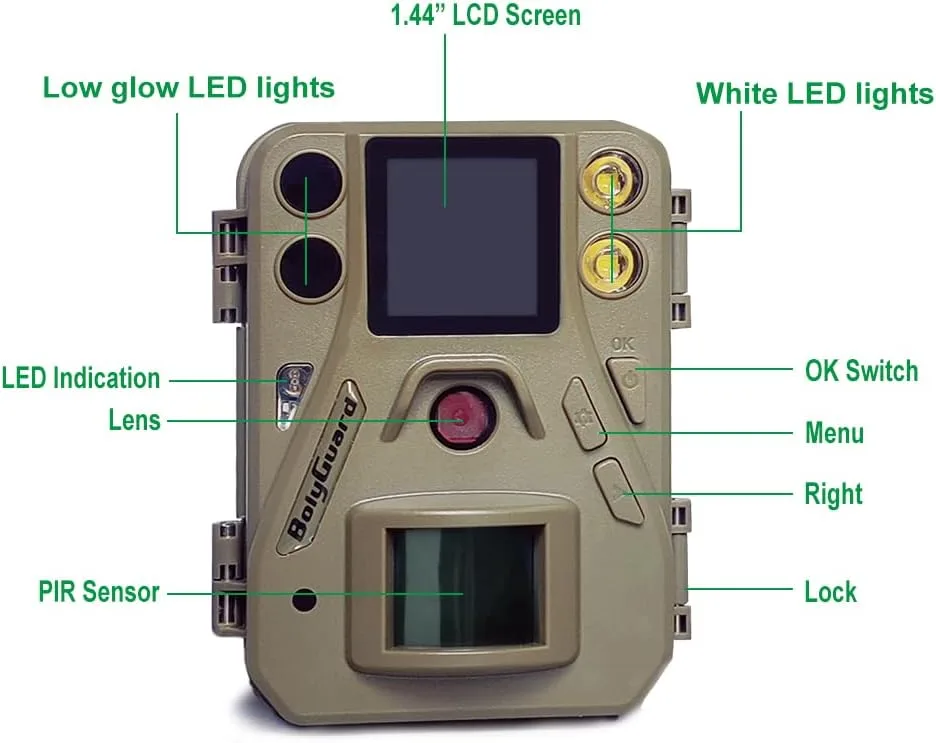
If you have ever stood in front of a trail camera squinting at a tiny LCD screen and pressing random buttons, you are not alone. The real challenge with learning how to program a trail camera is that no two brands use the same menu system. A Browning uses different menus than a Stealth Cam or a Moultrie.
You need a flexible approach, not a single list of steps.
Manufacturer specifications indicate that modern trail cameras offer detection ranges of 60 to 120 feet and trigger speeds as fast as 0.2 seconds. But none of that matters if you cannot get the thing set up correctly. As of 2026, most cameras follow the same basic logic even if the button labels differ.
Let us walk through the exact process so you can get it right the first time.
Quick Answer
Insert batteries and an SD card. Turn the mode dial to Setup. Set the date and time.
Choose photo or video mode. Adjust sensitivity and trigger speed. Turn the dial to On.
Test with a walk-by.
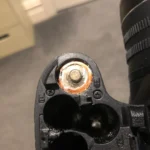
Image source: Web (Bing) / fr.manuals.plus (Web image (fair-use with source credit))
The Real Problem: It's Not a Universal Button
The biggest frustration people hit is assuming every trail camera works the same way. They don't. Some models hide the setup menu behind a power-on sequence.
Others require you to hold a button for three seconds before anything happens. If you treat a Reconyx like a cheap no-name brand, you will end up staring at a blank screen.
The core steps are always the same. Every trail camera needs you to set the date and time first. Then you pick a capture mode.
Then you adjust sensitivity. The order of those steps rarely changes, even if the button labels do.
This is where the flow chart matters. If you are dealing with a camera that has a physical mode dial, turn it to the Setup or Test position. If your camera has only a power button, press it once and wait for the menu to appear.
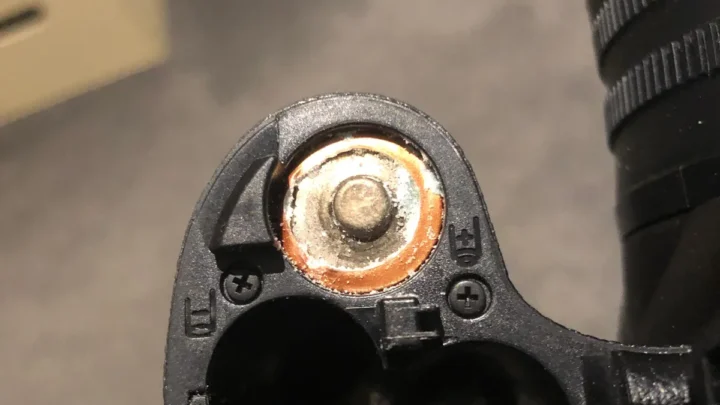
If nothing happens, check the battery polarity and confirm the SD card is inserted. Some cameras simply refuse to power on until you restore default settings.
For a reliable reference, Browning's official support pages provide model-specific walkthroughs that cover the exact button sequences for their units. Bookmark that instead of a generic forum post.
What You'll Need Before You Touch a Single Setting
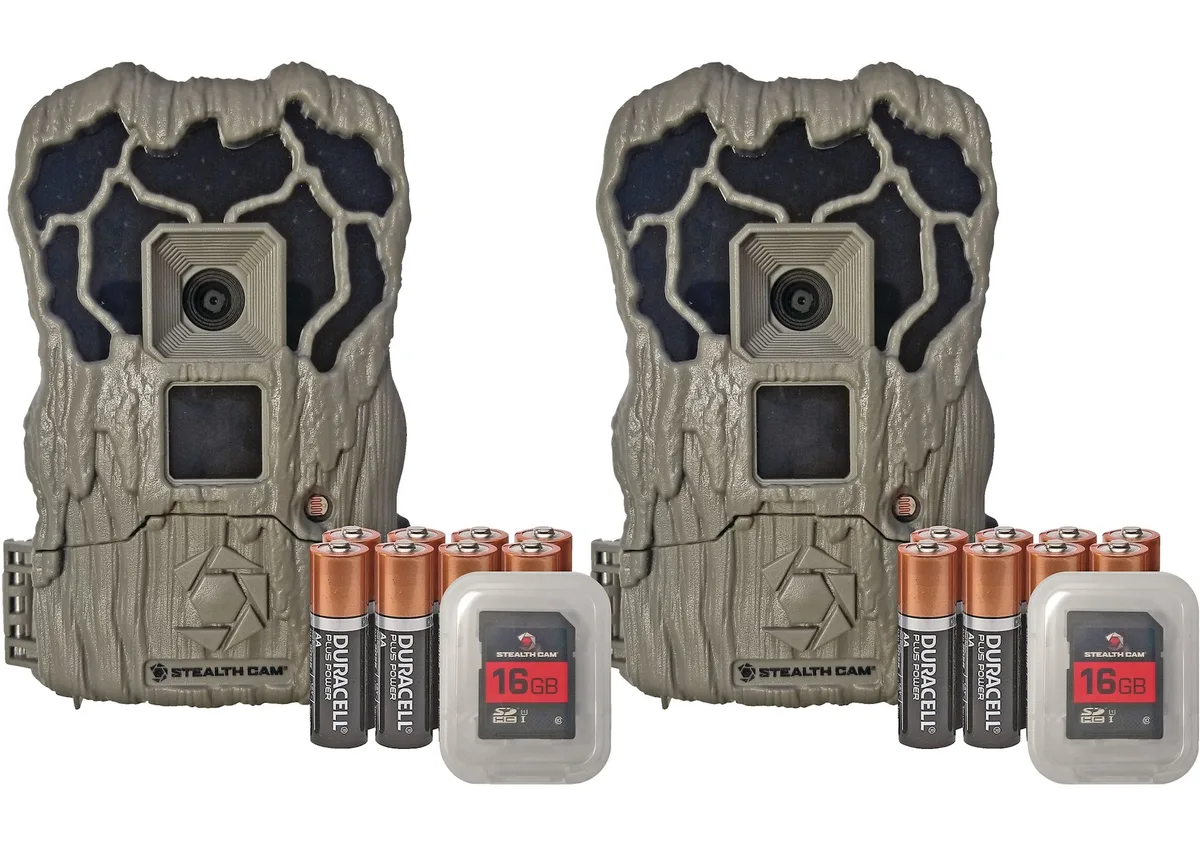
Image source: Web (Bing) / canadiantire.ca (Web image (fair-use with source credit))
Before you start pressing buttons, gather the physical pieces. Trying to program a camera without the right parts wastes time and causes frustration.
Here is what you need:
- Batteries. Most trail cameras use 4 to 8 AA batteries. Lithium cells last the longest, especially in cold weather. Alkaline batteries work but drain faster. Rechargeable NiMH cells are fine for summer use but lose voltage in freezing temperatures.
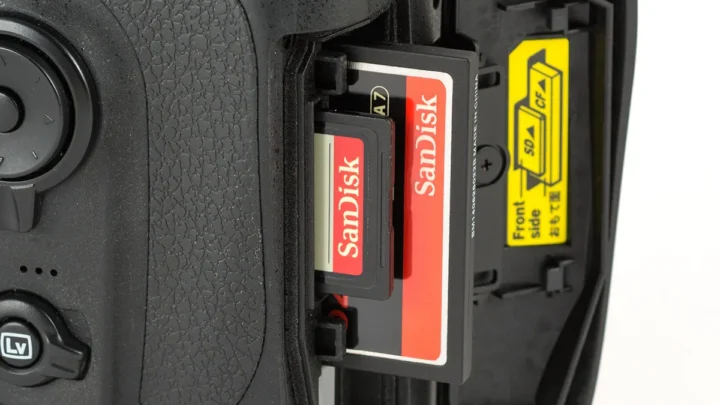
- An SD card. The camera will not let you access the full menu without one. Use a card between 16GB and 32GB for most models. Format it in the camera, not in your computer. Computer formatting sometimes creates a file system the camera cannot read.
- A mounting strap or bracket. You need a way to attach the camera to a tree or post. Most cameras come with a strap. If yours is missing, a basic camera strap from any outdoor store works.
- The user manual. Yes, the paper booklet. Or the PDF you downloaded from the manufacturer's site. Guessing the button sequence is a waste of time. The manual tells you which button opens the menu and which one confirms a setting.
A quick note on keeping the lens clean: a smudged lens causes blurry night photos and reduces the infrared range. Wipe it with a microfiber cloth before you start the setup.
The Core Setup Tree: Walk Through the Branch That Fits You
This is where the decision tree comes in. Your goal determines which settings matter. Do not just copy a friend's settings.
What works for a deer feeder in Texas will not work for a backyard security camera in Michigan.
Branch A: I Just Want Photos of Animals Passing By
This is the most common use case. You want the camera to detect motion and capture a clear image of whatever walks past.
If this is you, set these parameters:
- Mode: Photo only. Video uses more battery and storage.
- Trigger speed: Fastest available. Most cameras offer 0.2 to 0.5 seconds. Choose the lower number.
- Detection range: Medium to high. If the camera is pointed down a long trail, set it to high. If it is pointed at a narrow feeder, set it to low to avoid false triggers from wind.
- Burst mode: 2 to 3 photos per trigger. This gives you a sequence without filling the card.
- Image stamp: On. Include date, time, temperature, and moon phase. This data is invaluable for basic troubleshooting steps later.
Branch B: I Want Time-Lapse or Interval Shots
Time-lapse mode takes a photo at a fixed interval regardless of motion. This is useful for watching a food plot grow or monitoring a den site.
If this is you, set these parameters:
- Mode: Time-lapse or interval. Some cameras call it "time lapse" and others call it "timer."
- Interval: 1 minute for active areas, 5 to 10 minutes for slow changes. A 1-minute interval on a 32GB card fills up in about 10 days.
- Trigger mode: Leave motion detection on as a backup. Some cameras let you run both time-lapse and motion capture at the same time.
- Resolution: Lower is better for time-lapse. 5MP is plenty for a clear image and saves card space.
If you want to learn more about setting up a time lapse sequence, the same principles apply to trail cameras. The main difference is that trail cameras use PIR sensors rather than continuous recording.
Branch C: I Have a Cellular Trail Camera
Cellular cameras send photos directly to your phone. They cost more and require a data plan. They also save you from hiking out to check the card.
If this is you, set these parameters:
- Network: Choose the correct carrier for your area. Most cellular cameras work on AT&T or Verizon. Check the coverage map before you buy the camera.
- Data plan: Activate the plan through the manufacturer's app. Plans cost between $10 and $30 per month depending on how many photos you send.
- Photo size: Send smaller images to save data. 3MP to 5MP is plenty for a phone screen. Full resolution 20MP images use up your data cap fast.
- Transmission schedule: Set it to send photos once or twice a day instead of instantly. That saves battery and data.
The Most Common Screw-Ups (And How to Avoid Them)
Image source: Web (Bing) / timestampcamera.tumblr.com (Web image (fair-use with source credit))
Even experienced users make mistakes. These are the errors that show up in aggregate reviews and forum threads more than any others.
Wrong date and time stamp. This is the number one mistake. You set the date when you first installed the batteries. Then you forgot to account for daylight saving time.
Or you set the year to 2023 instead of 2026. The result is a photo that says "January 1, 2023" and you have no idea if it was taken last week or last year. Fix this by checking the date every time you swap batteries.
False triggers from grass and branches. If the camera is pointed at tall grass, every gust of wind triggers a photo. You end up with 500 pictures of waving weeds. The solution is to clear the area in front of the camera.
Trim any grass or branches that move within the detection zone. Or reduce the sensitivity setting to low.
Dead batteries because you left the menu open. The LCD screen drains power fast. If you walk away from the camera while it is still in Setup mode, you might return to a dead unit. Always turn the dial to On after you finish programming.
SD card not recognized. This happens when you format the card in a computer instead of the camera. The camera expects a specific file system. Format the card inside the camera using the menu option.
If the camera does not have a format option, insert the card and let the camera do it automatically on the first use.
Camera not detecting anything. If you mounted the camera too high or too low, the sensor misses the animal. The ideal height is 3 to 4 feet off the ground, angled slightly downward. For a deer, that puts the sensor right at chest level.
For a person, it captures the torso.
Optimizing for Your Specific Goal: Scouting vs. Security vs. Time-Lapse
One camera can do many jobs. You have to tweak the settings for each one. A camera set for hunting scouting will not work well as a security camera.
For scouting wildlife (hunting or observation):
- Use the fastest trigger speed you have.
- Set burst mode to 3 photos.
- Use a high detection range.
- Point the camera north or south to avoid sun glare at sunrise and sunset.
- Check adjusting night vision settings to make sure the infrared LEDs cover the full frame evenly.
For security (property monitoring):
- Use video mode with audio. A 10-second video clip captures more context than a single photo.
- Set the detection range to medium to reduce false alarms from cars on the road.
- Mount the camera higher, around 7 to 8 feet, angled down. This makes it harder for someone to tamper with it.
- Enable password protection if your camera supports it. This prevents someone from changing your settings if they find the camera.
For time-lapse (food plots, construction sites, gardens):
- Use a lower resolution to save card space.
- Set the interval to match the rate of change. A food plot needs a photo every 10 minutes. A construction site might need one every hour.
- Make sure the camera is firmly mounted. Time-lapse photos look terrible if the camera shakes in the wind.
For cellular cameras (remote monitoring):
- Prioritize battery life. Turn off features like instant upload and high-resolution video.
- Set the camera to send a daily summary instead of every photo.
- Use a solar panel accessory if the camera is in direct sunlight. This keeps the battery topped off without you having to visit.
The right settings depend on your goal. Do not use a single profile for every situation. Take a few minutes to choose the right resolution and trigger speed for the task at hand.
Your camera will perform better. You will waste less time sorting through useless photos.
Frequently Asked Questions
How do I format an SD card for a trail camera?
Insert the card into the camera. Go to the menu and find the format option. Select it and confirm.
Never format the card in a computer. The camera uses a specific file system that a computer might not create correctly.
Why is my trail camera taking pictures of nothing?
The sensor is detecting movement from something you cannot see. Wind moving grass, branches, or spider webs triggers false photos. Clear the area in front of the camera.
Reduce the sensitivity setting to low.
What is the best height to mount a trail camera?
Mount it 3 to 4 feet off the ground. Angle it slightly downward. This puts the sensor at chest level for medium-sized animals like deer.
For security use, mount it higher at 7 to 8 feet.
How long do trail camera batteries last?
Lithium AA batteries last 6 to 12 months with normal use. Alkaline batteries last 3 to 6 months. Cold weather drains batteries faster.
Checking the camera often and using video mode both reduce battery life significantly.
Can I use a trail camera without an SD card?
No. The camera will not power on or access the menu without an SD card inserted. The card stores the photos and videos.
Without it, the camera has nowhere to save the data.
Why does my trail camera have the wrong date and time?
You likely forgot to set it during initial setup. Or the battery died and the internal clock reset. Some cameras lose the date when you remove the batteries.
Check the date every time you install fresh batteries.

Similar Posts