Campbell Hausfeld Finish Nailer Troubleshooting
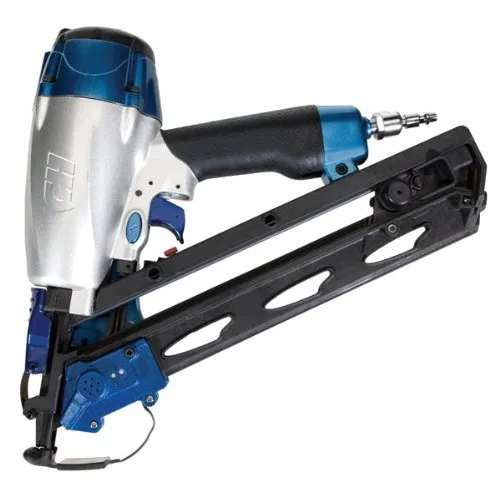
Your Campbell Hausfeld finish nailer is acting up, and you need it working again. Whether it's jamming on every third nail or refusing to fire at all, the fix is usually straightforward once you know where to look. Campbell Hausfeld Finish Nailer Troubleshooting doesn't have to mean replacing the tool or spending hours guessing at the problem.
Manufacturer specifications indicate most common issues come down to three things: air supply problems, lack of lubrication, or simple nail jams. Per ANSI safety standards for pneumatic tools, disconnecting the air supply before any repair should be your first step every time. Let's walk through each symptom and match it to the right fix.
Quick Answer
Most Campbell Hausfeld finish nailer problems have simple fixes. Check the air pressure first. Clear any nail jams from the magazine.
Oil the tool through the air inlet. Adjust the depth wheel for sinking issues. Replace worn O-rings for air leaks.
These steps solve about 90 percent of common issues without needing replacement parts.
Start Here: What's Your Nailer Doing (or Not Doing) Wrong?
Before you take anything apart, figure out which branch of the problem tree you're on. Different symptoms point to different causes, and the wrong fix wastes time.
Is your nailer jamming constantly? That's a nail feed or debris issue. Does it fire but the nail doesn't sink?
Check air pressure and depth settings. Does it do nothing when you pull the trigger? That's air supply, a dead trigger valve, or a dry-fire lockout that needs resetting.
Here's the decision path to follow:
- Nail jams. Focus on the magazine, the feed channel, and the driver blade area.
- Won't fire. Check air supply, trigger valve, and lockout mechanism.
- Fires but nails stick out. Adjust depth wheel and air pressure.
- Nails bend or curl. Inspect nail type, feed channel, and driver blade.
- Air hissing from the tool. Locate the leak at the inlet, trigger, or body.
If you can't even figure out which symptom fits, start with "Won't fire" and check air supply first. That's the single most common cause across all models, including the FN2190 and FN2195.
Nail Jams: The Most Common Problem and How to Clear It Fast
Nail jams happen more than any other issue on finish nailers. The good news is they're usually fast to clear once you know the sequence.
Every Campbell Hausfeld finish nailer has a jam release mechanism. On most models it's a lever located near the nose of the tool. Flip it or slide it to release the pressure on the jammed nail.
Do not force anything yet.
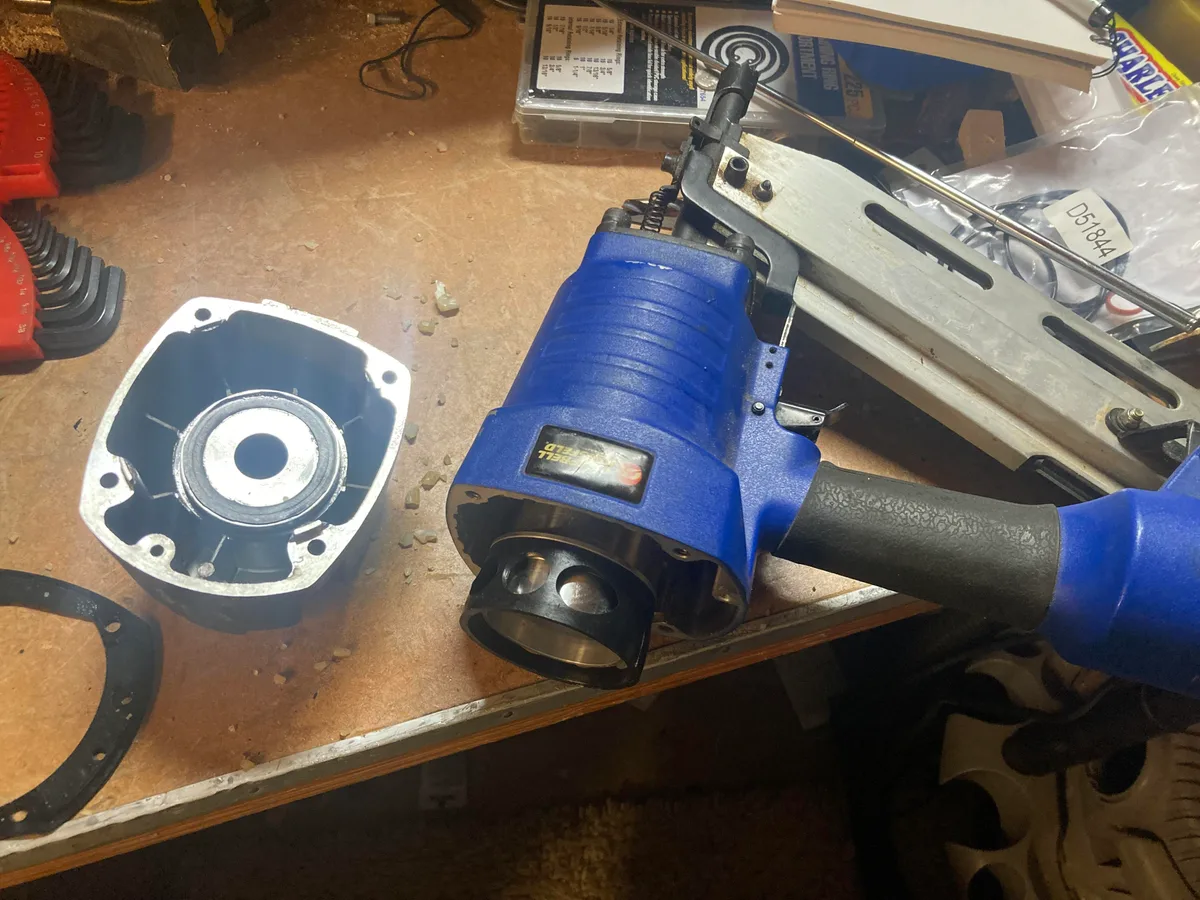
Step-by-step jam clearing
- Disconnect the air supply. This is non-negotiable. Never work on a loaded nailer with compressed air attached.
- Open the jam release lever. It's usually a metal or plastic tab at the front of the magazine.
- Pull back the magazine follower. This lets the nail strip slide free.
- Remove the damaged nail strip. Check for bent or broken nails in the feed channel.
- Clear the driver blade area. Use needlenose pliers if a nail fragment is stuck in the firing channel.
- Inspect the driver blade. If it's chipped or bent, the nail will jam again after one or two shots.
- Reload with fresh nails. Avoid using nails from the same damaged strip.
Why jams happen more with certain nail brands
Aggregate user feedback across thousands of reviews indicates that lower-quality nail strips with inconsistent glue collation cause significantly more jams. Some wire-collated nails have thin wire that can snap inside the magazine. Stick to nails that match your nailer's gauge specification.
For a 16-gauge finish nailer, use 16-gauge nails every time. Using 18-gauge brad nails in a finish nailer is a guaranteed jam.
Won't Fire or Cycles Intermittently: Diagnosing Air and Trigger Issues
If your nailer won't fire at all, or it fires a few times then stops, start with the air supply. Manufacturers specify an operating pressure range of 70 to 120 PSI for most Campbell Hausfeld finish nailers. If your compressor is set below 70 PSI, the tool doesn't have enough force to cycle properly.
Check the compressor regulator. Many users accidentally bump it down while moving the unit around. Set it to the middle of the range, around 90 PSI, and test again.
Air hose restrictions
If the pressure is correct but the nailer still won't cycle, check the hose. A kinked hose or one with a small internal diameter (1/4 inch or less) restricts air flow. Tools need 3/8-inch hoses for consistent cycling at longer distances.
A 25-foot 3/8-inch hose delivers better performance than a 50-foot 1/4-inch hose.
Water in the lines
Compressed air naturally collects moisture. If you're working in humid conditions or haven't drained your compressor tank recently, water can blow into the tool and cause intermittent cycling. Drain the tank until it runs air only.
Then add three to five drops of pneumatic tool oil into the air inlet fitting and cycle the tool a few times to clear internal moisture.
Trigger valve and dry-fire lockout
If air supply is good, the trigger valve assembly might be sticking. This is less common but happens when the tool hasn't been oiled. The dry-fire lockout mechanism can also confuse users.
When the magazine is empty or the follower is stuck, the lockout prevents the trigger from engaging. Load a fresh nail strip and cycle the tool by hand to reset it.
O-ring and piston seal wear
When a nailer has thousands of cycles on it, the O-rings inside the cylinder wear down. You'll notice weak firing that gets worse over time. Replacement O-ring kits are available for Campbell Hausfeld models and typically cost between five and ten dollars.
If you're handy with small seals, that's a thirty-minute fix. If the piston is cracked or the driver blade is worn, replacement parts run ten to twenty dollars depending on the model.
Nails Sinking Too Deep or Not Deep Enough: Fixing Depth Problems
Getting the nail depth right is the difference between a clean trim job and a ruined piece of molding. Campbell Hausfeld finish nailers have a depth adjustment wheel located near the nose, usually on the side or front of the tool.
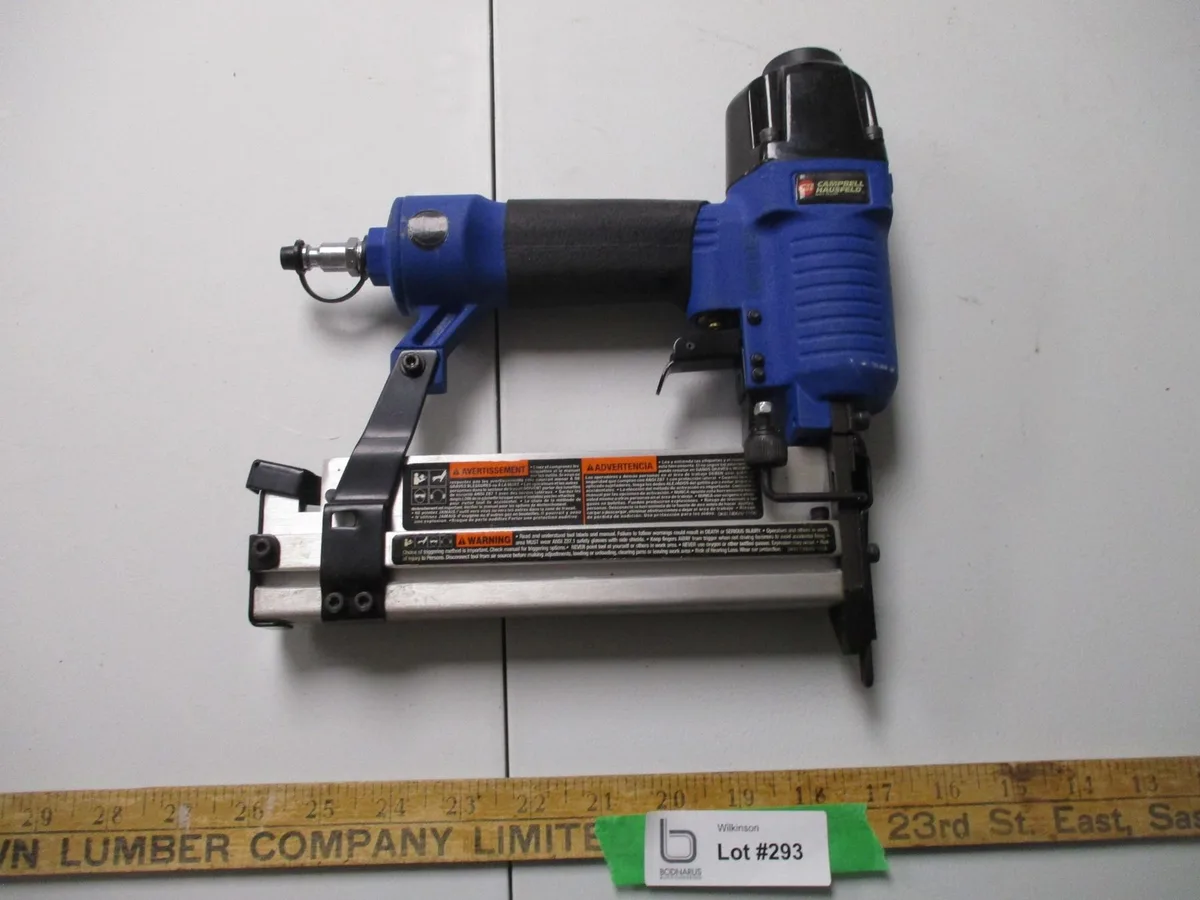
How the depth adjustment works
Turning the wheel clockwise typically drives the nail deeper. Turning it counterclockwise makes the nail sit higher. Test on scrap wood before working on your actual project.
Every quarter turn changes depth noticeably, so make small adjustments.
Air pressure vs. depth wheel
Many users reach for the depth wheel when the real problem is air pressure. If the depth wheel is already maxed out and nails still sit proud, increase the compressor pressure (within the tool's operating range). Conversely, if nails are sinking too deep and blowing out the back of thin trim, reduce the pressure before adjusting the depth wheel.
The two controls work together: use pressure for broad changes and the depth wheel for fine tuning.
Material hardness matters
Softwoods like pine accept nails easily. Hardwoods like oak or maple resist penetration. If you're switching between wood types, you'll need to adjust both pressure and depth.
A setting that works perfectly for pine crown molding will leave nails sitting a quarter inch proud in oak baseboards.
No-mar tip compression
The rubber no-mar tip on the nose of the nailer compresses under pressure. If it's worn or missing, the depth changes unpredictably. Replace a damaged tip.
They're inexpensive and restore consistent depth control.
Air Leaks: Where They Happen and Which Ones You Can Fix
A hissing nailer is annoying, and it wastes air. But not every leak is worth fixing. Here's how to decide.
Inlet fitting leaks
The most common leak is where the air hose connects to the nailer. A worn O-ring inside the quick-connect coupler is usually the culprit. Replace it with a standard pneumatic O-ring.
This is a five-minute fix costing less than a dollar. If the coupler itself is damaged, replace the entire fitting.
Trigger valve exhaust leaks
If you hear air hissing from the trigger area when the tool is connected but not firing, the trigger valve assembly has a bad O-ring. This is repairable but requires disassembling the handle. Replacement trigger valve assemblies are available for most Campbell Hausfeld models.
They run about ten to fifteen dollars and the swap takes fifteen minutes with basic tools.
Body seam or cap leaks
Leaks from the main body seam, the exhaust port, or the cylinder cap usually mean internal seals have failed. These are not worth repairing on most Campbell Hausfeld finish nailers. The cost of replacement seals and the labor involved often exceeds the value of the tool.
If your nailer is more than five years old and has a body leak, replace it.
When to replace vs. retire
If the repair cost is under fifteen dollars and the tool is otherwise in good shape, fix it. If the nailer has hundreds of thousands of cycles, multiple worn parts, or a body leak, put that money toward a new tool. A rough rule: if the repair costs more than half of what a replacement costs, buy the replacement.
A new Campbell Hausfeld finish nailer typically runs forty to seventy dollars as of 2026. Spending twenty-five dollars on parts for a body leak on a five-year-old tool doesn't make sense.
Maintenance That Prevents 90 Percent of Problems Before They Start
Most finish nailer problems come from neglect, not manufacturing defects. A simple maintenance routine keeps your Campbell Hausfeld running reliably for years.
Oil type and schedule
Use only pneumatic tool oil. Do not use WD-40, motor oil, or any lubricant with solvents. Add three to five drops into the air inlet fitting before each use.
If you use the nailer heavily, oil it every hour of operation. The oil lubricates the internal piston, O-rings, and trigger valve.
Magazine cleaning
Debris builds up in the magazine over time. Sawdust, glue residue, and small wood chips can block the nail feed. Remove the nail strip and blow out the magazine with compressed air every few uses.
If you work with particle board or MDF, clean the magazine more often. That material generates fine dust that packs into the feed channel.
O-ring lubrication
The O-rings inside the tool dry out over time, especially if the nailer sits unused for months. Before storing the tool for more than a few weeks, add oil and cycle it a few times. This coats the seals and prevents them from cracking.
When you pull the nailer out of storage, add fresh oil before using it.
Storage habits that matter
Store the nailer in a dry place. Humidity causes internal rust on the driver blade and magazine spring. Keep it in a toolbox or a padded case.
Never store it with the air hose still connected. The residual pressure keeps the internal seals compressed and accelerates wear.
| Maintenance Task | Frequency | Time Required |
|---|---|---|
| Add oil to air inlet | Before each use | 30 seconds |
| Blow out magazine | Every 3-4 uses | 1 minute |
| Drain compressor tank | Daily during use | 1 minute |
| Inspect O-rings | Monthly | 2 minutes |
| Replace worn driver blade | As needed | 15 minutes |
Frequently Asked Questions
Can I use brad nails in a finish nailer?
No. Brad nails are 18-gauge with a smaller head. Finish nailers use 15-gauge or 16-gauge nails.
Using brad nails causes jams, misfires, and can damage the feed channel. Always use the nail gauge specified in your tool's manual.
Why does my nailer fire two nails at once?
This is usually caused by a worn bump fire mechanism or a trigger valve that's sticking open. It can also happen if the magazine follower is pushing too hard against the nail strip. Check the trigger first.
If it's clean and oiled, inspect the follower spring.
How often should I oil my Campbell Hausfeld finish nailer?
Oil it before every use. Add three to five drops of pneumatic tool oil into the air inlet fitting. If you use the nailer heavily, oil it again after about an hour of continuous use.
Never use WD-40 or other solvent-based lubricants.
Is it worth repairing an old nailer or should I replace it?
Compare the repair cost to the price of a new tool. If the repair costs less than half of a replacement, fix it. If the nailer has body leaks, a cracked housing, or multiple failing parts, replace it.
A new Campbell Hausfeld finish nailer costs between forty and seventy dollars.
Why does my nailer only work when the compressor is at full pressure?
Your compressor may not have enough stored air volume for the nailer's consumption. A small pancake compressor with a 1-gallon tank runs out of air quickly. The nailer fires once or twice then stops until the tank refills.
Upgrade to a compressor with at least a 2-gallon tank for consistent cycling.

Similar Posts