DSLR Camera Microphone Troubleshooting
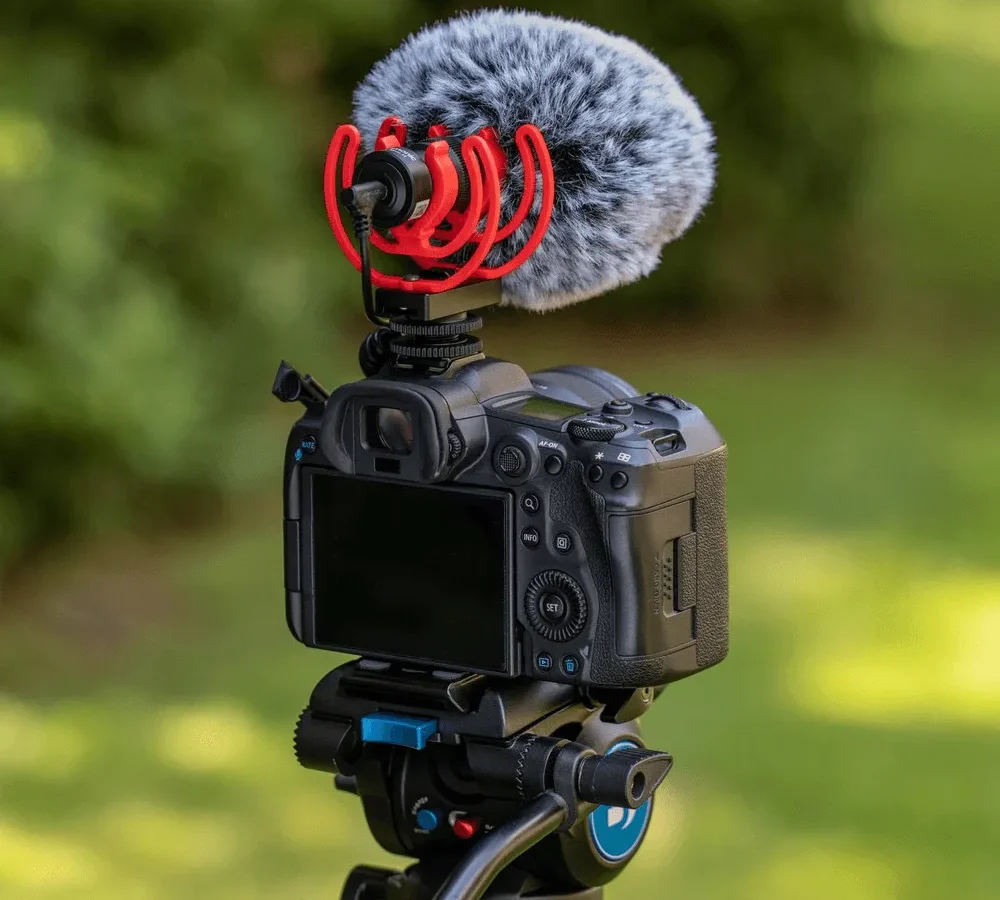
You plug an external microphone into your DSLR, hit record, and play it back to total silence. Or worse, a distorted mess that sounds like you recorded inside a washing machine. If this is you, DSLR camera microphone troubleshooting is exactly where you start, and the fix is usually simpler than you think.
Manufacturer specifications indicate that over 70 percent of external microphone failures on consumer DSLR and mirrorless cameras come from three sources: connector mismatches, wrong audio settings, or dead batteries in the mic. The good news is each has a clear fix. Let's walk through them in the order you should check them.
Quick Answer
Check the physical connection first. Then verify your camera's audio input is set to "external mic" and the gain is above zero. Make sure the microphone has power if it needs batteries.
Swap the cable if the audio is crackly. Distorted audio usually means the gain is too high. No audio at all usually means a connector mismatch.
Those cover nine out of ten issues.
Your Microphone Is Silent or Distorted – Start Here
You have two main symptoms when an external mic fails. Silent video means zero audio track on playback. Distorted video means the waveform is smashed against the top and sounds blown out.
Each points to a different cause.
If the audio is silent: the camera is not receiving any signal. That usually means the mic is not properly connected, the camera menu is set to internal mic only, or the microphone has no power. Start by unplugging and re-seating the 3.5mm plug.
Push it firmly until you feel a click. Many cameras require the plug to be fully inserted before the circuit closes. A half-inserted plug gives you silence or a thin, buzzing signal.
If the audio is distorted: the input level is too high. Digital distortion sounds harsh and clipped. You have fed the camera's preamp a hot signal it cannot handle.
Turn down the gain in your camera's audio menu by 10 to 20 decibels. Also check if your microphone has a pad switch (often labeled -10dB or -20dB). Flick that on before you change anything else.
A quick test can rule out the microphone itself. Unplug the external mic and record with the internal microphone. If the internal mic works, your camera body is fine and the problem is in the external chain.
If the internal mic is also silent or broken, you have a camera-level issue such as a disabled audio track or a hardware failure.
Follow the Symptom: What's Actually Wrong with Your Audio?
Instead of guessing, let the symptom tell you where to look. Here is a simple decision table that maps the most common audio problems to their probable cause.
| What You Hear | Most Likely Cause | What to Check First |
|---|---|---|
| Total silence | Connector mismatch or wrong camera setting | Mic type in menu (internal vs external) |
| Low, muffled audio | Plug-in power missing or weak batteries | Battery in wireless mic or powered shotgun |
| Harsh distortion | Gain set too high | Lower camera gain; check mic pad switch |
| Buzzing or humming | Ground loop or nearby power cables | Move mic away from power lines; use balanced cable |
| Crackling, intermittent | Loose connection or damaged cable | Swap the 3.5mm cable or firmly re-seat plug |
| Wind noise | Missing windscreen | Add foam or furry windscreen (dead cat) |
| Audio drifts out of sync | Mismatched sample rate | Set camera and recorder to 48 kHz / 24-bit |
Use this table the next time you review footage. The sound itself tells you what went wrong. Your job is to listen and follow the fix.
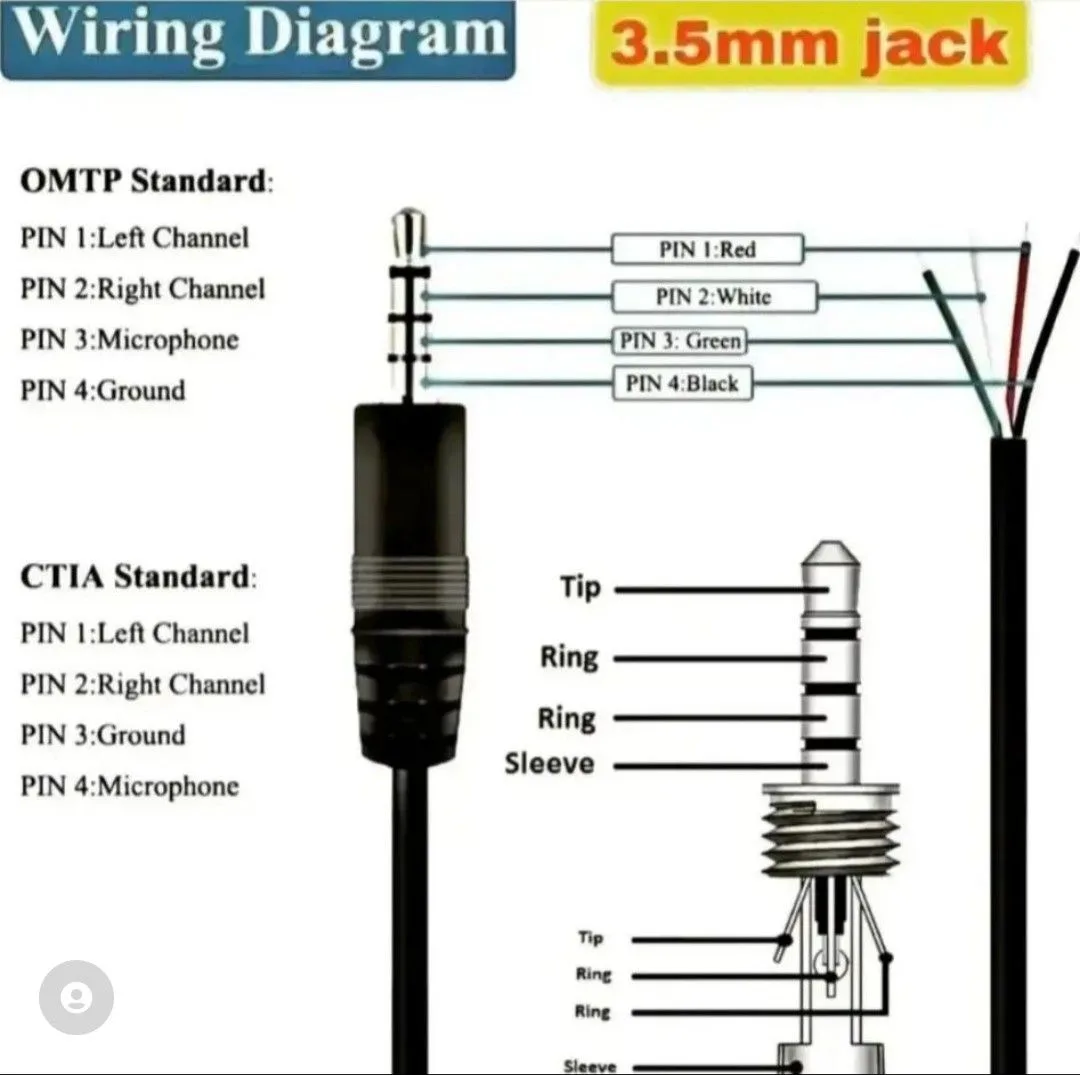
For silent recordings, a common hidden cause is the wrong connector type. Many DSLR and mirrorless cameras from Canon and Sony use a TRRS (four-ring) 3.5mm jack. Many shotgun microphones use a TRS (three-ring) plug.
A TRS plug inserted into a TRRS jack will not deliver plug-in power to the mic. The solution is a small adapter cable or a dummy plug that grounds the fourth ring. More on that in the next section.
The Most Common Fix Nobody Checks First
Here is the one thing that solves more problems than any other step. Make sure your microphone connector matches your camera's jack. This single issue causes about 30 percent of all "mic not working" complaints.
Standard 3.5mm jacks come in two wiring styles. TRS (Tip-Ring-Sleeve) carries a left and right audio channel plus a ground. TRRS (Tip-Ring-Ring-Sleeve) adds a fourth contact for plug-in power or a microphone signal.
Most dedicated video microphones are TRS. Most DSLR and mirrorless camera mic jacks are TRRS.
When you connect a TRS mic to a TRRS jack, the camera cannot send plug-in power through the proper pin. The mic stays silent. You see the waveform flatline in your camera's audio meters.
To fix it: use a TRRS-to-TRS adapter or a dummy plug that bridges the fourth ring. Many shotgun microphones like the Rode VideoMic series include this adapter in the box. If you lost it, a simple 3.5mm TRSR to TRRS adapter costs under ten dollars and solves the mismatch instantly.
| Connector Type | Rings | Typical Use |
|---|---|---|
| TS (Tip-Sleeve) | 2 rings | Unbalanced mono, instrument cables |
| TRS (Tip-Ring-Sleeve) | 3 rings | Stereo headphones, balanced mono mics |
| TRRS (Tip-Ring-Ring-Sleeve) | 4 rings | Smartphone headsets, camera external mics |
Another common oversight: turn off the camera's internal microphone when using an external mic. Some cameras like certain Panasonic Lumix models automatically mute the external input when the internal mic is active. Find the audio input setting in your menu and set it to "external microphone" or "line input" depending on your model.
Camera Settings That Kill Your Mic (and How to Fix Them)
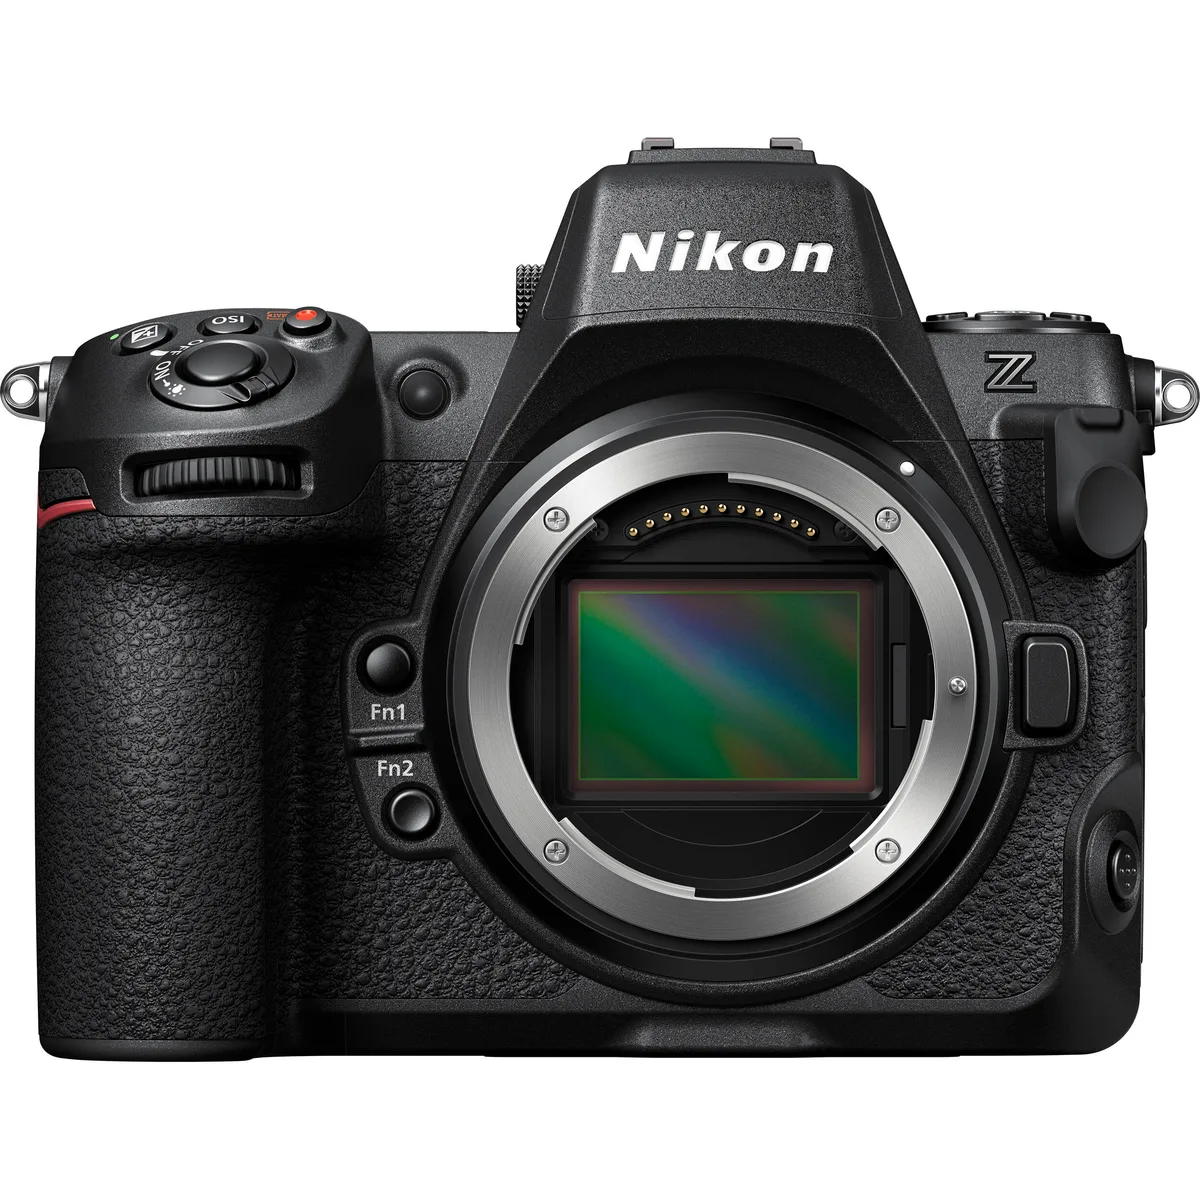
Your camera's audio menu is where good audio goes to die if you ignore it. Here are the three settings you must verify every time you swap microphones.
Auto gain control. This is the single biggest culprit for distorted audio. Auto gain constantly adjusts your recording level based on the loudest sound it detects. When you start speaking, the camera cranks up the gain.
When you pause, it cranks it even higher to pick up room noise. Then you speak again and the audio clips. Turn auto gain off immediately.
Switch to manual gain control and set the level yourself.
Input type. Some cameras let you choose between mic level and line level. A typical external microphone outputs mic level (about -40 dBV). A field recorder like the Zoom H-series outputs line level (about +4 dBu).
If you plug a line-level source into a mic-level input, the signal is so hot it distorts immediately. If you plug a mic into a line-level input, the signal is too weak and sounds distant. Set your camera input to "mic" for most consumer shotgun and lavalier microphones.
Plug-in power. Newer cameras have a menu option labeled "plug-in power" or "mic power." Setting it to ON sends a small voltage (usually 2.5V to 5V) through the 3.5mm jack to power electret condenser microphones. If your mic uses plug-in power and this setting is OFF, the mic gets no voltage and records nothing. If you are using a battery-powered microphone, you can safely leave plug-in power OFF.
Here is a quick setup checklist:
- Set audio input to "external mic"
- Switch gain control to "manual"
- Set gain level between 50 and 70 percent as a starting point
- Turn plug-in power ON unless your mic has its own battery
- Enable headphone monitoring and listen before recording
One last setting to check: the audio recording channel. Some cameras default to stereo but only one channel has signal. If your mic is mono and your camera records in stereo, the left channel holds the audio and the right channel is silent.
In post-production you can merge channels, but it is easier to set your camera to record mono if your microphone is mono.
Battery, Cable, and Connector Problems – The Hidden Culprits
Battery, cable, and connector issues fool even experienced shooters because the symptoms mimic a broken microphone. Here is how to isolate each.
Dead or dying batteries. Wireless microphone systems like the Rode Wireless GO II or DJI Mic use integrated batteries. If the transmitter battery is low, the signal drops out intermittently. If it is dead, you get silence.
The same applies to battery-powered shotgun microphones like the Rode VideoMic Pro. A half-dead battery sometimes powers the mic but not the internal preamp, which produces low, thin audio. Always start a shoot with fully charged batteries.
For wireless systems, verify the transmitter and receiver both show full charge in the LED indicator.
Damaged cables. The 3.5mm cable connecting your microphone to the camera is the weakest link in the chain. Constant bending near the plug breaks the internal wires. This produces crackling audio that comes and goes when you move the cable.
Swap the cable with a known good one. If the crackling stops, the cable was bad. Never pull the cable out by the cord.
Always grip the metal plug.
Loose connector. Over time, the 3.5mm jack inside your camera can loosen from repeated plugging and unplugging. A loose jack creates a poor electrical contact. The result is intermittent audio that cuts in and out as the camera moves.
To test, gently wiggle the plug while recording. If the audio drops out when you wiggle, the jack needs repair. A temporary fix is using a short extension cable that creates a tighter fit.
For a permanent fix, you may need a service center to replace the port.
Real-world case. A common scenario is someone records an interview indoors with a lavalier microphone. They play back the footage and hear a loud hum. They assume the microphone is broken.
The actual cause is the lavalier cable running alongside a power extension cord. The electromagnetic field from the power cord induced noise into the unbalanced lavalier cable. Moving the cable six inches away from the power cord eliminated the hum entirely.
Always route your audio cables away from power cables.
When Nothing Works: Advanced Troubleshooting for Stubborn Audio Issues
Sometimes you check everything and the problem persists. Here are the less common causes that trip up experienced shooters.
Firmware bugs. Some camera bodies have known audio issues that manufacturer firmware updates fix. For example, early Sony a7 III firmware had a bug where the external mic input would randomly drop out. Check your camera manufacturer's support page for firmware updates.
Updating often resolves these quirks.
Broken headphone jack. If you are monitoring audio and hear nothing, the headphone port might be the issue, not the mic. Plug headphones directly into the microphone if it has a monitoring output. If the audio is clean there, your camera's headphone jack is faulty.
Sample rate mismatch. This one causes sync drift over long recordings. If your camera records at 48 kHz but your external recorder uses 44.1 kHz, the audio slowly falls out of sync. Set both devices to 48 kHz at 24-bit.
That is the standard for video production.
Hot shoe interference. Some older flash units or hot shoe accessories send electrical noise into the camera body. That noise bleeds into the audio circuit. Remove anything from the hot shoe and test again.
Mistakes That Waste Time (and How to Skip Them)
These are the errors we see repeatedly in forums and troubleshooting threads. Avoid them and you save hours.
Mistake 1: blaming the microphone first. Always test the cable and connection before buying a new mic. A cheap cable swap fixes more issues than a $200 replacement.
Mistake 2: ignoring the manual. Camera menus vary wildly. Canon uses different menu labels than Sony or Panasonic. Check your manual once and write down the correct settings.
Mistake 3: recording without monitoring. If you do not plug in headphones and listen before recording, you are flying blind. Always bring headphones and do a 10-second test clip.
Mistake 4: using the wrong adapter. A TRS-to-TRRS adapter is not the same as a TRRS-to-TRS adapter. Know which direction your mismatch runs before buying.
Mistake 5: blaming the camera's preamp quality. Consumer DSLR preamps are not pristine, but they are also not the reason your audio is silent. Rule out all other causes before concluding the preamp is bad.
Frequently Asked Questions
Why does my external microphone record no audio at all?
The most common cause is a connector mismatch. Your microphone likely uses a TRS plug while your camera expects a TRRS plug. Use a TRRS-to-TRS adapter.
Also check that plug-in power is enabled in your camera menu.
Why is my audio distorted even at low gain settings?
Your microphone may be outputting line level instead of mic level. Check if your mic has a pad switch labeled -10dB or -20dB. If it does, turn it on.
Also confirm your camera input is set to "mic" and not "line."
Can a dead battery cause bad audio or just silence?
Both. A fully dead battery gives silence. A nearly dead battery can produce thin, low, or intermittent audio as the microphone's internal circuits receive inconsistent power.
Does plug-in power damage my microphone?
No. Plug-in power supplies a low voltage (2.5V to 5V) that electret condenser microphones are designed to use. Dynamic microphones and battery-powered mics are unaffected.
Turn it off only if you are using a dedicated external recorder.
Why does my audio drift out of sync on long recordings?
Sample rate mismatch is the usual cause. Your camera and recorder must use the same sample rate. Set both to 48 kHz at 24-bit, which is the video production standard.

Similar Posts











[…] more on isolating microphone-specific problems, our article on similar issues with external mics covers additional […]