Action Camera Not Turning on Troubleshooting
Your action camera sits there dark. You press the power button again. Nothing happens.
No lights. No screen. No beep.
That sinking feeling is familiar to anyone who has owned one of these cameras long enough. The battery is the most common culprit, but not the only one. According to the IEC 62133 safety standard for portable lithium-ion batteries, these cells can enter a protective shutdown mode when voltage drops too low.
That is not permanent damage. The first question you need to answer determines which repair path to follow.
Quick Answer
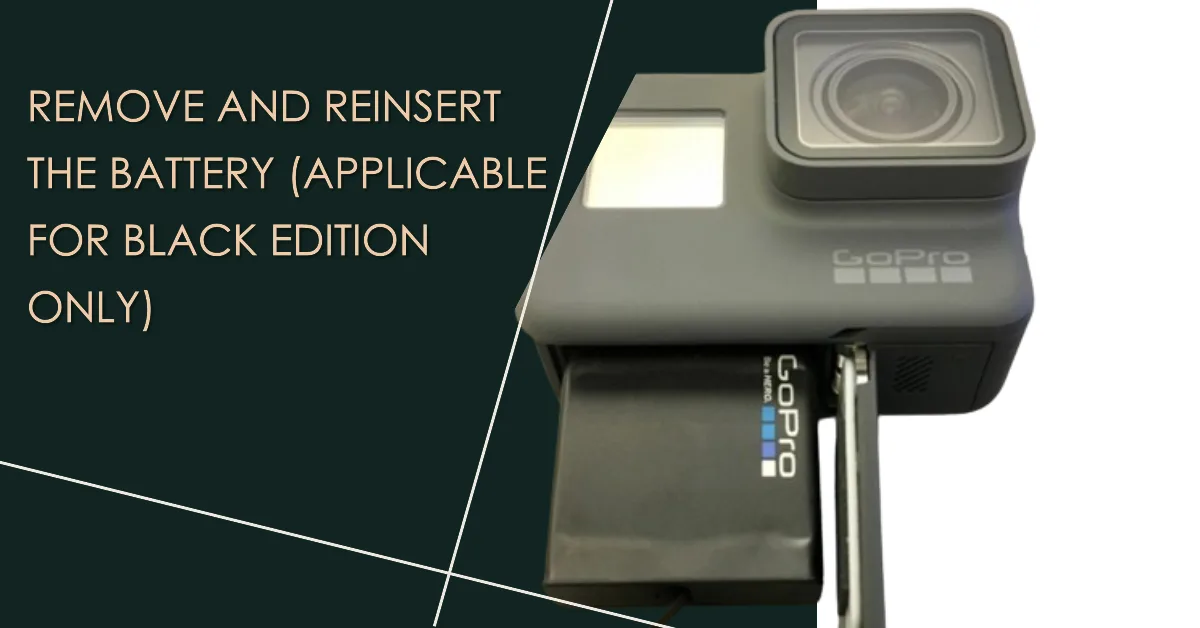
The most common fix is a forced hard reset. Hold the power button down for 10 to 30 seconds. If nothing happens, remove the battery and SD card.
Leave the camera unplugged for 60 seconds. Reinsert the battery and try again. Charge with the original cable and a 5V/2A wall adapter for one hour.
If it still will not turn on, check for a swollen battery or physical damage. Replace the battery if necessary.
The First Fork in the Road: Completely Dead vs. Signs of Life
Image source: Bing (Web (fair-use with source credit))
Before you dig into complex troubleshooting, pause for ten seconds. Observe what the camera is actually doing. Your approach changes dramatically based on this one observation.
A completely dead camera shows no response at all. No LED when you plug in the charger. No flicker on the screen.
No vibration or beep. The camera feels like a brick.
A camera with signs of life is different. The red charging LED turns on but the camera never boots. The screen flashes briefly then goes black.
You hear a faint click from the lens or the internal fan spins for half a second.
This distinction matters because the causes are almost opposite. A completely dead unit usually points to a power delivery failure. A unit that shows any sign of life typically has a firmware, SD card, or sensor issue that prevents successful boot.
Connect the camera to a charger. Watch the charging indicator for 30 seconds. If it stays dark, proceed to the battery check.
If it lights up, skip directly to the firmware and SD card sections.
Triage Step One: The Battery Is Almost Always the Problem
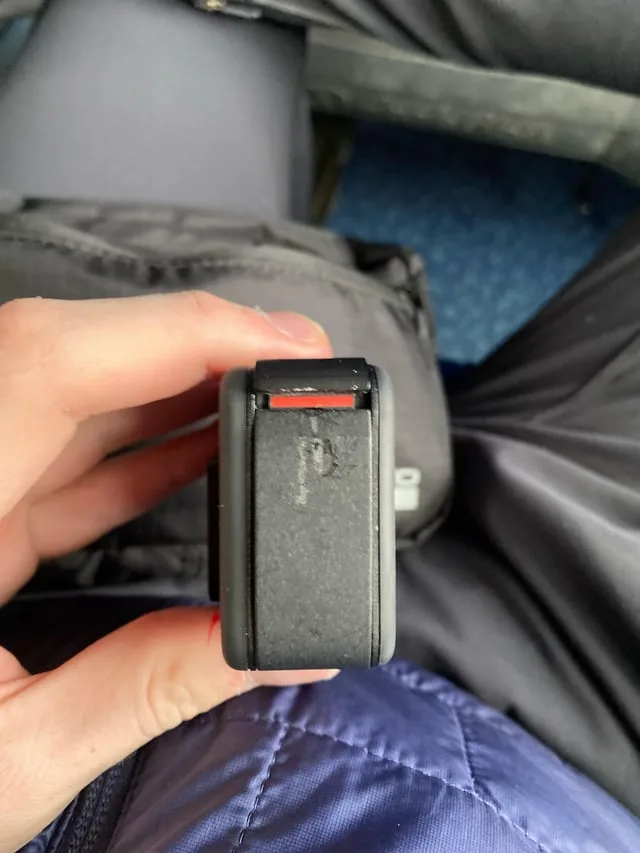
Image source: Web (Bing) / reddit.com (Web image (fair-use with source credit))
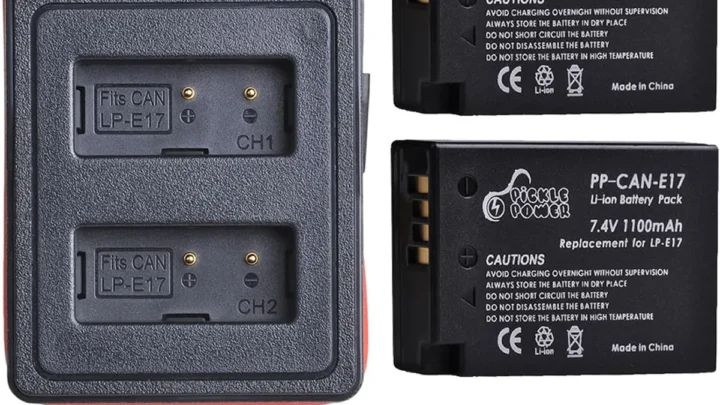
Lithium-ion batteries have a protection circuit inside. When voltage drops below a certain threshold, that circuit disconnects the battery to prevent damage. The camera appears dead even though the battery might still be salvageable.
Similar battery-specific issues can occur in other cameras too.
Remove the battery and inspect it visually. Look for swelling, bulging, or cracks on the casing. A swollen battery is a fire hazard.
If it looks puffy at all, stop and replace it immediately. Do not try to charge a swollen battery.
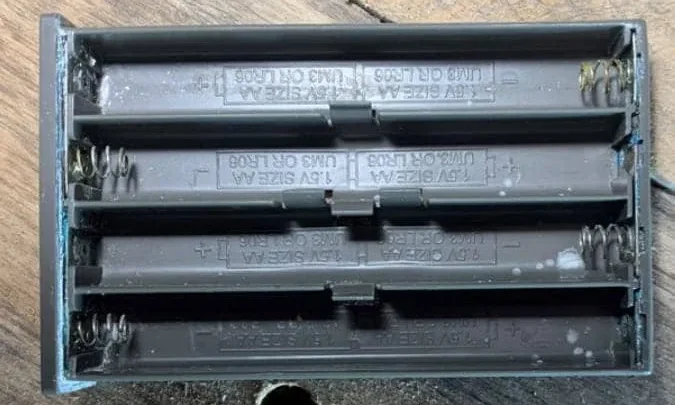
Check the metal contacts on both the battery and the inside of the camera. Corrosion appears as greenish or whitish residue. This happens when moisture gets inside the battery compartment.
Cleaning it with a dry cotton swab can sometimes restore the connection.
Try the deep discharge recovery procedure. Place the battery back in the camera. Connect the camera to a wall charger using the original cable.
Leave it untouched for at least two hours. The protection circuit sometimes needs a slow trickle charge to wake up.
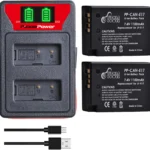
If after two hours the camera still shows no life, the battery has likely reached the end of its service life. Battery University research shows that these cells degrade noticeably after 300 to 500 full discharge cycles. Replacement is the next logical step.
Check your charging setup while you are at it. Many action cameras are picky about chargers. A high-speed phone charger pushing 18W or more can confuse the camera's charging circuit.
Stick to a standard 5V output rated between 1A and 2.4A. Also try the cable that came with the camera.
Power But Won't Boot: Firmware Fails, SD Card Hiccups, and Hard Resets
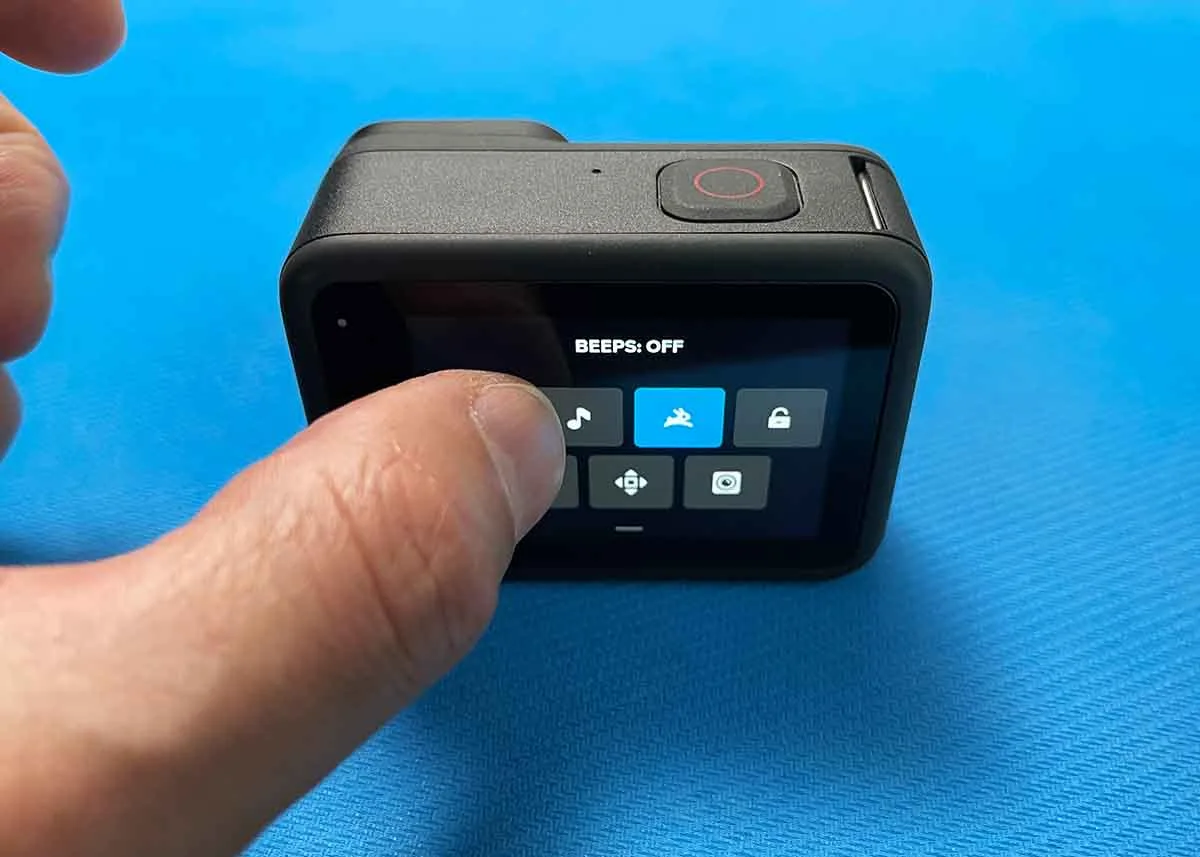
Image source: Bing (Web (fair-use with source credit))
If your camera shows a charging light or briefly lights up when you press power, the battery is delivering power. The problem is somewhere in the boot sequence.
Start with a hard reset. This fixes more issues than anything else. Most action cameras handle this differently.
For many models, holding the power button for 10 to 30 seconds forces the processor to restart. Some models require you to hold power and shutter simultaneously. A few have a small reset pinhole you push with a paperclip.
For other camera types, different reset sequences may apply.
Try this sequence:
- Hold the power button for 30 seconds.
- Release and wait 10 seconds.
- Press the power button normally.
If you get a flash of the screen or a vibration, that confirms the camera is alive but stuck in a bad state. The hard reset cleared it.
Remove the SD card and try booting without it. A corrupted SD card can prevent the camera from completing its startup routine. This is common in cameras that use the SD card to load firmware or preferences.
If the camera boots to a menu screen saying no SD card inserted, you have your answer. You need to format the card in a computer or replace it. SD card formatting issues are a common cause of boot failures.
If both steps fail, connect the camera to a computer via USB. See if the computer detects it. On Windows, check Device Manager under Portable Devices.
On Mac, check System Information under USB. Any detection at all means the main board is alive. The problem is likely firmware corruption.
You can typically recover the firmware by downloading the latest version from the manufacturer's official support page. Load it onto a freshly formatted SD card.
The Damage Check: Water, Drops, and Corrosion
Physical damage does not always look dramatic. A small drop onto concrete might crack a solder joint inside. Water ingress might corrode a single pin on the main board.
Inspect the seal and battery door carefully. If the rubber gasket is pinched, torn, or missing, moisture can get inside during normal use. Check for white or green corrosion around the battery contacts, USB port, and SD card slot.
These are the first places moisture attacks.
A common hidden problem is saltwater residue. Even if you rinsed the camera after using it at the beach, salt crystals can lodge inside button housings. They short the circuit board over time.
If you see white powder around the buttons or seams, that is likely dried salt. Clean it carefully with a cotton swab dampened with isopropyl alcohol. Do not use water.
For cameras that have been dropped, the damage is often mechanical rather than electrical. The battery might have disconnected from its terminals on impact. Open the battery door, remove the battery, and reseat it firmly.
Check that the battery latch is fully closed.
For a camera that got wet, do not try to turn it on. Immediately remove the battery and SD card. Place the camera in a sealed bag with silica gel packets or uncooked rice for 48 hours.
Do not use heat or a hair dryer. After drying, try again. If it still will not power on, the moisture damage may be permanent.
Three Mistakes That Turn a Fixable Camera Into a Paperweight
Using a fast charger can kill the charging circuit. Many USB-C phone chargers output 5V, 9V, and 12V automatically. Action cameras often expect a steady 5V at around 1A to 2A. A rapid charger that negotiates up to 9V can send the wrong voltage to the camera's unprotected port.
This fries the power management IC. Always use the original charger or a standard USB-A to USB-C wall adapter rated at 5V/2A.
Forcing a frozen camera by pulling the battery while the camera is writing to the SD card. If the camera freezes during recording or a firmware update, resist the urge to yank the battery. This can corrupt the system partition and permanently brick the camera. Instead, hold the power button for 15 seconds to force a system shutdown.
If that fails, wait for the battery to drain completely before attempting recovery. For firmware corruption problems, use the manufacturer's recovery procedure.
Ignoring a swollen battery. This is the most dangerous mistake. A lithium-ion battery that is puffing up is undergoing a chemical reaction that generates heat and gas. Continuing to use or charge it carries a real risk of fire.
Replace it immediately.
When to give up. If you have tried all the steps above and the camera remains dead with no signs of life, the main board is likely damaged. Replacement batteries are inexpensive. Main board repairs often cost more than a new camera.
If the camera is more than two years old and the repair estimate exceeds half the price of a replacement, you are better off upgrading.
The Honest Truth: When to Give Up and What to Do Next
Not every dead action camera can be revived. Some problems are simply not worth the time or money to fix. The trick is knowing where that line falls before you sink hours into a lost cause.
A camera that shows zero signs of life after a hard reset, a full charge, and a battery swap is almost certainly dead on the board level. The power management IC, the main processor, or a critical voltage rail has failed. These components are surface-mounted and require micro-soldering to replace.
The repair cost at a professional shop typically runs between $80 and $150 for labor alone.
Compare that to the camera's current value. If your unit is more than three years old and cost around $300 new, the repair bill eats half its replacement price. You are better off upgrading.
Even a budget action camera from 2026 will outperform a model from three years ago in battery life and image stabilization.
For cameras with visible physical damage, the decision is even clearer. A cracked lens housing, a dented chassis, or broken button membranes indicate impact damage that may have cracked the main circuit board. The camera internals are not designed for field repair.
Replacement is the only realistic path.
What about warranty coverage? Check the manufacturer's official support page for your model. Most action cameras carry a one-year limited warranty.
Some credit cards extend that by an additional year. If the camera is still under warranty and shows no signs of water damage or physical impact, file a claim. Do not open the camera yourself.
That voids the warranty immediately.
If you decide to replace the camera, recycle the old battery properly. Lithium-ion batteries cannot go in household trash. Many electronics retailers and municipal recycling centers accept them at no charge.
The U.S. Department of Energy recommends locating a certified drop-off site through your local waste management agency.
Quick Fix FAQ
How long should I hold the power button for a hard reset?
Hold it for at least 10 seconds. If nothing happens, hold it for 30 seconds without releasing. This forces the processor to restart even if the firmware is frozen.
Can a swollen battery be repaired?
No. A swollen lithium-ion battery is a fire hazard. Replace it immediately.
Do not attempt to charge, discharge, or puncture it.
Will removing the SD card fix a camera that won't turn on?
It can. A corrupted SD card sometimes prevents the camera from completing its startup routine. Remove the card, then try powering on.
If the camera boots successfully, format the card in a computer or replace it.
How do I know if my camera has water damage?
Look for white or green corrosion on the battery contacts, USB port, or SD card slot. A faint smell of damp electronics inside the battery compartment is another sign. If the moisture indicator sticker inside the battery compartment has turned red or pink, water ingress has occurred.
Is it worth paying for professional repair?
Only if the camera is less than two years old and the repair cost stays under half the price of a new equivalent model. For older or heavily damaged cameras, replacement is the more practical choice.

Similar Posts