Mirrorless Camera Exposure Troubleshooting
Image source: Web (Bing) / assetstore.unity.com (Web image (fair-use with source credit))
You frame up a shot that looks fantastic in the viewfinder. A second later you check the playback. The sky is blown out completely.
Or the shadows are a muddy mess. That's when mirrorless camera exposure troubleshooting becomes essential.
Unlike the optical viewfinder on a DSLR, your electronic viewfinder shows you exactly what the sensor sees. That's a superpower. But it's only useful if you know how to read the visual tools the camera provides.
As of 2026, most mirrorless bodies pack a 3.69 million dot EVF with live exposure simulation. Let's walk through what to watch for.
Quick Answer
Fix mirrorless exposure by reading your histogram and zebra pattern in real time. Enable exposure simulation in your menu. Use exposure compensation to center the histogram.
Set zebra threshold to 95% for skin or 100% for general highlights. Check blinkies in playback. Adjust EVF brightness to match the scene.
These five steps solve 90% of exposure issues. The tools are already in your camera. You just need to learn what each one tells you.
Why Your Mirrorless Viewfinder Changes Everything About Exposure
Your mirrorless camera lets you see the exact exposure before you press the shutter. That changes the workflow completely. With a DSLR you had to take a test shot, chimp the LCD, and adjust.
With mirrorless you can dial it in while the camera is still at your eye.
Exposure simulation is the feature that makes this work. When you turn it on, the EVF shows you the brightness of the final image based on your current settings. If you're in manual mode and the scene looks too dark in the EVF, the photo will be underexposed.
Simple as that.
| Workflow stage | DSLR (optical viewfinder) | Mirrorless (EVF with exposure sim) |
|---|---|---|
| Framing | Sees scene at ambient brightness | Sees simulated final exposure |
| Checking exposure | Must chimp the LCD | Reads histogram or zebra live |
| Adjusting | Guess, shoot, review | Adjust, see change instantly |
| Verdict | Trial and error | Real time correction |
The mistake most people make is leaving exposure simulation off. It's disabled by default on some brands like Canon and Nikon when using flash. But for natural light work you want it on.
Check your menu for "Exposure Simulation" or "Live View Display" and set it to enable.
The real advantage is speed. You don't need to take a test shot for every lighting change. You see the histogram update as you spin the dials.
That's the whole point of the mirrorless system.
The Five Visual Tools You Must Read in Real Time
You have five main visual indicators available when framing a shot. Learning each one lets you troubleshoot exposure without ever taking the camera from your eye.
Histogram, Luminance and RGB Channels
The live histogram is your most objective tool. It shows the distribution of brightness across the frame from pure black on the left to pure white on the right. A gap on either side means lost detail.
A spike touching the left wall means crushed shadows. A spike against the right wall means clipped highlights.
Toggle between the luminance histogram and the RGB version when color clipping matters. The luminance histogram can look fine while a single channel like red is blown out. This is especially common with red flowers or warm sunset light.
Zebra Pattern, Setting the Right Threshold
Zebra stripes overlay on areas of the frame that exceed a set brightness level. You choose the threshold. For general use set it around 100% which marks areas that are fully clipped to pure white.
For portraits set it to 95% or even 90% so you catch skin tones before they lose texture.
The pattern only appears while you're framing. It disappears after you shoot. If you see stripes over your subject's face, pull exposure compensation down until the stripes vanish.
Blinkies, Your Playback Safety Net
Blinkies are the flashing black and white overlay you see when reviewing a photo on the LCD. They show areas of clipped highlights in the file you just captured. If you see blinking patches on skin or important detail, you overexposed.
Pull compensation down and reshoot.
This is a post capture check rather than a live tool. Pair it with zebra for a full safety net.
Exposure Simulation, WYSIWYG and When to Turn It Off
Exposure simulation gives you the real time preview. Keep it on for natural light. Turn it off when using manual flash or studio strobes since the pre flash won't show until you fire.
False Color, The Video Shooter's Shortcut
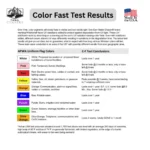
False color assigns specific colors to specific brightness levels. It's standard on cinema cameras and appears on some hybrid mirrorless bodies. Green means proper exposure.
Purple means clipped. It's faster to read than a histogram once you learn the color scale.
If your camera offers false color it lives in the video menu under peaking or assist tools. Try it for stills work too.
Common Visual Mistakes That Fool Even Experienced Shooters
Even seasoned photographers make these errors. The good news is they're easy to fix once you know what to look for.
Cranking EVF Brightness Too High
This is the number one source of false confidence. You boost the EVF brightness so you can see better in direct sunlight. The scene looks great in the viewfinder.
You shoot. The playback is underexposed.
The EVF brightness control is for viewing comfort. It does not affect exposure. If you turn it up your eyes adjust to a brighter image and you naturally underexpose.
Set EVF brightness to manual and match it to your ambient light, never auto.
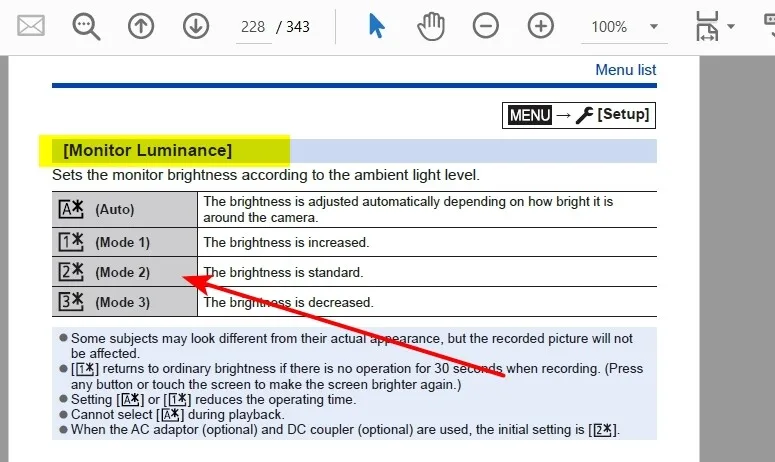
Image source: Web (Bing) / micro43.org (Web image (fair-use with source credit))
Relying on the JPEG Histogram for Raw
Your camera shows you the histogram of the JPEG preview, not the raw file. JPEGs have less dynamic range. A JPEG histogram that shows clipping might actually have recoverable detail in the raw file.
This is called highlight roll off.
If you shoot raw, you can expose about one to two stops brighter than the JPEG histogram suggests. That's the ETTR principle. But push too far and you lose it.
Test your camera's specific raw headroom with a quick test scene.
Wrong Zebra Threshold for the Subject
A common frustration is zebra stripes not showing when you expect them. You dial in the threshold at 100%. You shoot a white wedding dress.
No stripes appear. But the dress is blown out in playback.
White fabric clips at a lower brightness than 100% because the JPEG engine applies contrast before you see the histogram. Set zebra to 95% for reflective surfaces like dresses, clouds, or water. That catches clipping before it's permanent.
Turning Off Exposure Simulation for Flash Work and Forgetting to Turn It Back On
Many photographers disable exposure simulation when using flash because the EVF goes dark from the strobe not being visible. They switch back to natural light and forget to re-enable it. Then they shoot an entire session believing they see the final exposure when they're actually guessing.
Make it a habit. After flash work, check your display settings before the next scene.
Troubleshooting Exposure in the Trickiest Scenes
Some lighting situations test every tool you've got. Here's how the pros handle the worst ones.
High Contrast Landscapes (Sky vs. Foreground)
The classic problem. The sky is three stops brighter than the foreground. You expose for the sky and lose the ground.
You expose for the ground and blow the sky.
Use highlight weighted metering if your camera offers it. This mode prioritizes protecting the highlights automatically. You lose a bit of shadow but you keep sky detail.
Read your histogram after each shot. If the mountain is crushed to the left wall you need a graduated ND filter or exposure bracketing.
Backlit Portraits Indoors and Out
A subject in front of a bright window or the sun. The camera meters the whole scene and underexposes the face. Switch to spot metering.
Point the spot at your subject's cheek. Lock exposure with the AE lock button, then recompose.
Check zebra for skin tone. If stripes appear on the face you need either a fill flash or negative compensation. For shallow depth of field portraits you can also pull exposure down in post if you shoot raw, but only by about a stop before noise becomes visible.
Low Light Events with Mixed Artificial Light
Indoor venues with fluorescent or LED lighting. The flicker rate can cause banding on electronic shutter and the color temperature shifts the histogram. Shoot at 1/50th or 1/100th second to match the local electrical cycle.
Use mechanical shutter to avoid rolling shutter banding.
Zebra is less useful in low light since the entire frame sits below the threshold. Rely on the histogram instead. If the graph is bunched entirely on the left side you need a wider aperture, slower shutter, or higher ISO.
Working with Flash or Strobes in Live View
Disable exposure simulation before adding flash. The preview goes dark because the strobe hasn't fired yet. Set your camera to manual mode with a baseline exposure for ambient light.
Add flash to light the subject.
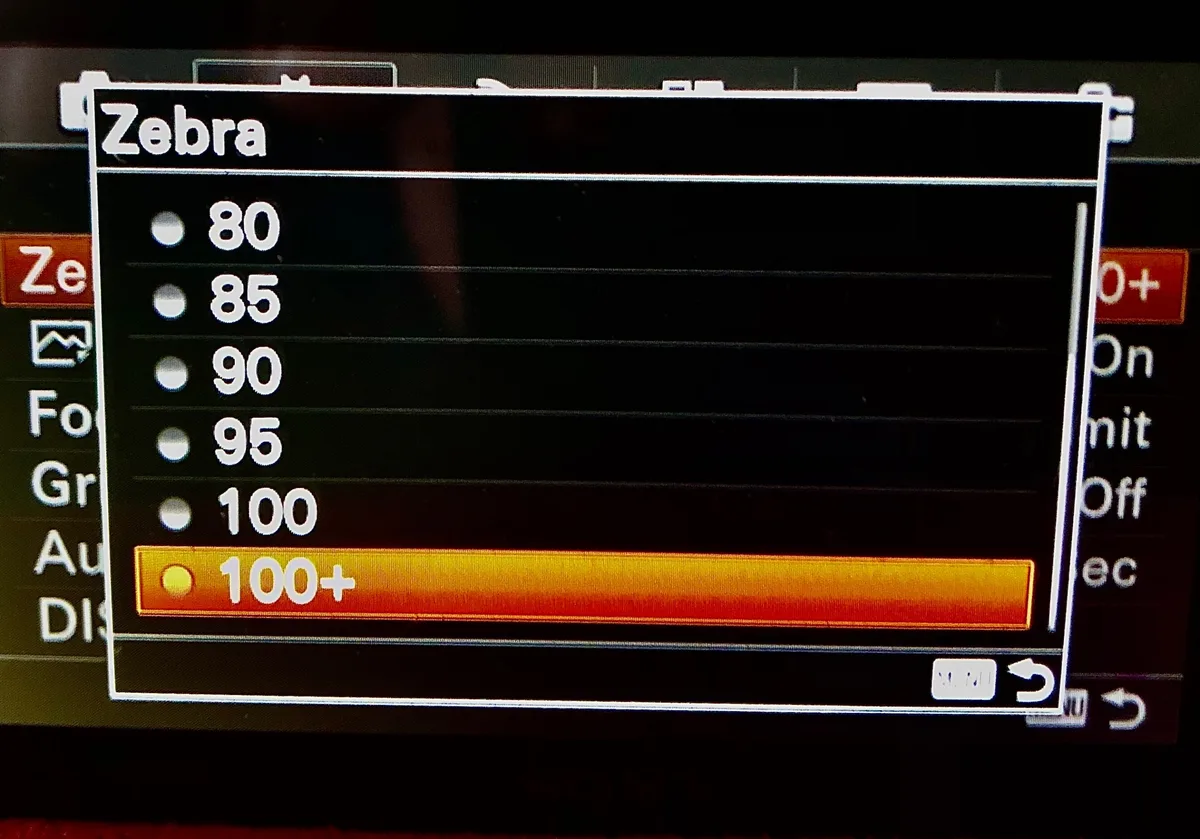
Image source: Web (Bing) / storage.googleapis.com (Web image (fair-use with source credit))
Use a flash meter if you have one. If not, take a test shot and check blinkies on the LCD. Adjust flash power up or down based on what the playback shows.
The zebra and histogram will not help you during the pre flash but the blinkies in playback absolutely will.
Pro-Level Tips for Faster, More Accurate Exposures
Once you've got the basics down, these advanced tactics shave seconds off every adjustment.
Set zebra to two thresholds if your camera allows it. Some mirrorless bodies let you assign two separate zebra patterns on screen. Put one at 95% for skin tones and one at 105% for specular highlights. You see both overlays at the same time.
That lets you protect faces and catch harsh reflections in one glance.
Use the histogram's shape to read scene contrast instantly. A tall narrow histogram means low contrast. A wide histogram spread across the graph means high contrast. If the graph touches both walls you need either bracketing or a filter.
You read this in under a second once you train your eye.
Lock exposure compensation to the control dial you access fastest. On most Sony and Fujifilm bodies that's the front command dial or a dedicated EC dial on the top plate. On Canon and Nikon you'll normally use the rear dial. Whatever works, make it muscle memory.
You want to dial in negative compensation without looking away from the EVF.
Calibrate your EVF brightness once, not every session. Go outside in midday sun. Turn EVF brightness up until the scene looks natural. Mark that setting.
Use it every time you shoot outdoors. For indoor work turn it down one step. The goal is consistency.
If your EVF brightness changes based on battery level or automatic dimming, your exposure guesses change with it.
Test your camera's raw headroom with a simple check. Frame a scene with a bright white surface. Shoot at your normal exposure. Take a second shot two stops brighter.
Open both in your raw editor. See how much detail the second shot holds before it clips. That tells you exactly how far you can push ETTR before you lose highlights.
That number is different for every camera body. As of 2026, most Sony and Nikon sensors show about 1.5 stops of headroom above the JPEG histogram's clipping point. Fujifilm tends to show slightly less.
Watch for the histogram not matching the final image. This happens when picture controls or film simulations are active. You might have a high contrast profile like Fujifilm's Velvia or Canon's Fine Detail turned on. That profile applies a curve to the preview that clips the histogram earlier than the raw file.
The exposure looks correct in the EVF but the raw file has more room. Switch your picture style to Neutral or Flat for the most accurate histogram.
Frequently Asked Questions
Why does my mirrorless viewfinder look perfect but the photo is dark?
Your EVF brightness is likely set too high. The viewfinder boost makes the scene look brighter than the actual exposure. Go to your display settings and turn EVF brightness down to manual.
Match it to the ambient light rather than relying on auto.
Where do I find the zebra pattern setting on my camera?
Look under your custom function or display settings menu. Sony labels it "Zebra" under the camera menu tab. Canon calls it "Highlight Alert" in the shooting display settings.
Nikon puts it under "Custom Settings Menu" then "Limits" in most Z series bodies. Fujifilm places it under "Screen Set Up" in the shooting menu.
Should I use the histogram or the zebra pattern?
Use both. The histogram shows you the full exposure distribution across the frame. The zebra pattern shows you exactly which areas are clipping.
They work together. Watch the histogram for overall balance. Watch zebra for specific problem zones like a sky or a face.
Why is my histogram showing clipping when the photo looks fine?
The camera's histogram reflects the JPEG preview, not the raw file. If you shoot raw, you typically have one to two stops of recoverable highlight detail past the histogram's clip point. That is called highlight roll off.
Test your specific camera to know its real headroom.
Can I use false color for stills photography?
Yes, if your camera supports it. False color maps brightness levels to specific colors. It is faster to read than a histogram once you learn the scale.
It works exactly the same for stills as for video. Check your camera's video assist tools to find it.

Similar Posts