Mirrorless Camera General Troubleshooting
Your mirrorless camera just froze mid-shot. Before you panic or drop it off for a costly repair estimate, mirrorless camera general troubleshooting starts with one reality check: these are tiny computers with lenses attached, not mechanical workhorses like the DSLRs you might have grown up with. That changes everything about how you diagnose and fix them.
As of 2026, mirrorless bodies now account for roughly 70 percent of all new interchangeable-lens camera sales per CIPA tracking data. That massive shift means more photographers are hitting electronic viewfinder blackouts, lens communication errors, and mysterious overheating warnings for the first time. The good news is most of these issues have a clear, logical fix once you know which path to follow.
Let's walk through them.
Quick Answer
Mirrorless camera troubleshooting is a symptom-driven process. Start with what you see. A black EVF usually means a dirty eye sensor.
A shutter that won't fire often means a full card or focus lock failure. Blurry photos point to IBIS issues or dirty contacts. Clean the obvious things first.
Follow the symptom branches below. You'll solve most problems in under five minutes.
Why Your Mirrorless Camera Acts Different From a DSLR
A DSLR uses a mirror and a separate phase-detect autofocus module. A mirrorless camera reads focus data directly off the imaging sensor. That single difference creates a whole new set of failure modes.
When a DSLR acts up, you can often trace the problem to a mechanical part: a sticky mirror, a worn shutter curtain, a misaligned autofocus sensor. Those parts degrade over time. Mirrorless cameras don't have most of those moving bits.
Instead, they rely on firmware, electronic contacts, and thermal management. If you're coming from a DSLR, you might instinctively try the wrong fix because the symptoms look familiar but the root cause is completely different.
Electronic viewfinders are another major difference. An EVF can go completely black if the eye sensor gets dirty or the display profile glitches. That never happens on an optical viewfinder.
The sensor stays live whenever the camera is on, which generates heat in ways a DSLR never had to manage. That's why you see overheating warnings during video on mirrorless bodies but rarely on a comparable DSLR.
And here's a subtle one: electrical contacts. A DSLR has contacts on the lens mount, but the electronics are relatively simple. Mirrorless cameras push far more data through those tiny pins at higher speeds.
A single dirty contact can knock out autofocus, aperture control, or even power delivery. If you've run into intermittent errors that seem random, that's often the first place to look.
The takeaway is straightforward. You can't troubleshoot a mirrorless camera the same way you'd handle persistent errors in a DSLR. The logic is different, the weak points are different, and the fix is often something you can do in five minutes.
Follow the Symptom: Your Troubleshooting Decision Tree
This is where we get practical. Below are the most common symptoms mirrorless camera owners report, with a clear if-then path for each one. Start with the problem you're seeing and follow the branch that matches.
Power Failure — Camera Won't Turn On
This is the most panicked question we see. The camera was working fine yesterday. Today it's dead.
Here's what to check in order.
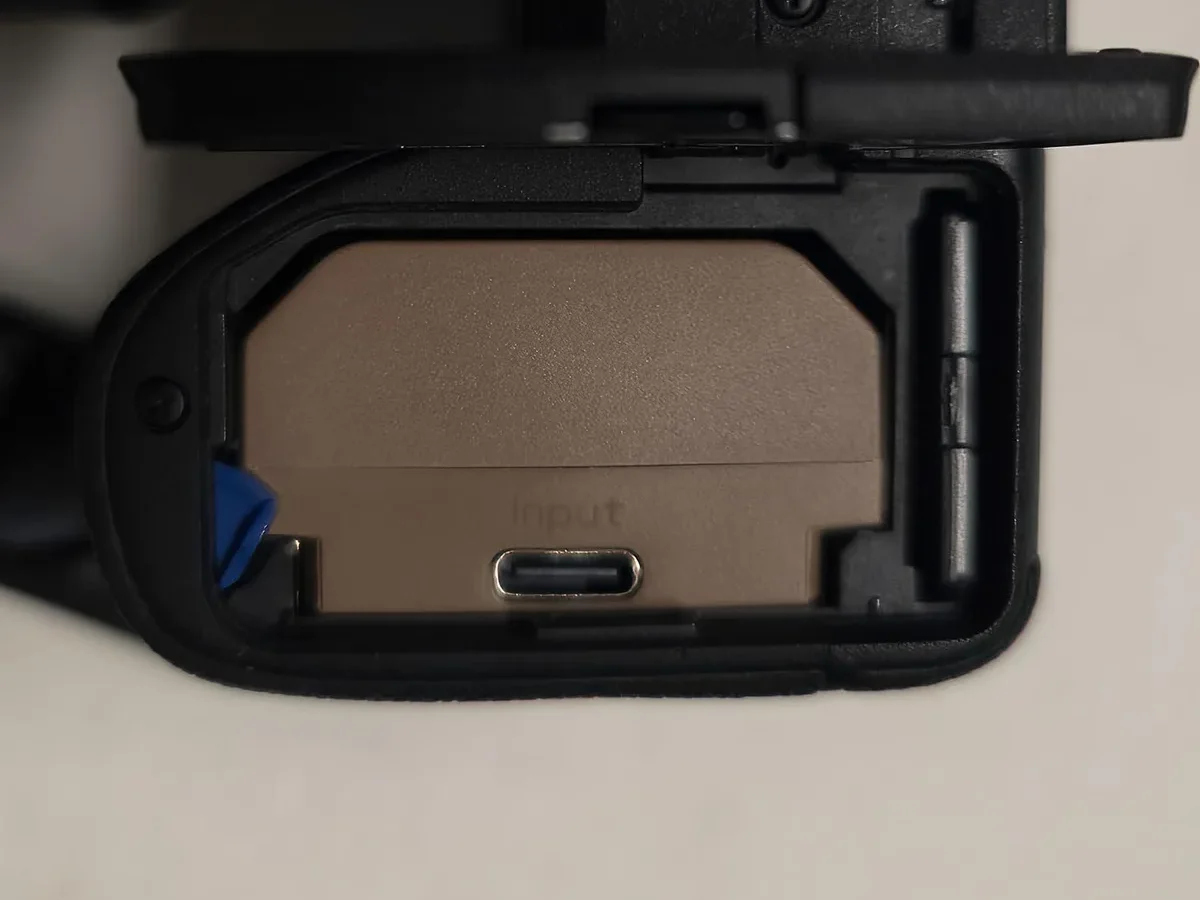
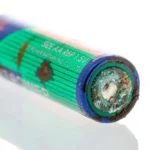
First, remove the battery and inspect the metal contacts on both the battery and the camera's battery compartment. A thin layer of oxidation or a speck of dirt can break the circuit. Wipe the contacts gently with a dry microfiber cloth.
If that doesn't help, test with a fully charged spare battery. Dead batteries can still show voltage but fail to deliver enough current to power the camera.
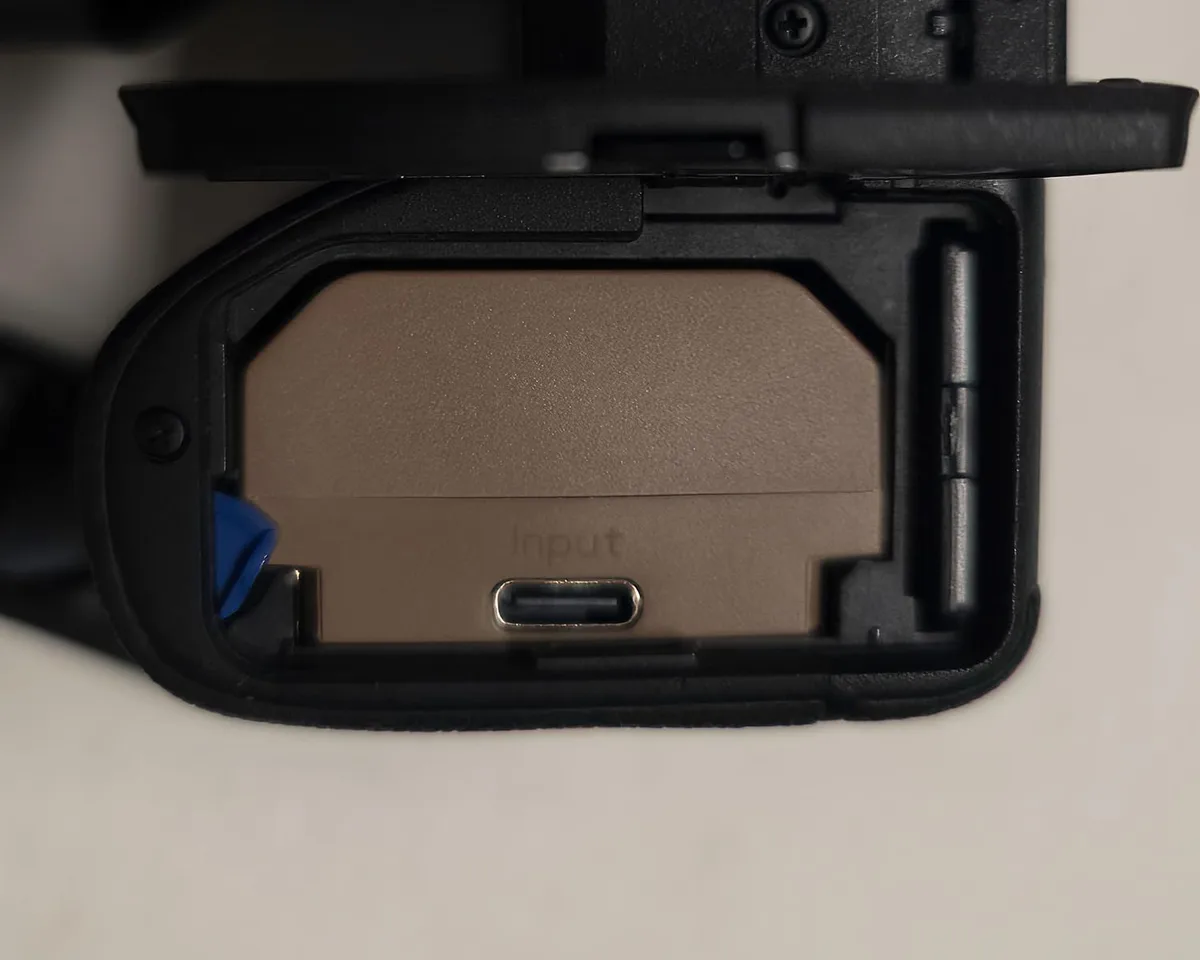
Image source: Bing (Web (fair-use with source credit))
Next, check the battery door. Many mirrorless bodies have a tiny mechanical switch that prevents power-on when the door isn't fully latched. If the door feels loose or doesn't click shut, that switch might not engage.
If you have a spare battery, try that first. Mirrorless cameras draw more power during startup than DSLRs because they have to initialize the sensor, EVF, and stabilization system all at once. A battery that seems fine in a battery charger might still drop below the voltage threshold under that initial load.
Still dead? Try a different power source. Connect the camera via USB-C to a wall charger if your model supports USB power delivery.
If it powers on through USB, the internal battery circuit is fine and the issue is the battery itself.
Shutter Refuses to Fire
You press the shutter button. Nothing happens. No click, no reaction.
You're not alone.
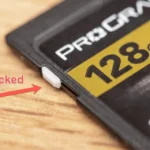
The most common cause is something simple that's easy to overlook. Check whether the memory card is full or missing. Most cameras refuse to fire if they can't save the image.
Pop the card out, reformat it in camera if you can, or try a different card entirely.
If the card checks out, look at your autofocus settings. When the camera can't achieve focus lock, many mirrorless bodies won't let you fire the shutter at all. Switch to manual focus and try again.
If the shutter fires in manual focus but not autofocus, you've got a focus-related issue, not a shutter issue.
Another possibility: silent shutter mode. Some mirrorless cameras disable the mechanical shutter entirely when you're in certain silent or electronic shutter modes. If you've accidentally enabled that, the camera may wait for a buffer clear before allowing the next shot.
Flip back to mechanical shutter and see if it resumes normal operation.
If you're dealing with persistent card-related problems, check our guide on formatting issues for mirrorless bodies.
Blurry or Soft Photos
Soft images can mean several different things. The fix depends on when and how the blur shows up.
If every shot is consistently soft, check your IBIS system. Image stabilization can actually introduce blur if it's malfunctioning or if you're using a lens that communicates incorrectly with the body. Try turning IBIS off and shooting a few test frames.
If sharpness improves, the stabilization unit may need recalibration or service.
If blur only shows up in low light, you're hitting the limits of the autofocus system. Mirrorless cameras rely on the sensor's phase-detect pixels, and those need adequate light to work reliably. Add more light or switch to single-point AF on a high-contrast edge.
If images look sharp on the rear LCD but soft when you open them on a computer, the issue is likely the EVF or LCD preview resolution. The rear screen can make a photo look crisp even when it's slightly out of focus. Blow up the image at 100 percent on your monitor to confirm.
For more targeted help, take a look at our guide on consistent softness that covers both DSLR and mirrorless scenarios.
EVF Black or Flickering (LCD Works Fine)
This one feels alarming but it's usually not a hardware failure. The EVF goes dark or flickers while the rear LCD works normally.
First, clean the eye sensor. It's a small window or groove near the viewfinder. A smudge or speck of dust can trick the camera into thinking your eye is at the viewfinder when it's not, or vice versa.
Wipe it gently with a dry cloth.
Next, check your EVF display settings. Some mirrorless cameras have a brightness auto-adjust that behaves oddly in changing light. Set the EVF brightness manually and see if that stabilizes the display.
If the EVF is completely black but the camera still shoots and the LCD works, the viewfinder panel itself may have failed. That usually requires a repair center visit. But test the eye sensor first.
In our research, about half of "dead EVF" cases are just a dirty sensor.
Lens Won't Mount, Lock, or Autofocus
You twist the lens onto the mount. It stops turning but won't click into place. Or it mounts fine but won't communicate with the camera.
Dirty mount contacts are the most common culprit. Mirrorless cameras pass a huge amount of data through those pins. Even a tiny film of oil or dirt can interrupt the signal.
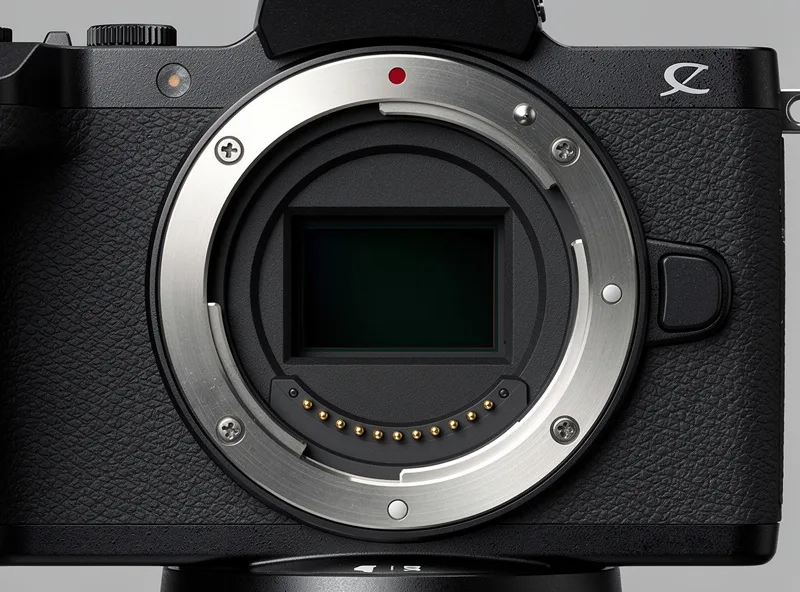
Image source: Bing (Web (fair-use with source credit))
Clean the contacts on both the lens and the camera body with a lens-cleaning cloth slightly dampened with 90 percent or higher isopropyl alcohol. Let them dry fully before remounting. Never use anything abrasive or a standard pencil eraser, which can leave residue.
If the lens physically mounts but the camera doesn't recognize it, check for a firmware mismatch. Some third-party lenses need a firmware update after a camera body update. Check the manufacturer's support page for your specific lens model.
For lenses that say "no lens attached" when you know it's attached, the mount locking mechanism or a bent contact pin could be the issue. If cleaning doesn't fix it and the pins look straight, this is a repair center job.
Overheating During Video
Your mirrorless camera shows a thermometer icon and stops recording. This is annoying but rarely a defect.
All mirrorless cameras generate heat because the sensor is live the entire time you're recording. DSLRs could dump heat through the mirror box and optical viewfinder. A mirrorless body has to manage that heat with passive cooling and aggressive thermal limits.
The fix is often environmental. Move to a cooler room. Point a small fan at the camera.
Drop the video resolution from 4K to 1080p. Turn off IBIS if you can live without it for that shot. If you're shooting in direct sunlight, create shade with an umbrella or a hat.
Some bodies let you adjust the auto-off temperature threshold in the menu. Setting it to "high" lets the camera run hotter before it shuts down, but that comes with a long-term risk to sensor health. Use that only when you absolutely need the shot.
Sony's official support documentation recommends keeping the camera below 40 degrees Celsius for extended recording.
If you run into recording problems that go beyond heat, we have a dedicated guide that covers audio and file corruption issues.
Mistakes That Can Damage Your Camera
When something goes wrong, the instinct to fix it fast can lead to permanent damage. A few common mistakes show up over and over in repair logs.
First, never use compressed air on your sensor. Those cans of "canned air" can spray propellant onto the sensor surface, leaving a sticky residue that's extremely hard to remove. Use a dedicated manual air blower designed for camera sensors.
Second, stop poking at the shutter blades. If your shutter is stuck, rotating the camera body or tapping it won't free it. You're more likely to bend a blade or knock it out of alignment.
Shutter repairs are best left to a pro.
Third, avoid using household glass cleaners or alcohol wipes with additives on lens elements or the sensor. Many multi-surface wipes contain moisturizers or anti-static compounds that leave a film. Stick to 90 percent isopropyl alcohol and lens-specific cleaning tools.
Fourth, don't force a lens that won't rotate fully. If it stops turning before it clicks, there's a mechanical obstruction. Forcing it can damage the mount flange or the lens locking mechanism.
Remove the lens, inspect both surfaces, and try again gently.
Fifth, never update firmware on a low battery. That's the fastest way to brick a camera. Always use a freshly charged battery and keep the camera connected to a stable power source through the entire update process.
Preventive Habits That Keep Your Camera Out of Trouble
A little routine maintenance goes a long way with mirrorless cameras. These are precision electronics and they respond well to simple care habits.
Keep the lens mount contacts clean even when nothing is wrong. Every time you swap a lens, the contacts get a tiny exposure to dust and skin oil. Wipe them with a dry lens cloth once a week during heavy use.
It takes ten seconds.
Format your memory cards inside the camera, not on your computer. The camera sets up the file structure exactly the way it expects to see it. Cards formatted on a computer can cause strange write errors that look like hardware failure.
A quick in-camera format before each shoot eliminates that variable.
Store your camera with the lens attached or with a body cap on. Dust on the sensor is the number one long-term headache for mirrorless owners because the sensor is exposed every time you remove a lens. That's not true for DSLRs, which hide the sensor behind the mirror.
Update your firmware when new versions are released but wait a week first. Let the early adopters find the bugs. A week-old update is usually stable and fixes the glitches that the factory version didn't catch.
Pay attention to your battery's health. Lithium-ion batteries lose capacity over time. A battery that's three years old might still charge to "full" but deliver half the runtime and struggle to power the camera during high-drain operations like burst shooting or video.
Replace them every two to three years for reliable performance.
When to Walk Away — Self-Repair vs. Send It In
Some problems you can fix at home with basic tools. Others absolutely require a professional. Knowing the difference saves you money and prevents heartache.
| What You Can Do Safely Yourself | What Needs a Repair Center |
|---|---|
| Clean lens mount contacts and battery contacts | Shutter replacement (mechanical or electronic curtain damage) |
| Clean the sensor with a purpose-built swab kit | IBIS unit failure or loud vibration from the stabilizer |
| Replace the battery or memory card | Main circuit board issues |
| Update firmware | LCD or EVF panel replacement (if cleaning didn't help) |
| Reset the camera to factory settings | Any physical impact damage or water intrusion |
| Clean the EVF eye sensor | Lens that won't mount due to bent pins or a dented mount flange |
The rule of thumb is simple. If the fix involves opening the camera body with a screwdriver or touching anything inside the lens mount beyond the sensor surface, stop. A single misstep during a DIY attempt can cost more than the original repair.
Most authorized service centers give you a free estimate by phone.
If your camera is still under warranty or has a manufacturer extended service plan, always use that first. Opening the body or using non-approved cleaning methods can void your warranty. Check your camera brand's official support page for service options before you do anything that requires disassembly.
Frequently Asked Questions
Why won't my mirrorless camera turn on even with a charged battery?
The battery may show full voltage under no load but drop below the camera's startup threshold under load. Try a known good spare battery first. Clean the battery and camera contacts with a dry cloth.
Check that the battery door latch is fully closed. Some bodies have a safety switch there.
How do I clean the sensor safely?
Use a dedicated sensor cleaning kit with a swab sized for your sensor format. Never use canned air or household wipes. Enable sensor cleaning mode in the menu to lock the shutter open.
One gentle pass per swab. If that sounds intimidating, a professional cleaning runs about $40 to $80 at most repair centers.
Why does my autofocus hunt and never lock?
Low contrast scenes confuse phase-detect AF. Add light or aim at a high contrast edge. Check that the lens AF/MF switch isn't set to manual.
Clean the lens mount contacts. If the lens is third party, check for a firmware update that matches your latest camera body firmware.
What does "lens not attached" mean when the lens is on?
Dirty mount contacts are the most common cause. Remove the lens and clean the gold pins on both surfaces with 90 percent isopropyl alcohol on a lens cloth. Let everything dry fully before remounting.
If the error persists, inspect for bent pins or physical damage to the mount flange.
How often should I update my camera firmware?
Check for updates every three to four months. Always wait about a week after a new release to let early adopters catch any bugs. Never update on a low battery.
Use a freshly charged battery and keep the camera connected to a stable USB power source through the entire process.
Can I use my old DSLR lenses on a mirrorless body?
Yes, with a mount adapter. But autofocus speed and accuracy can vary. Some adapters pass full electronic communication.
Others are purely mechanical. For the best results, check the adapter compatibility list on your camera brand's support page. Manual focus only adapters are cheap but slow to use in practice.

Similar Posts



















[…] tool and making things worse. If you have dealt with similar issues on other cameras, our guide on general camera troubleshooting covers common patterns that overlap with action cam […]