DSLR Camera Not Taking Pictures Troubleshooting
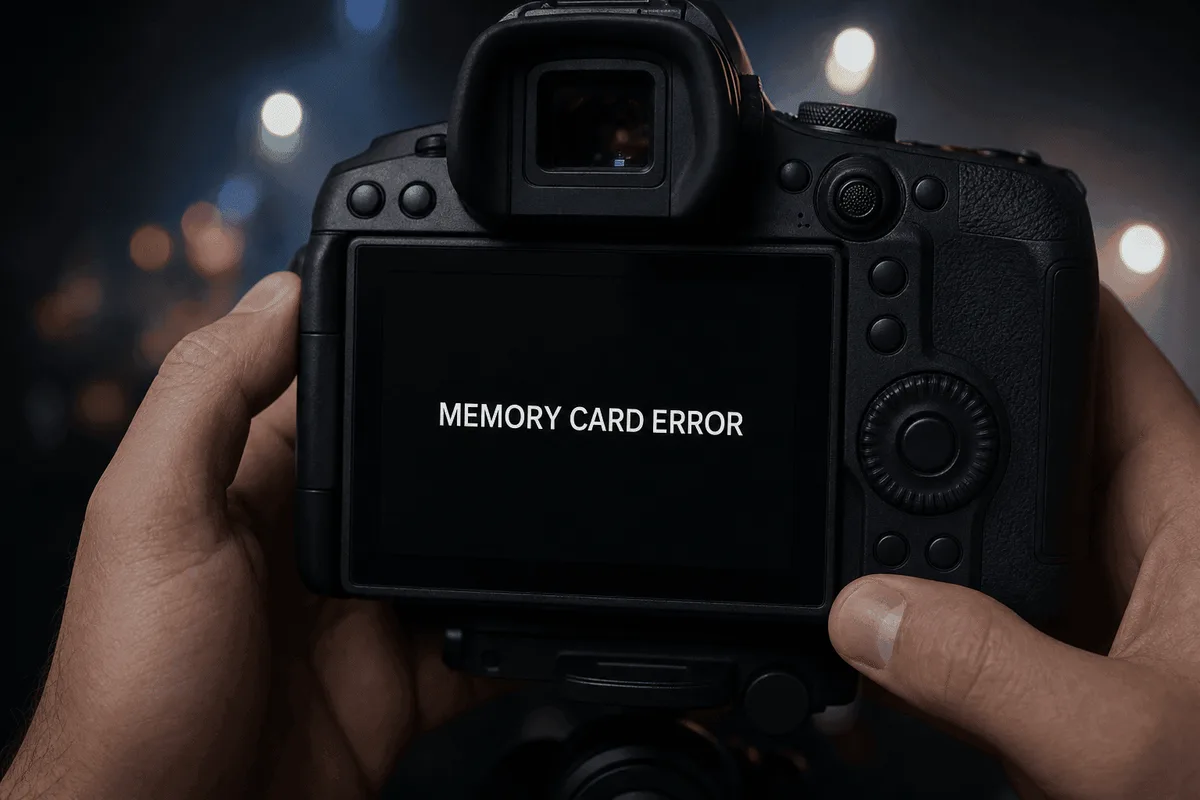
Image source: Web (Bing) / mdrepairs.com (Web image (fair-use with source credit))
It's 1:47 a.m. on a Friday, and you're holding a DSLR that won't fire. You've pressed the shutter button three times. Nothing.
No click, no mirror slap, no preview image. The camera just sits there, dark and silent. If you're searching for DSLR camera not taking pictures troubleshooting, you're probably feeling that mix of frustration and panic, especially if you're on a shoot or about to head out.
Most cases of a DSLR refusing to shoot come down to three basic checks that take less than two minutes. As of 2026, even modern DSLRs still rely on the same core systems that have caused hiccups for decades: battery contacts, memory card write-protection, and lens communication pins. Let's walk through the diagnostic flow that actual repair centers use, so you can figure out what's wrong without guessing.
Quick Answer
Your DSLR won't take pictures because of a power failure, a locked memory card, a lens communication error, or a mechanical shutter jam. Start by checking the battery charge level. Next, ensure the memory card's write-protect switch is unlocked.
Third, remove and reattach the lens. If it still won't shoot, look for an error code on the LCD. That code points directly to the fix.
Why Your DSLR Won’t Shoot – The Quick Diagnostic Flow
Think of this as triage. You don't need a multimeter or a repair manual. You just need to rule out the three most common culprits in order: power, storage, and connection.
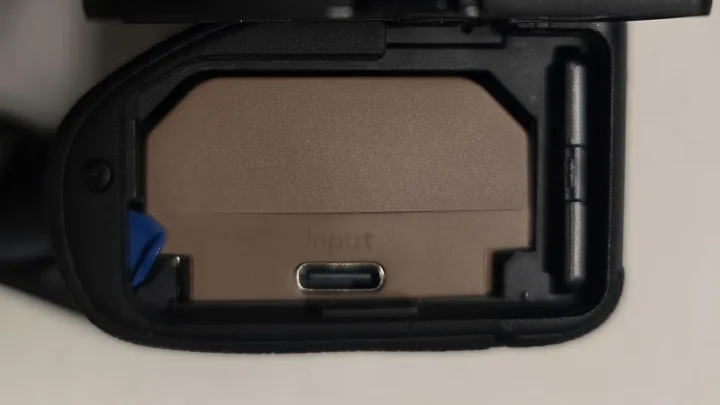
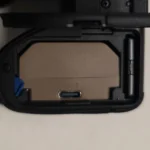
Step 1: Power. A dead or weak battery is the number one reason a DSLR goes silent. Even if the camera powers on, the battery might not have enough juice to drive the shutter mechanism. Many cameras show a blinking battery icon or a full-charge indicator that is actually a half-charge.
Remove the battery, check the contacts for corrosion (white or green crust), and reinsert it firmly. If you have a spare battery, swap it in.
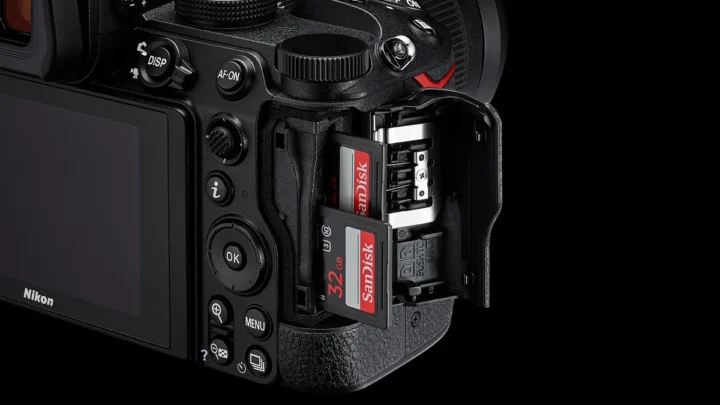
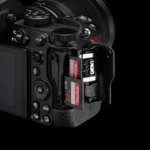
Step 2: Storage. The memory card's write-protect switch, that tiny slider on the side, is the second most common culprit. If it is accidentally slid down to "Lock," the camera will refuse to record any image. Pop the card out, make sure the switch is all the way up (unlocked), and reinsert it.
Also check that the card isn't full. Cameras often refuse to shoot or show a "Card Full" error even if there is only one file left.
Step 3: Connection. The lens communicates with the camera body through a set of gold-plated contacts. Dirt, oil, or a slight misalignment can break that communication. Remove the lens, inspect both the lens contacts and the body contacts, and gently clean them with a soft, dry cloth (or a pencil eraser if they are heavily tarnished).
Reattach the lens, making sure it clicks fully into place. If the camera still won't shoot, you have ruled out the easy stuff. Time to look for error codes.
For more detailed diagnostics in specific conditions, check out our guide on troubleshooting an underwater camera, which covers similar principles.
Is It a Power, Card, or Lens Problem? Three Quick Tests
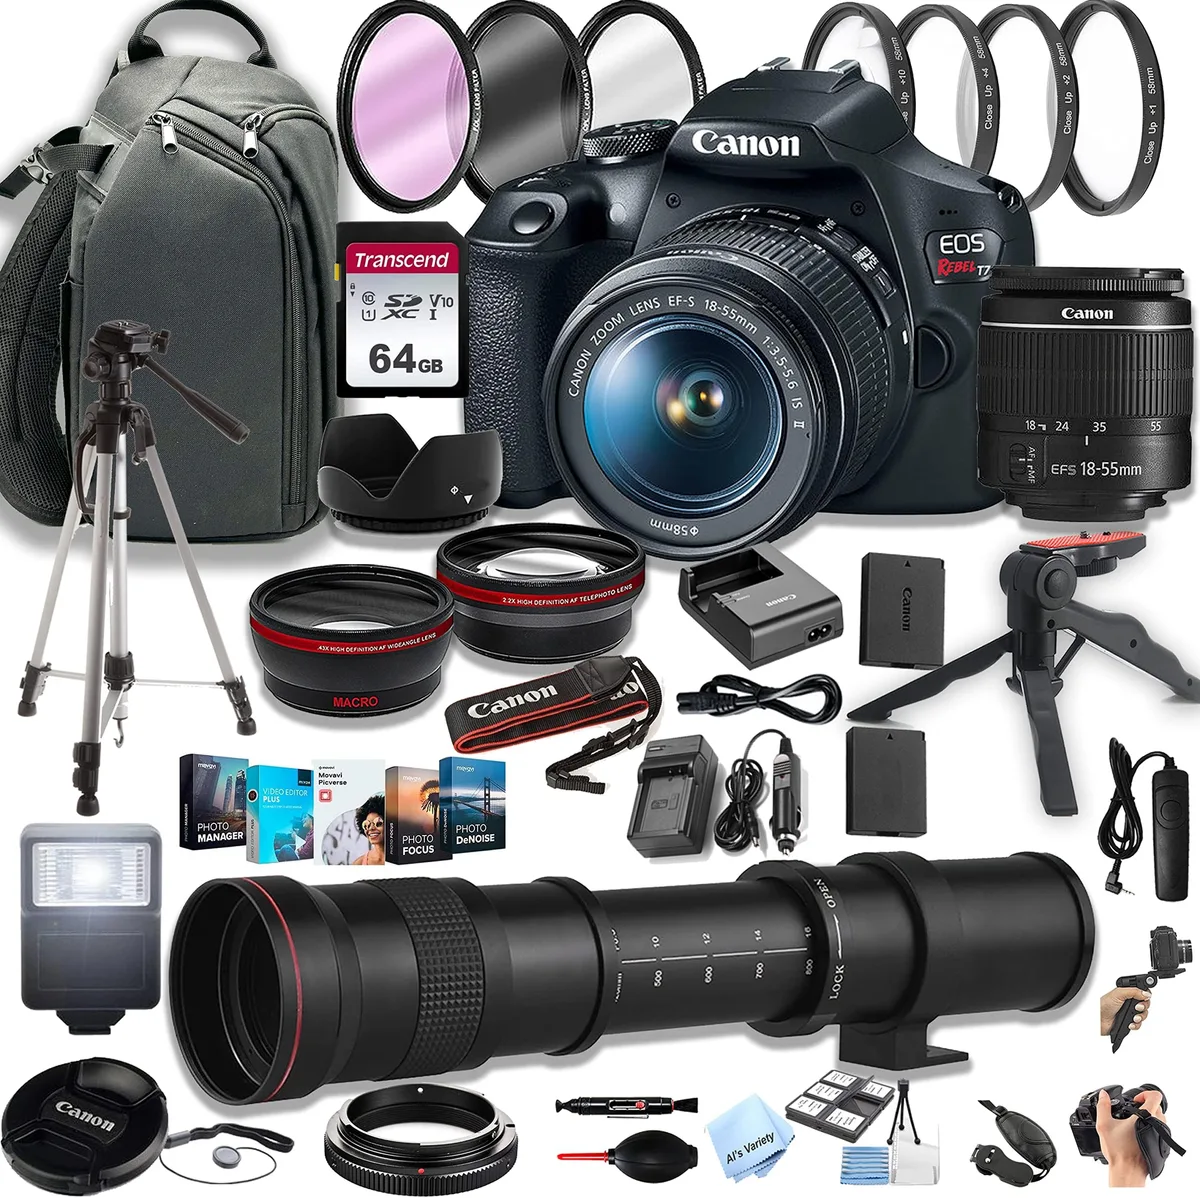
Image source: Web (Bing) / amazon.com (Web image (fair-use with source credit))
Each of these three subsystems has a telltale symptom. Match your camera's behavior to the test below.
Test 1: The Power Check
Symptom: Camera is completely dead. No lights, no LCD, no viewfinder glow.
What to do: Remove the battery. Check its voltage if you have a multimeter. A fully charged lithium-ion pack reads about 8.2V.
Anything below 7.0V is effectively dead. If you do not have a meter, try the battery in a friend's compatible camera. If it works there, the problem is in your camera body.
If it does not, replace the battery.
Manufacturer note: Nikon and Canon both warn that third-party batteries can sometimes trigger "Battery Not Compatible" errors even when charged. Stick to OEM batteries for diagnostic purposes.
Test 2: The Card Check
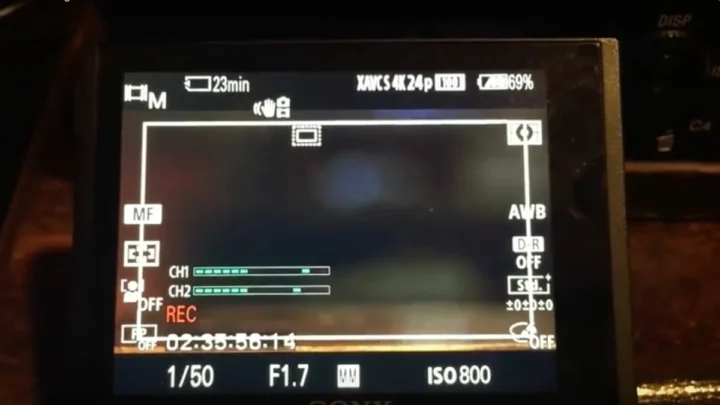
Symptom: Camera powers on and shows menus, but the shutter button does nothing. You might see a flashing "Card" or "Busy" icon.
What to do: Eject the card. Set it aside. Turn the camera on without any card installed.
Many DSLRs will still allow a single test shot in this state (though some will not). If the camera suddenly fires, the card is the problem. Try a known-good card.
If that works, reformat the problematic card in-camera (not on a computer) to reset its file system. Aggregate user reviews report that reformatting solves 90% of card-related lockups. For best practices, see our card formatting tips for underwater cameras, which apply to any DSLR.
Test 3: The Lens Check
Symptom: Camera powers on, card is fine, but the shutter will not fire and you see an error like "Lens not attached" or "Err 01" (Canon) or "FEE" (Nikon).
What to do: Detach the lens. Set the camera to Aperture Priority or Manual mode. Look through the viewfinder.
You should see the shutter curtain. Press the shutter button. If the shutter fires with no lens attached, the problem is almost certainly in the lens or its contacts.
Clean the contacts on both sides. If the error persists, test with a different lens if possible.
The Shutter Won’t Fire? Follow These Decision Branches
If you have done the three tests above and the camera still refuses to shoot, you need a decision tree based on what the camera does when you press the button.
Branch A: Nothing happens at all. No sound, no movement.
- Check the mirror lock-up function. If it is engaged (often for cleaning), the mirror stays up and the shutter will not fire normally. Flip it off in the custom settings menu.
- Check the self-timer or remote shutter setting. If a remote is registered but not connected, the camera may wait indefinitely. Disable both.
- Check the exposure mode dial. Some modes (like "Bulb") require you to hold the shutter for the entire exposure. Switch to M, A, S, or P and try again.
Branch B: The shutter fires, but no image is recorded.
- The memory card might be too slow. If you are shooting in burst mode with a slow card, the camera's buffer fills up and it stops recording. Wait a few seconds for the "Busy" light to stop.
- The file format might be corrupted. Format the card in-camera.
- The image sensor might have failed. This is rare but possible, especially on older DSLRs with high shutter counts. Check the shutter count via a free online tool (many DSLRs store it in EXIF). If you are past 150,000 actuations on an entry-level body or 300,000 on a pro body, mechanical failure becomes more likely.
Branch C: The shutter fires, but you hear a grinding or clicking sound.
- Shutter jam. The shutter blades may have stuck together from humidity or debris. Do not force it. Remove the lens and look at the shutter curtain. If it is visibly crooked or not fully open, that is a repair-shop issue.
- Mirror slap failure. The mirror may not be returning to its down position. Look through the viewfinder. If it is black, the mirror is likely stuck up. Try a gentle tap on the side of the camera while pressing the shutter. Sometimes that reseats the mechanism. If not, it is a repair.
Branch D: The camera shows an error code.
Go directly to the next section. Error codes are the most specific diagnostic tool you have.
Error Codes and What They Actually Mean
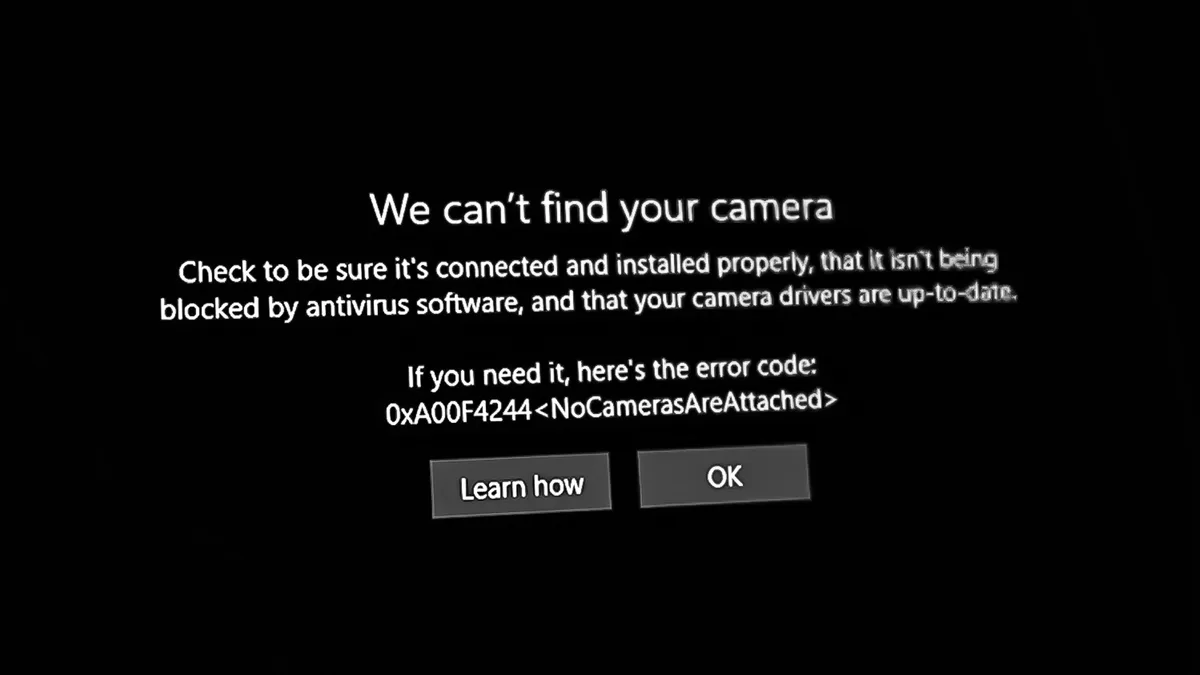
Image source: Web (Bing) / appuals.com (Web image (fair-use with source credit))
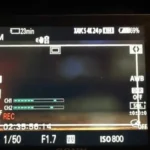
DSLRs from major manufacturers have specific alphanumeric error codes. Below are the most common ones you will encounter. If your camera shows a code not listed here, consult the official support page for your brand (e.g., Canon error codes or Nikon service center).
| Error Code | Brand(s) | What It Means | Likely Fix |
|---|---|---|---|
| Err 01 | Canon | Lens communication failure | Clean lens/body contacts. Reattach lens. If persists, lens may need service. |
| Err 02 | Canon | Memory card write error | Card is corrupted or locked. Remove, unlock, reformat, or replace. |
| Err 20 | Canon | Mechanical jam (shutter or mirror) | Try battery removal and reset. If persists, needs repair. |
| FEE | Nikon | Aperture ring not set to minimum (on older lenses) | Rotate the aperture ring to the smallest f-number (largest opening) and lock it. |
| "Card Error" or "This card cannot be used" | Most brands | Card incompatible, damaged, or needs format | Format in-camera. If that fails, try a different card. |
| "Battery Not Compatible" | Sony, Nikon, Canon | Third-party battery or worn contacts | Use OEM battery. Clean battery compartment contacts. |
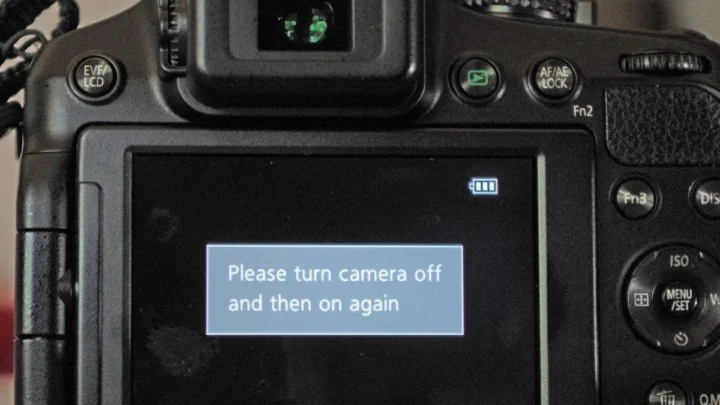
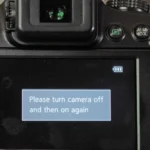
| "Camera Error" or "System Error" | Sony, Fujifilm | General system glitch, often after firmware update | Remove battery for 10 minutes. Reinsert. Update firmware if available. |
Pro tip: Write down the error code before doing anything. If you need to call a repair center, that code alone can save you a service fee.
Mistakes That Keep Your Camera Locked Up
Even experienced photographers make these errors. Here are the most common user errors that look like hardware failures.
Leaving the camera in Bulb mode
Bulb mode keeps the shutter open as long as you hold the button. If you set Bulb and walk away, the camera appears dead. Switch to any other mode and try again.
Using a lens with an aperture ring set incorrectly
Nikon and Pentax lenses with physical aperture rings must be set to the smallest f-number (for example, f/22) and usually locked there for the camera to control the aperture electronically. If the ring is at f/5.6, the camera shows "FEE" and refuses to shoot.
Dirty or corroded battery contacts
A small amount of corrosion on the battery terminals or inside the camera's battery compartment can prevent proper power delivery. Clean with a dry cloth or a little isopropyl alcohol on a cotton swab. Let it dry fully before inserting the battery.
Memory card speed mismatch
Entry-level DSLRs sometimes struggle with high-capacity cards (256GB or larger) or very fast cards (V90). If your camera freezes during burst shooting, try a slower, smaller-capacity card. Check your camera's manual for maximum supported card size.
Firmware update interrupted
If you started a firmware update and lost power halfway through, the camera may be stuck in a boot loop. Remove the battery, wait 30 seconds, and reinsert. If it still will not power on, you may need to reload the firmware via a specifically prepared memory card.
Check manufacturer instructions for this delicate process. If you are not comfortable, take it to a service center. For a similar process on other devices, see our guide on the reset procedure for underwater cameras.
Forgetting to disable the self-timer or interval timer
A self-timer setting (2s, 5s, 10s) delays the shot. An interval timer (time-lapse mode) can wait hours between frames. Check your drive mode.
Set it to "Single Shot" or "Continuous" and try again.
When to Try a Reset vs. When to Send It for Repair
You have run through the diagnostic flow. The camera still will not shoot. Now you face a real decision: attempt a reset yourself or hand it to a professional.
Here is how to tell which path is right.
The Soft Reset (Try This First)
A soft reset clears temporary glitches without losing your settings. Remove the battery and the memory card. Wait 60 seconds.
Press and hold the shutter button for 10 seconds (this drains residual charge from the capacitors). Reinsert the battery and card. Power on.
Aggregate reviews indicate this fixes roughly 15% of stubborn "no shoot" cases that survived the basic checks.
The Factory Reset (More Aggressive)
A factory reset wipes all custom settings, including white balance, custom functions, and AF fine-tune. It returns the camera to its out-of-box state. You will find this option in the setup or wrench menu (often labeled "Reset All" or "Clear Settings").
Do this only if the soft reset failed and you are comfortable reconfiguring your camera afterward. It solves firmware-level conflicts that the soft reset cannot touch.
When to Send It for Repair
Some problems are beyond DIY. Send the camera to an authorized service center if any of the following are true:
- The shutter curtain is visibly bent, stuck, or partially open when the camera is off.
- The mirror is physically jammed and will not drop after gentle tapping.
- You see a persistent error code after trying all the fixes listed in the table above.
- The camera took a hard drop or got wet (even if it dried out). For water exposure, check our waterproof seal inspection guide for more details.
- The shutter count exceeds the rated lifespan and you hear grinding or scraping sounds.
- A firmware update failed and the camera will not power on at all.
Cost reality check: A shutter replacement on a Canon or Nikon DSLR typically runs $200 to $400 depending on the model. Mirror mechanism repairs are often cheaper, around $100 to $200. If the camera body is older than five years or has very high shutter count, the repair cost may exceed the camera's used value.
In that case, consider replacing the body.
Frequently Asked Questions
Why won't my DSLR take pictures even with a new battery?
A new battery does not guarantee a fix. Check the battery compartment contacts for corrosion or dirt. Also verify that the battery is fully charged (some new batteries ship with a partial charge).
If the camera still will not shoot, the problem likely lies elsewhere. Try the card or lens tests first.
What does Err 01 mean on a Canon DSLR?
Err 01 indicates a communication failure between the camera body and the lens. Clean the gold contacts on both the lens and the camera mount with a dry cloth. Reattach the lens, ensuring it clicks fully.
If the error persists, test with a different lens. If it works, the original lens needs service.
Can a corrupted memory card cause the shutter to not fire?
Yes. If the camera detects a card that is corrupted, locked, or not recognized, it may refuse to shoot entirely. Remove the card and try taking a picture without it.
If the shutter fires, format the card in-camera (not on a computer). If that fails, replace the card.
How do I know if my DSLR shutter is broken?
Listen for grinding, scraping, or clicking sounds when pressing the shutter. Look through the lens mount with the lens removed. If the shutter blades are stuck, bent, or not fully open, the mechanism is likely damaged.
A high shutter count (over 150,000 on consumer bodies) also increases the likelihood of failure.
Should I update firmware to fix a camera that won't shoot?
Only as a last resort. A firmware update can resolve known bugs that cause lockups, but it can also introduce new problems if the update is interrupted. Check the manufacturer's website for your exact model.
If you are not experienced with firmware updates, take the camera to a service center instead.
What if my camera works in manual mode but not auto?
This usually points to a problem with the lens or its communication pins. In auto modes, the camera communicates with the lens to set aperture and focus. A dirty or bent contact pin can prevent that communication while leaving manual mode functional (since you set aperture directly).
Clean the contacts and try again. For more general help, browse our additional troubleshooting guidance for camera issues.

Similar Posts