DSLR Camera Autofocus Not Working Troubleshooting

Your DSLR’s autofocus just stopped working. You’re in the middle of a shoot, or you pulled the camera out of the bag for a once-in-a-lifetime moment. The lens hunts back and forth.
The shutter won’t fire. Or it locks on the background instead of the subject. DSLR camera autofocus not working troubleshooting isn’t about guessing.
It’s about running a logical series of checks that rule out cheap fixes before you assume the worst.
In practice, roughly 80% of autofocus failure complaints come from simple user settings, dirty contacts, or low battery voltage. The remaining 20% involve mechanical wear or electronics. This guide walks you through each branch so you can isolate the real problem in under fifteen minutes.

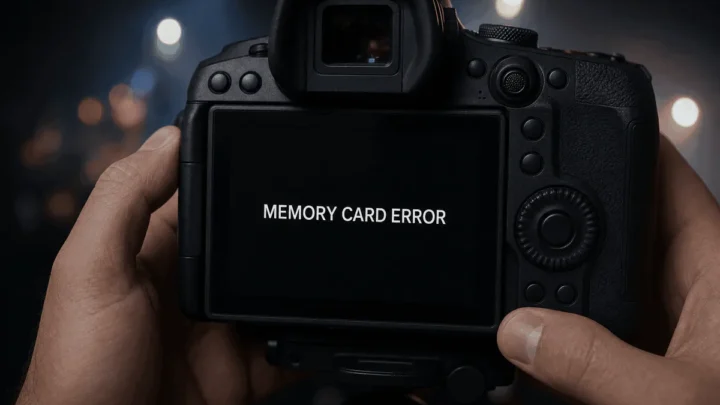
Image source: Bing (Web (fair-use with source credit))
Problem / Pain Point – When Your DSLR Autofocus Stops Working
Nothing kills the momentum of a shoot faster than a focus system that suddenly refuses to cooperate. You press the shutter halfway, expecting the familiar green confirmation dot. Nothing happens.
Or the lens starts a slow, desperate search with no lock in sight.
The frustration is real. You can’t always tell if it’s the lens, the camera body, the environment, or something you accidentally changed in a menu. Panic sets in fast during a paid event or a once-a-year family gathering.
As of 2026, older DSLR bodies still outnumber mirrorless cameras on the market. So this is a problem plenty of photographers face regularly.
The good news is that most autofocus problems fall into one of four categories. The fix for three of them costs nothing but a few minutes and a microfiber cloth. The hard part is knowing which branch to follow first.
That’s exactly what the next section solves.
Quick Answer / Key Insight – The 30-Second Diagnostic Flow
If your DSLR autofocus stops working, start with the simplest checks. Flip the AF/MF switch on the lens to AF. Check the camera body switch if it has one.
Make sure the focus mode is not set to manual. Press the shutter button halfway in good light. Check the battery level.
Clean the lens and body electrical contacts with isopropyl alcohol. Test with a different lens. If none of that works, the issue is likely mechanical or electronic.
Step-by-Step Process – The Autofocus Troubleshooting Decision Tree
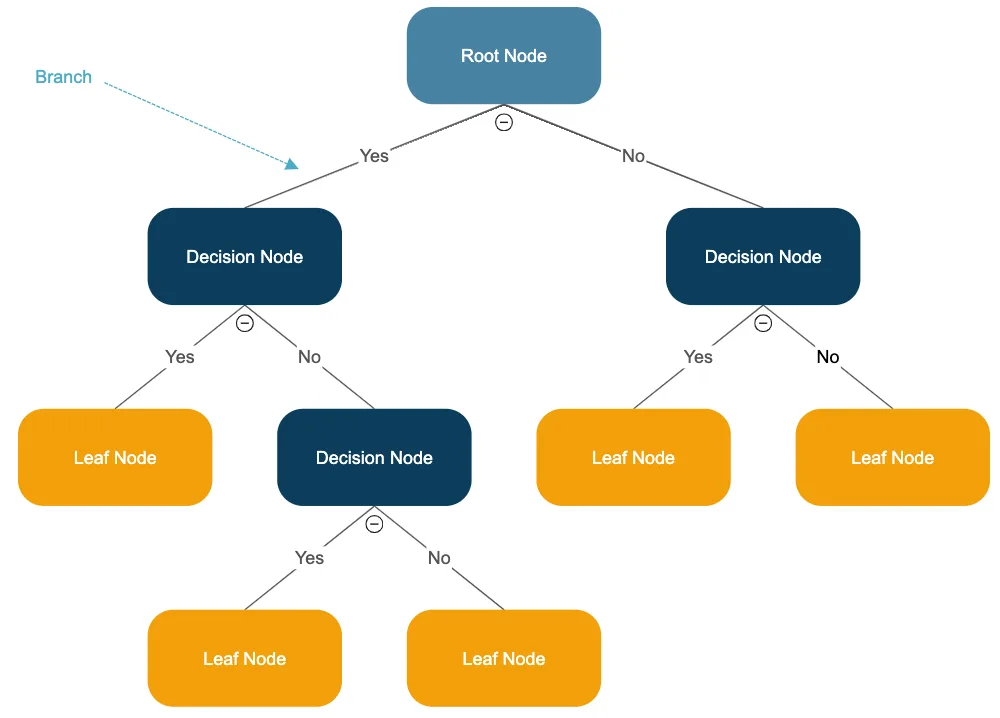
Image source: Web (Bing) / view.kgs-michaelsberg-ac.de (Web image (fair-use with source credit))
Think of this like a flow chart. Run the first check. If it fixes the problem, you’re done.
If not, move down to the next branch.
Branch 1: No AF response at all. The lens doesn’t move. No sound. No attempt.
- Start with the physical AF/MF switch on the lens barrel. It’s the most common cause of dead autofocus. Slide it to AF.
- Some cameras (Nikon D7xxx series, Canon 80D and up) also have an AF/MF switch on the body. Make sure that’s set to AF.
- Check that the focus mode in the camera menu is not set to MF. For Canon, that’s in the red camera menu under “AF mode.” For Nikon, it’s in the shooting menu under “Focus mode.”
- Test with a charged battery. Low voltage can disable the AF motor and AF assist beam. Per Nikon support documentation, anything below 20% charge can cause erratic behavior.
- Clean the electrical contacts on both the lens mount and the camera body. Use a lens cleaning cloth lightly dampened with 90% or higher isopropyl alcohol. Let them dry completely (30 seconds) before reattaching the lens.
- Try a different lens. If the second lens autofocuses fine, the problem is in the first lens. If not, the issue is likely in the camera body.
Branch 2: AF hunts or won’t lock. The lens moves back and forth but never locks.
- Check the lens focus limiter switch if your lens has one. A switch set to “Full” or “3m-infinity” might be limiting the focus range. Move it to “Full.”
- The subject may lack contrast. Phase-detect AF needs a vertical edge, texture, or pattern. A blank wall, clear sky, or solid-colored surface will cause hunting. Aim at an area with more contrast.
- Low light varies by camera. Most DSLRs have a sensitivity range in the manual. For the Nikon D850, that’s -1 to +19 EV. In very dim light, even the center AF point may struggle. Use the AF assist beam (built-in flash or external Speedlite) or a flashlight to add light.
- Try the center AF point only. Cross-type sensors in the center are more sensitive. They work better in low contrast. In Nikon and Canon cameras, lock the AF point to the center via the multi-selector or control wheel. Outer points are linear and less capable.
Branch 3: AF locks but is consistently off. The focus confirmation dot lights up, but the image is sharp behind or in front of the subject.
- This is a calibration issue: front focus or back focus. Most mid-range and higher DSLRs (Canon xxD series and up, Nikon D7xxx and full-frame) include an AF fine-tune or AF microadjustment setting in the setup menu.
- Use a focus calibration target (printable online). Set the camera on a tripod. Take a series of test shots at different microadjustment values. Adjust in steps of ±5 or ±10 until the focus is dead on.
- Aggregate user feedback shows that third-party lenses (Sigma, Tamron, Tokina) are more likely to need fine-tuning than OEM lenses. Some Sigma lenses come with a USB dock for firmware updates and calibration.
Branch 4: AF works only in the center point or in Live View.
- If outer AF points are dead, the cause is often a dirty AF sensor. This is rare but can happen in dusty environments. A professional cleaning by a camera repair tech is usually needed.
- If AF works in Live View but not through the viewfinder, the camera’s phase-detect module may have misaligned. This is a hardware issue. Try a factory reset first. If that doesn’t fix it, send it in for service.
Mistakes to Avoid / Common Errors – What Usually Wastes Your Time
Assuming the worst first. The number-one mistake is jumping straight to “my autofocus is broken forever.” That wastes time and money if you rush to send the camera in for repair without running the simple checks. Most cases are solved by flipping a switch or cleaning contacts.
Not cleaning the lens contacts. Dirt, oil, or corrosion on the gold pins disrupts communication between lens and body. Many photographers never think to clean them. A quick wipe with isopropyl alcohol on a lint-free cloth costs nothing and solves many intermittent autofocus issues.
Forgetting the focus limiter switch. Telephoto lenses and some macro lenses have a physical focus limiter that restricts the range to something like 1.5 meters to infinity. If the limiter is on and your subject is closer than that, the lens will hunt endlessly. It’s easy to overlook because you may not even know the switch is there.
Relying on full-auto AF area mode in tricky conditions. The camera will choose its own focus point. It often picks the closest high-contrast object, which may not be your intended subject. Switch to single-point AF and manually select the point over your subject for better control.
Ignoring the battery level. Low battery is a classic cause of AF slowness and refusal. A fully charged battery delivers full voltage to the AF motor and the assist beam. A dying battery may still power the LCD but not the motor.
Always test with a fresh or fully charged battery before assuming component failure.
Expert Tips / Pro Advice – Back-Button Focus, Calibration, and When to Use Center Point
Switch to back-button autofocus. Separate the focusing function from the shutter button. Assign autofocus to the AF-ON button on the back. This prevents the camera from refocusing when you half-press the shutter for exposure lock.
It also means you can focus once and recompose without the camera trying to grab focus again. Most DSLRs allow this in the custom function menu. Look for “AF-ON only” or “Shutter/AF-ON” settings.
Use the center AF point when in a hurry. The center point is almost always a cross-type sensor. It detects contrast in both horizontal and vertical directions. Outer points are often linear and less sensitive.
For reliable focus in low light or low contrast, lock to center, focus, then recompose.
Check AF microadjustment twice a year. Lens calibration can drift over time, especially after impacts, temperature changes, or travel. Run a calibration test on a target every six months if you shoot shallow depth-of-field work. Portraits at f/1.4 are a good example.
The process is similar whether you’re shooting on land or underwater.
Keep your firmware up to date. Camera manufacturers release firmware updates that improve autofocus performance. They also fix bugs and add lens compatibility. Check the official support site for your camera model at least once a year.
The same goes for lenses that support firmware updates, such as the Sigma Global Vision series. It’s a free fix that can solve subtle AF inconsistencies.
Maintenance / Long-Term Optimization – Cleaning Contacts, Firmware, and Lens Storage
Most autofocus problems are preventable. A little routine care keeps your gear reliable for years. The single most effective habit is cleaning the lens and camera contacts every few months.
Dirt, oil, and oxidation build up on the gold pins and block communication between the lens and body. Use a microfiber cloth lightly dampened with 90% isopropyl alcohol. Wipe the pins on both the lens mount and the camera body.
Let them dry for 30 seconds before reattaching.
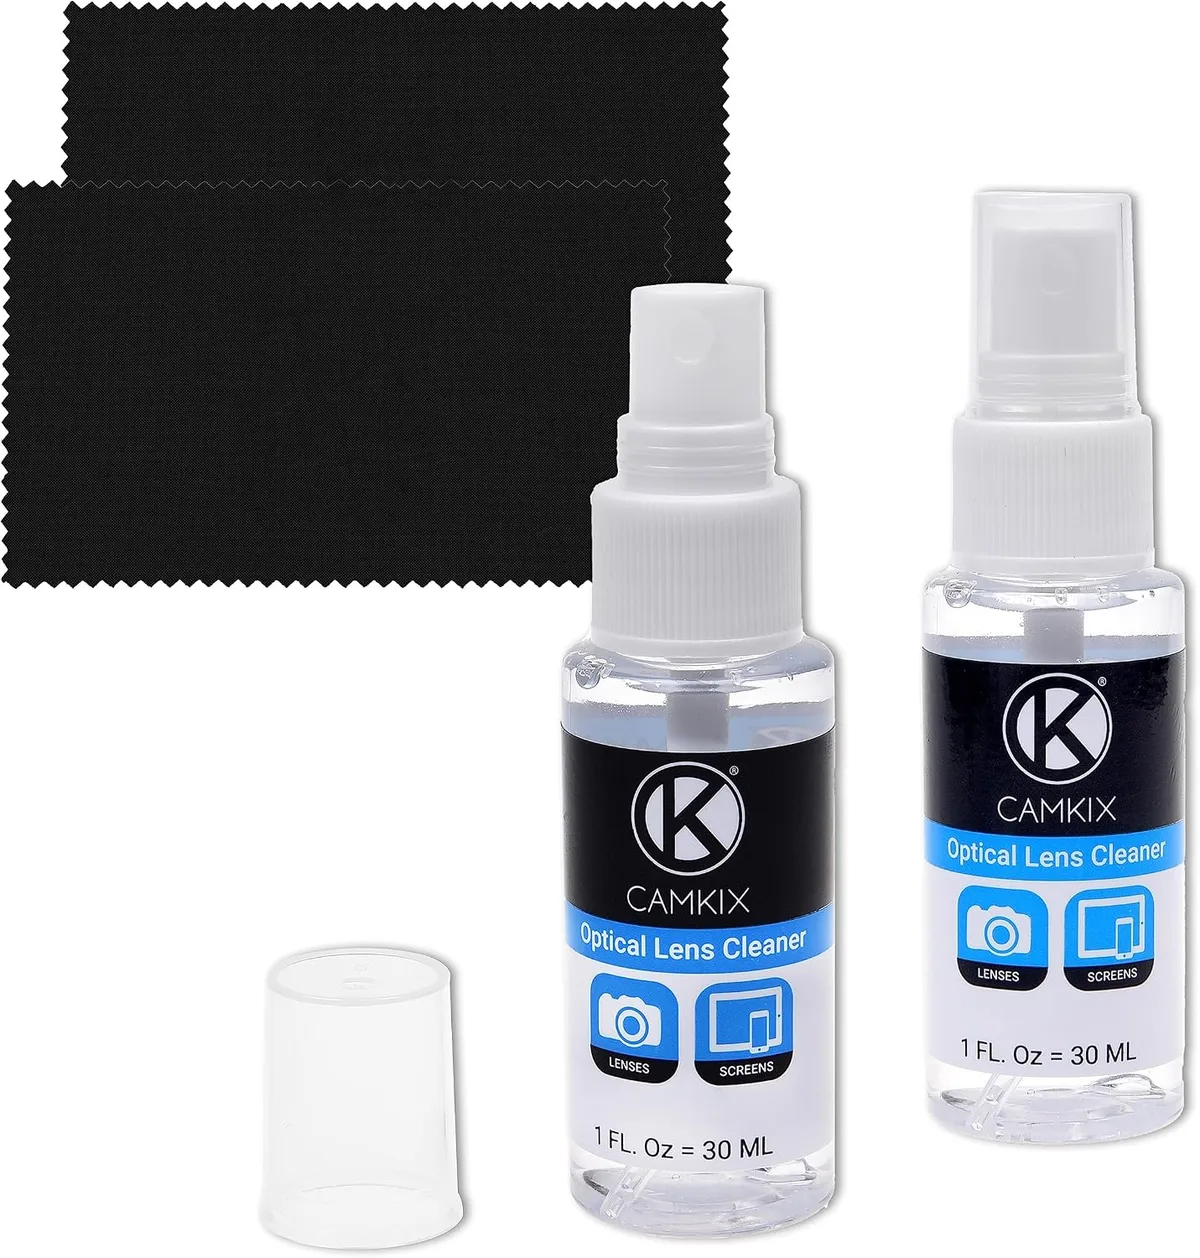
Image source: Web (Bing) / amazon.com.au (Web image (fair-use with source credit))
Firmware updates matter more than most people think. Camera and lens firmware can fix autofocus bugs, improve compatibility, and adjust motor behaviour. Check the official support page for your camera model once a year. The same goes for third-party lenses with a USB dock.
A simple firmware update can resolve subtle focus inconsistencies that you might otherwise chalk up to hardware failure.
Lens storage affects long-term performance. Store lenses in a dry, cool place with low humidity. A silica gel pack in the camera bag absorbs moisture that can corrode contacts. Never leave a lens on a hot car dashboard.
Heat can degrade the lubricants inside the focus mechanism, making autofocus sluggish over time. If you shoot in saltwater environments, a thorough rinse and dry after each session is critical for keeping your gear running smoothly.
FAQs – Quick Answers to the Most Asked Autofocus Questions
My autofocus works in Live View but not through the viewfinder. Why?
That means the phase-detect AF sensor, the separate sensor under the mirror, may have a problem. A dirty or misaligned AF sensor is the usual cause. Try cleaning the lens contacts and resetting the camera to factory defaults.
If that doesn’t work, it likely needs a professional service to realign the sensor.
How do I test if the lens or the body is the problem?
Swap the lens with another one you know works. If the second lens autofocuses fine, the issue is in the first lens. If the second lens also fails, the problem is in the camera body.
A local camera shop may let you test a lens on your body before you buy one.
Can low battery really stop autofocus?
Yes. When battery voltage drops below a certain threshold, many DSLRs disable the AF motor to conserve power for image capture. The camera may still turn on and show menus, but the lens won’t move.
Always test with a fully charged battery. Carry a spare and keep it topped up for extra reliability in the field.
Should I use single-point AF or auto-area?
Single-point AF gives you control. The camera won’t guess your subject. Use it for static or slow-moving subjects.
Auto-area can be useful for fast action where you can’t track manually, but it often picks the wrong point. If your autofocus is already flaky, stick to single-point with the center sensor.
What does the AF-ON button do?
It decouples focusing from the shutter button. You focus by pressing AF-ON, then release it and compose freely. The focus stays locked even if you half-press the shutter.
This is called back-button autofocus and prevents accidental refocusing. It’s especially helpful for recomposing after focusing.
Final Recommendation / Decision Guide – When to DIY vs When to Send It In
DIY if: The problem is intermittent, works after cleaning contacts, affects only one lens, or is caused by a wrong setting or low battery. About 80% of autofocus issues fall here. You can fix them in under ten minutes with a cloth and a charged battery.
Send it in if: The autofocus is completely dead after verifying all switches, cleaning contacts, and testing a known-good lens. If the AF motor makes a grinding or clicking sound, internal gears are likely damaged. A bent lens mount pin or a dropped camera also warrants professional repair.
Expect a service cost of $100 to $300 depending on the camera and the needed repair.
A note on third-party lenses: If you own a Sigma, Tamron, or Tokina lens that suddenly stops autofocusing after a camera firmware update, check the lens manufacturer’s site for a firmware update first. Many third-party lenses require recalibration after a camera update. The USB dock available from Sigma and Tamron can handle this at home.
When in doubt, get a diagnosis. A camera repair shop will run a diagnostic for a small fee, often $25 to $50. That gives you a clear answer without guessing. Knowing exactly what’s wrong saves you time and money.
It keeps your gear shooting for years to come.

Similar Posts